The Content connector supports you on creating external content provider of the type LTI and Offline with XAPI feedback channel. The Content connector configures the feedback to Avendoo®.
You find more information about LTI on the page “FAQs”.
Prerequisite for creating and editing in the Content connector is the access right Change, create under Content connector, whereas you’ve set the check mark in the Author assistant or in the Permission groups wizard.
Then you create via the help of the content connector the remote content, which you select in the Web-based training wizard on the tab Preferences and integrate into a course and finally activate via the course activation. Furthermore you can activate the remote content via remote content activations, whereas you can do it single or for all.
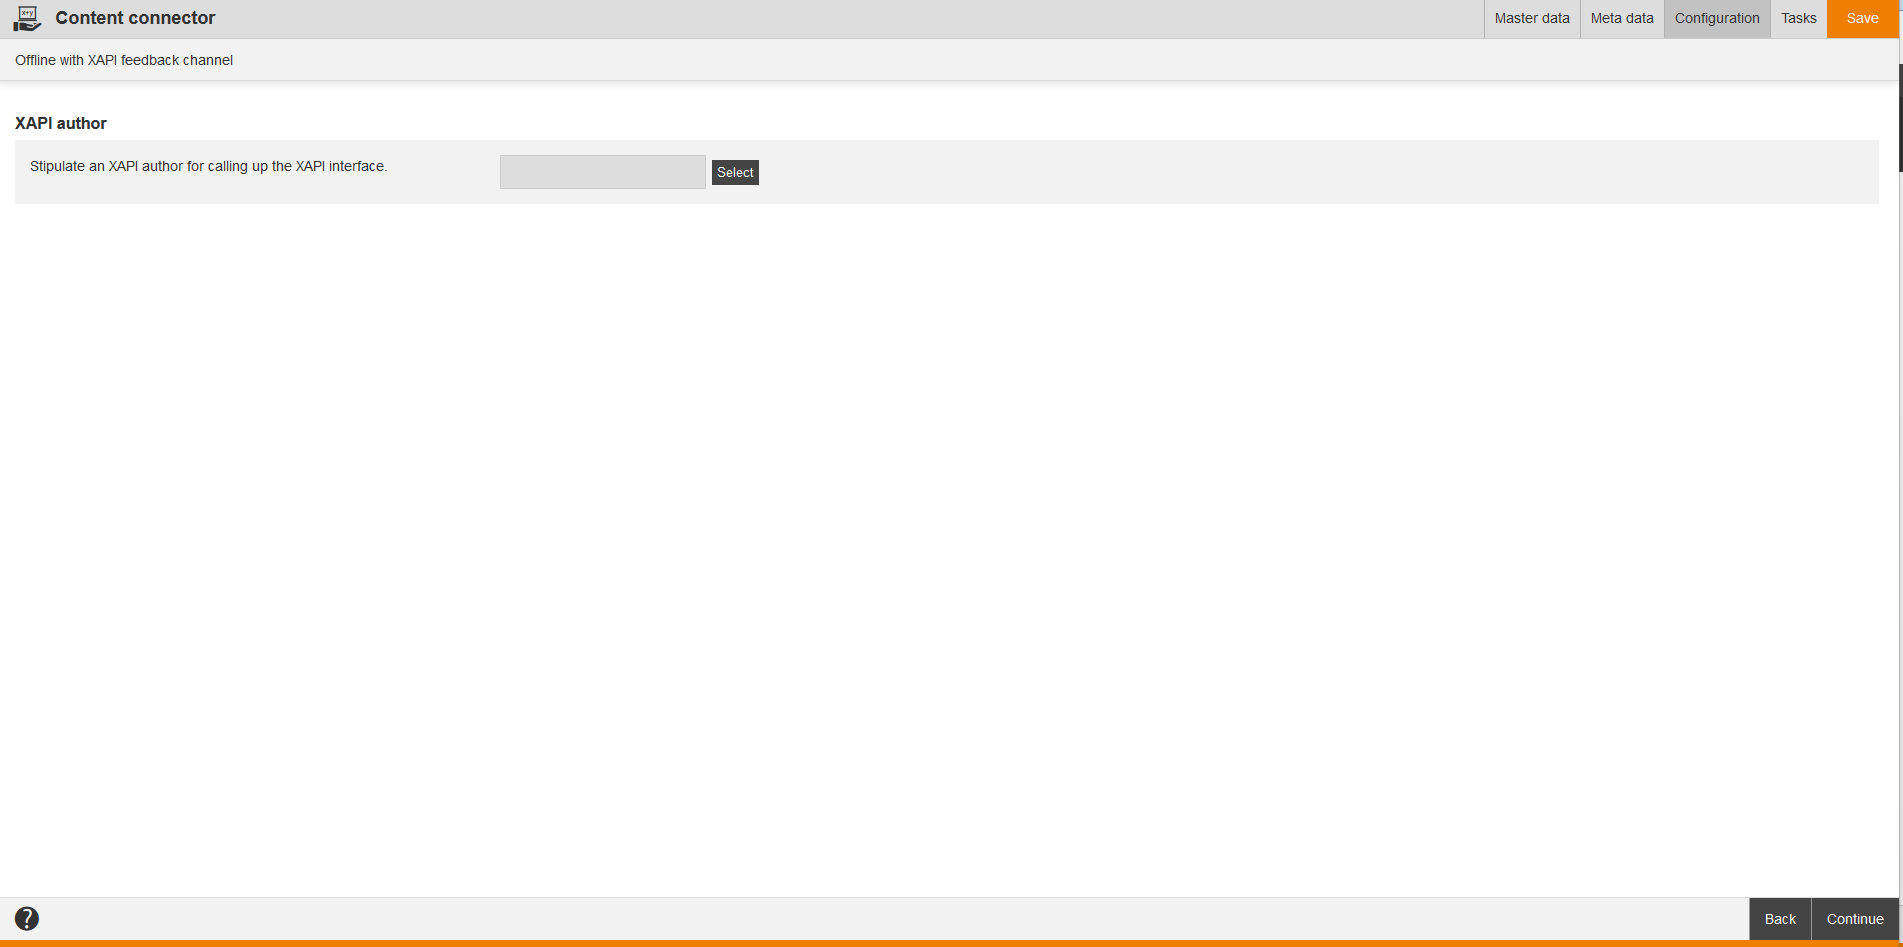
If you have created a content connector of type Offline with XAPI feedback channel, you can use external learning content (see remote content) with XAPI feedback channel. After creating a content connector of type Offline with XAPI feedback channel, there will be an author on configuration. This author (log in type:API) is used for authentification at XAPI.
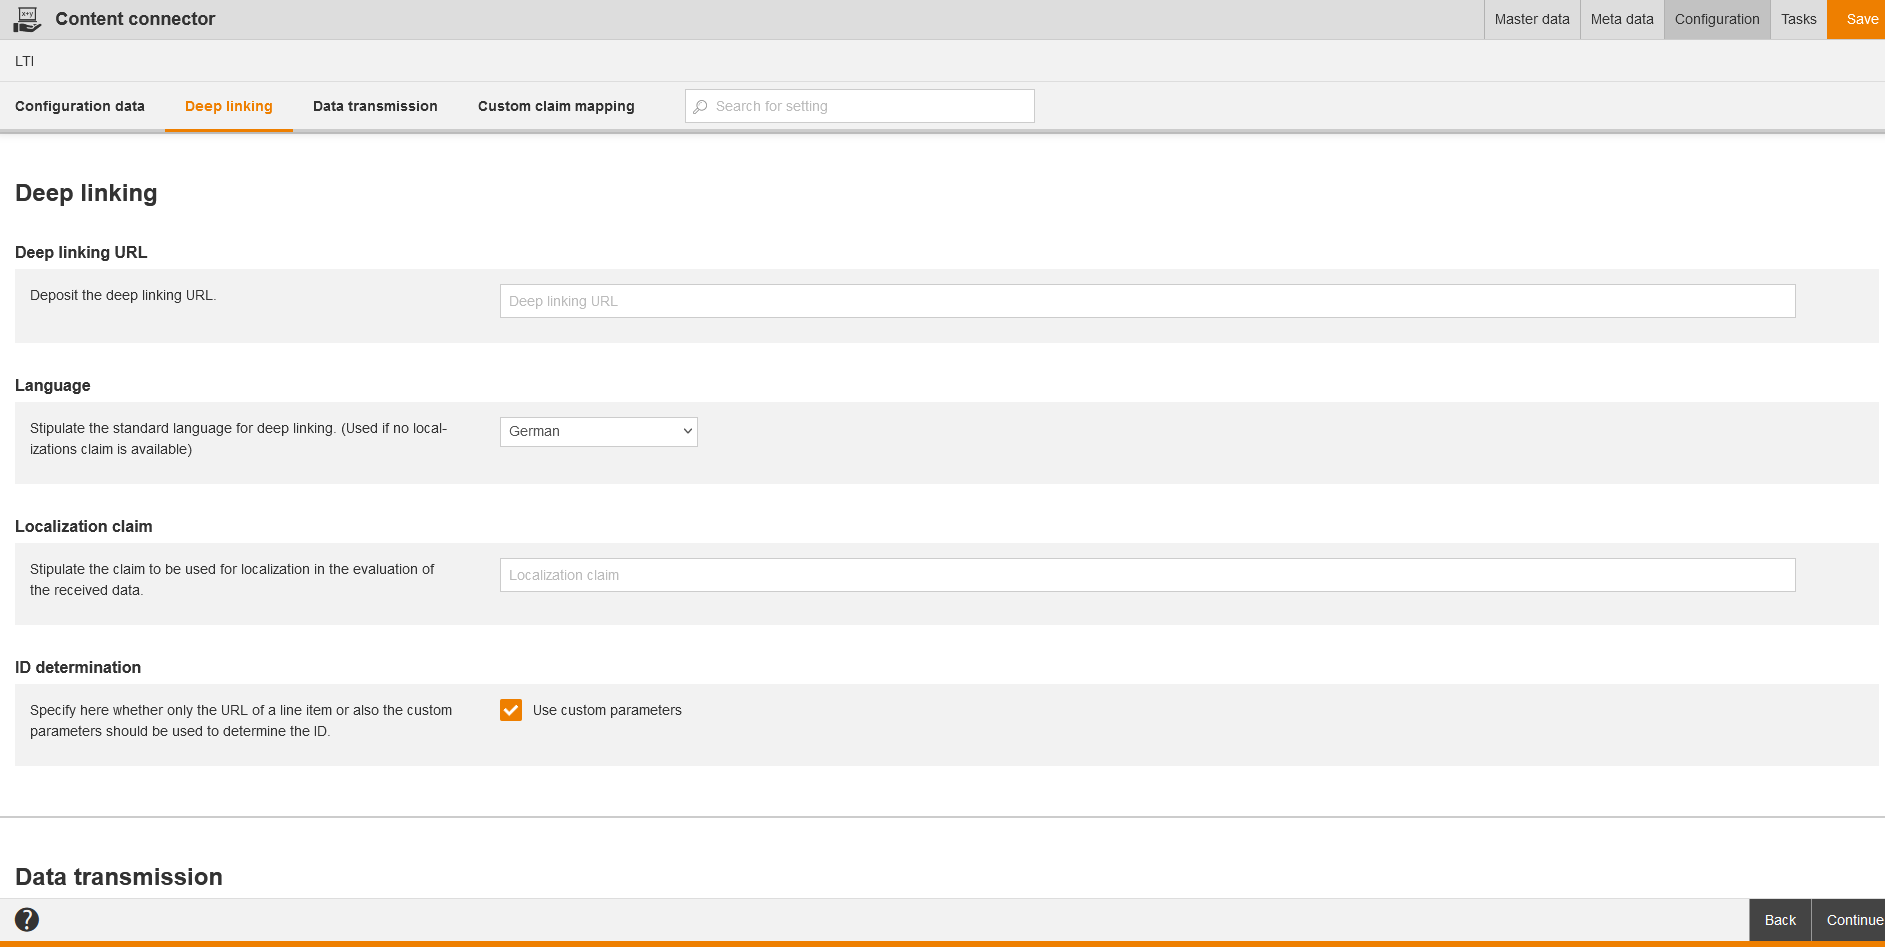
After creating a content connector, only the type LTI got the function Start deep linking in the overview table. Therefore you need the appropriate permission. You can select the default language, in which the remote content elements should be created, during the deeplinking process (see chapter Configuration under Deeplinking LTI). You can show the default language on the tab Master data in the Remote content wizard. If no extra language is transferred, deeplinking uses the default language. Furthermore it’s considered that the “lineitem” claim has to exist, if there’s only one lineitem for one resource (ExternalTool).
The overview table got the columns Title, Deep linking, Change date, Translation, Preview, Author and Created. If you click on the table header, you can edit the columns via the menu Edit display of columns and order. You can filter the following elements: Title, ID and Include subcategories.
There’s always a creation of a non-translatable medium in Avendoo® for the given preview image on each deep linking, on new or updated remote contents. Thus the old preview image, as already not used otherwise, is removed in the Avendoo® media. The preview image then is updated appropriate on remote content. You can delete the content and thus the preview image entry.
Via click on the symbol of the translation area you get into the translation management of the appropriate content connector.
There are the mass processing functions Move, Delete and Copy for content connectors. More information about these functions you find under Content connectors: Mass processing functions.
The following functions are available via the context menu of the appropriate content connector title.
Master data
Title
Enter a title for the new content connector.
Teaser
The teaser is a short text for managing the content connector.
Language
Stipulate the language in which you want the content connector to be created.
Type
Select between the type LTI or Offline with XAPI feedback channel.
Content error page
Here you define a custom page that is displayed if a user wants to open a remote content item that is no longer available.
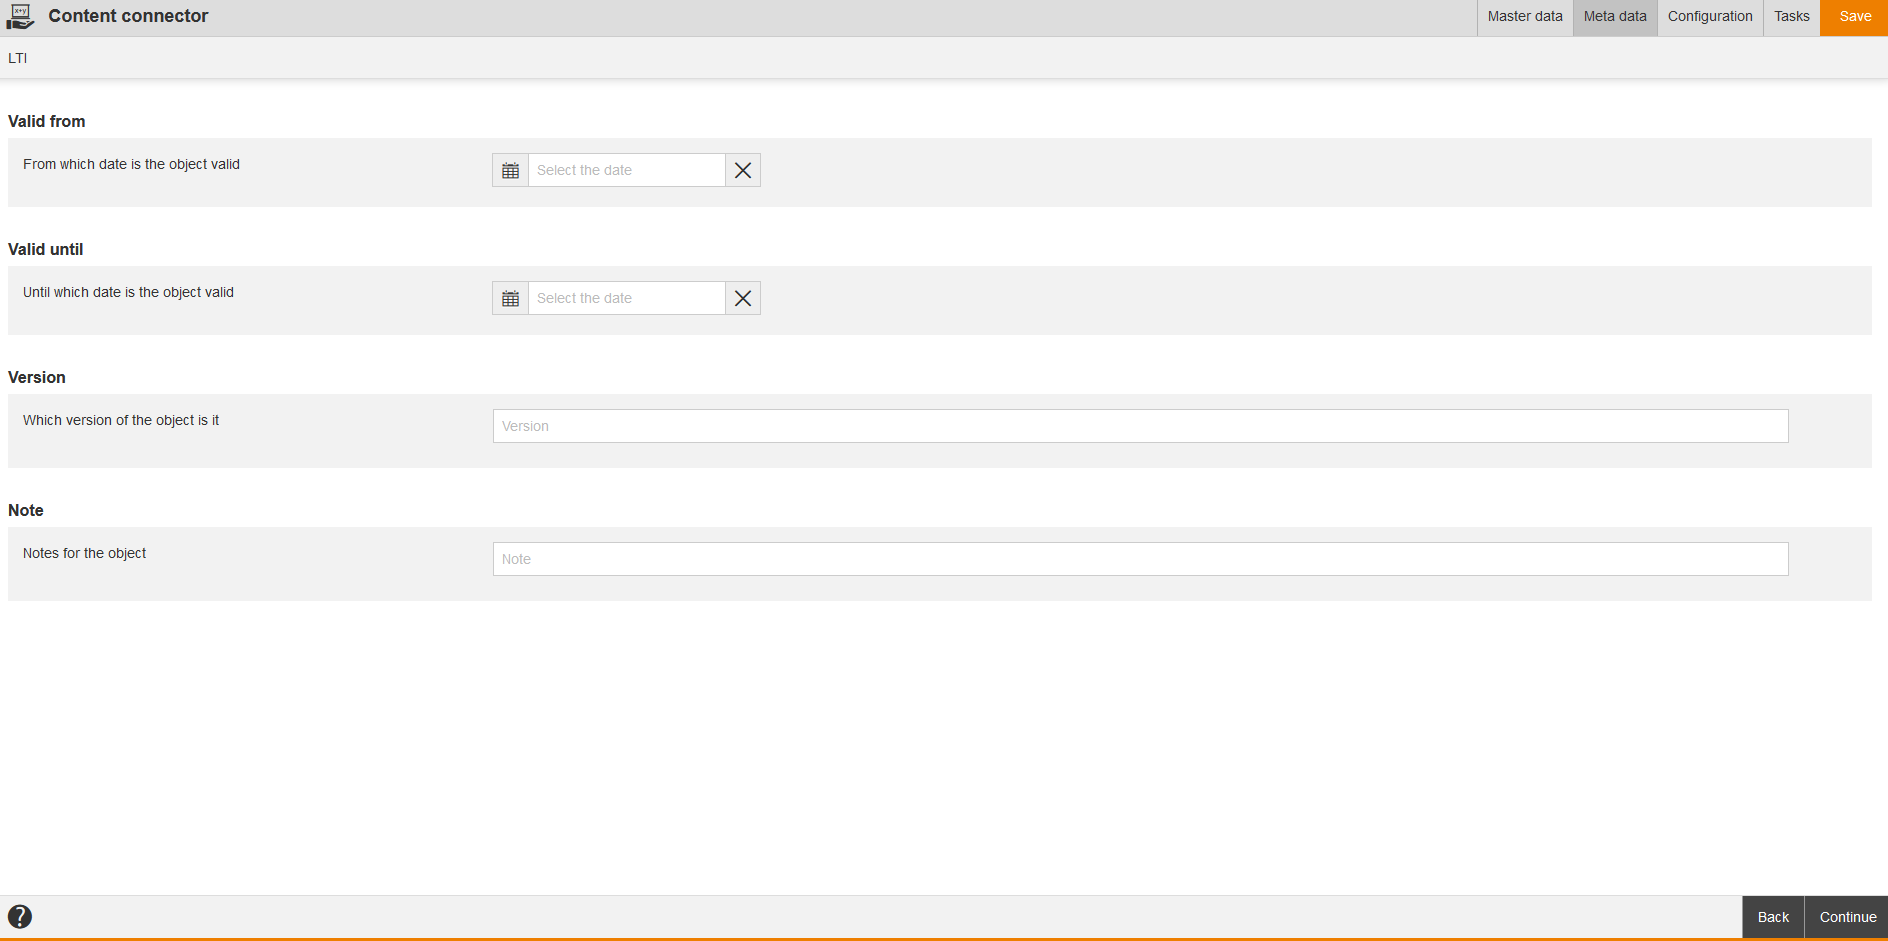
Meta data
Valid from
Select a date, if the content connector has an appropriate validity.
Valid until
Select a date, if the content connector has an appropriate validity.
Version
Enter a version description, if the content connector has a version.
Note
Enter if applicable some notes for the content connector.
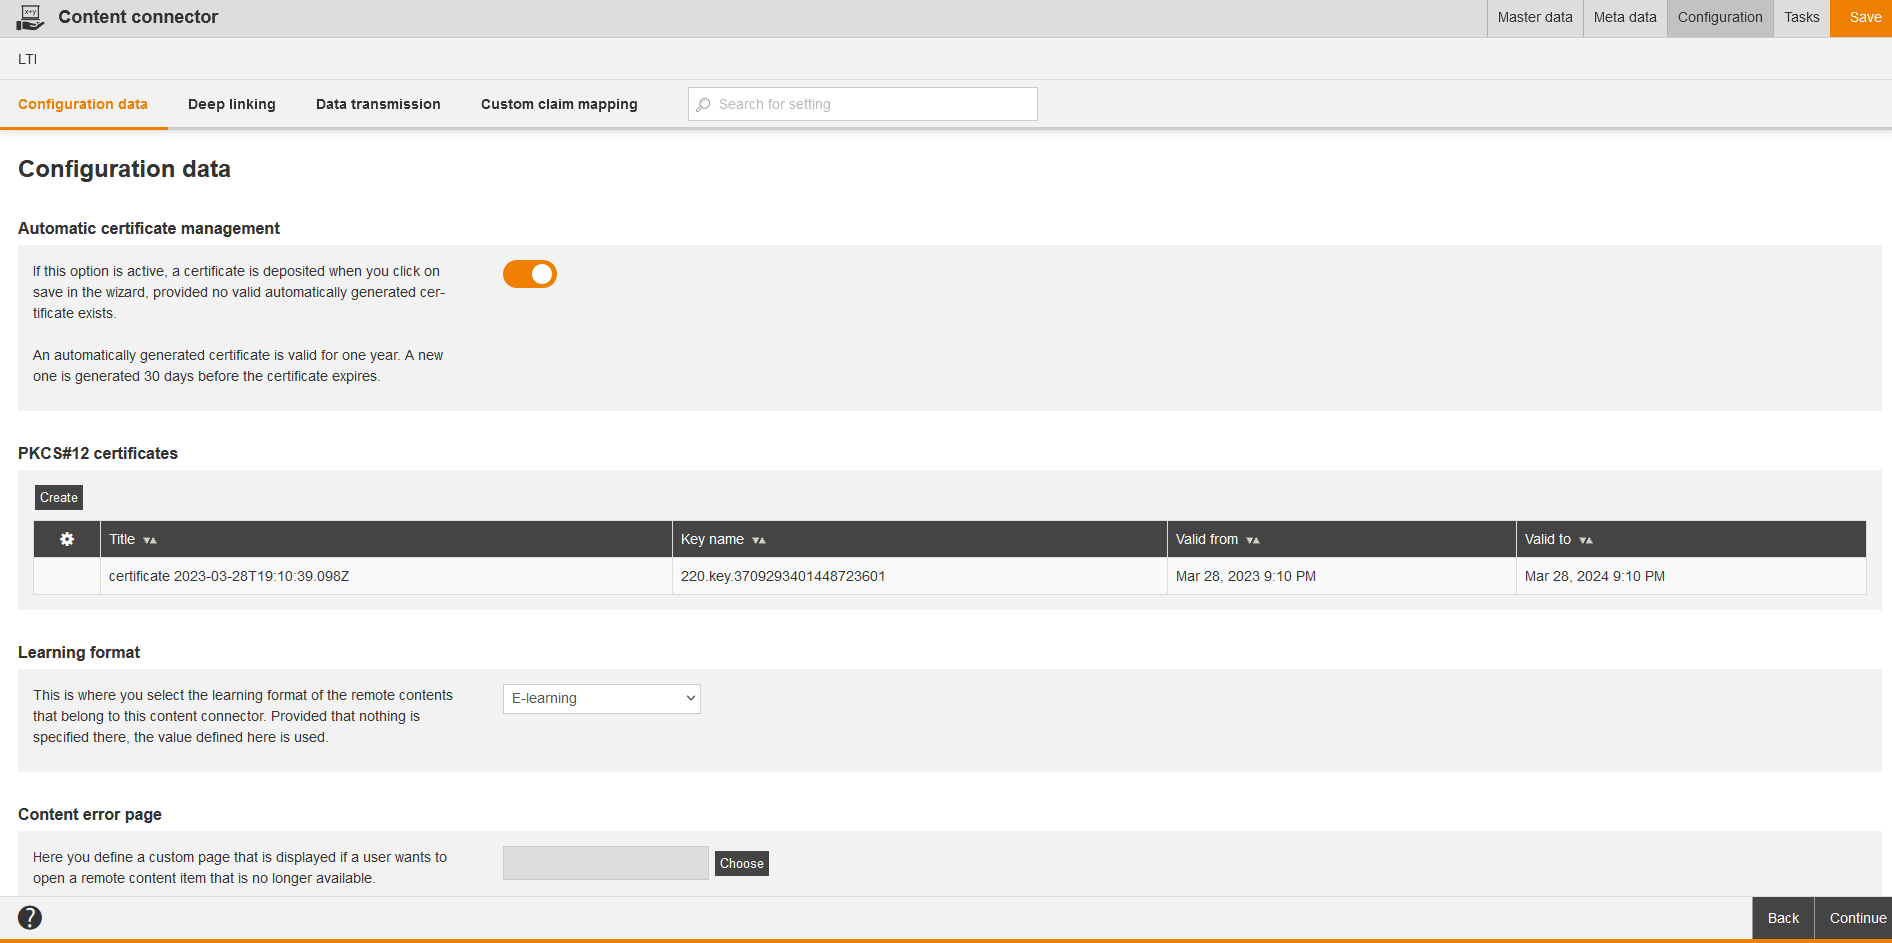
Configuration
Automatic certificate management
If this option is active, a certificate is deposited when you click on save in the wizard, provided no valid automatically generated certificate exists.
PKCS#12 certificates
To create a p12 certificate file, click on the button Create. The dialog window PKCS#12 certificate opens and you can select a p12 certificate file by clicking the button Upload certificate. In the dialog window Import you click on the button Search and confirm your selection. Now you see the base64 string of the uploaded p12 certificate file in the entry field of the certificate. This is analog to the system setting “InsuranceDistributionDirective“.
Learning format
This is where you select the learning format of the remote contents that belong to this content connector. Provided that nothing is specified there, the value defined here is used.
Select between the following learning formats:
- E-learning,
- Training plan,
- Event or
- E-learning + event.
This selected learning format is then used by the remote content LTI. You can adjust it manually later in the remote content LTI.
Content error page
Here you define a custom page that is displayed if a user wants to open a remote content item that is no longer available. Therefore click the button Select and confirm your selection.
Base URL
Deposit the base URL for the content connector.
Login URL
Deposit the login URL for the content connector.
Deployment ID
Stipulate the deployment ID.
OAuth2 client ID
Stipulate the OAuth2 client ID.
Keyset URL or Public key
Select between the following options:
- Public key or
- Keyset URL
and enter the required data.
Context line item URL
Define how the context is defined in the URL of the line item. After the line items have been created for a remote content this option cannot be adjusted anymore. Select between these two options:
- Remote content or
- Content connector.
Tasks
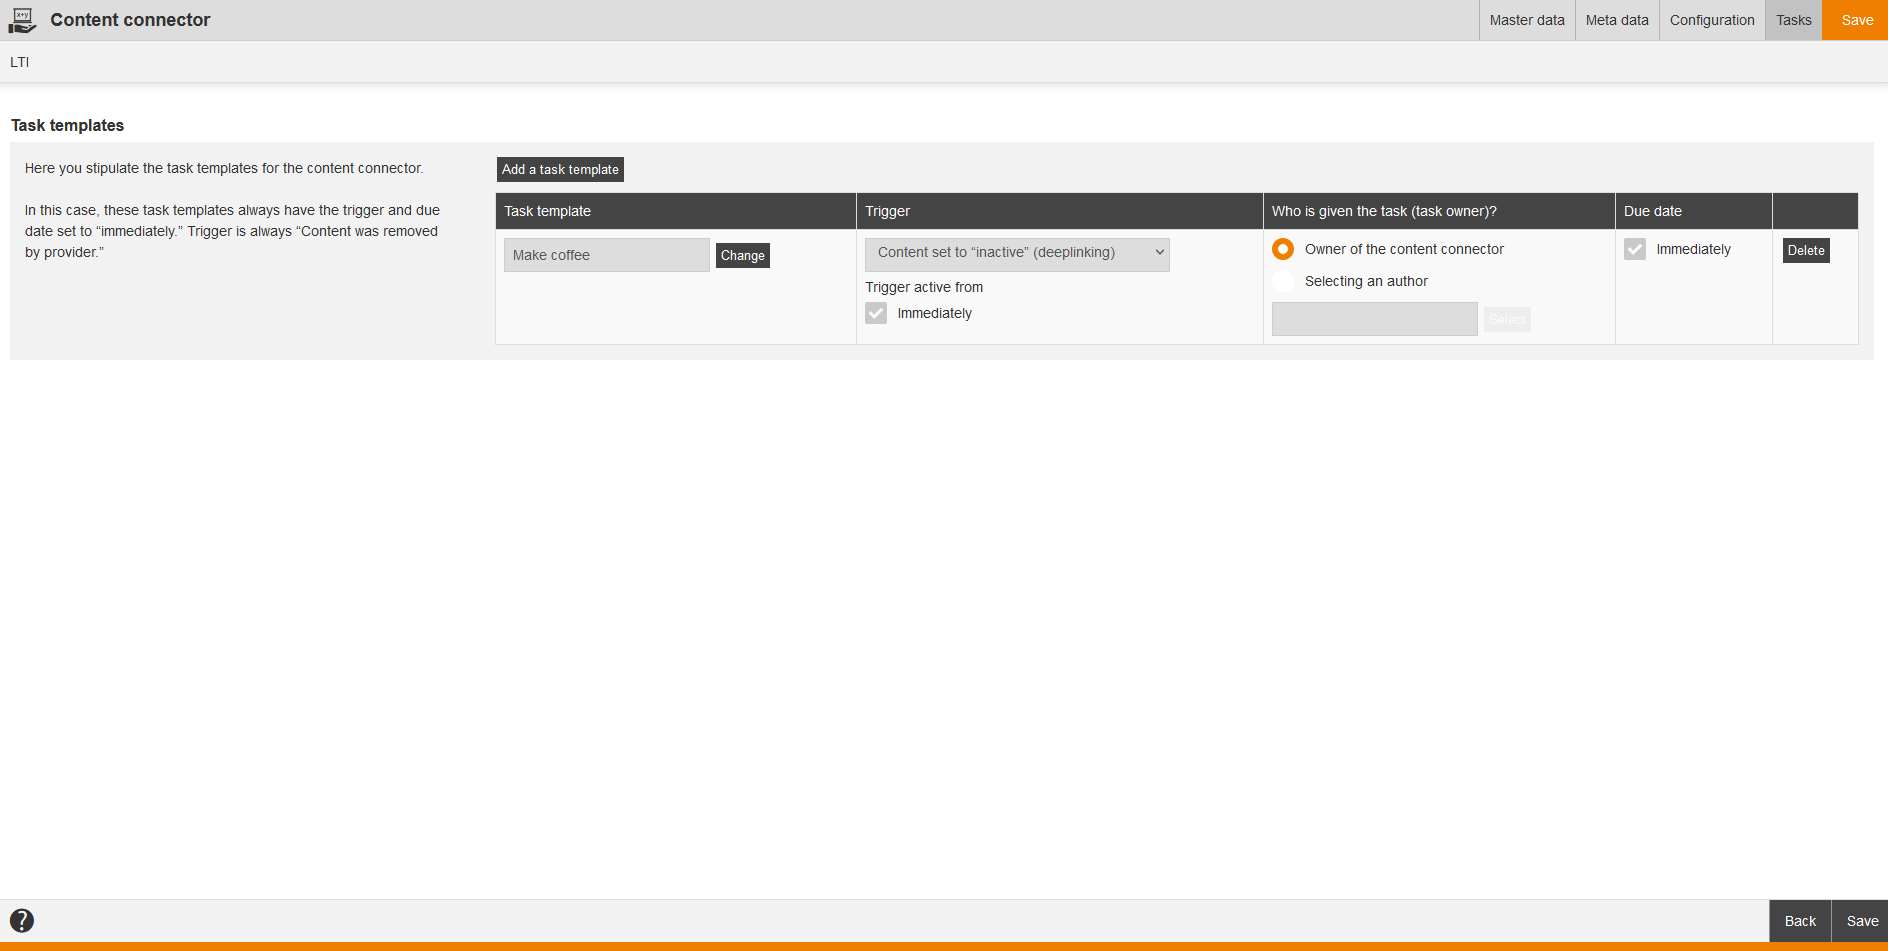
Define the task templates for the content connector by clicking on the button Add task template, selecting a task template from the list and confirming your selection.
You need these tasks if remote content objects are deactivated by the deeplinking because they aren’t supplied anymore by the tool provider system but they are still used.
You can change the task template, select another author or you can remove the added task template.
If you want you can select a custom page “Content error page” on the tab Options in the Client wizard or on the tab Master data in the Content connector wizard.
Example: Provide external learning content via Lecturio or Masterplan to the users and user team leaders
First you got already asked for the data of the initial configuration for the provider Lecturio and Masterplan in our support team. Now you want to provide the users the whole learning content for the provider Lecturio and only a part of the learning content for the provider Masterplan. The users Mathilda Green and Tom Hedgehog should get the learning content of Lecturio and the users Jonathan Hunter, Captain Gregory and Rick Dolphin should get the learning content of Masterplan. For the learning content “Basics of body language and rhetorics” you want a feedback as author.
You do the following steps as an author:
- You create two content connectors. Regarding the first content connector you enter the title “Lecturio” on the tab Master data of the Content connector wizard and the teaser “External learning content of the human resources” for example. Then you select the Type LTI and enter the initial configuration data on the tab Configuration. Finally you click on the button Save. Regarding the second content connector you enter the title “Masterplan” on the tab Master data and “External learning content of the training department” for the teaser for example. Then you select the Type LTI and enter the initial configuration data on the tab Configuration. Finally you click on the button Save.
- You start for both content connectors the deeplinking. Thus the content of the providers Lecturio and Masterplan will be imported, whereas you can update this content at any time.
- You choose the menu Learning content → Remote content. In this overview you see the whole imported learning content of Lecturio and Masterplan. The providers also deliver the titles of the learning content and if applicable also the course picture and the translation. In the column Content connector you see the provider name of the learning content.
- To provide the external learning content to the users, you create Remote content activations. Because you got two providers, you need two remote content activations, which got also different configurations caused by different providing. First you choose the menu Course management → Remote content activations. Regarding the first remote content activation you enter the title “Office applications” and the teaser “Get to know all applications” on the tab Master data for example and click on the button Select content connector on the tab Remote content. Select Lecturio and confirm your selection. Finally you click on the button Save. Regarding the second remote content activation you enter the title “Applications for freelancers” and the teaser “Get to know all applications” on the tab Master data for example and click on the button Select content connector on the tab Remote content. Select single learning content from the shown list and confirm your selection. If required you remove some learning content. Finally you click on the button Save.
- Now you register the participants via the corresponding Participant management of the remote content activation by clicking on the icon Participant in the corresponding line. You register the user Mathilda Green and the user team leader Tom Hedgehog in the participant management of the remote content activation “Office applications” by clicking on the button Add participants, selecting them both by setting a check markt and confirming this selection. Then your register the users Jonathan Hunter, Captain Gregory and Rick Dolphin in the participant management of the remote content activation “Applications for freelancers” by clicking on the button Add participants, selecting these three users by setting a check markt and confirming this selection. If any user shouldn’t the learning content anymore provided, you can deregister this user by clicking the button Remove participant.
- To enable a feedback regarding the external content or to integrate this learning content in an existing course, create this learning content as Web-based training (WBT). Therefore choose the menu Learning content → Web-based trainings. Note that the author can only one learning content create per WBT. Enter on the tab Master data of the Web-based training wizard “Basics of body language and rhetorics” as title and “How to analyze and argue better in conversations” as teaser. Click on the button Select remote content. Select “Basics of body language and rhetorics” in the list to show this content later in your new course to the selected users.
Result
As soon you got registered the participants to the external learning content, these participants got access to this learning content in the user frontend and team leader cockpit. The users and the user team leaders can use the filters Lecturio and Masterplan under Content connector. For more filters use classifications.
