Basics
The community is your personal news stream. The community keeps you up to date about all important events of your learning units. You receive a summary mail if there are to dos depending on priority or you receive an e-mail if there are urgent messages.
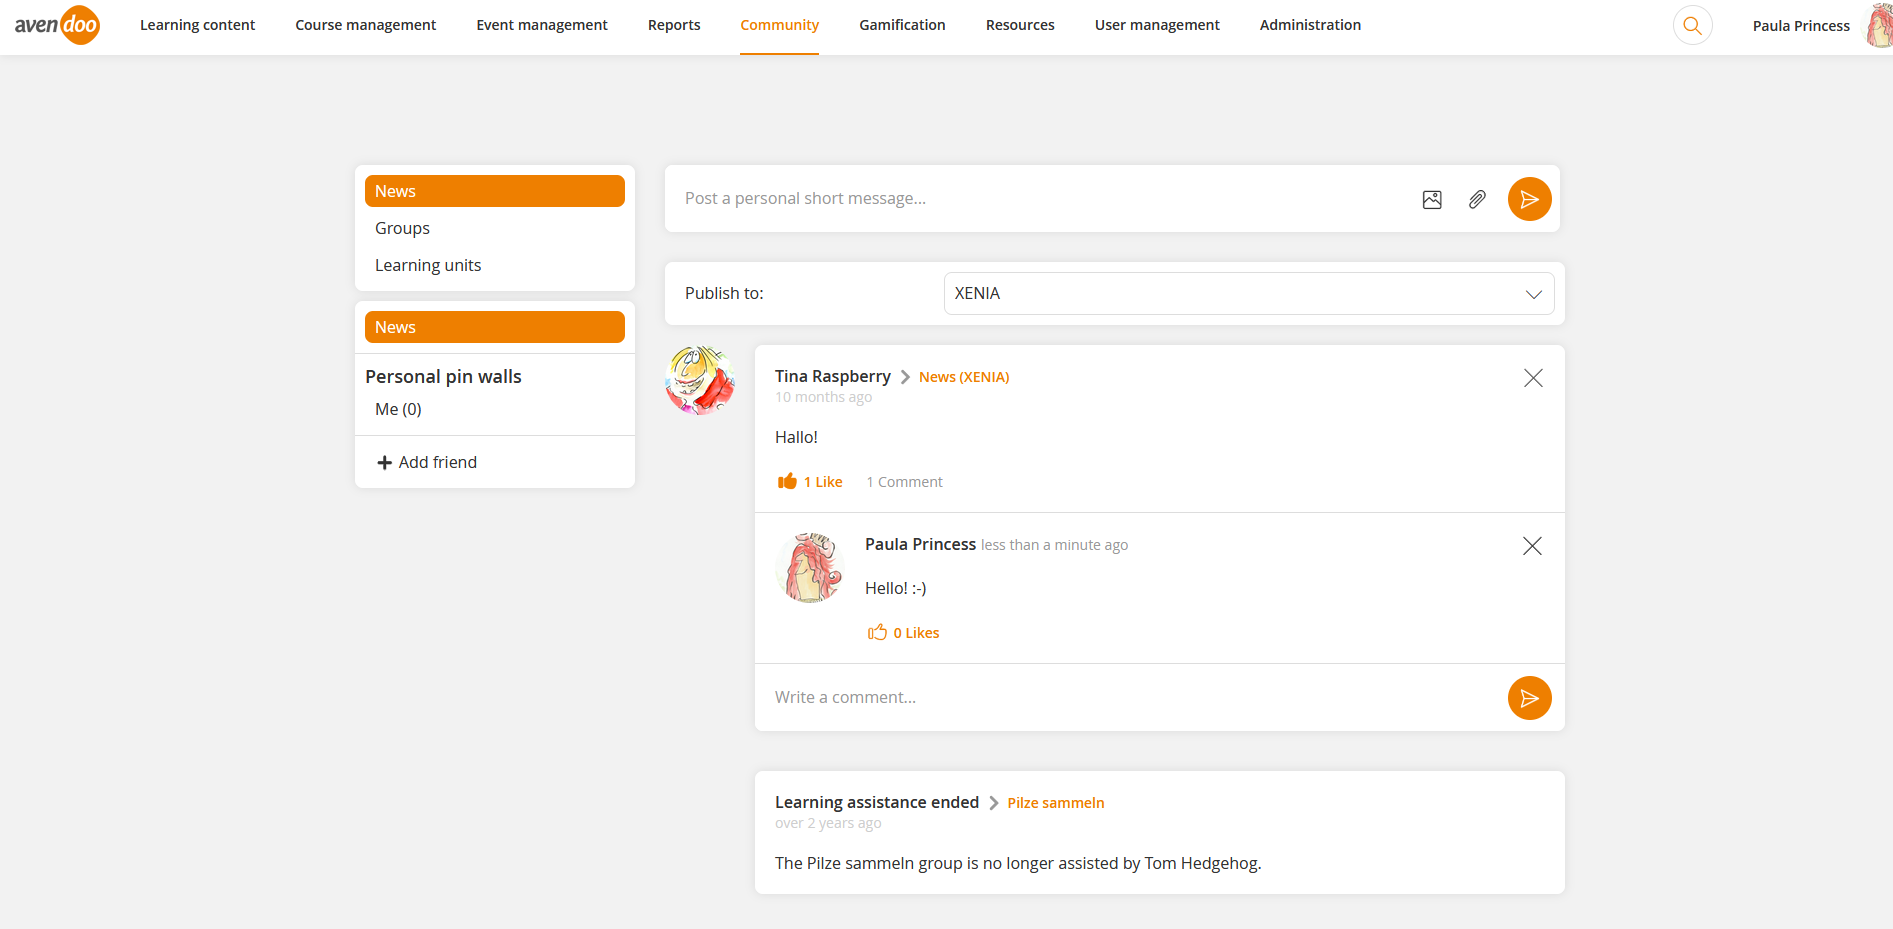
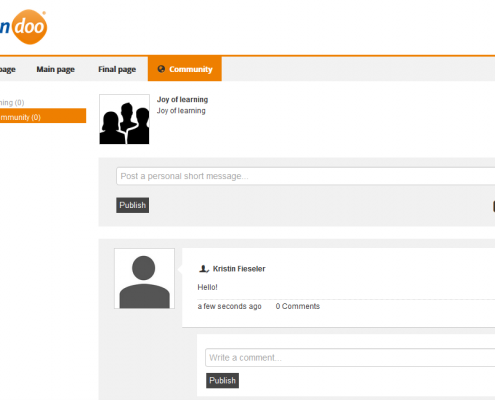
If you are an author you have two options to enter the community. Either you click the button Community or you choose Community → My community.
If the responsible author has allowed that you attach files you see in the corresponding short message the
Paper clip (see screenshot number 2). Depending on which MIME types and how much files and which maximum size are allowed, you can select the
Paper clip can attach files. File attachments are deactivated per default. The responsible author activates this function on the tab Options in the Client wizard.
My community
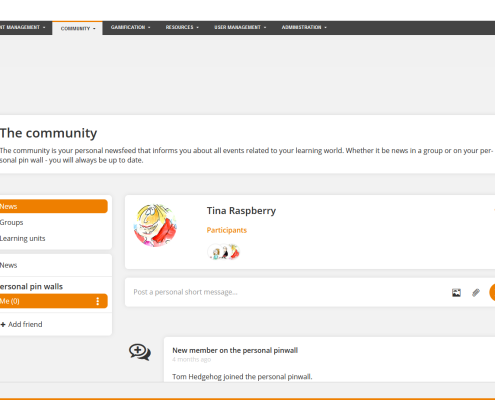
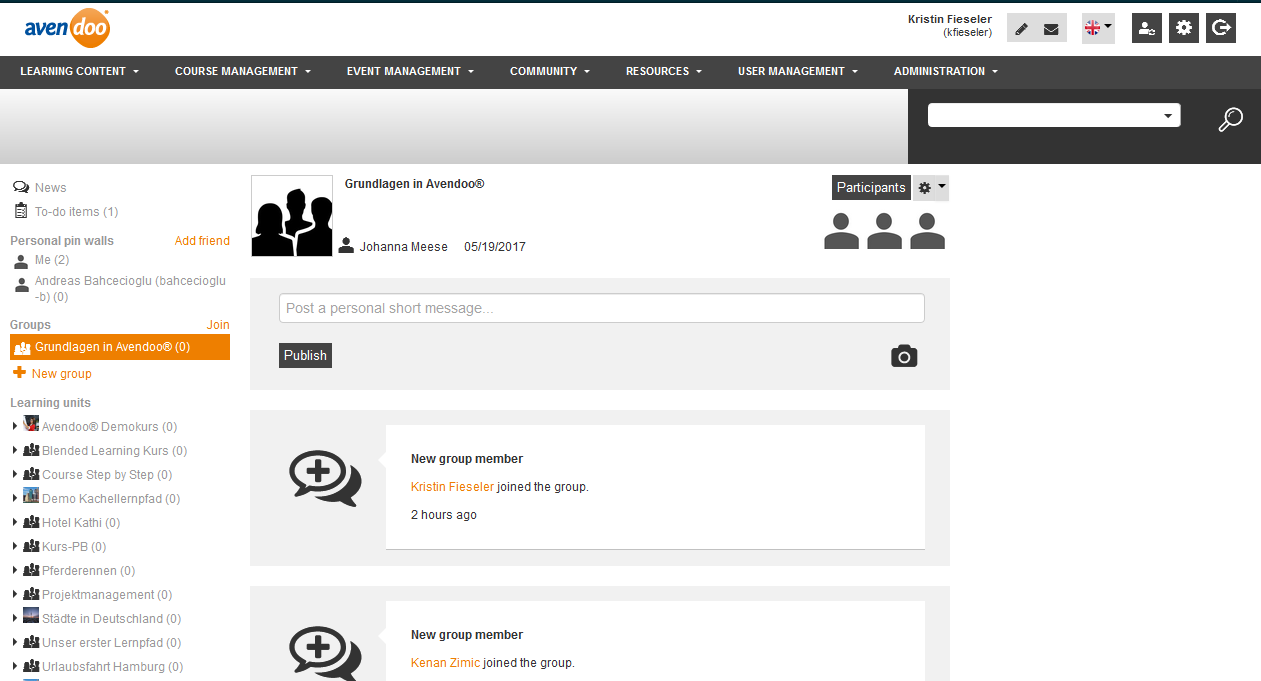
My community has three areas:
1. Navigation (left)
- News
- Personal pinwall
- Personal pinwalls
Listing of the personal pinwall of other users, you are friend with as author - Groups
Listing of all groups, you have joined as author
2. Community messages
- News stream depending on permission with the following news (but the user name is hidden in Avendoo®):
- System messages (e.g.: a learner has registered to a new learning unit.)
- Messages from all groups, you have joined
- Messages from the course communities, if you are creator of the course activation and the course community is activated
- Messages,which are sent to the client, to which you are assigned as author
- Messages at the personal pin wall of the author
- Private messages to all participants of the learning group and course activation (if you are learning assistant of the learning group)
Notes:
- You can assess messages and comments with the Like button.
- Note that you can use the filter function only for loaded messages. To load further messages, click More below the last message.
- You can download attachments of a community message, because community messages can include attachments by an enhancement of the API.
- Information about the community messages and the notifications you find here.
3. Group details (top)
only groups and pin walls
- Name of the group
- Short description
- Name of the founder
- Date of foundation
- Members of the group (profile images)
- Learning units
Via click on your profile picture the sub tabs User, Groups, Personal pin walls and Reports are shown. On the sub tab User the user name, address, telephone and e-mail-address are listed. On the sub tab Groups you see the groups, which you have joined. Furthermore you see on the sub tab Personal pin walls, to which pin walls you have added friends. Also you see on the sub tab Reports the reports assigned by the author.
If you select Personal pin walls -> Me and click on your profile picture, you can remove your profile picture and/or select a new one. Finally you click on the button Accept changes.
Private messages
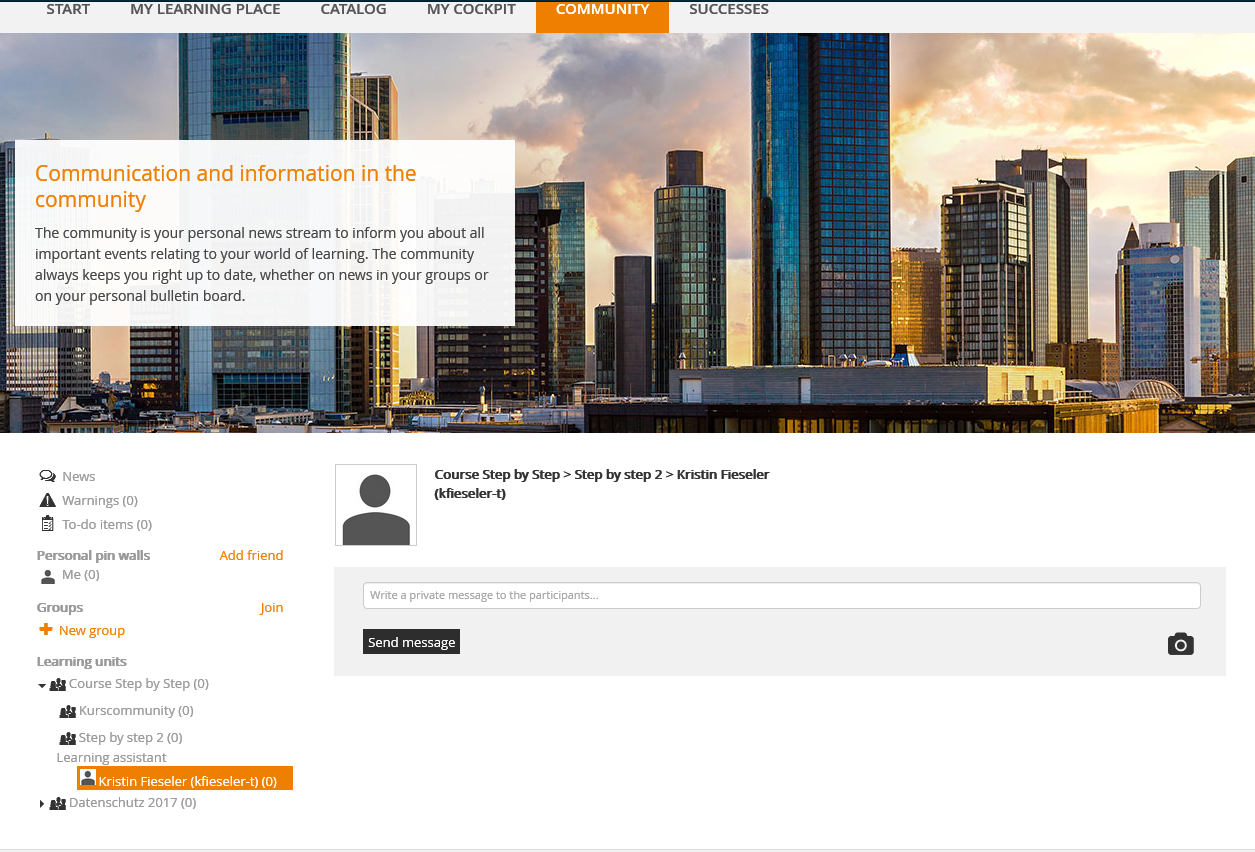
If you are learning assistant of a learning group, you can send private messages to all participants of the learning group and the course activation. Thus all (1:n) receive the private message, but only the learning assistant (1:1) sees each comment of participants to this message and it is not for all participants of the learning group viewable.
You add the learning assistant of the appropriate learning group on the tab Learning group settings when creating the learning group.
News
In the news you see all community messages in a news stream. Click on …further messages to display previous posts.
Post short message
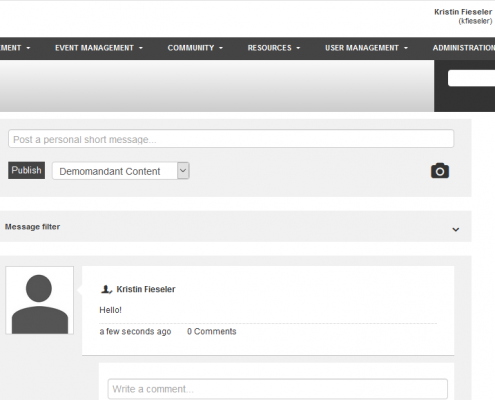
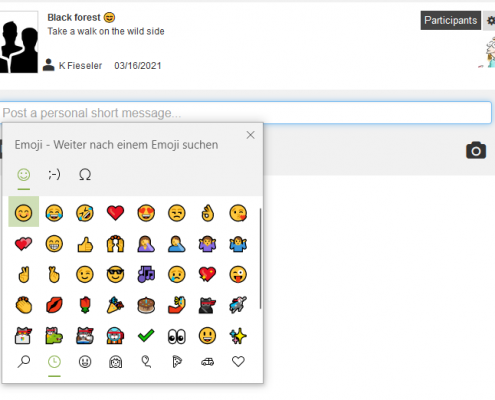
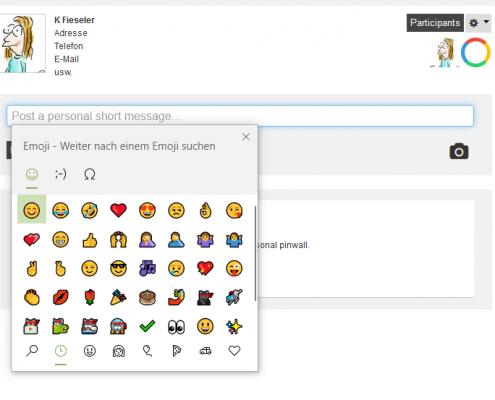
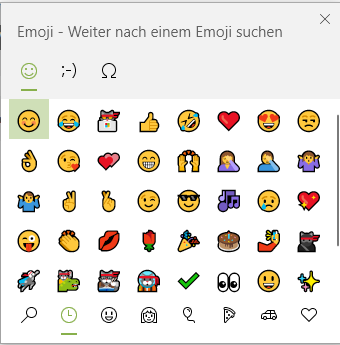
You can post own short messages in the community, independing on if you are owner of the course activation or training coach. Also you can read short messages of other users (team leader and users) and comment it and communicate. To post a new message, use the appropriate text field. If you want, you can insert emojis by using the shortcut windows key and point key at the favored place in the entry field.
If the responsible author has activated file attachments in the Client wizard you can select the allowed files and attach them in the allowed number and size (see screenshot number 2). Therefore click the
Paper clip and confirm your selection.
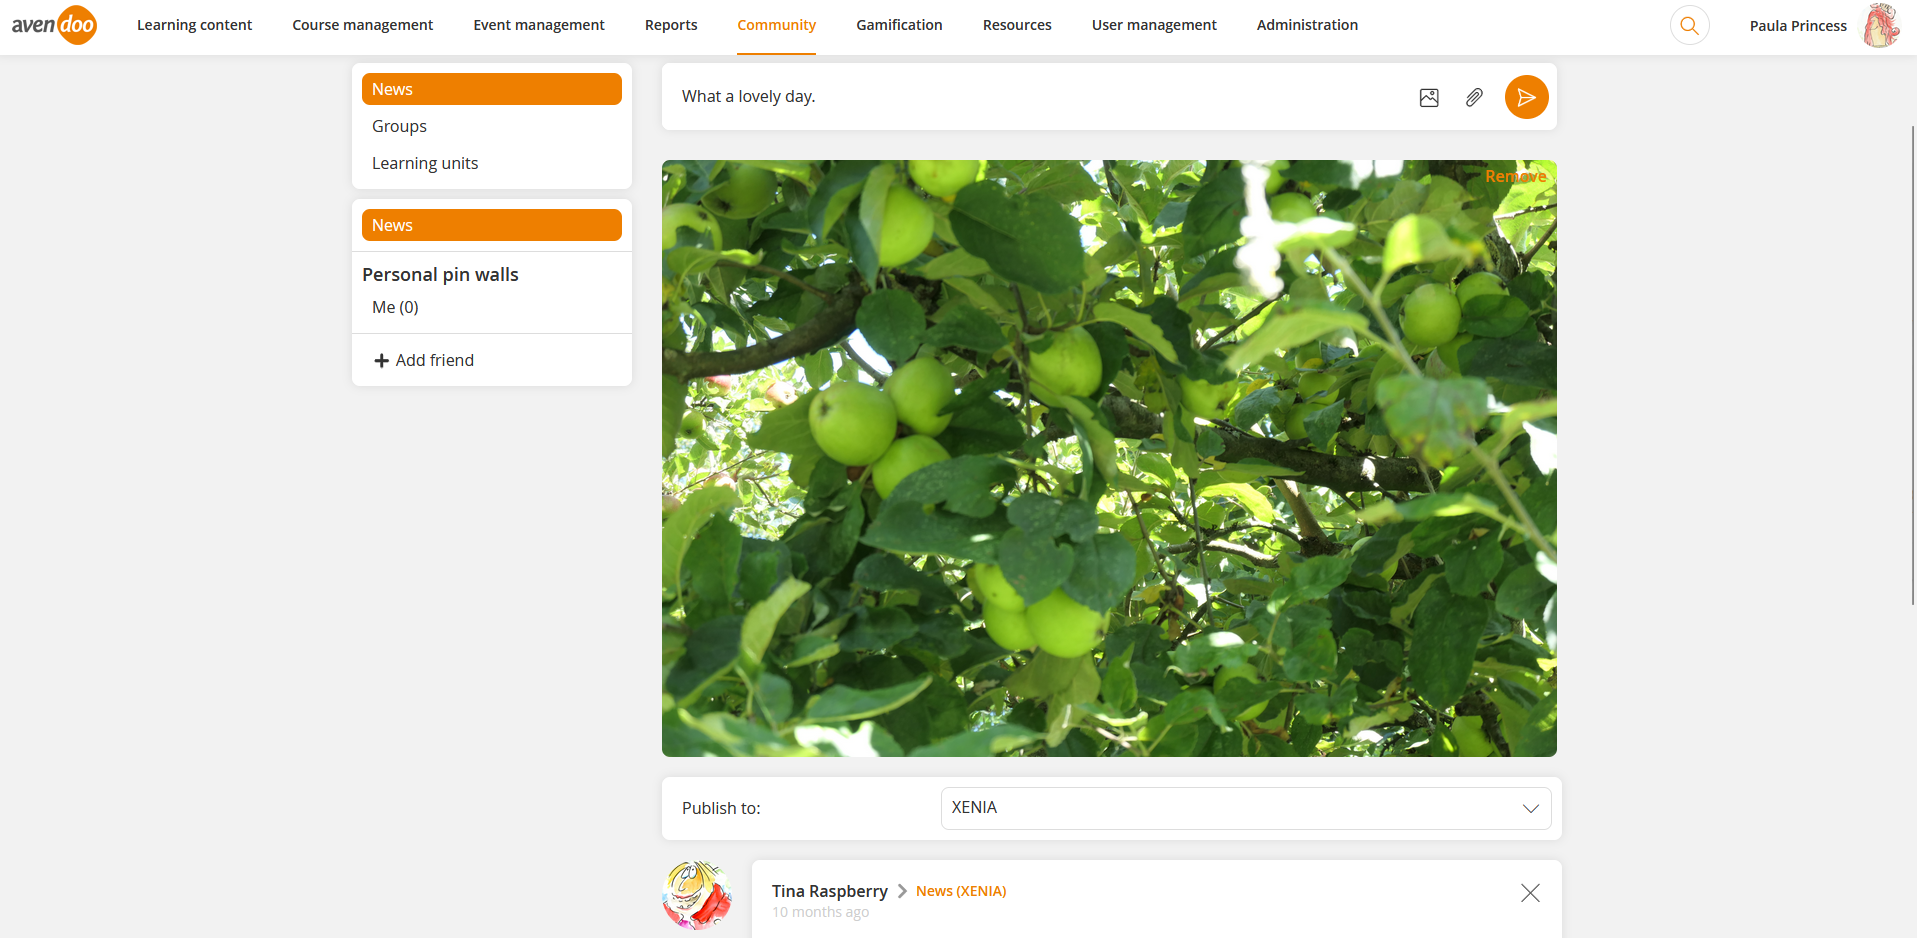
Attach picture to short message
If you click on the camera icon, you complete your short message with a picture.
Remove picture
Via click on this icon you remove the added picture.
YouTube link detection
Once you have entered a YouTube link in the text field of a short message, Avendoo® detects the link and shows then the appropriate video in preview format in the post.
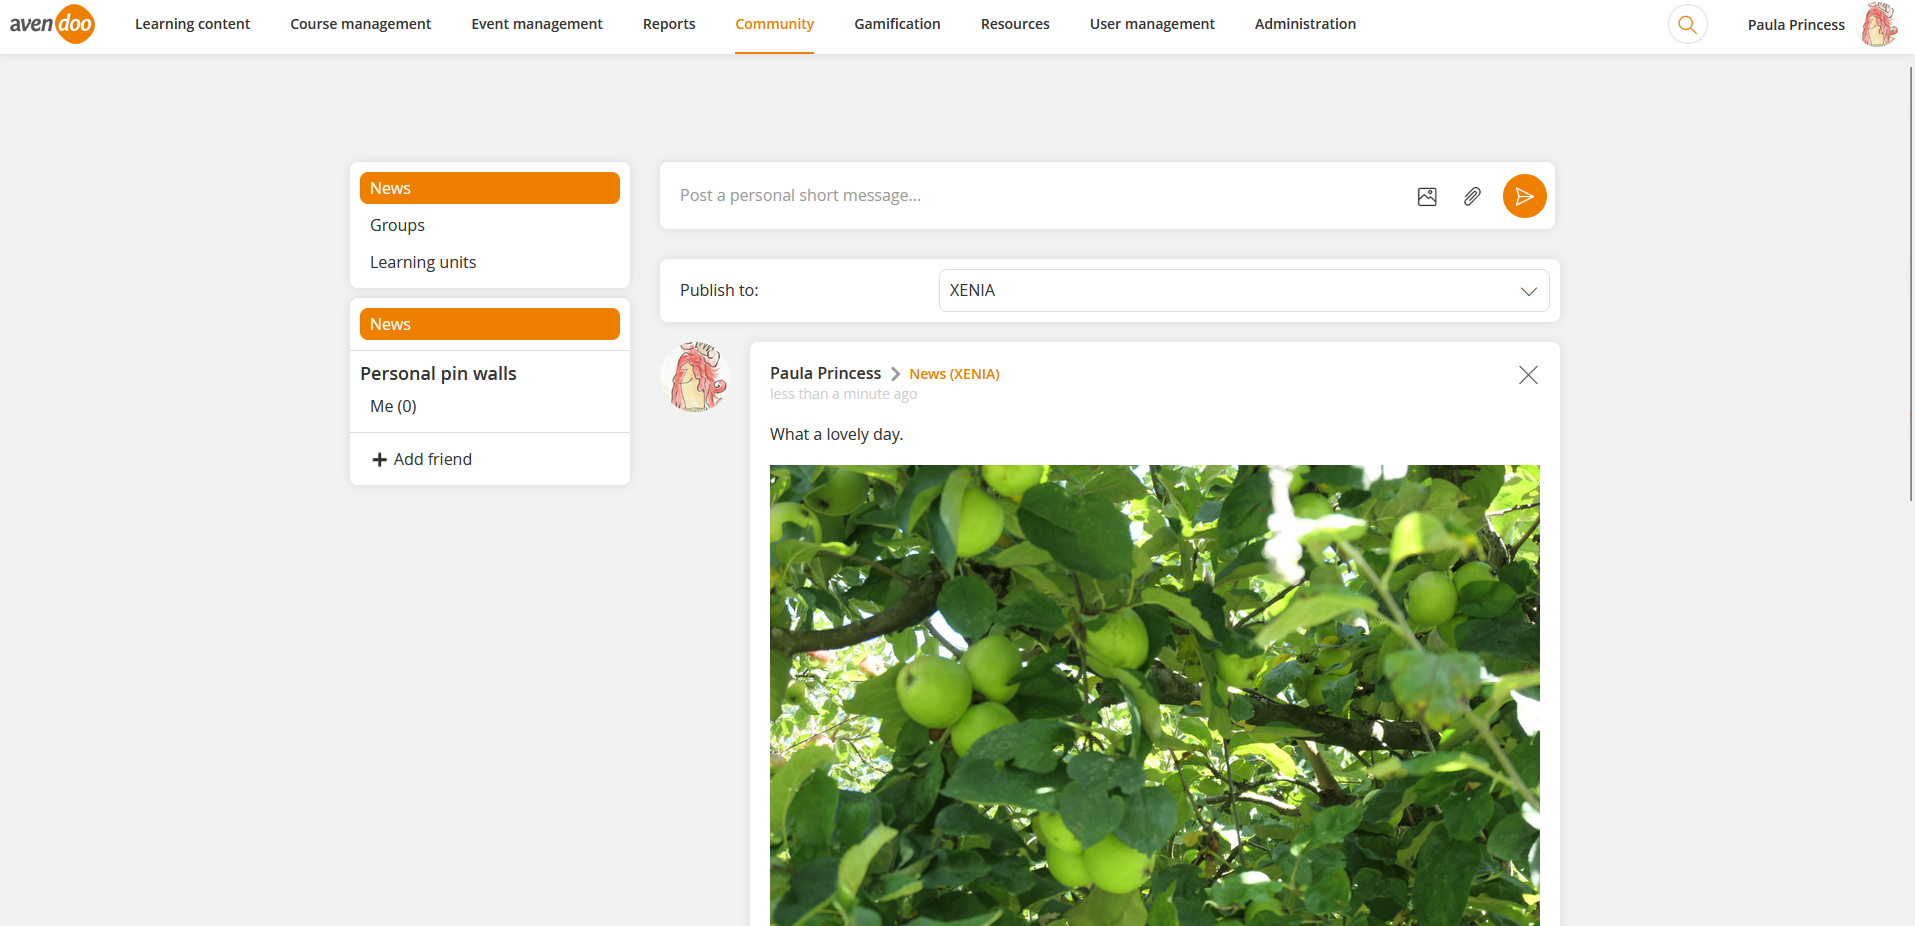
Publish short message
Via clicking the button Send or using alternatively the shortcut “STRG+Enter” your post gets viewable. If you want, you can insert emojis by using the shortcut windows key and point key at the favored place in the entry field. Just select where the short message should be seen (everywhere, personal pin wall, groups).
User details
Via click on the profile picture of another user you get into the user details. There you see the name, the profile picture and the personal description. If the view is free, you find also a list of groups, which the selected user has joined (See more about).
Personal pinwall
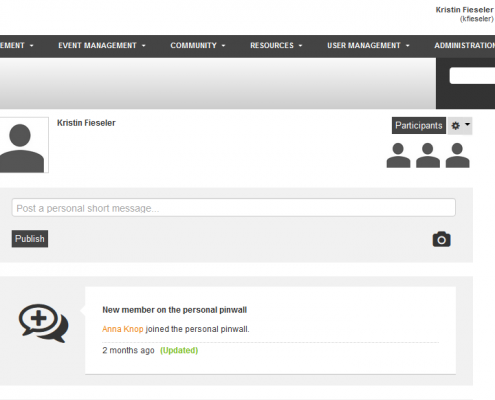
In this view you see your profile picture, your name and your personal description. Furthermore you see the users, which have subscribed to your pinwall and you are friend with.
You can register or deregister to personal pinwall. Also you can write in already existing personal pinwalls, even if the community setting Community groups can be created and managed by learners on the tab Options in the Client wizard isn’t selected.
You see in the list on the left side all personal pinwalls of the team leaders and users (learners) you are friend of.
Add friend
To subscribe to further personal pinwalls, click on Add friend.
Publish short message
To publish a new short message, use the appropriate text field. If you want, you can insert emojis by using the shortcut windows key and point key at the favored place in the entry field. Via click on the camera icon you complete your short message with a picture and via clicking Send or using alternatively the shortcut “STRG+Enter” you publish your short message.
If the responsible author has activated file attachments in the Client wizard you can select the allowed files and attach them in the allowed number and size (see screenshot number 2). Therefore click the
Paper clip and confirm your selection.
![]()
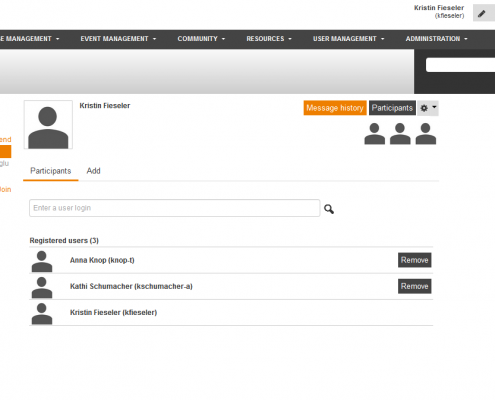
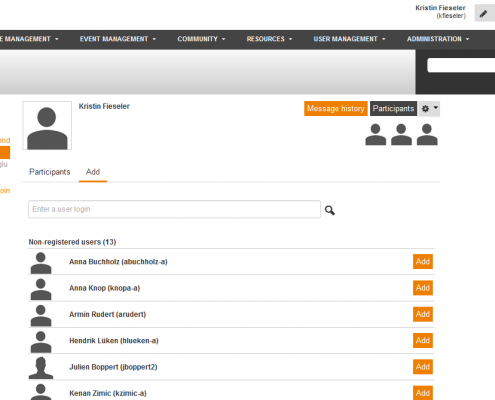
To add a participant to your personal pinwall, click on the button Participants on the right side. The view switches to the tab Participants.
Participants
On this tab you see all registered users listed. Via the search you can find the favored user quicker if there are many participants. Via clicking the button Remove you can remove the corresponding user from your pinwall.
Add
On this tab you add user to your pin wall via clicking the button Add. To find users quickly, you can use the search.
![]() Settings
Settings
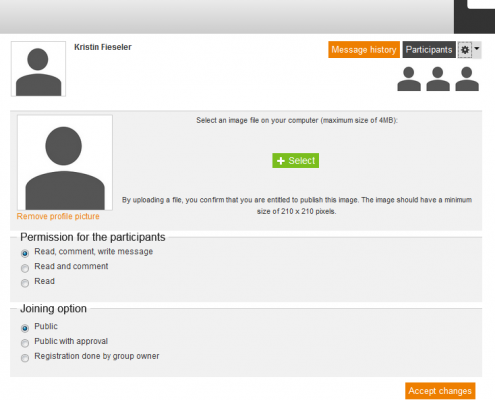
You can change in the settings of your personal pinwall only the permission. Finally, click Accept changes to save the changes.
Permission
Define, which permission the participants of the group should have (Read, comment, write message | Read and comment| Read) and how they are allowed to join the pinwall.
Registration done by group owner
The pin wall isn’t shown in the area Personal pinwalls → Add friend. The owner of the pin wall has to add new members manually via the button Participants.
Groups
You see in the list on the left side all groups, which you have already joined.
Join
To see further groups and to join them, click on Join.
+ New group
To found a new group, click on +New group. Enter a group title and if necessary a short description. Then choose a client, in which the group should be created. Further define, which permission (Read, comment, write messages; Read and comment; Read) the participants should have. Via the joining option you define how you are allowed to join the community group (Public; Public with approval; Registration done by group owner).
Leave a group
To leave a group, click on the group in the list, after that on Participants and then in the line of your entry on the button Remove.
Registration done by group owner
The group isn’t shown in the area Groups. The owner of the group or an author of the client has to add new group members manually via the button Participants.
Finally you define, in which group the opening message for the new group should be displayed, by choosing Personal pin wall for example.
Learning units
Here you find the course title with the appropriate course communities if activated and the learning groups inclusive the learning assistants and participants. You see the number of the unread messages in brackets. Note that you as learning assistant of a learning group can only add users, but no authors.
To send a private message to participants of a learning group, click the appropriate participant in the left navigation field, enter the text and click the button Send message or using alternatively the shortcut “STRG+Enter”. If you haven’t sent a private message to the participant already, click on the appropriate learning group in the left navigation field, select the participant, enter the text and click the button Send message or use alternatively the shortcut “STRG+Enter”.
Group administration
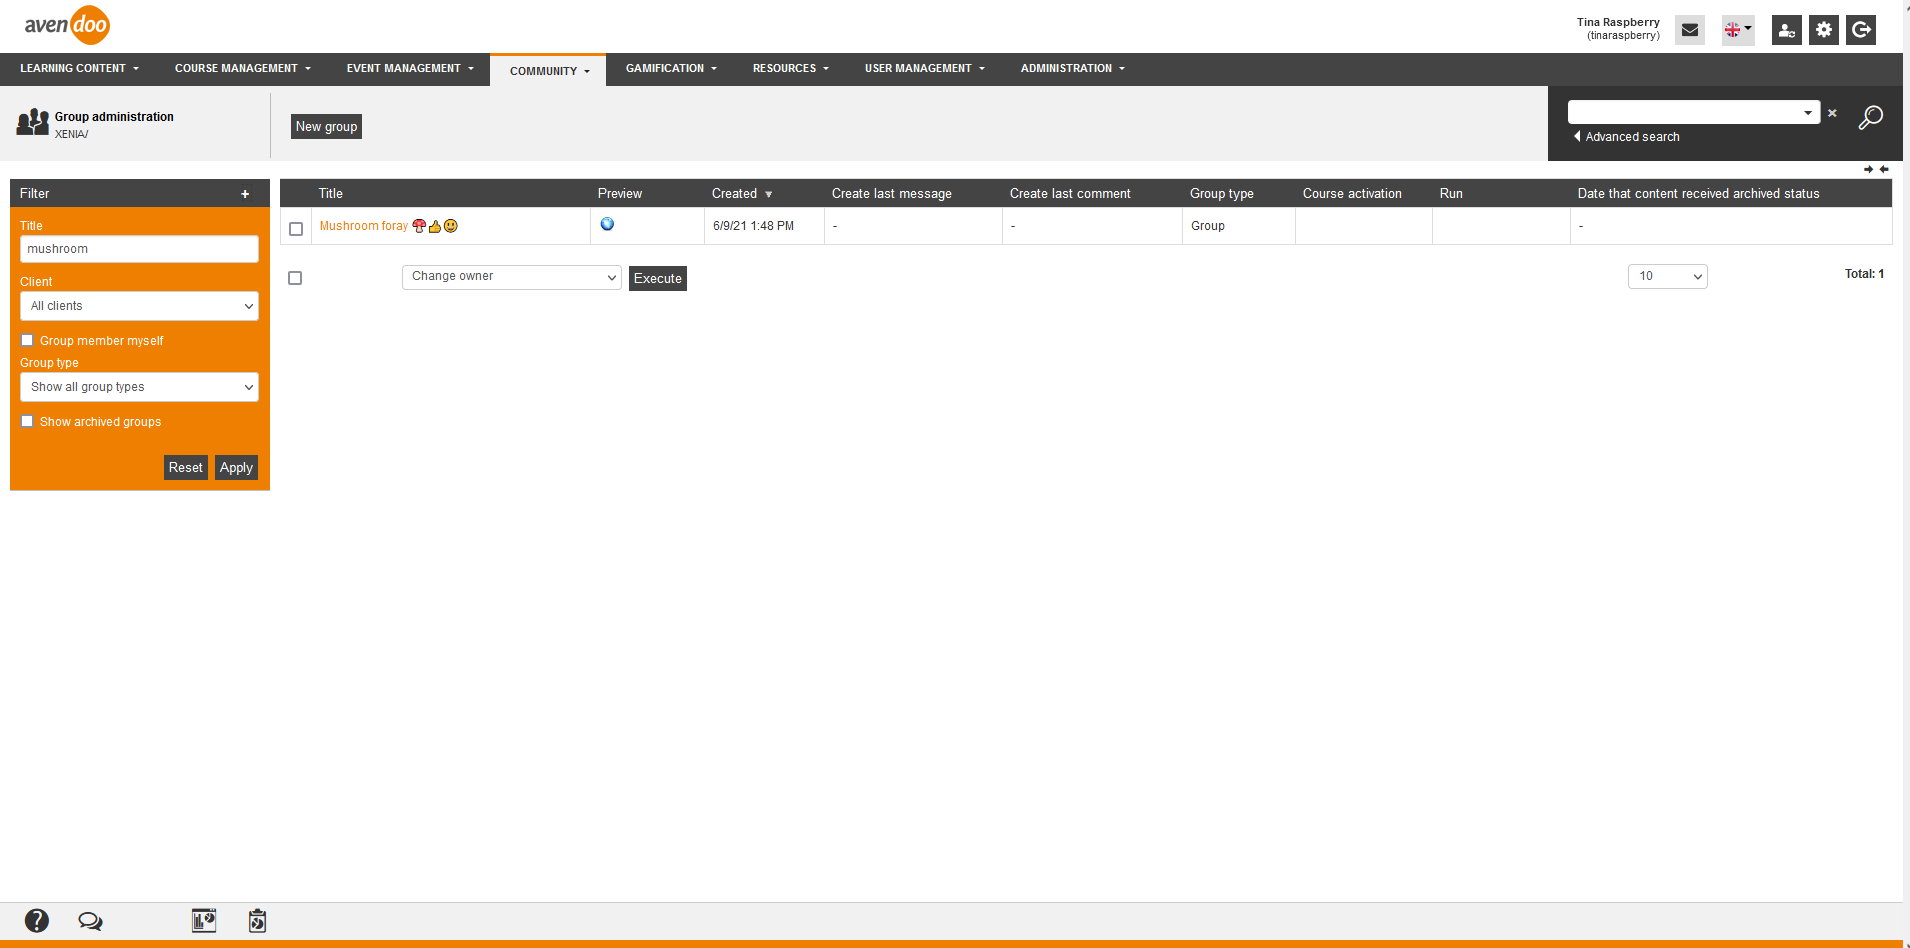
As author you can use the function group administration. If you choose the appropriate group type in the filter field (Show all group types, Personal pinwall, Normal group or Learning group) and click then Apply and Preview, Avendoo® displays all listed messages of this group type. You can write in this mode.
You get an overview of all group in the table regarding:
- Title
- Preview
- Created
- Create last message
- Create last comment
- Group type
- Course activation
- Run
- Date that content received archived status
On top right you can move the view to the left or the right side.
You get in the column “Course activation” via click on the symbol with appropriate permission into the appropriate Course activation wizard.
You get in the column “Run” via click on the symbol with appropriate permission into the appropriate Run wizard.
You can filter by the following criteria: Title, Client, Group member myself, Group type (Show all group types, Personal pinwall, Normal group or Learning group) and Show archived groups.
There are the mass processing functions Archive and Change owner for community groups. More information about these functions you find under Group administration: Mass processing functions.
The following functions are available via the context menu of the appropriate group title.
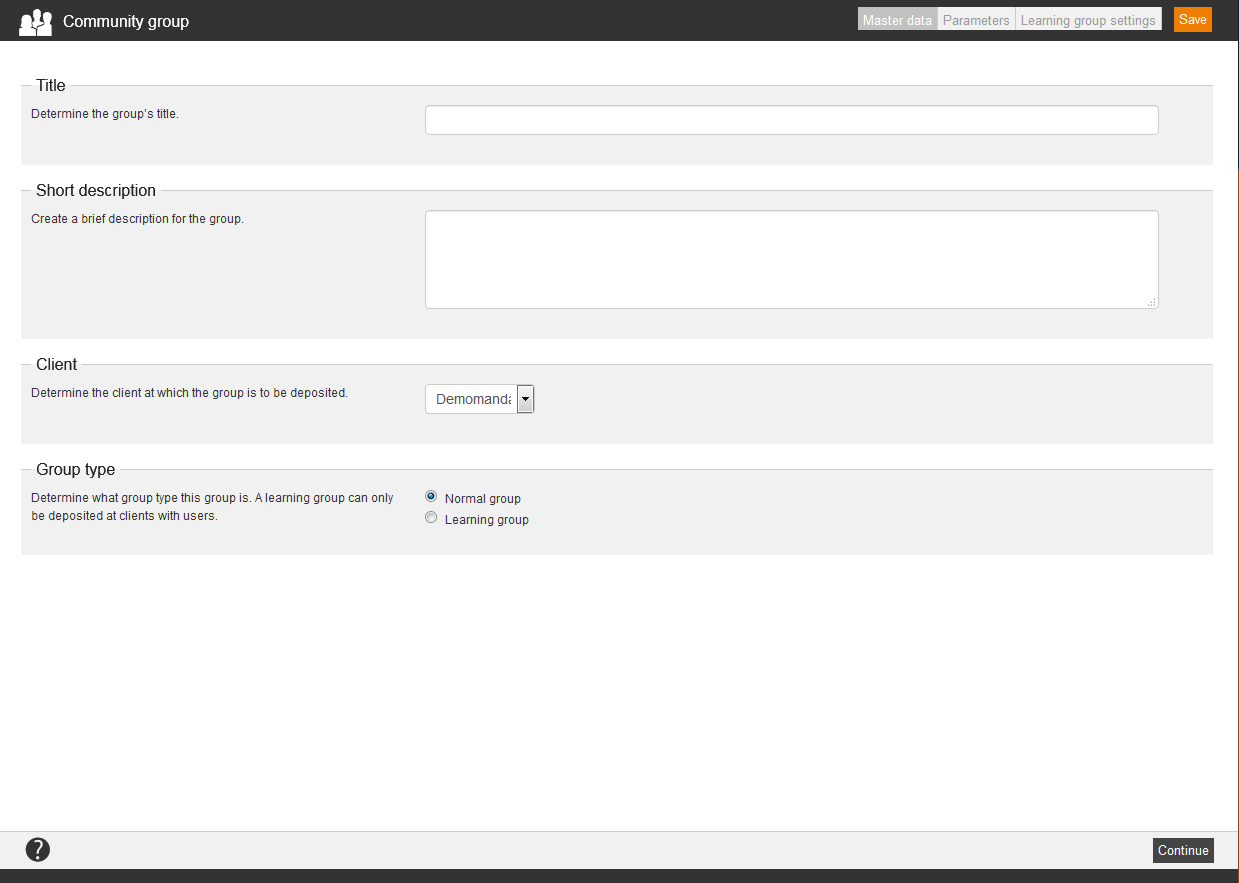
Master data
Title
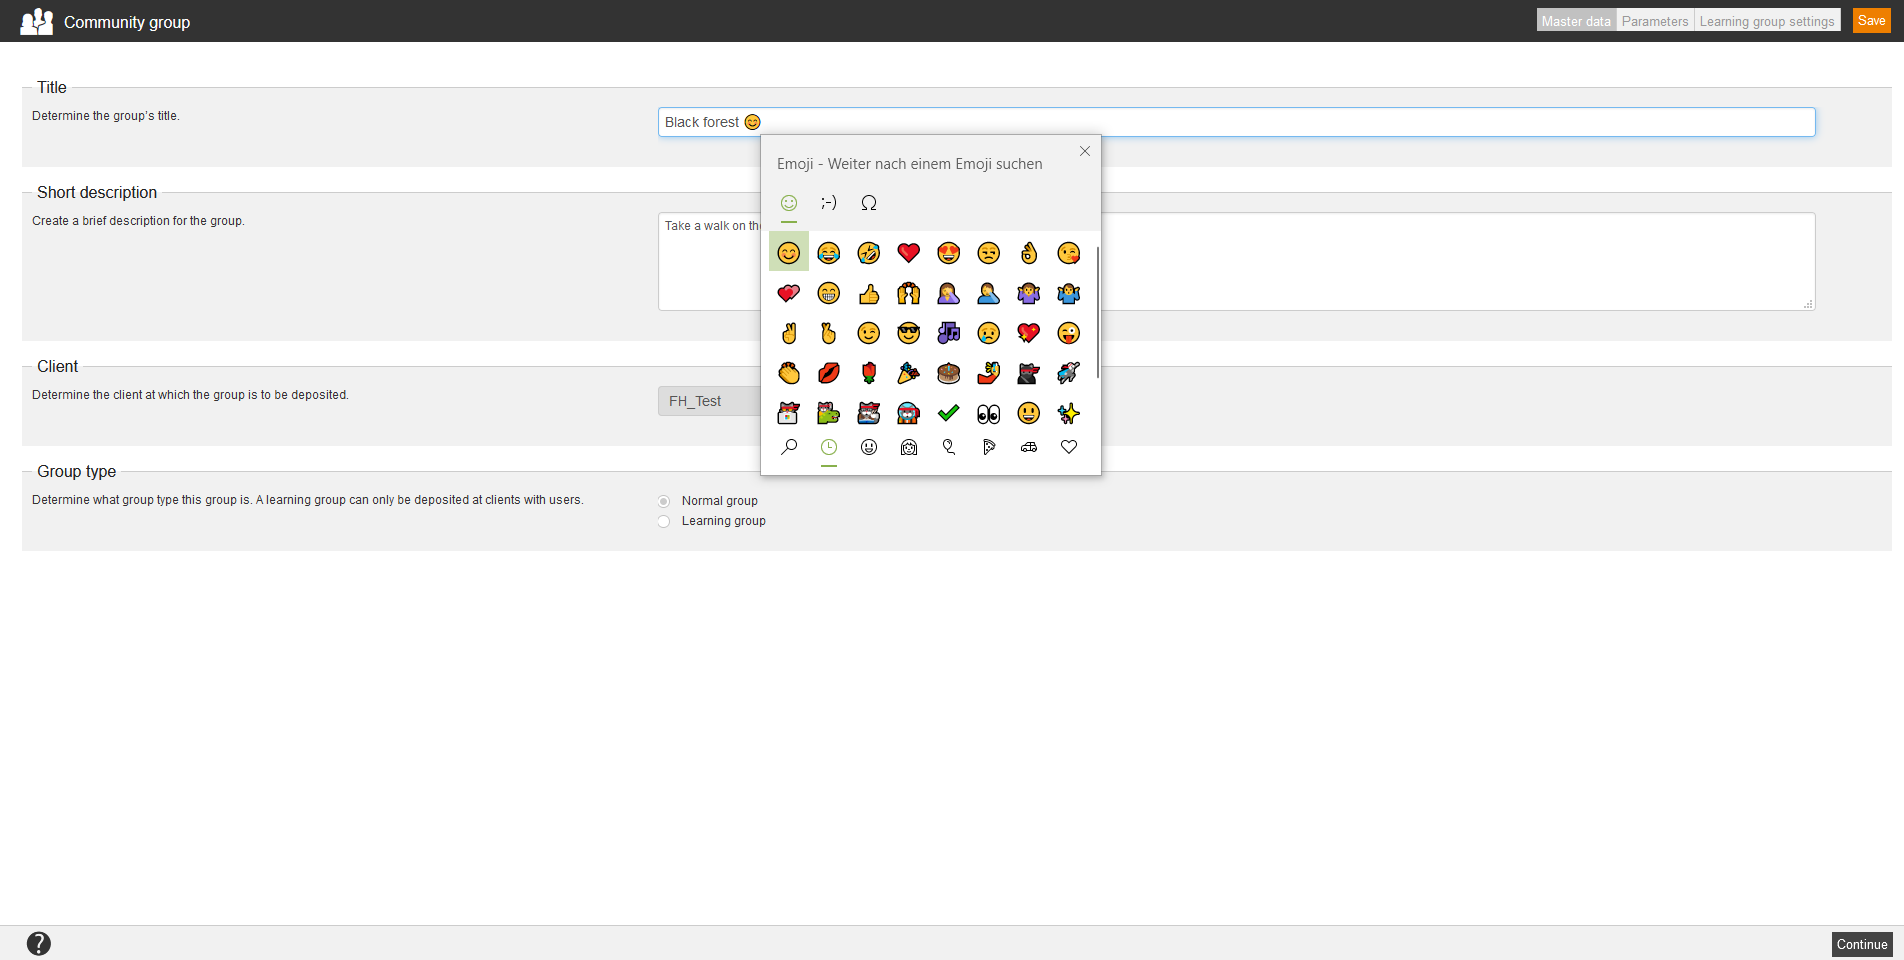
Enter a title for the group (mandatory field). If you want, you can insert emojis by using the shortcut windows key and point key at the favored place in the entry field. You can enter variables, but consider that HTML code is not allowed.
Short description
Enter a short description for the group. If you want, you can insert emojis by using the shortcut windows key and point key at the favored place in the entry field. Example: Learning group Paderborn
Client
Choose a client, in which the group should be created.
Group type
To create a standard group, select Normal group.
To create a learning group, select Learning group.
Parameters
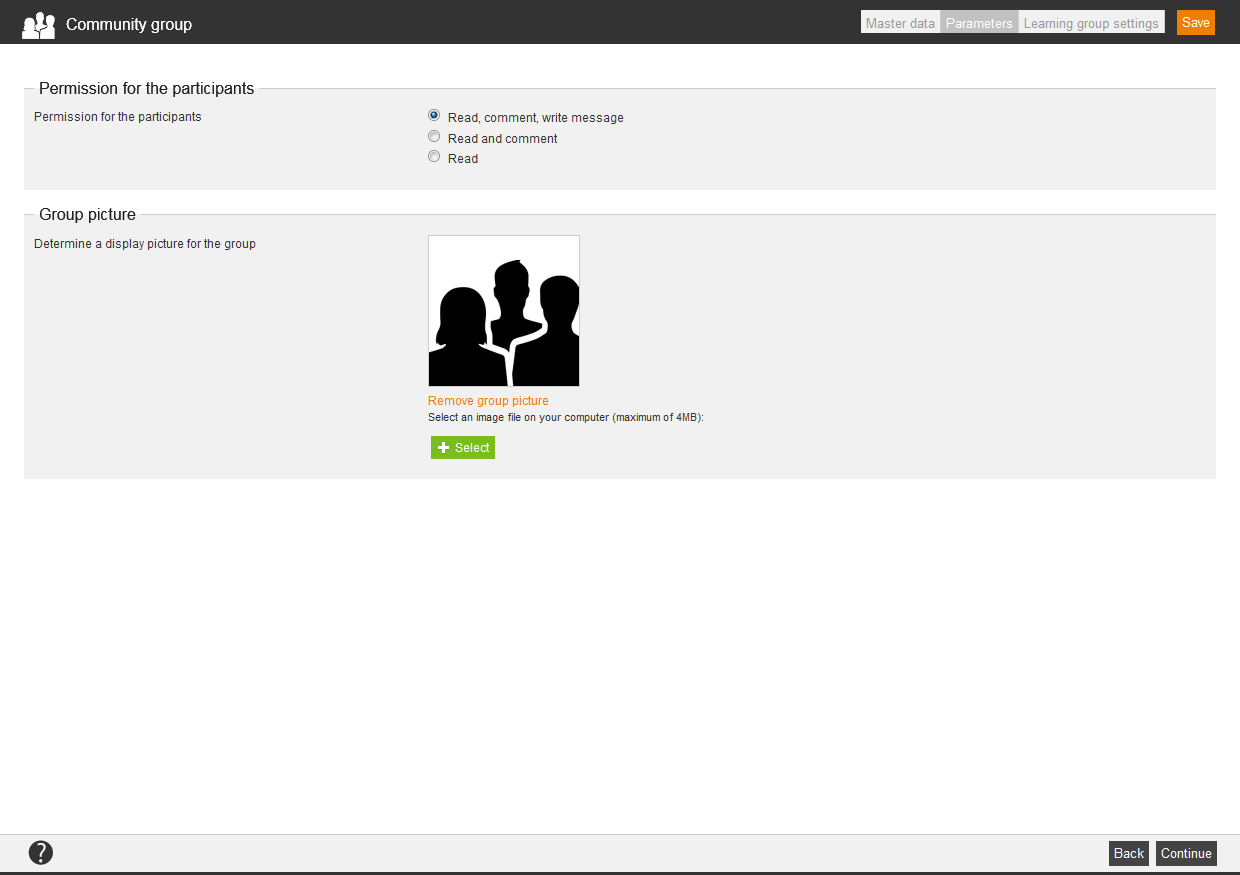
Permission for the participants
Define which permission the participants of the group should have (Read, comment, write messages | Read and comment| Read).
Joining option (only for Normal group)
Define how you are allowed to join the community group (Public, Public with approval, Registration done by group owner).
Group picture
To define a pricture for the group, click on the button Select and select a image file with maximum 4 MG. Confirm by clicking Open.
Learning group settings
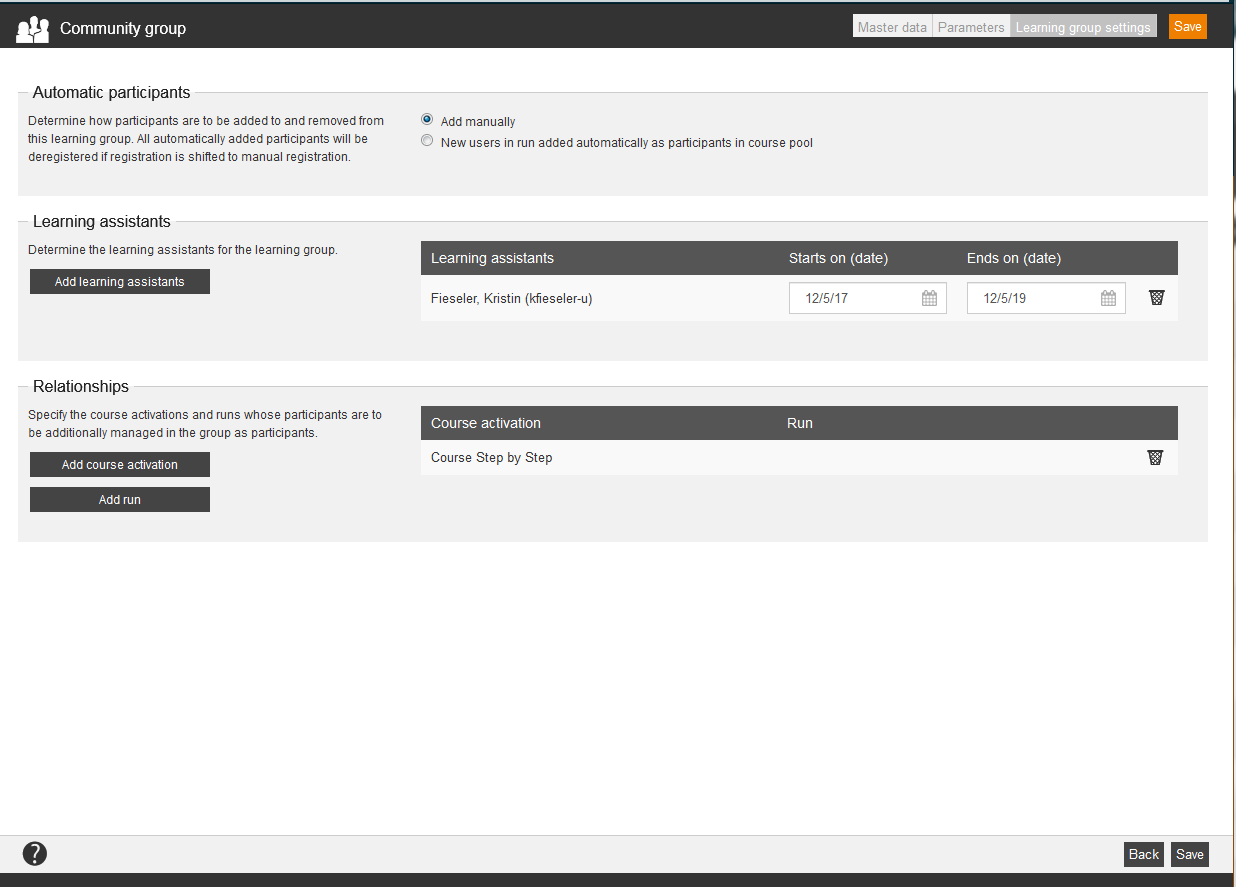
Automatic participants
Determine how participants are to be added to and removed from this learning group. You can select Add manually or New users in run added automatically as participants in course pool. All automatically added participants will be deregistered if registration is shifted to manual registration.
Learning assistant
To define learning assistants, click on the button Add learning assistants, select the appropriate learning assistant and then click the button Select. Avendoo® sets the date today as starting date and end date automatically. Adjust if necessary the starting date and end date.
Via click on the icon
you remove the appropriate learning assistant.
Relationships
To define a course activation, which participants additionally should be managed as participants in the group, click on the button Add course activation, select the appropriate course activation and click the button Select.
To define a run, which participants additionally should be managed as participants in the group, click on the button Add run, select the appropriate run and click the button Select.
Via click on the icon dustbin you remove the appropriate course activation or the appropriate run.
Collaboration in the learning groups
Team leaders get a list of learning groups, which they assist as learning assistant, in the learning units in the navigation of their community. Further these lists contain how many messages are unread (in brackets).
Avendoo® shows the learners or participants the learning groups in context with the course activation (tab Community in the course activation view). Learners can write, publish and display messages in the learning groups (assigned by the author) in the community.
Publish short message in the learning groups
To publish a short message in the appropriate learning groups, click on the appropriate learning group, enter the text in the text field and click the button Publish. Also you select in the navigation News, enter your text in the text field, choose the appropriate learning group in the drop down menu and finally click on the button Publish.
Prerequisite for publishing a short message in a learning group is that you assigned as user to a learning group.
If the responsible author has activated file attachments in the Client wizard you can select the allowed files and attach them in the allowed number and size. Therefore click on the
Paper clip and confirm your selection.
Message templates
You can define message templates for your community and adjust it individually. Thus Avendoo® sends the appropriate templates as selected in the Event wizard for the appropriate events.
To determine the use of the appropriate message template, choose in the context menu of the name of the message template Information → Use. Once a message template is used, you can’t delete it anymore.
There are the mass processing functions Delete, Copy and Move for community message templates. More information about these functions you find under Message templates: Mass processing functions.
The following functions are available via the context menu of the corresponding title of the community message template.
Information about Community system messages you find here.
Master data
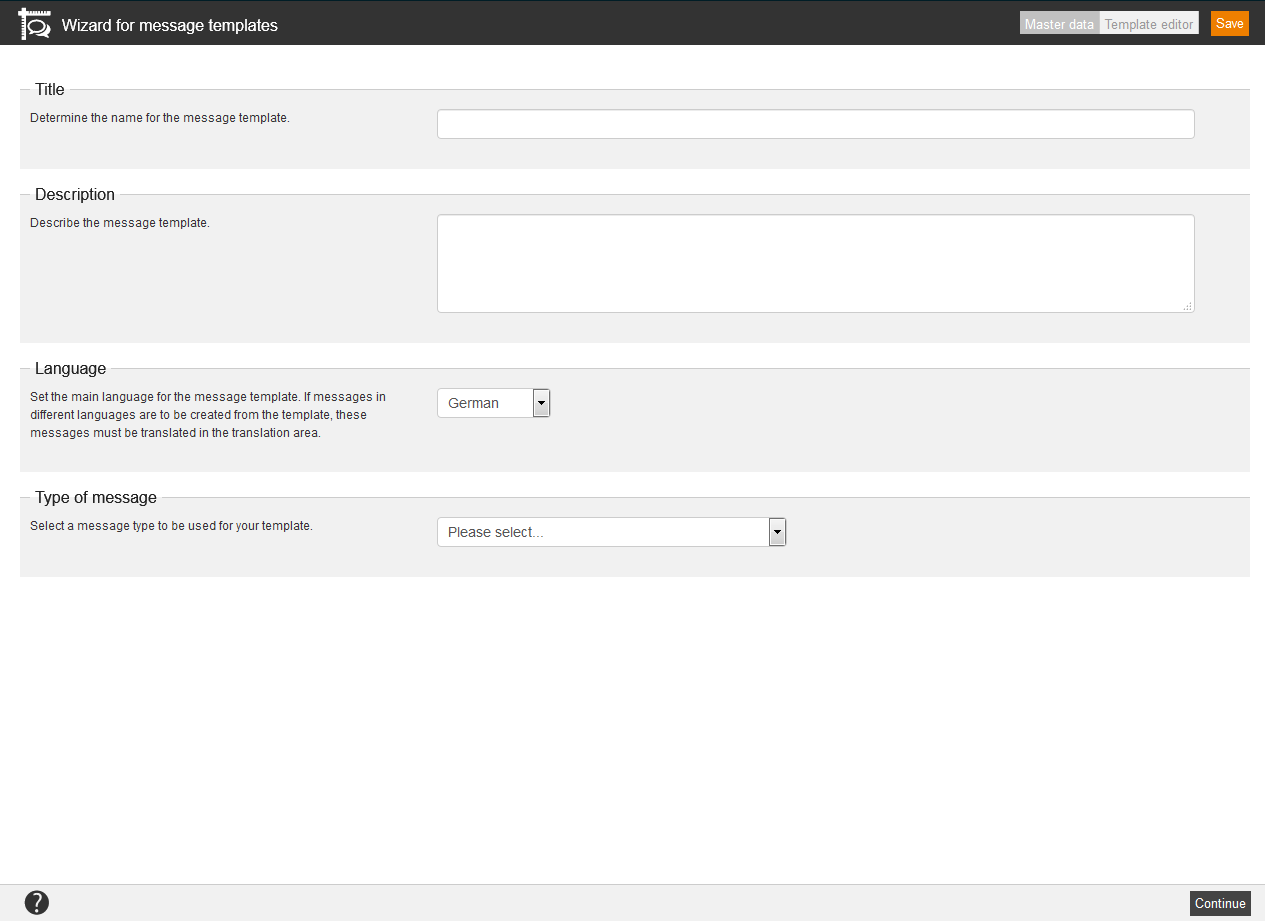
Title
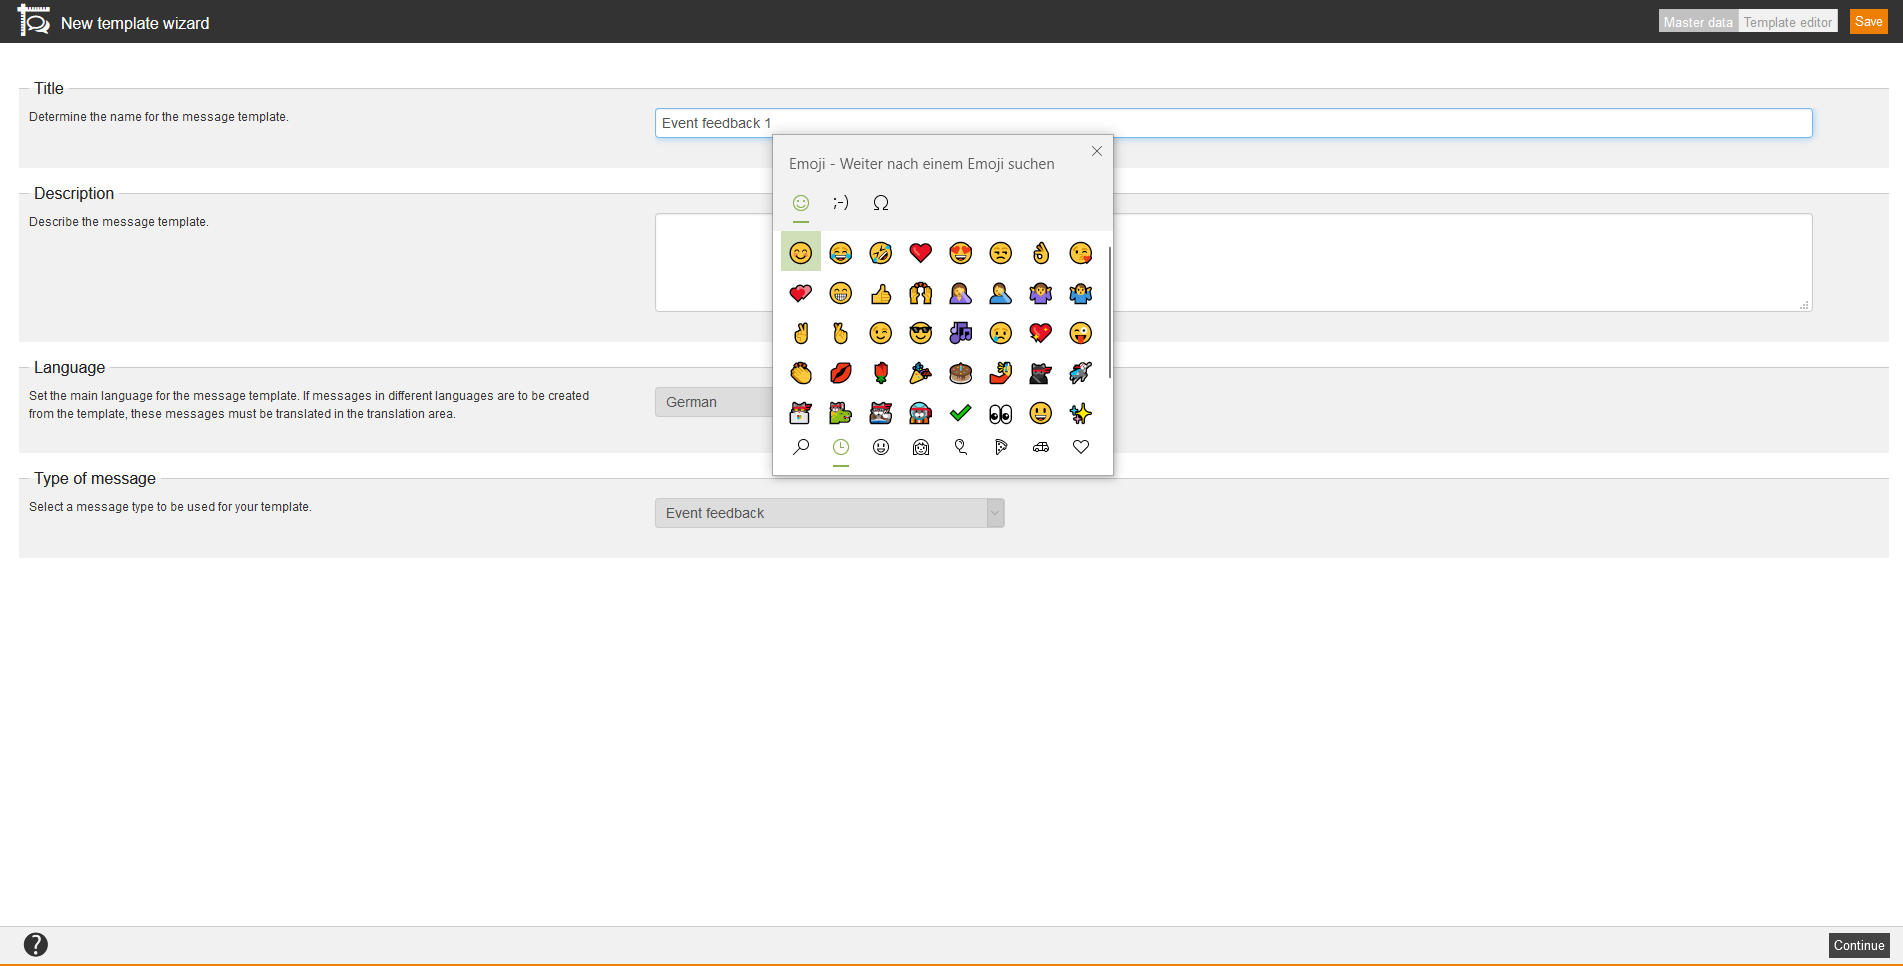
Enter a title for the message template (mandatory field). If you want, you can insert emojis by using the shortcut windows key and point key at the favored place in the entry field.
Description
You can describe the message template. If you want, you can insert emojis by using the shortcut windows key and point key at the favored place in the entry field.
Language
Set the main language for the message template. If messages in different languages are to be created from the template, these messages must be translated in the translation area.
Message type
Select a message type to be used for your template (mandatory). You can choose between:
- Selected overnight stays per hotel
This message template you can add as additional message in the Event wizard. - Catering details for event venues
This message template you can add as additional message in the Event wizard.
Template editor
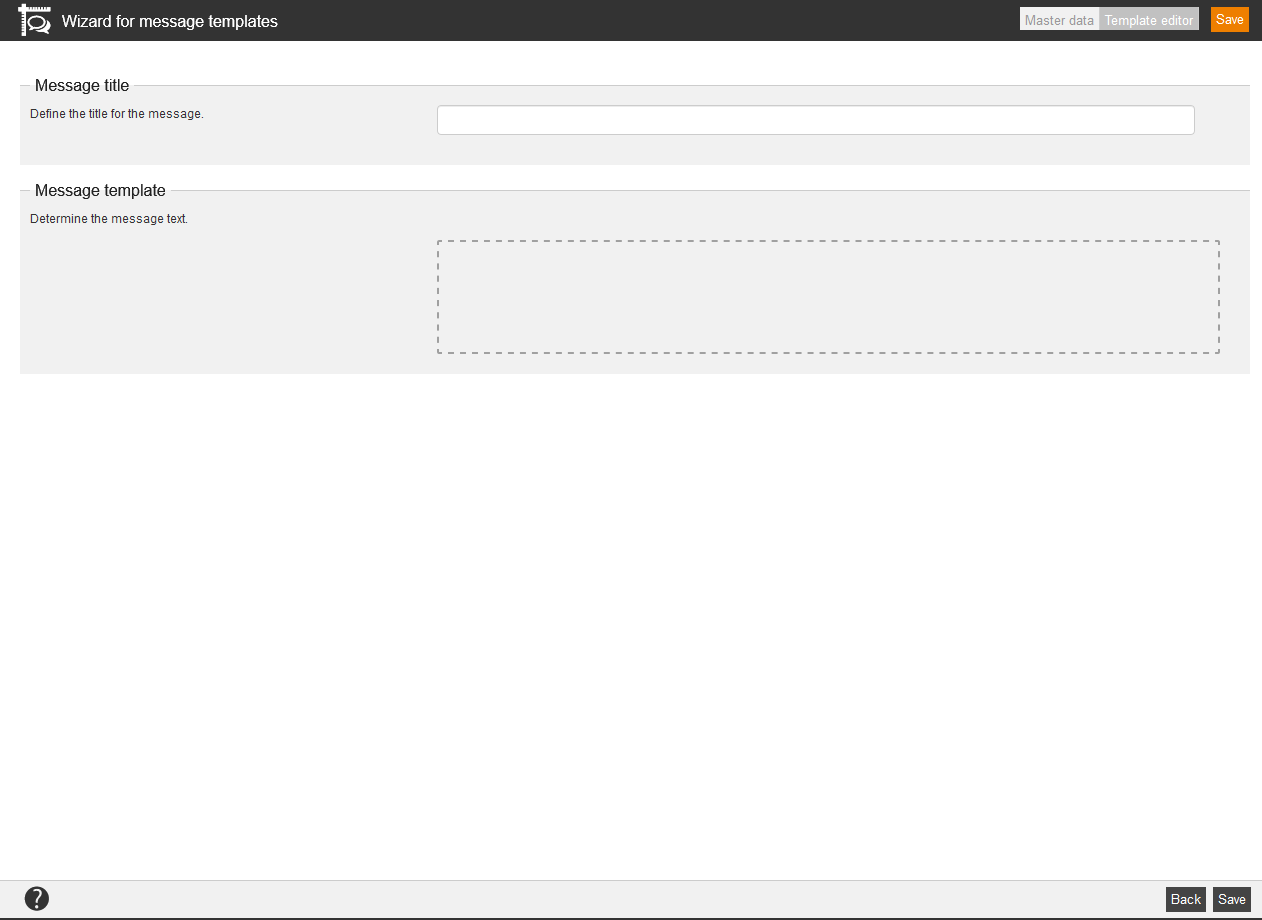
Via the template editor you can create the message template individually and adjust it. Depending on the message type there are different template variables available.
Available mail variables in the community
| Mail variable | Description |
|---|---|
| $Address$ | Address of the recipient (street, building number, ZIP code, location) |
| $AnnouncementEventsInfo$ | List of all event dates in the announcement |
| $AssignmentInningStartDate$ | Starting time of the run |
| $AssignmentTitleLink$ | Link to course activation |
| $BillingAddress$ | Billing address of the recipient (street, building number, ZIP code, location) |
| $BillingCompany$ | Company name of the recipient’s billing address |
| $BillingEMail$ | E-mail address of the recipient’s billing address |
| $BillingFirstname$ | First name of the recipient’s billing address |
| $BillingLastname$ | Last name of the recipent’s billing address |
| $BillingLocation$ | Town of the recipient’s billing address |
| $BillingPostcode$ | ZIP code of the recipient’s billing address |
| $BillingStreet$ | Street of the recipient’s billing address |
| $CommentText$ | Comment, which was liked |
| $Company$ | Company name of the recipient |
| $CourseTitle$ | Title of the course, in which the learning object is integrated |
| $ExternalReference$ | External reference for the run |
| $Firstname$ | Recipient’s/sender’s/processor’s/(registered) user’s first name |
| $FullUsername$ | First and last name of the recipient/sender/processor/(registered) user |
| $Location$ | Town of the recipient |
| $MessageText$ | Message, which was liked |
| $Postcode$ | ZIP code of the recipient |
| $SecondTitle$ | Title of the recipient/(registered) user |
| $SeminarActivationStatus$ | has the seminar been activated using a course activation |
| $SeminarEventCancelComment$ | Additional remark regarding the deregistration |
| $SeminarEventCancelReason$ | Reason for the deregistration |
| $SeminarEventDecisionComment$ | Remark on the decision |
| $SeminarEventInformation$ | Information on relevant event date (date that event starts and ends) |
| $SeminarEventStatus$ | Status of the event date |
| $SeminarEventTrainers$ | Names of the speaker and co-speaker |
| $SeminarLink$ | Link to the event announcement |
| $SeminarLinkTeamleader$ | Link into the team leader’s cockpit |
| $SeminarTitle$ | Event title |
| $Street$ | Street of the recipient |
| $Surname$ | Recipient’s/sender’s/processor’s/(registered) user’s last name |
| $Title$ | Recipient’s/sender’s/processor’s/(registered) user’s form of address |
| $UnsubscribeDate$ | Deregistration deadline |
| $UserCountry$ | Country of the registered user |
| $UserDivision$ | Division of the registered user |
| $UserFirstname$ | First name of the registered user |
| $UserGroup$ | Group of the registered user |
| $UserLastname$ | Last name of the registered user |
| $UserOe$ | Organizational unit of the registered user |
| $UserRegion$ | Region of the registered user |
| $UserSex$ | Gender of the registered user |
