Self-registration in the user area
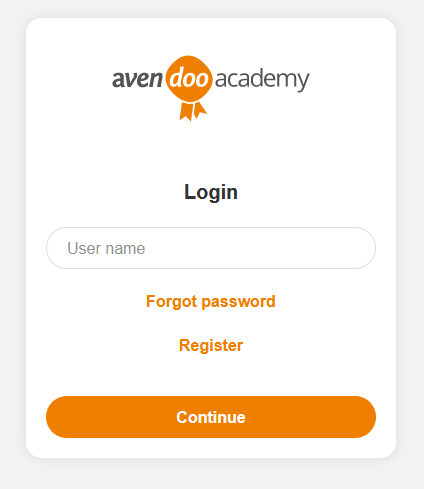
You can register by yourself as user (see first screenshot). This requires the following prerequisites:
- the author with the right Edit system settings has the value set to “true” in the system setting “loginArea.register.active”,
- the author with administration right has created a registration code (with defined starting and end date), which contains letters, numbers and special characters,
- you have verified your e-mail account (if the author with administration right has activated the option Double Opt-In in the Registration code wizard (Client setting Notification or Individual notification)),
- you have received the registration mail with the appropriate link and you got the registration code,
- the expiration date of your registration is not reached
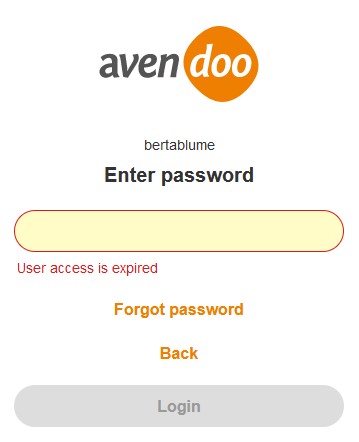
If the user account is expired, the text “User access is expired” is shown (see second screenshot). - you clicked the button Register in the login window.
Step 1
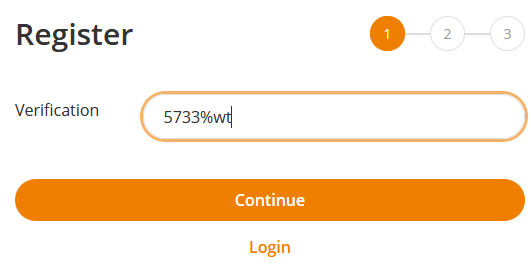
Enter the registration code in the dialog window Register 1 and click the button Continue.
By entering the registration code it is secure that only users access to the system, who are permitted. Further information about the registration code you find here.
Step 2
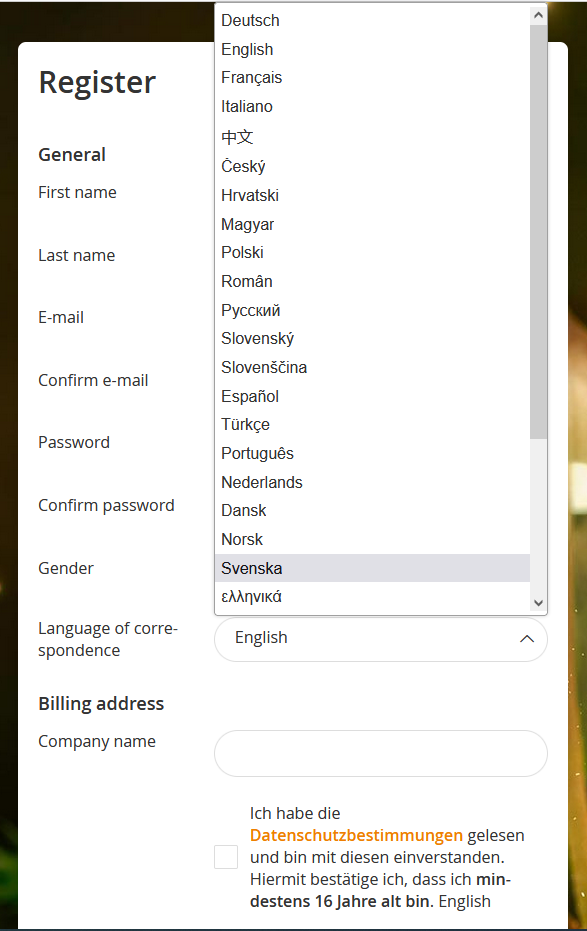
You fill out the following fields in the dialog window Register 2:
- User name (if the author with administratin right has activated this field, it is mandatory)
The author with administration right has defined, if the user name should be created automatically by Avendoo® or if you can enter it. Further information about the registration code you find here. - First name (mandatory)
- Last name (mandatory)
- E-mail and confirm e-mail
The author with administration right defines, if these fields are mandatory. Further information about the registration code you find on the page “Registration codes”. - Password and confirm password (mandatory)
- Gender (mandatory, if defined)
- Language of correspondence (mandatory, if defined)
You can select the languages which are available in the user client. Thus the selected language is deposited in your user account.
- Company name (mandatory, if defined)
- Checkbox (mandatory, if defined)
The registration can only be done, if the disclaimer, defined in the system setting “loginArea.register.disclaimer.text”, is activated by setting the check mark. Example: I have read the data protection rules and I agree to them.
Further mandatory and entry fields like company name defines the author with administration rights. Further information about the registration code you find on the page “Registration codes”.
Finally you click the button Register Now.
Step 3
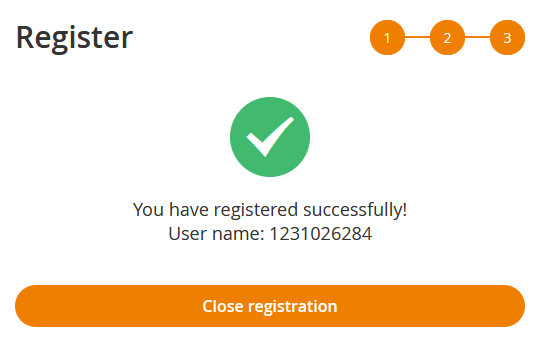
The dialog window Register 3 opens with the message, that you’ve been registered successfully. The user name generated by Avendoo® is shown.
You click the button Close registration. Then you are logged into the frontend. The start page opens.
If required the author can change your user name which represents a sequence of number. Thus the author chooses User management → User name.
Login
- You register via the URL with “ui/login” as suffix.
Since Avendoo® version 17.57 you can use the language parameter “siteLanguage” for the register URL.
Example: “ui/login?siteLanguage=it” for Italian
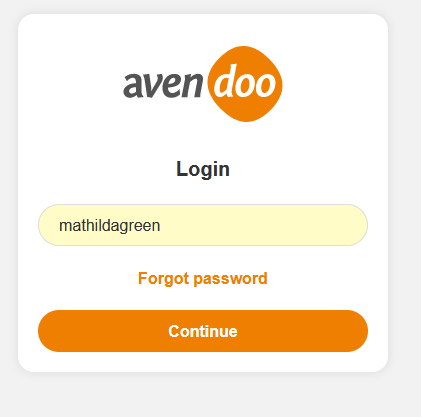
Furthermore the URLs “l/index?siteLanguage=fr” and “?siteLanguage=fr” for French for example as register language are also possible to use. - Enter your user name. If you enter it the second time, you can select it from a drop down list in the entry field. If required you can click on Forgot password.
- Click the button Continue.
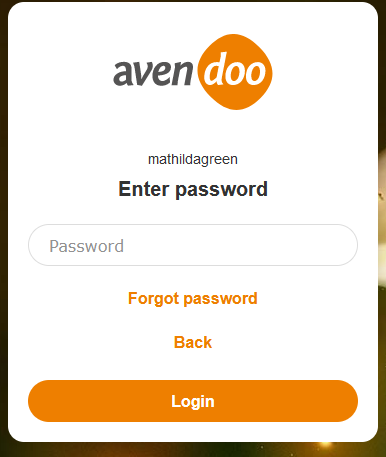
The dialog window Enter password opens. - Enter your password. If you enter it the second time, you can select it from a drop down list in the entry field. If required you can click Forgot password or Back.
If the two factor authentication is activated you will also be requested to enter a code. You get a code with 6 digits via the Authenticator app like Google Authenticator on your android phone or tablet. When you’ve entered this code you get to step 5. - Click the button Login.
You get to the start screen of your user. Depending on the fact if you are author, user or team leader, you get the corresponding start screen.
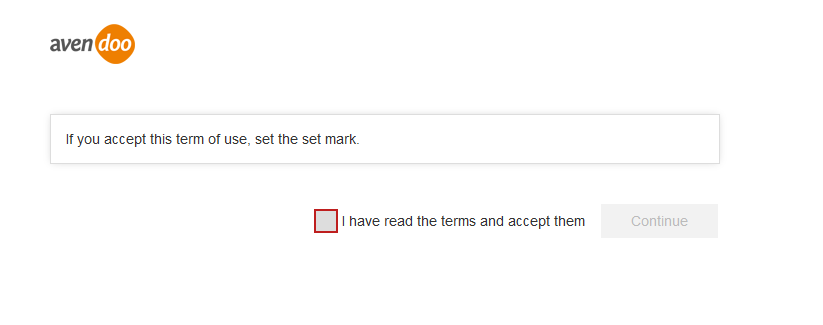
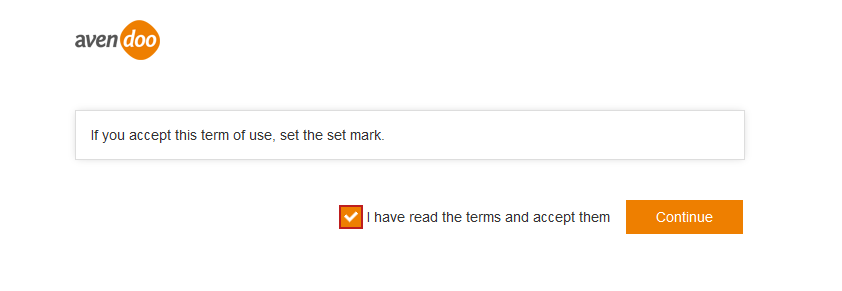
If your user name is locked, inactive or unknown, you get an information in the dialog box. - Optional: If the author has created and activated a campaign, you see the corresponding campaign (see third screenshot) before getting to the start page. If you set the check mark, to accept the term of use, you see the button Continue (see fourth screenshot). To open the start page, click the button Continue.
Forgot your password?
If you have forgotten a password, you can request via the link Forgot your password? on the login site a new password to your e-mail address which is stored in the system. Therefore enter your user name and click then on the button Request new password. Then an e-mail for resetting the old password is sent to you. If required you can click on the button Back instead of requesting a new password.
If your e-mail address is not stored in the user master data, you can also request a new password via click. To ensure this, the author with administration right has maintained the whole process in the system setting ““forgot.password.config”.
We recommend to adjust the bundle “global.login.new.password.mail.short”, because this bundle will be shown for users with or without e-mail address.


