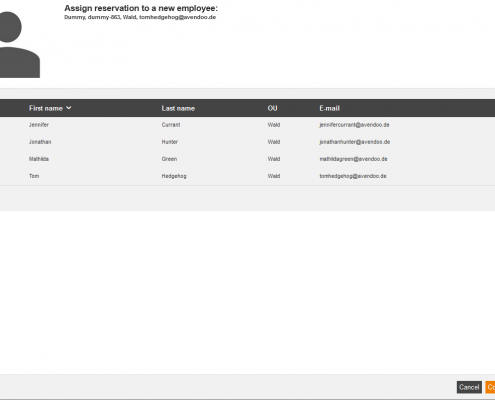
If you want to plan for new employees in the long term, the reservation is your ideal tool. Herewith you can keep free a place, if it isn’t determined which employee participate or if he/she changes the department. Also on tight available places you can reserve places for underrepresented departments.
To make reservations, the author has to activate the team leader right Make reservation on the tab Functions in the Master data of the user and he/she has to enter a possible number of reservations. Also the author has to set the status Approved of the option Registration conducted by team leader in the participant management of the appropriate course activation.
A reservation is the registration of a pseudo user to an event date. You can use it for organizing event dates for future users.
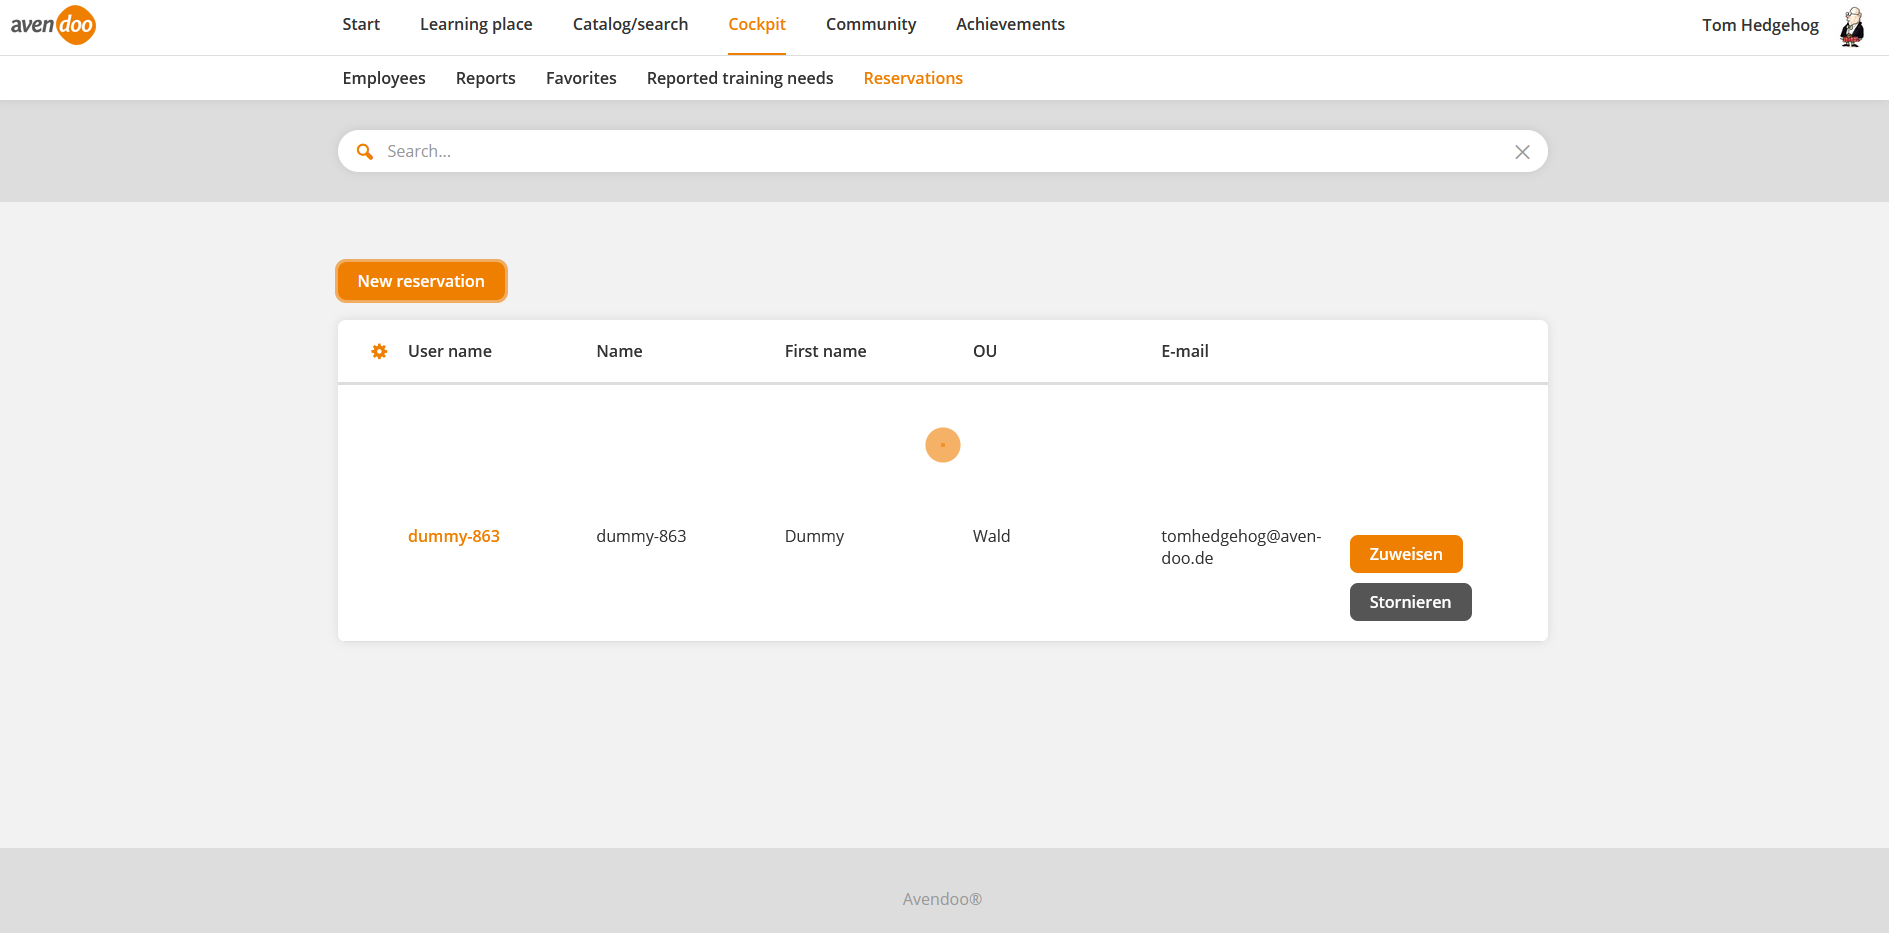
You can create, assign or cancel a reservation via reservation in Avendoo®.
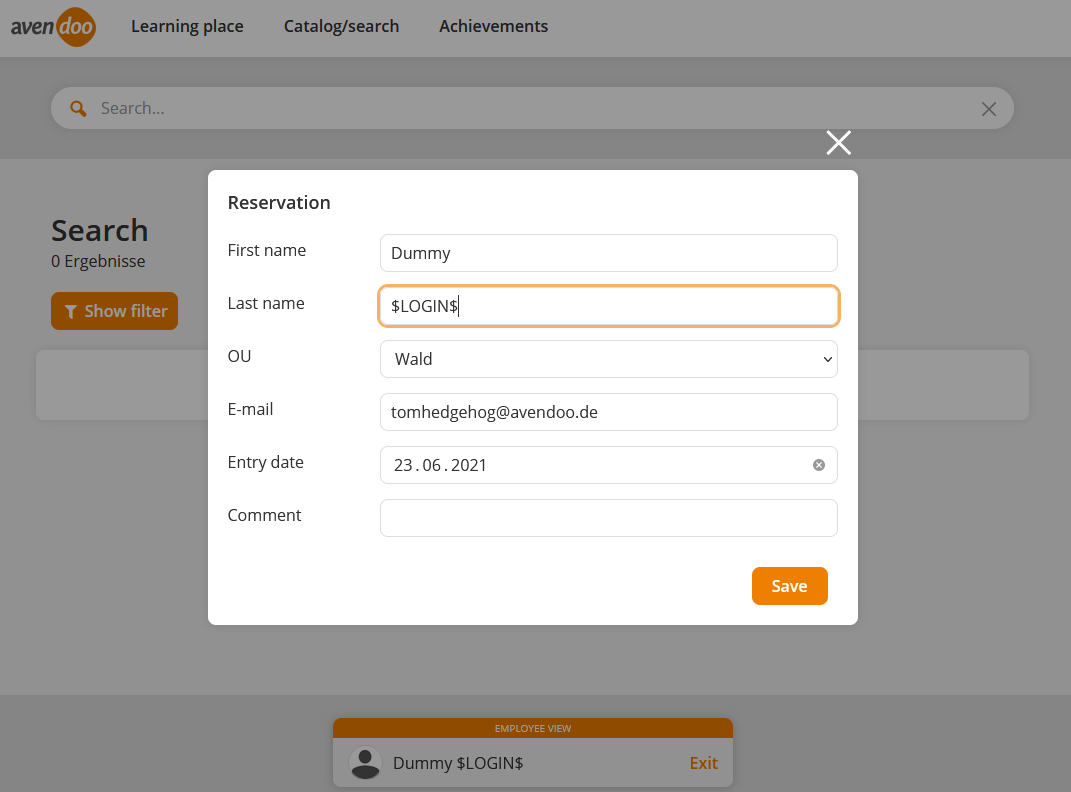
You create a new reservation by clicking the button Register of the appropriate event date or run in the dialog window New reservation. The dialog window Reservation opens.
Reservation
Enter the first and last name of the future employee, for whom the reservation should be made.
Choose the appropriate OE of the future employee. These OEs are shown, for which you are team leader.
Enter the e-mail address for notification. This field is the e-mail address of the team leader per default.
Enter the entry date of the future employee (optional).
Enter a comment (optional). This comment will be saved with the event date registration.


