Basics
Prerequisites
You can create and edit as many user-defined fields as you want, if the rights Read, select and Change, create under User-defined fields (Adminstration (objects)) are assigned to your author account or permission group.
Use
By using user-defined fields you can configure individually fields in events, event dates and course activations, simply and comfortable. You can decide regarding the field type between text fields with only one entry, object selection with a selected target group (if only users or only authors or both) and Dropdown fields, which give you most freedom of design.
Functions
You define on the tab Options field, if the user-defined fields should be displayed in the Event wizard, Event date wizard, Course activation wizard, Course wizard, Remote content wizard (LTI and xAPI feedback channel) or UCG wizard for learning units (sub option of the course activation option) and also should be shown in the overviews of events, event dates and course activations as filters. Additionally, you define via the second sub option of the course activations, if these fields should be shown in the overview of the training inventory and if you can filter them. An additional prerequisite is the check mark Visible in the user frontend for displaying the user-defined fields in the UGC wizard for learning units and in the Catalog. If you filter in the Catalog there are not the objection selection fields available and in the search bar only the multiselect fields.
You can also define via the second sub option of the course activation if these fields are shown in the overview of the training inventory and if you can filter them. Finally, you can translate the title and the description of the user-defined fields.
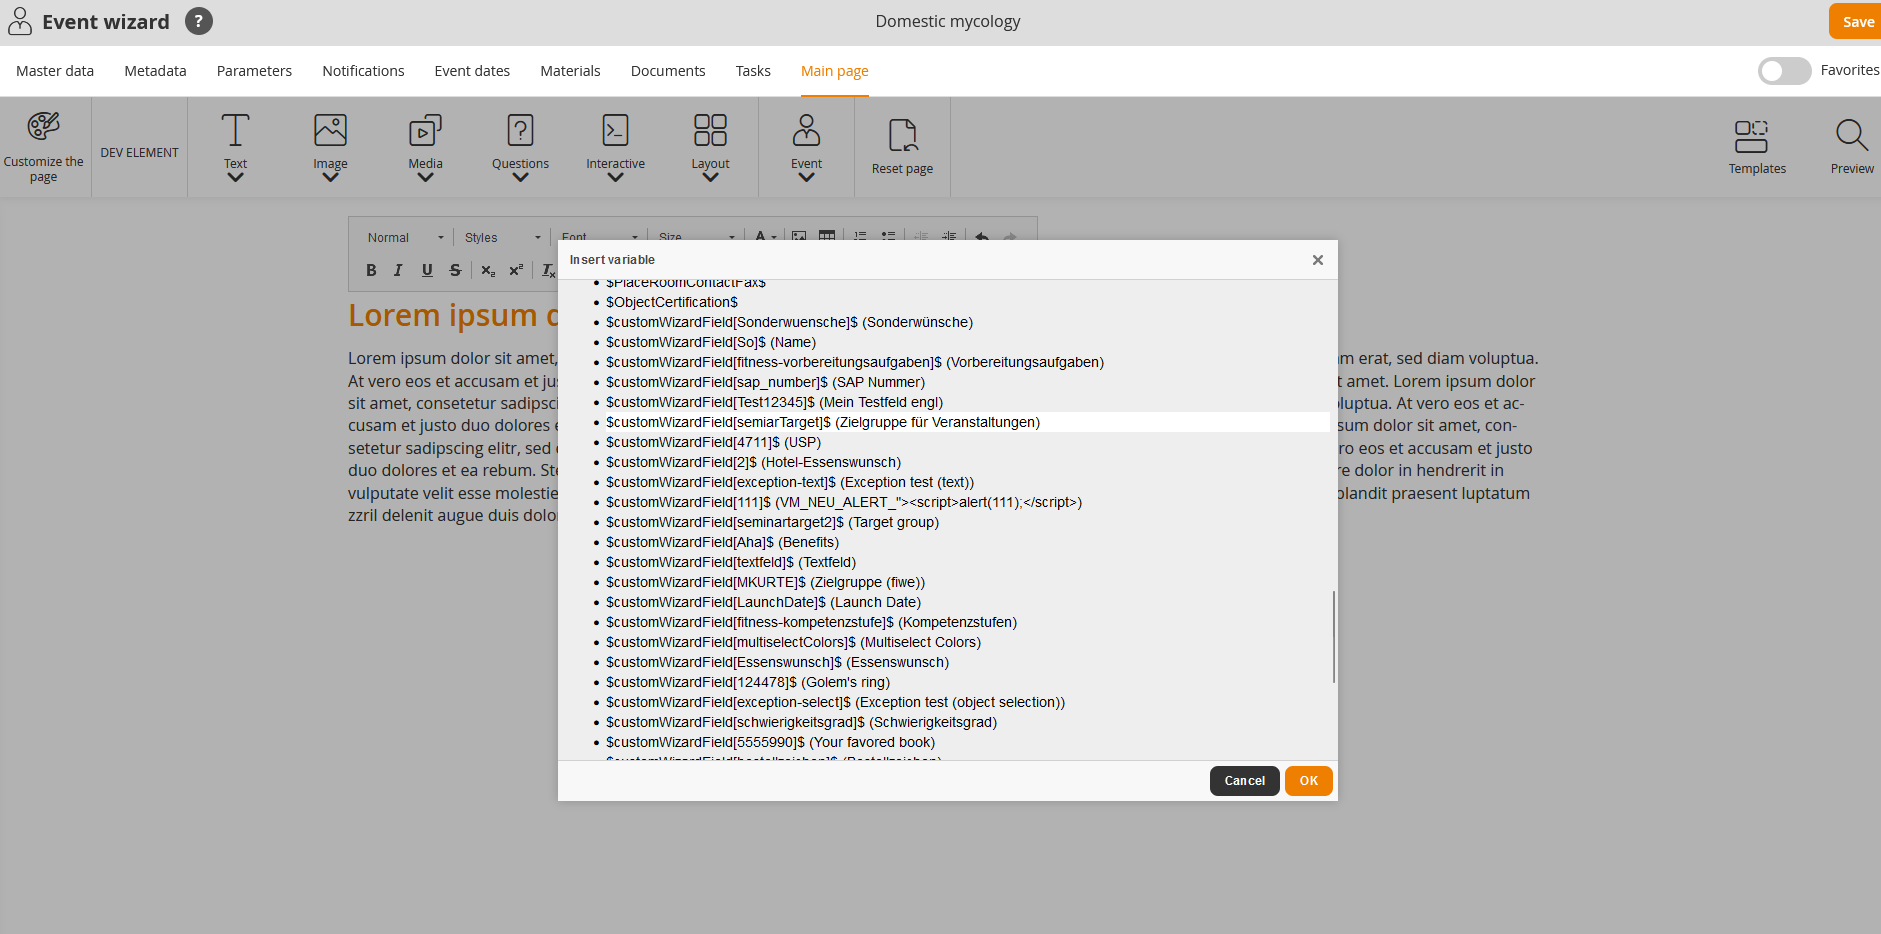
You can also insert these user-defined fields as variable on the tab Main page in the Event wizard (Example: $customWizardfield[identifier]$ Title).
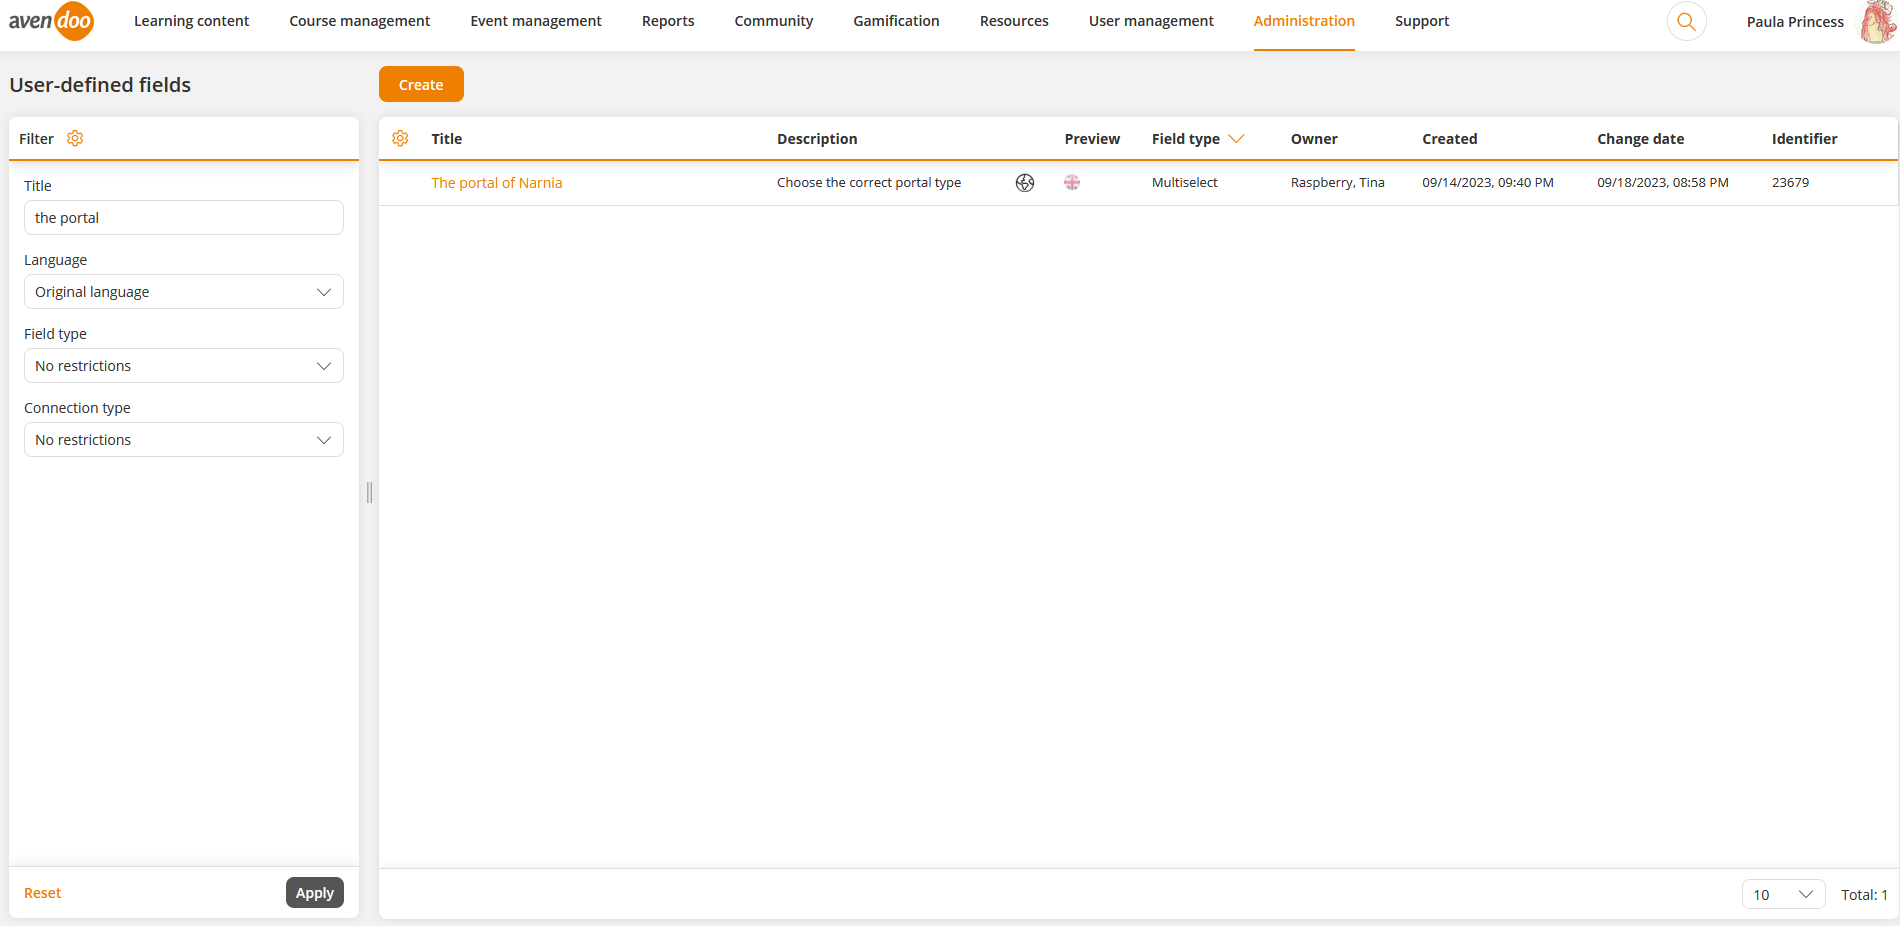
You see all already existing user-defined fields in the overview (Administration → User-defined fields). If you click the title, you get to the corresponding wizard User-defined fields. You see the following data in the table: Title, Description, Translation, Preview, Field type, Owner, Created, Change date and Identifier. Via right clicking the table header you can edit the display of columns and their order.
You can filter by the following criteria: Title, Language, Field type, Connection type and Identifier.
Create user-defined field
To create a new user-defined field, choose Administration → User-defined fields → Create.
The wizard User-defined fields opens.
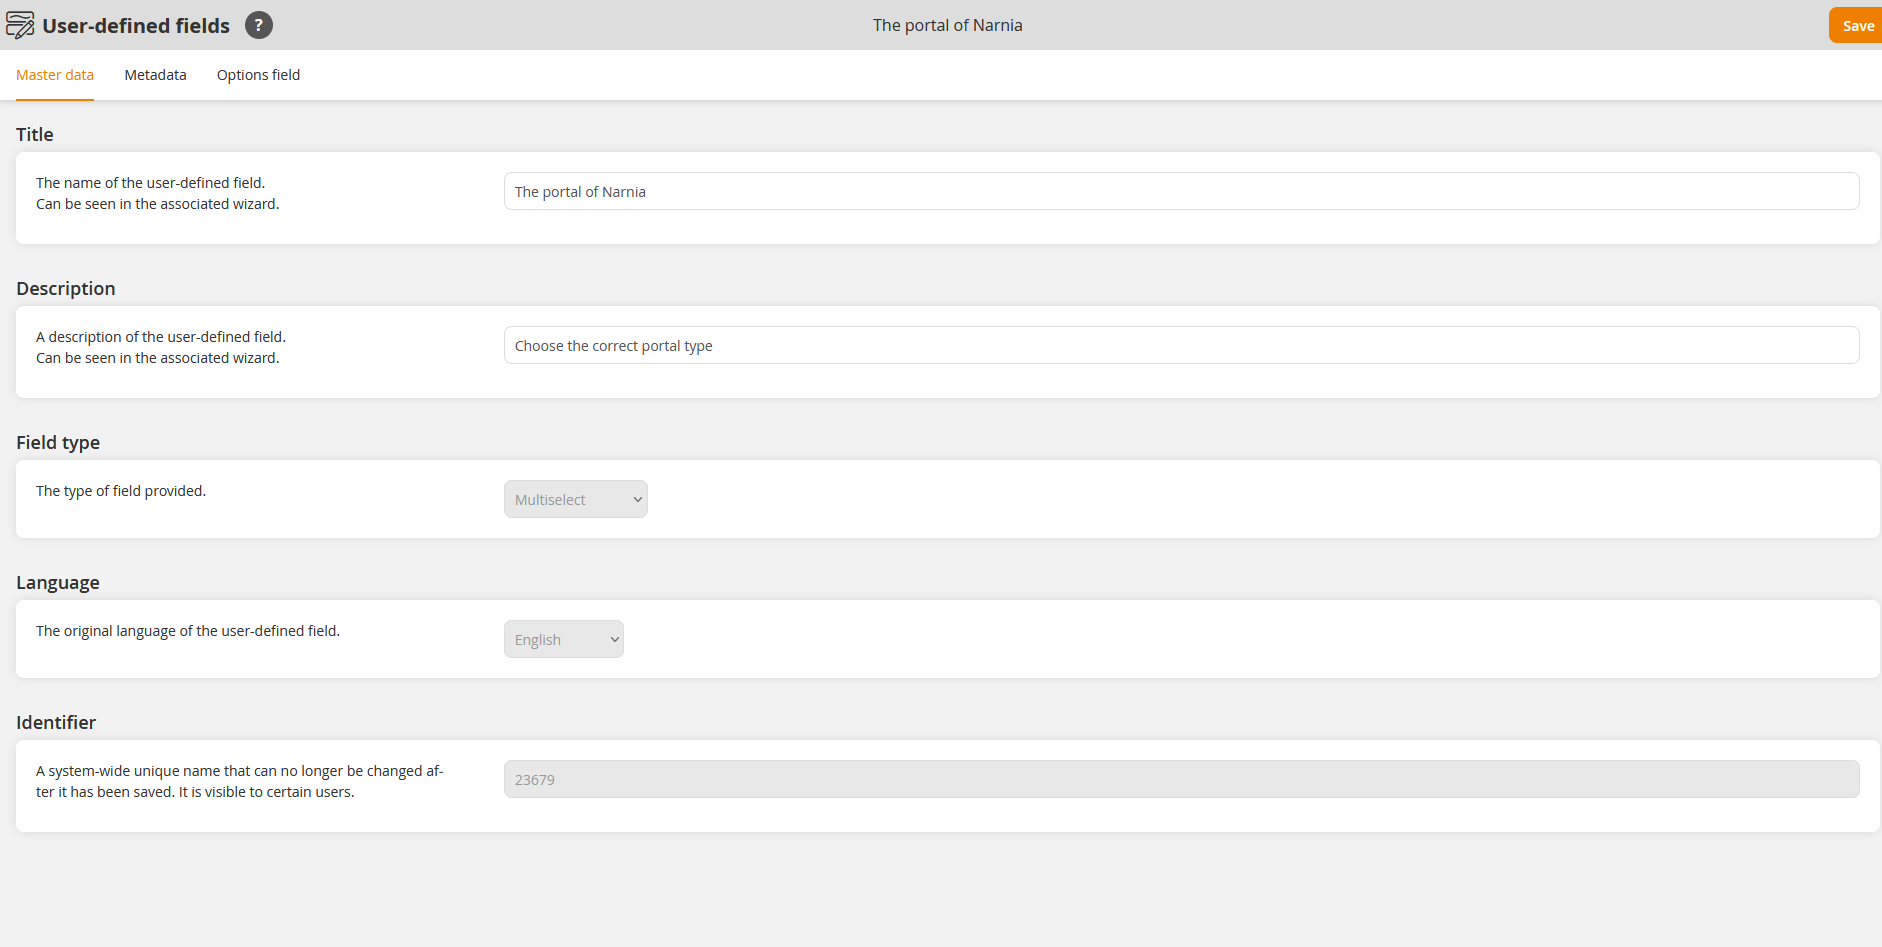
Master data
Title
The name of the user-defined field.
Can be seen in the associated wizard (Event wizard and/or Event date wizard). You can translate the title.
Description
A description of the user-defined field.
Can be seen in the associated wizard (Event wizard and/or Event date wizard). You can translate the description.
Field type
Select between the following field types:
- Text field
- Object selection
- Dropdown or
- Multiselect.
Language
Select the original language of the user-defined field.
Identifier
The identifier is visible to certain users.
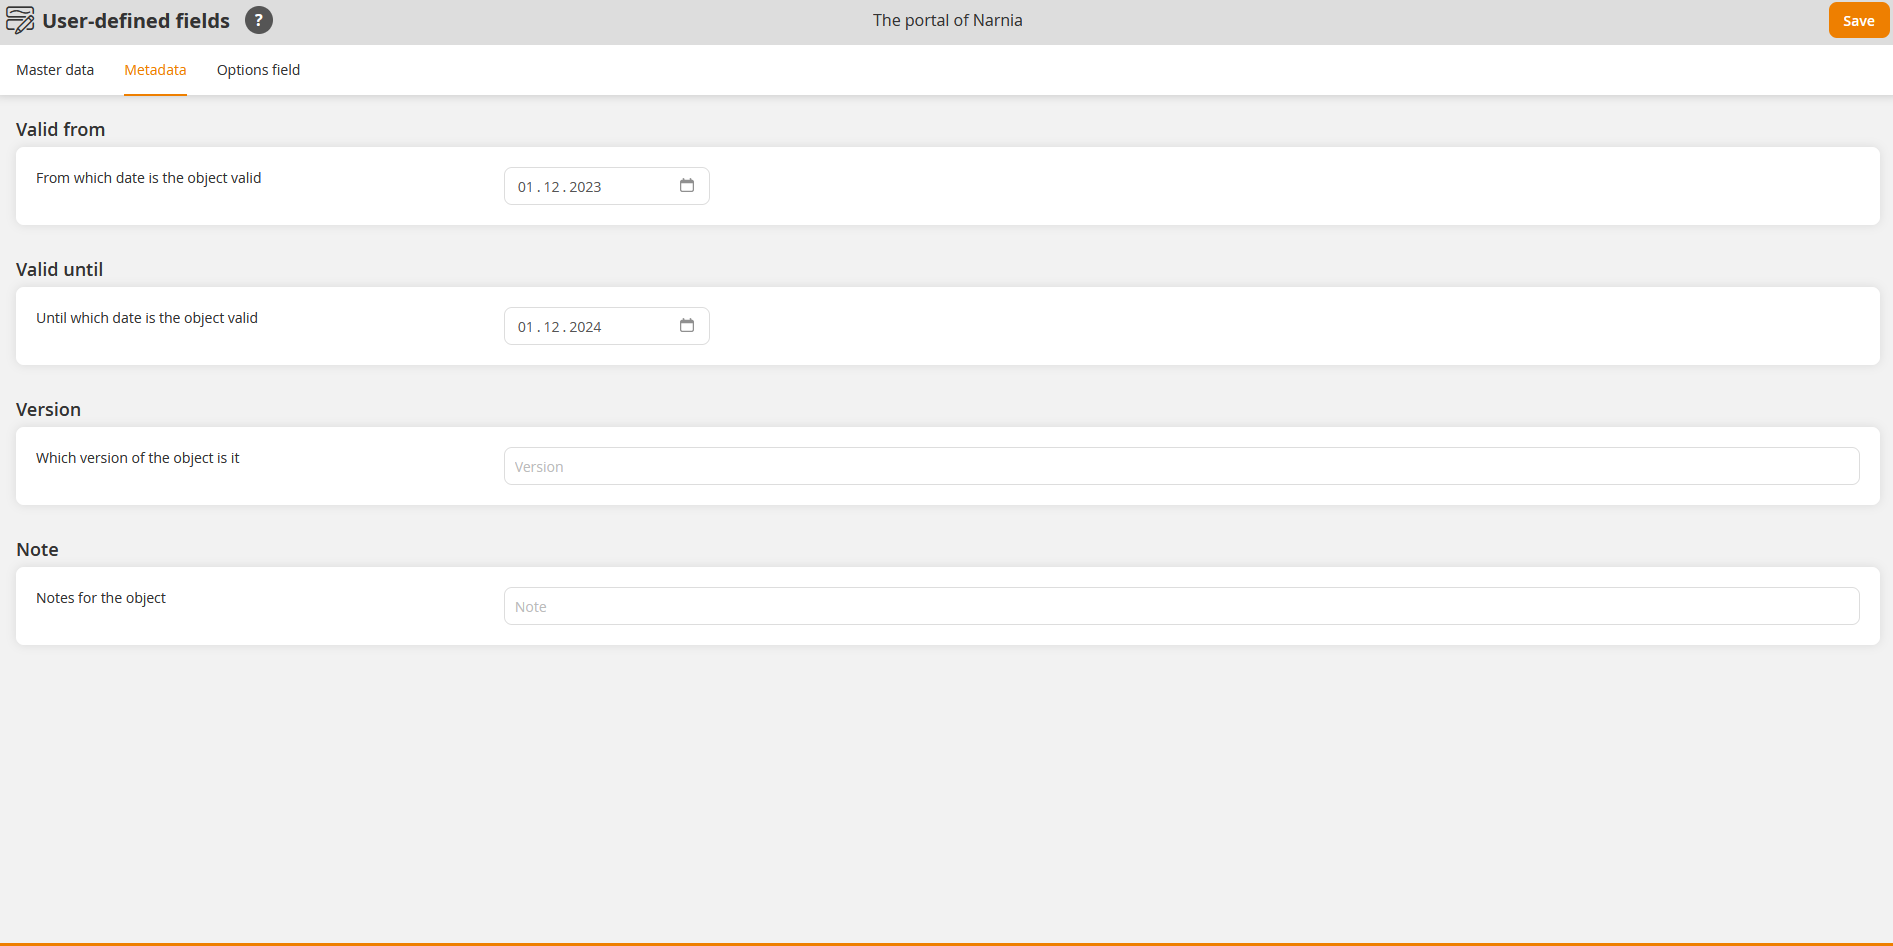
Meta data
Valid from
Enter a date, from which the user-defined field should be valid. If needed you can delete the date.
Valid until
Enter a date, until which the user-defined field should be valid. If needed you can delte the date.
Version
Enter the version of the user-defined field.
Note
Enter a note for the user-defined field.
Options field
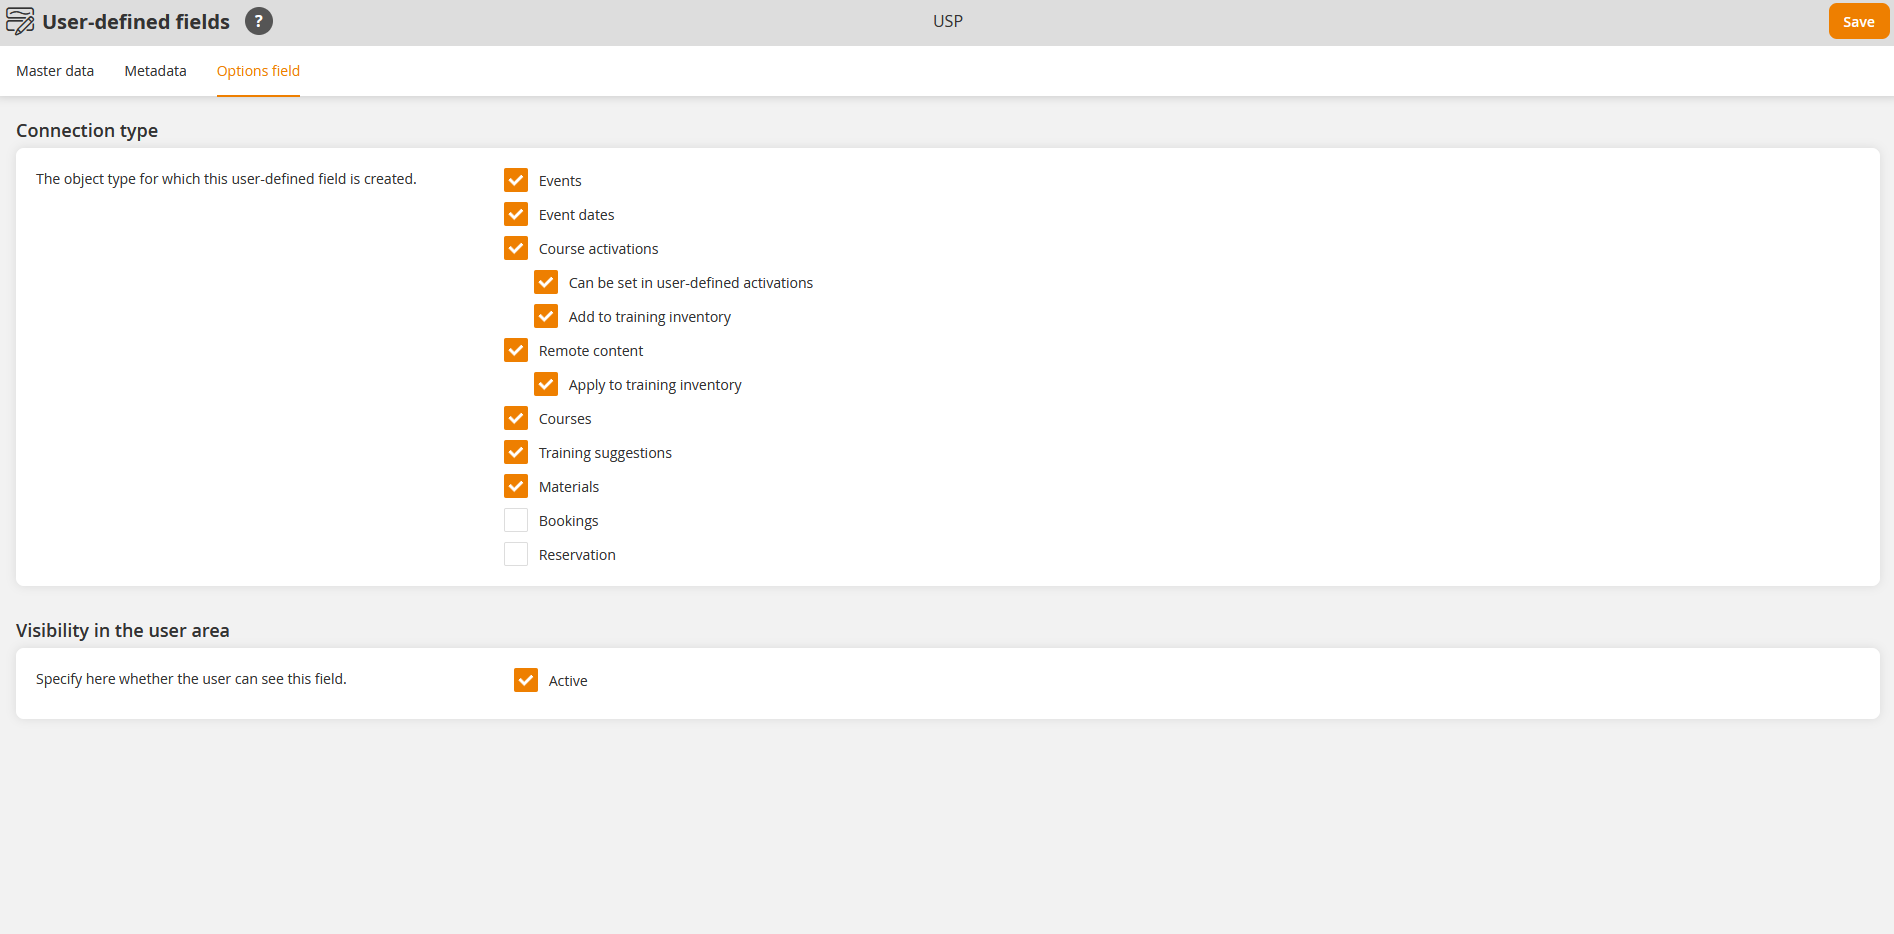
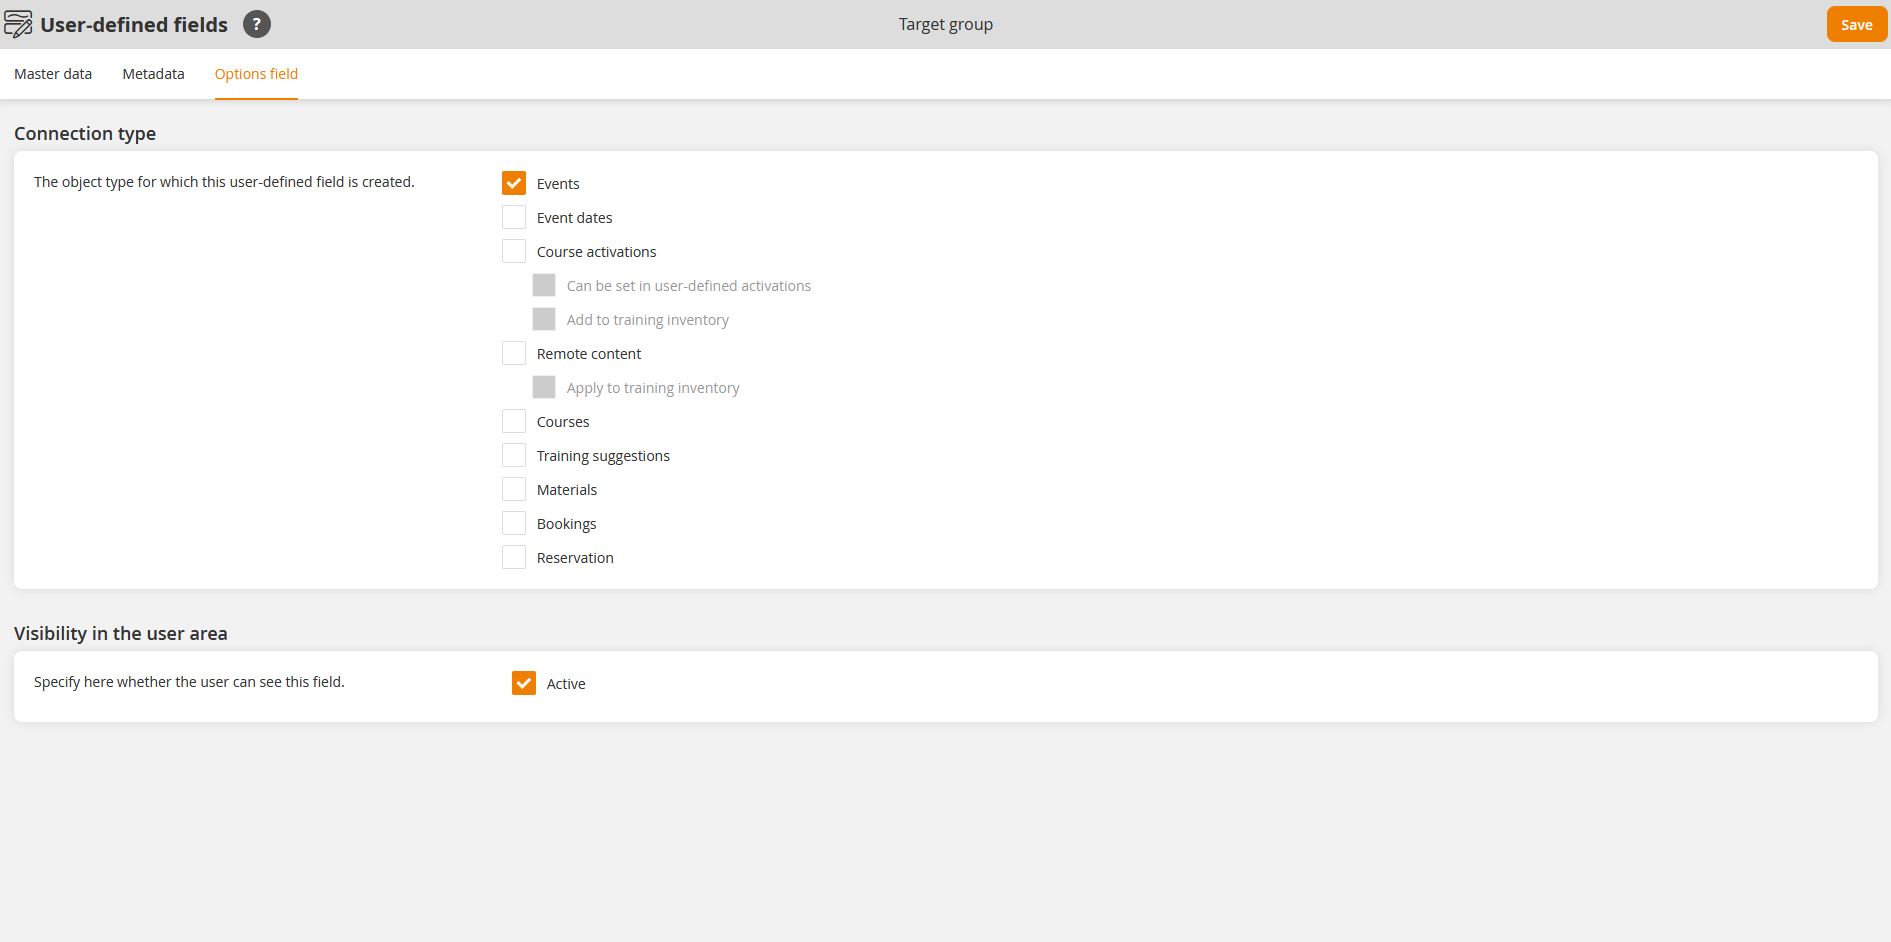
Connection type
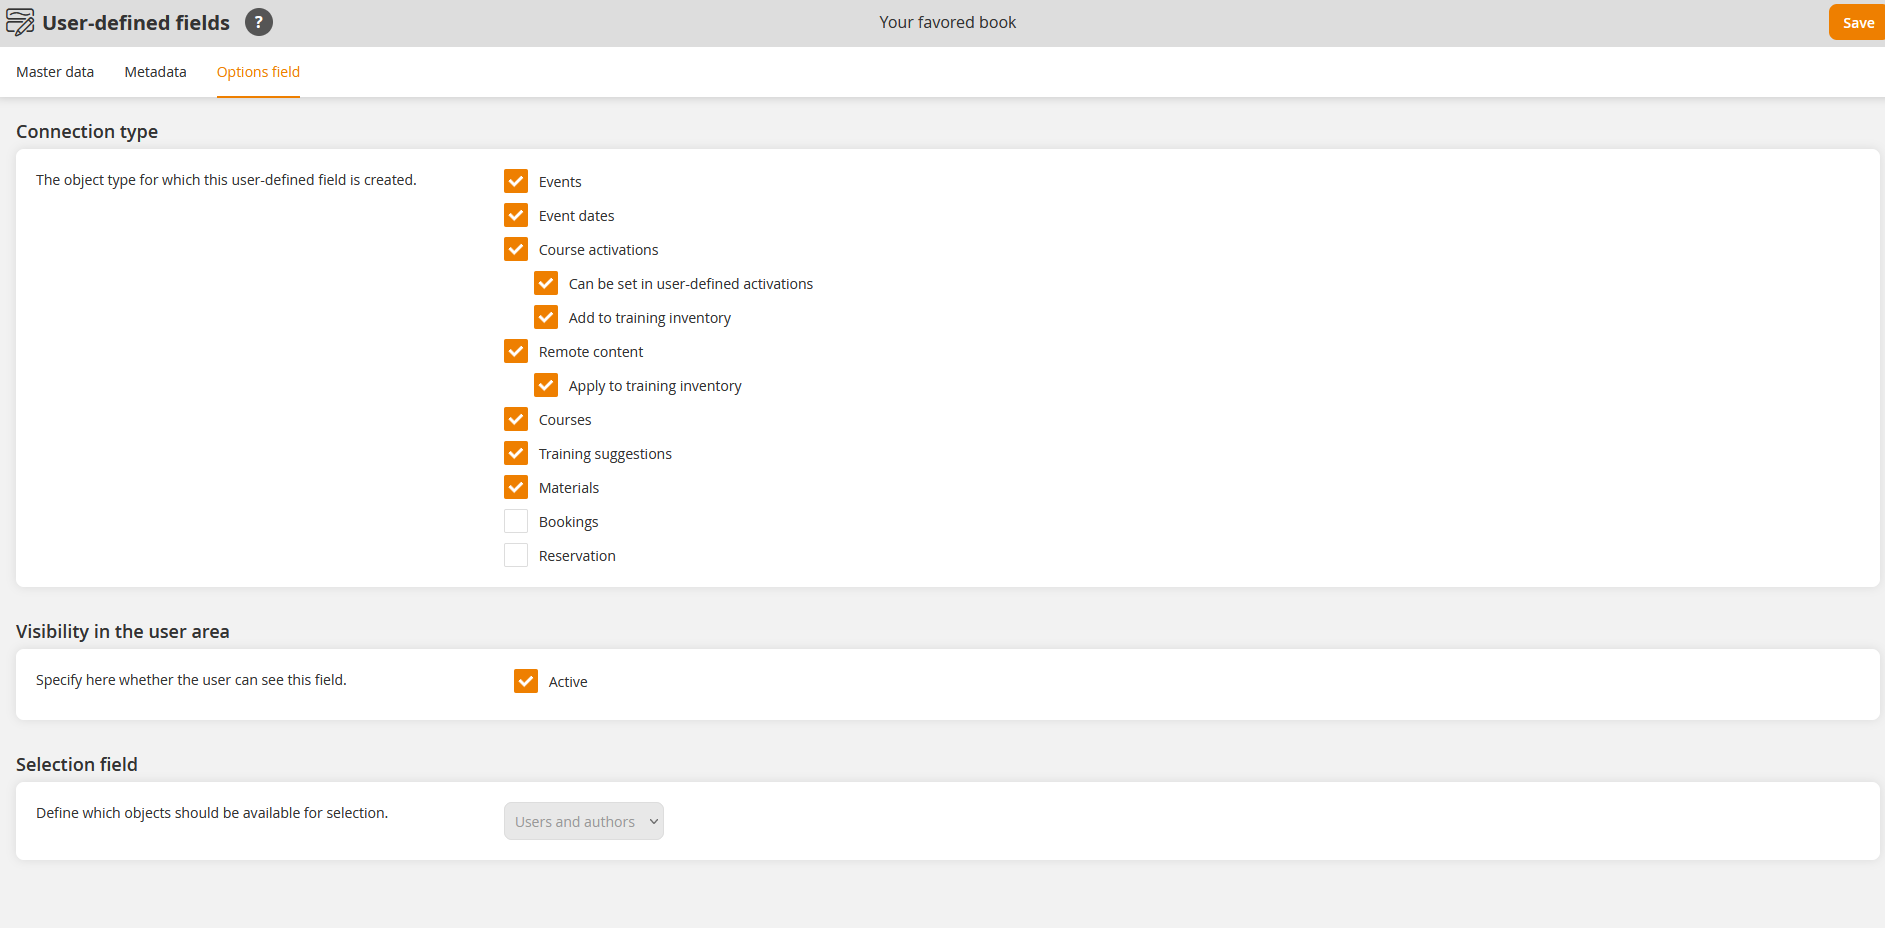
Defines the object type for which this user-defined field is created.
Select, in which wizard the user-defined field should be shown by setting a check mark in front of the following options:
- Events,
- Event dates,
- Course activations
- Remote content
- Courses
- Materials
- Bookings and/or
- Training suggestions.
Furthermore you select by setting a check mark, if regarding the course activations
- this field should be configurable in the user-defined course activations
By this option the user-defined field will only be available in in User Generated Content (UGC) learning units on the tab Parameters, if they base on a course activation, but not on an event. Thus this field is not available in UGC event dates. - this field should be added to the training inventory
By this option the values of the user-defined field are added to the training inventory entries if the course is finished. The corresponding user-defined field is then shown in the dynamic report “Dynamic training inventory entries of a user client”.
Also you can set a check mark that defines that this field of the Remote content will be applied into the training inventory. In this case it’s also prerequisite that there’s a completed course for transferring the values of the field into the training inventory entries.
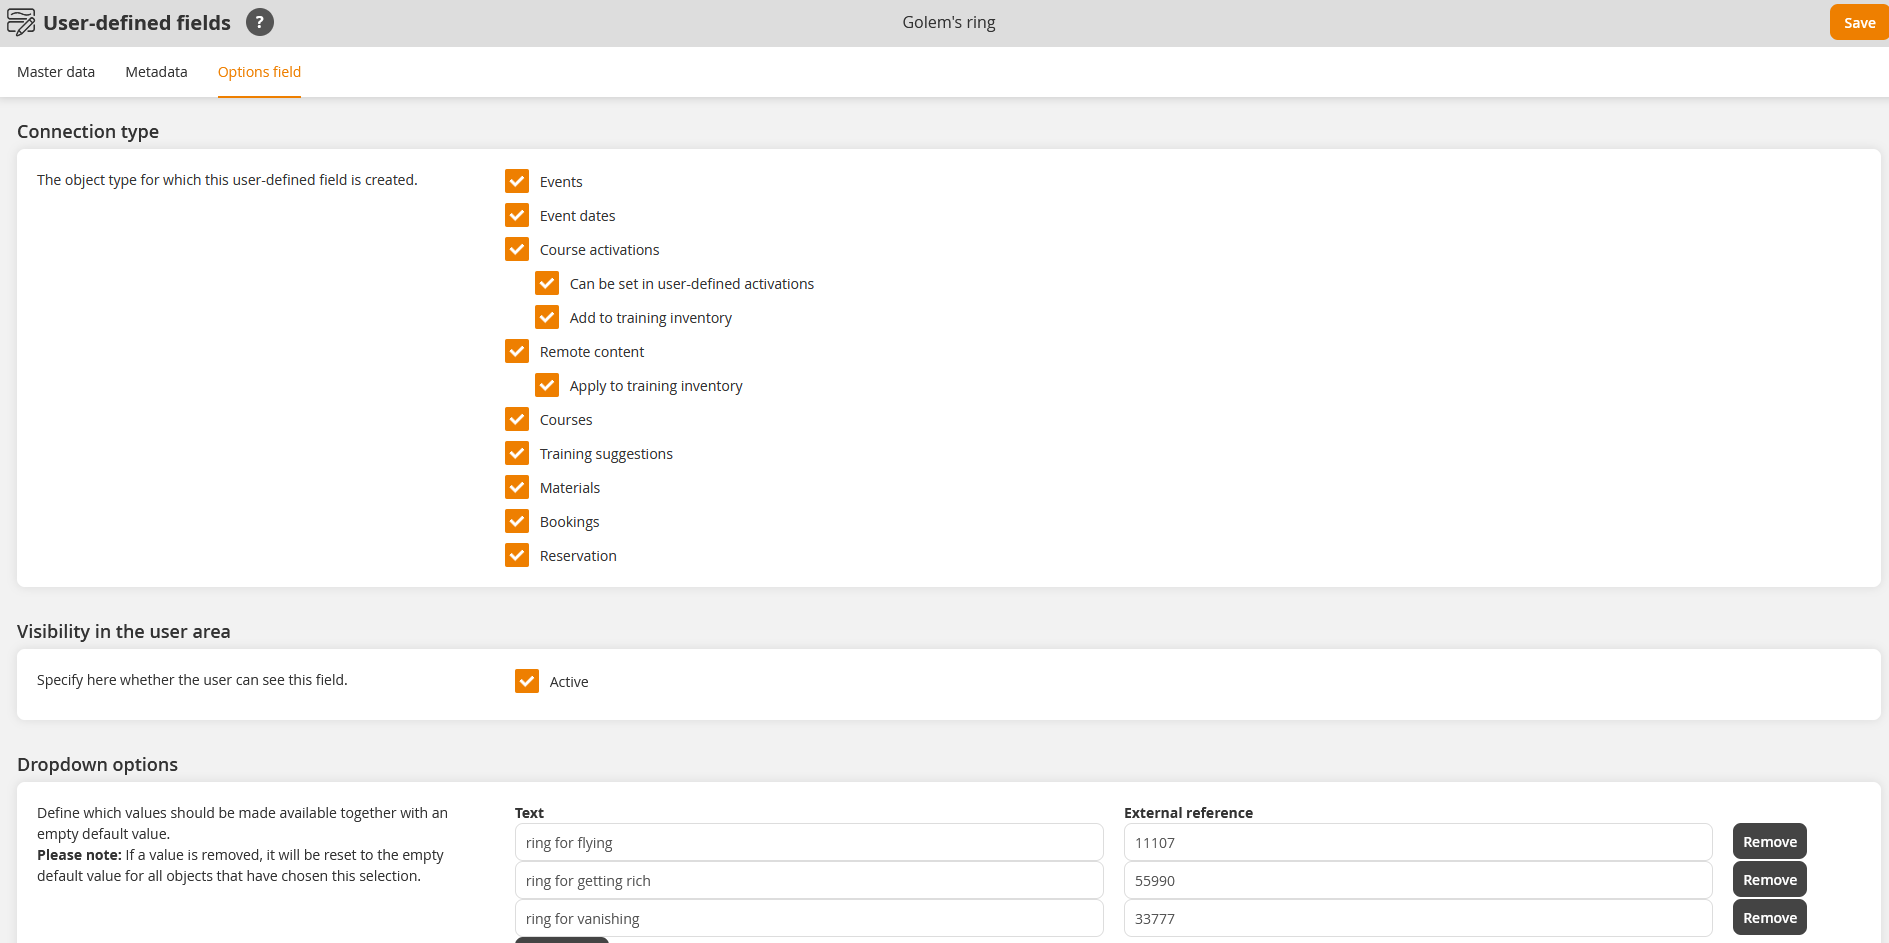
Selection field (only shown, if have selected the object type Selection field) (see second screenshot)
You define to whom the objects should be available:
- Frontend users and authors,
- Frontend users or
- Authors.
Visibility in the user area
Set the check mark Active, whether the user can see this user-defined field in the user area, this means if these field are available in the wizard UGC learning unit. Additionally, you have to the set the check mark Can be set in user-defined activations to offer the user-defined fields to the user in the Catalog and in the wizard UGC learning unit.
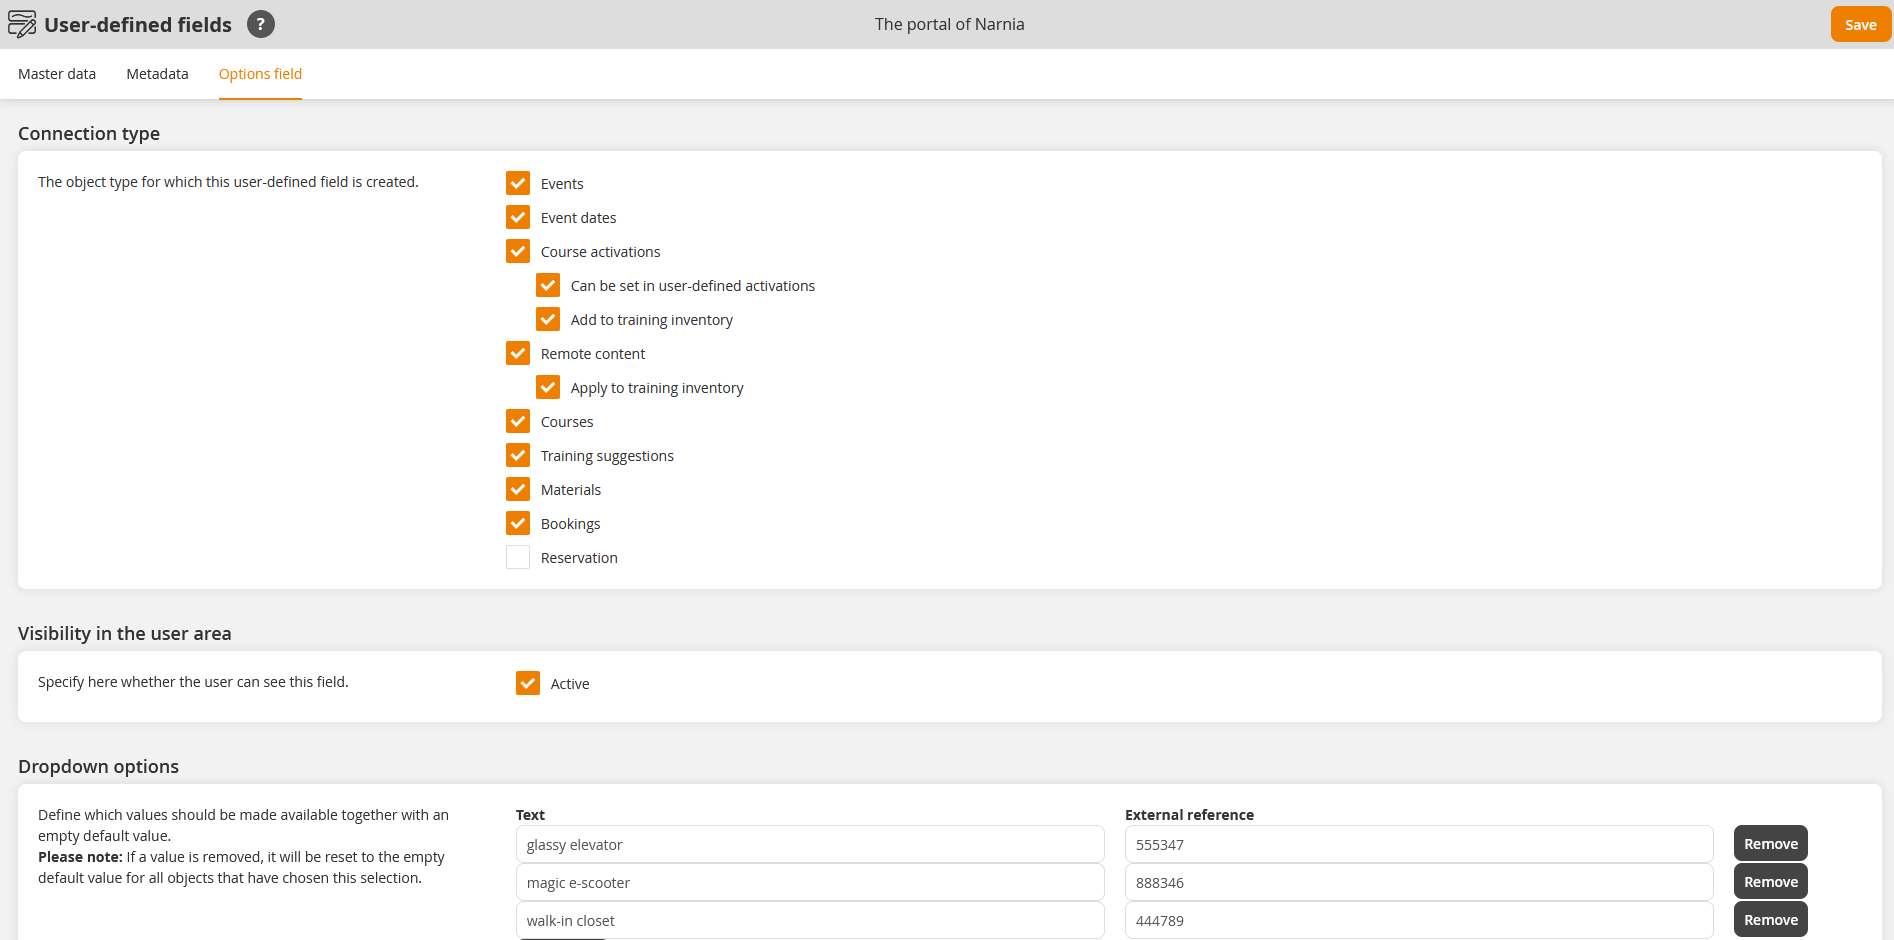
Dropdown options (only shown, if have selected the object type Dropdown field or Multiselect) (see third and fourth screenshot)
Define which values should be made available together with an empty default value. If required enter a value for the External reference. Note that this value for the External reference doesn’t already exist.
To create a list of dropdown entries, click for each entry the button Add option. If required you can remove this entry by clicking the button Remove.
Practical example
Tina Raspberry wants to define an additional text field for her events of the topic “Animals and plants in forests”. She wants also, that the content of the user-defined field will be shown on the main page of the event.
Therefore she does the following steps:
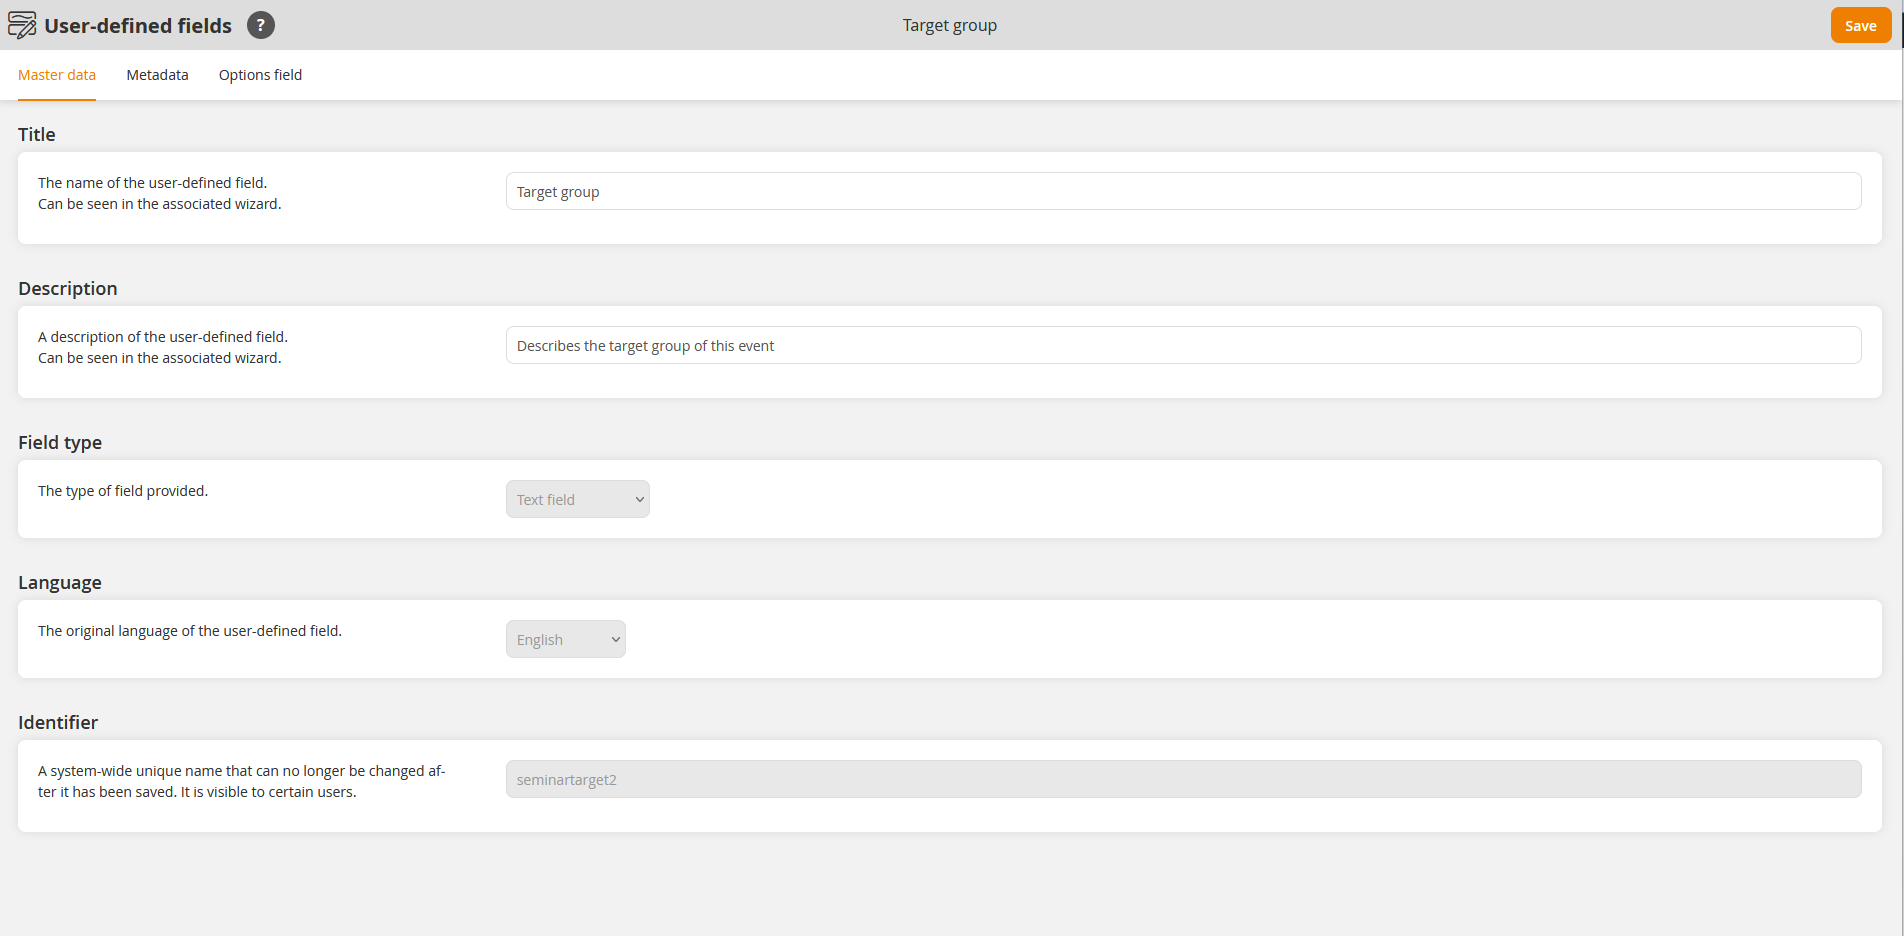
- She creates a user-defined field with the title “Target group” in the wizard User-defined fields by entering a good title and description and the unique identifier “seminartarget2” (see first screenshot).
She has to note that she can’t change the field type and the identifier later on. - She sets the check mark Events on the tab Options field (see second screenshot) and clicks the button Save.
- She creates an event with the title “Domestic mycology”. She sees on the sub tab User-defined fields of the tab Parameters in the Event wizard the field Target group (see third screenshot).
- Tina enters “Walker” in the field Target group and clicks the button Save.
- She switches to the Tab Main page of the Event wizard and choose the Move editor. Then she inserts the Move Title and text and clicks the button Insert variable (see fourth screenshot).
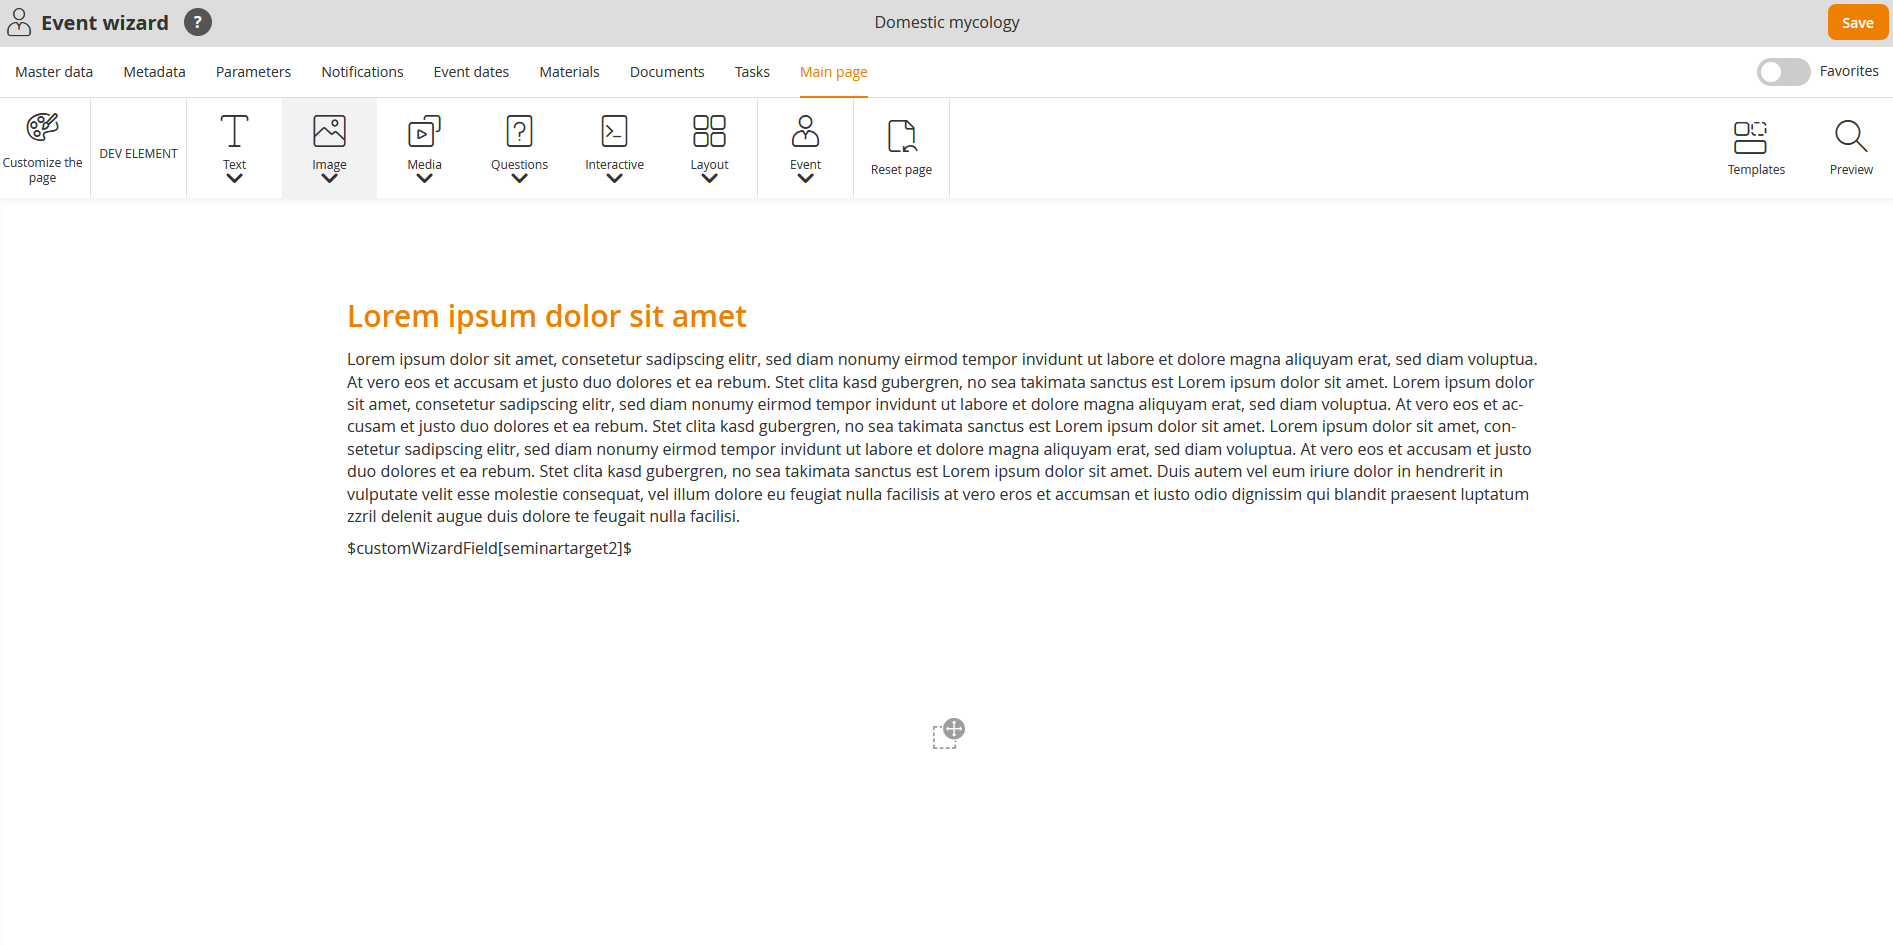
- Tina inserts the variable $customWizardField[seminartarget2]$ at the end of the text (see fifth screenshot) and clicks the button Save.
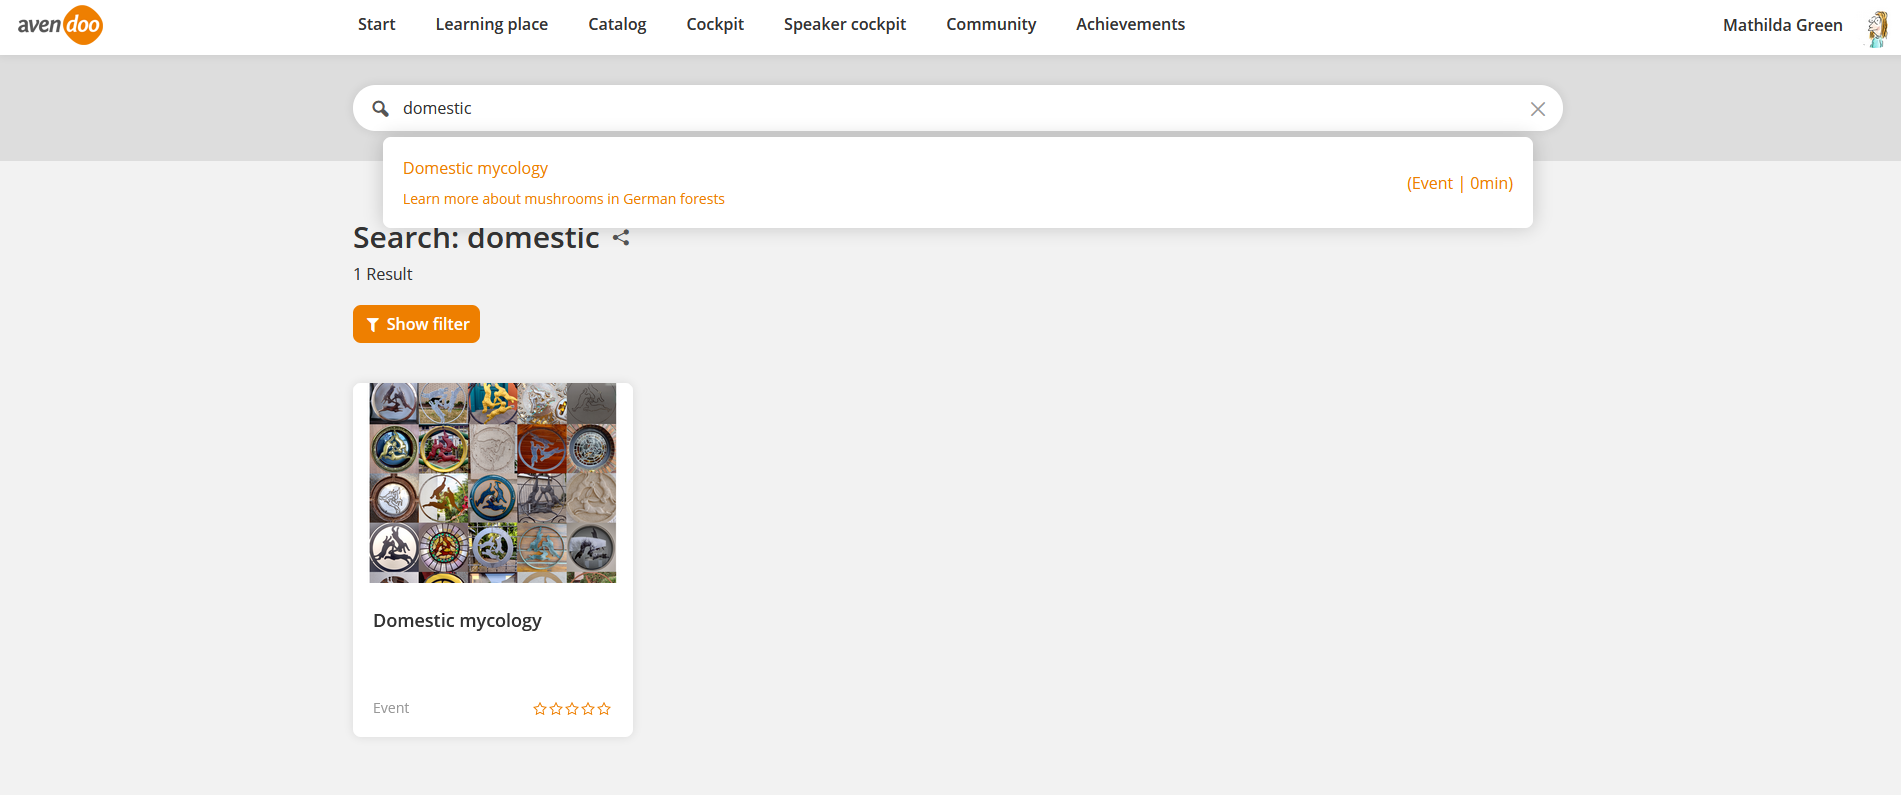
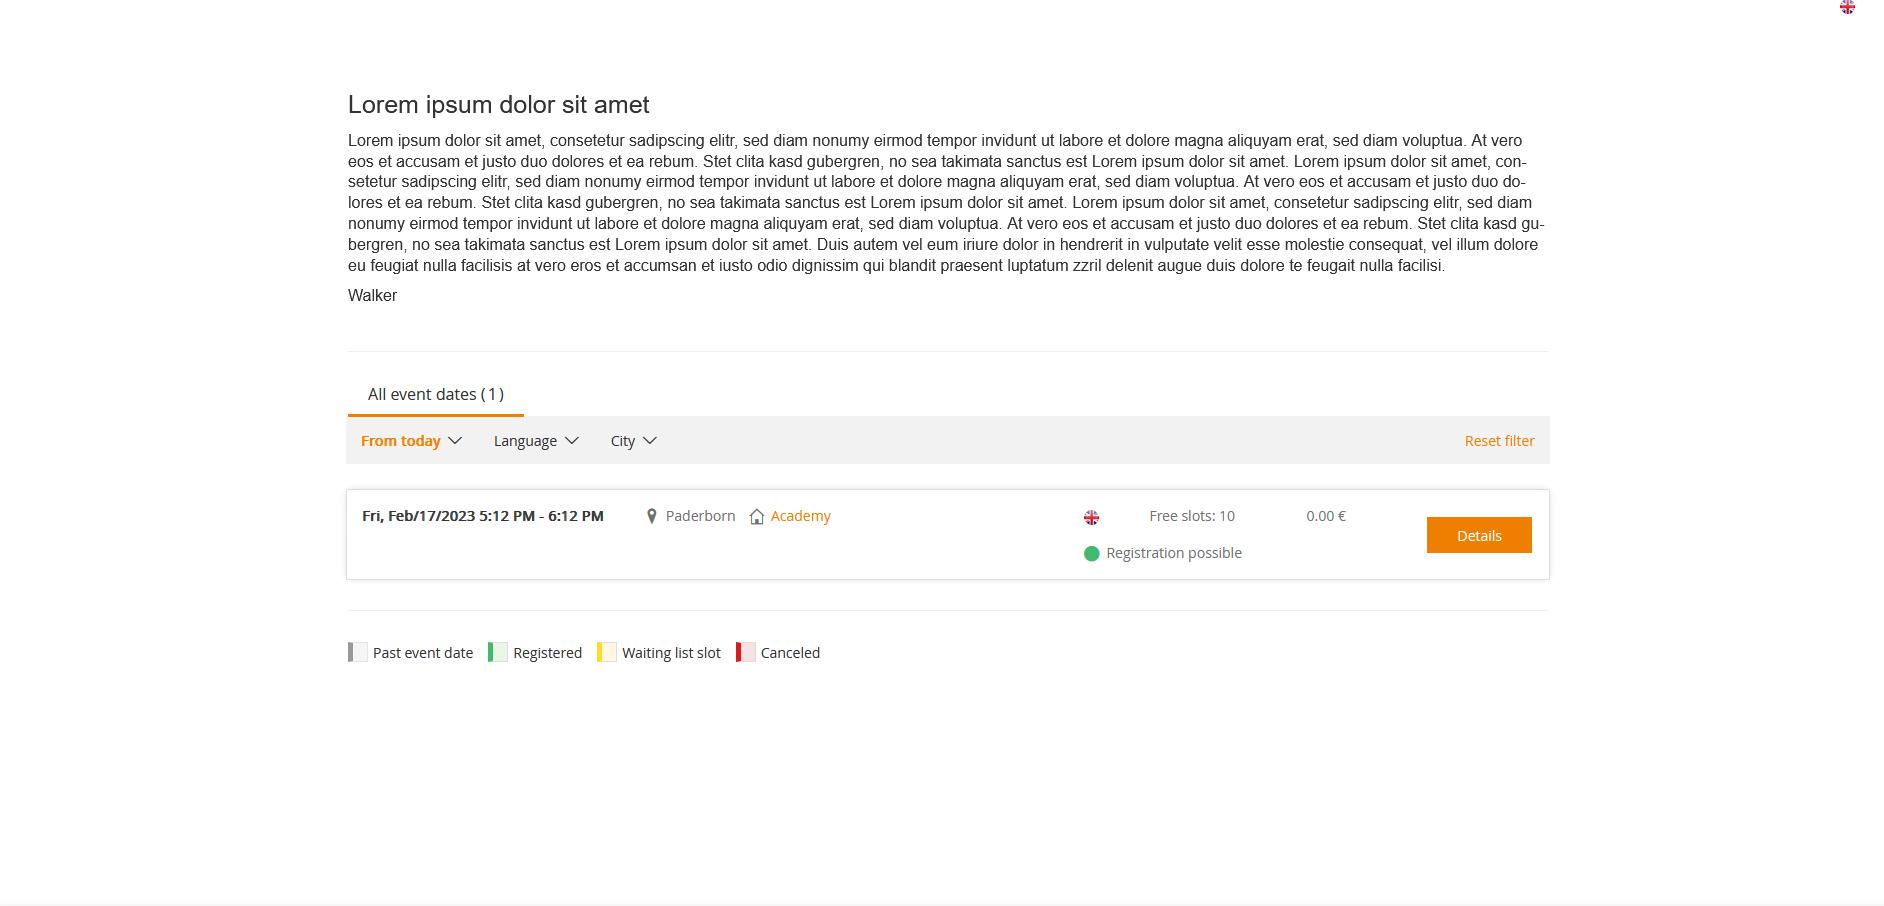
- Now she creates an event date of this event and then creates a course activation with a preview image (sub tab Preview of tab Options). She puts this course activation via quick registration (Participant management of course activation) into Mathilda’s catalog (see sixth screenshot).
- Then Mathilda Green can register to this event and sees the content of the variable for the user-definend field “Target group” (see seventh screenshot). The target group is Walker.
