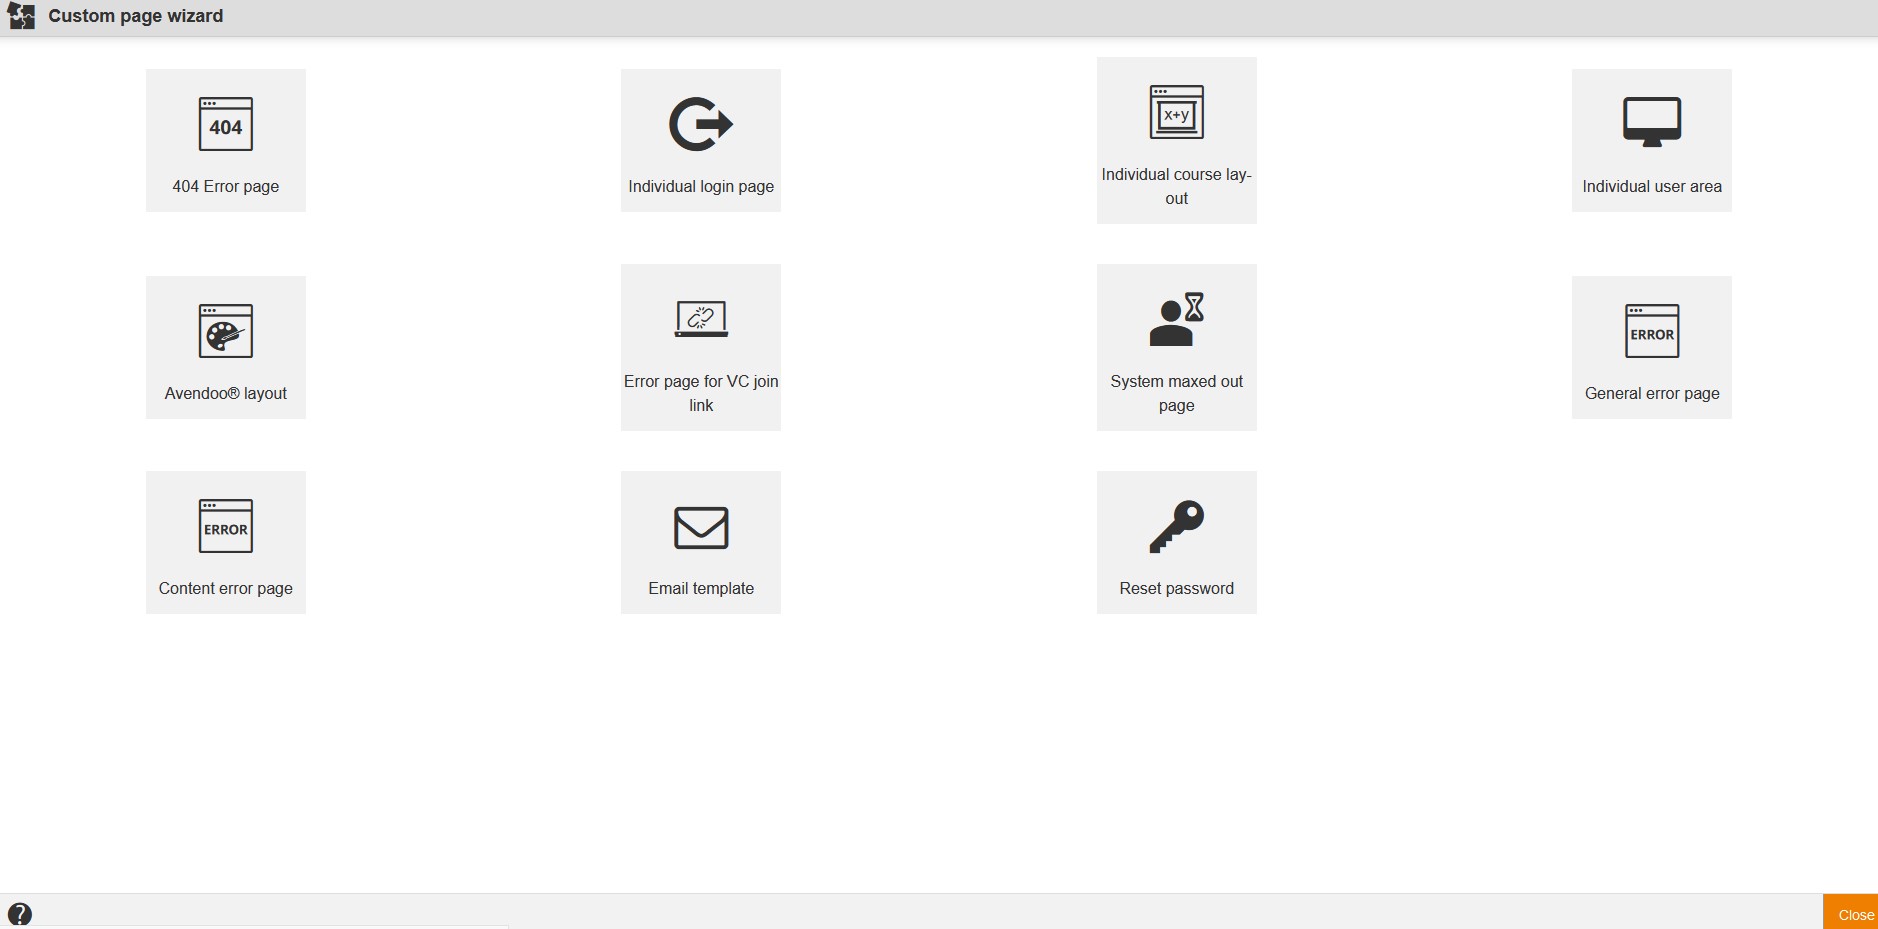
![]() At Custom pages you can create individualized 404 error pages, individual course layouts, login pages, error pages for VC join link, system maxed out pages, content error pages, general error pages and e-mail template pages. Furthermore you can create individual custom pages in the user area: You can change custom pages client-independent or per client in the user area. Also you can create an Avendoo® Layout or a custom page for resetting the password.
At Custom pages you can create individualized 404 error pages, individual course layouts, login pages, error pages for VC join link, system maxed out pages, content error pages, general error pages and e-mail template pages. Furthermore you can create individual custom pages in the user area: You can change custom pages client-independent or per client in the user area. Also you can create an Avendoo® Layout or a custom page for resetting the password.
Further you can use the mass processing functions Copy and Delete for the custom pages.
The following functions are available via the context menu of the corresponding custom page title.
To create a new custom page, choose Administration → Custom pages → New custom page. The Custom page wizard opens.
Inhalte
- 1 Master data
- 2 Editor of 404 error pages, content error pages, individual login pages, individual course layouts, e-mail template pages and custom page for resetting the password
- 3 Editor of individual user area
- 4 Editor of Avendoo® Layout
- 5 Editor for error pages for VC join link, system maxed out pages and general error pages
Master data
Title
Enter a title for the custom page.
Short description
Enter a short description of the custom page.
System settings
Enter a checkmark if this page is supposed to be the system standard for this page type.
If don’t have entered this checkmark, Avendoo® uses the original.
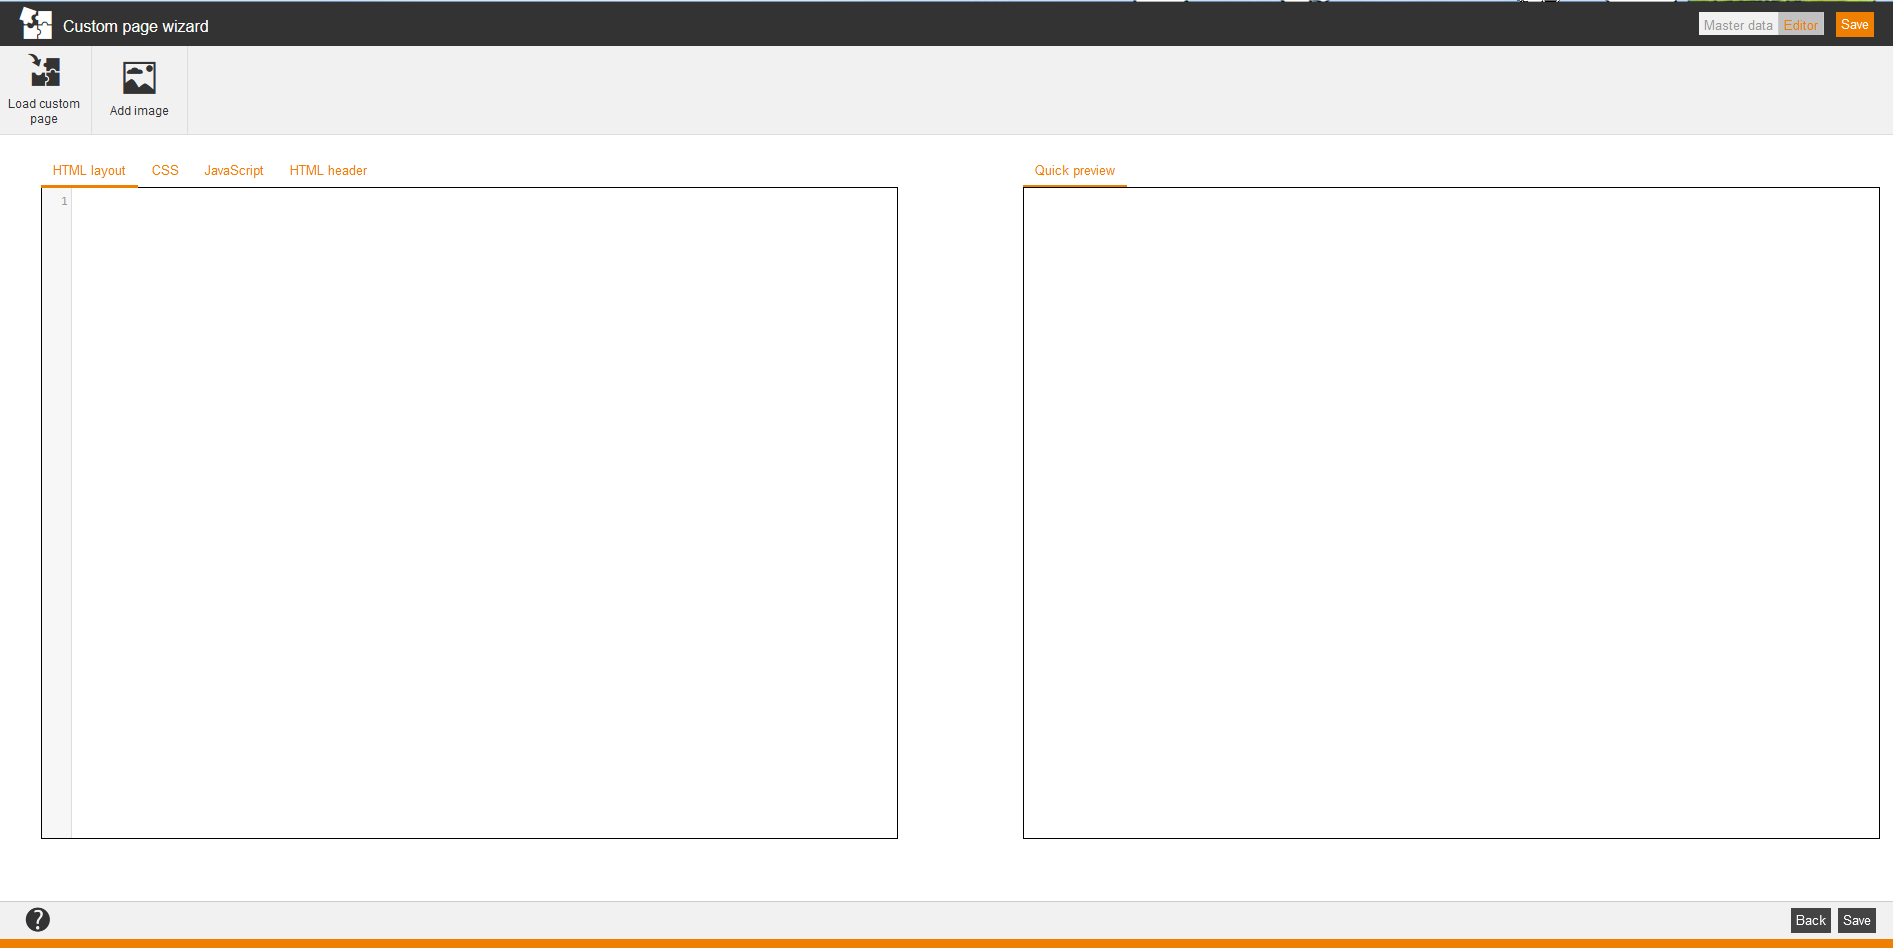
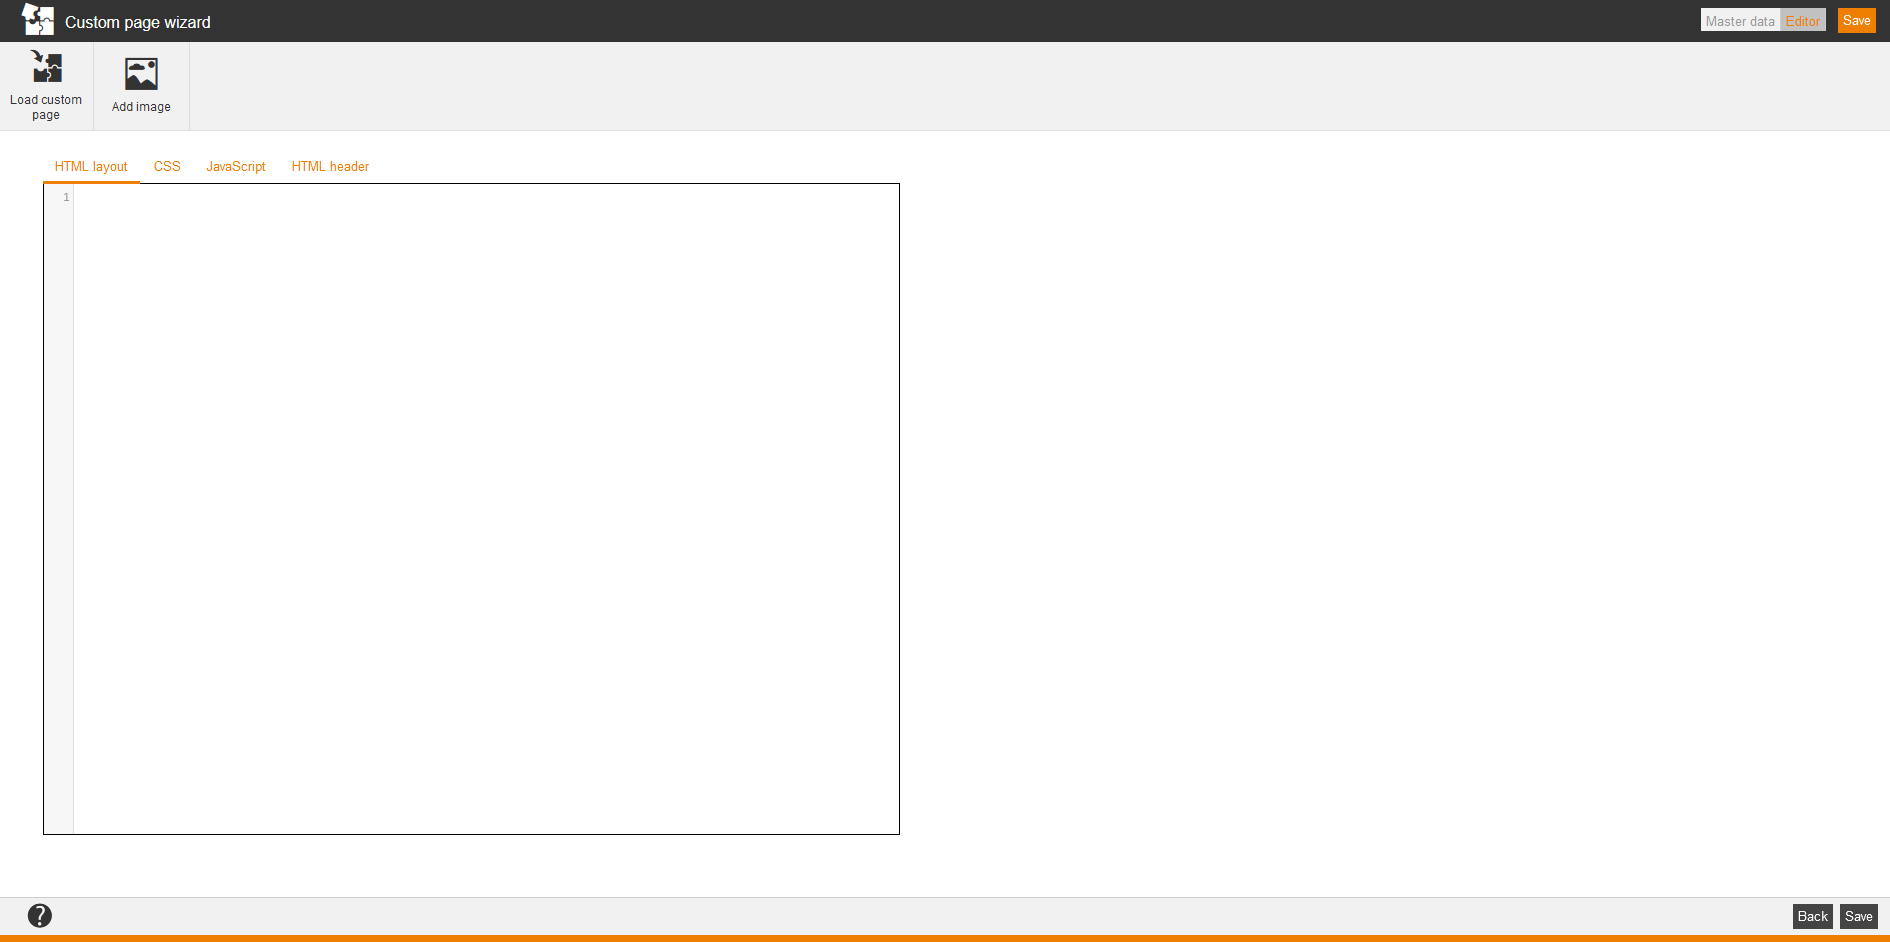
Editor of 404 error pages, content error pages, individual login pages, individual course layouts, e-mail template pages and custom page for resetting the password
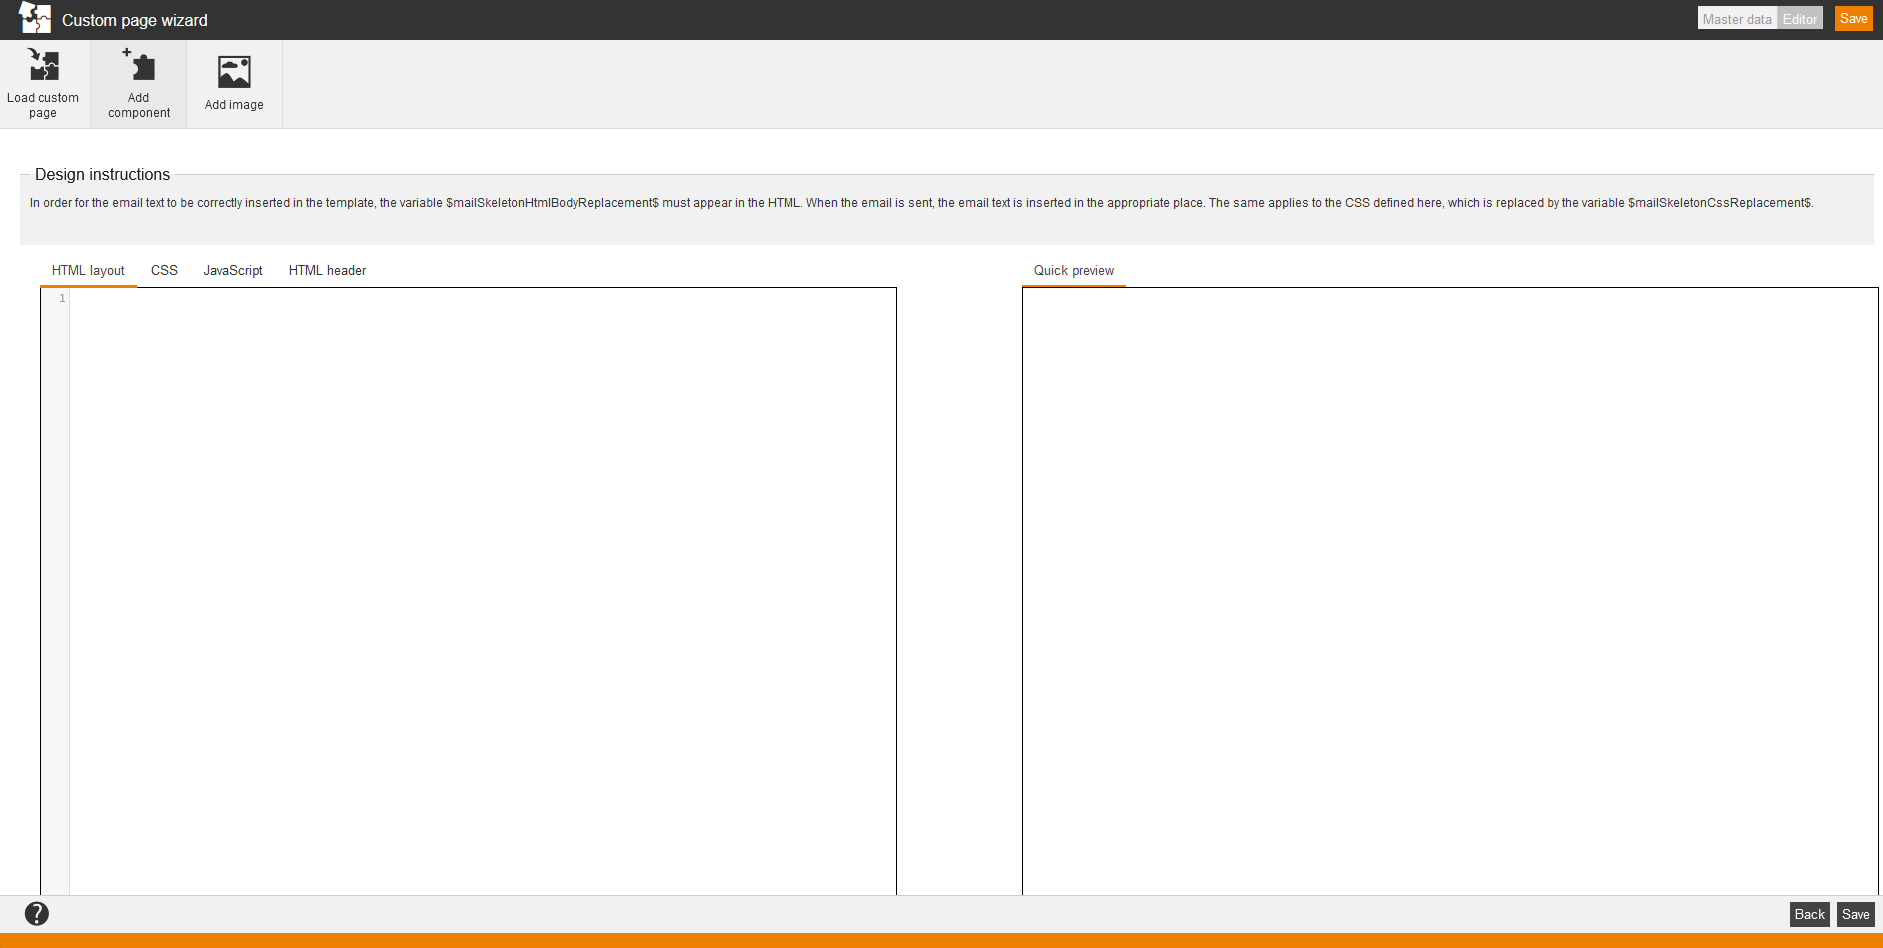
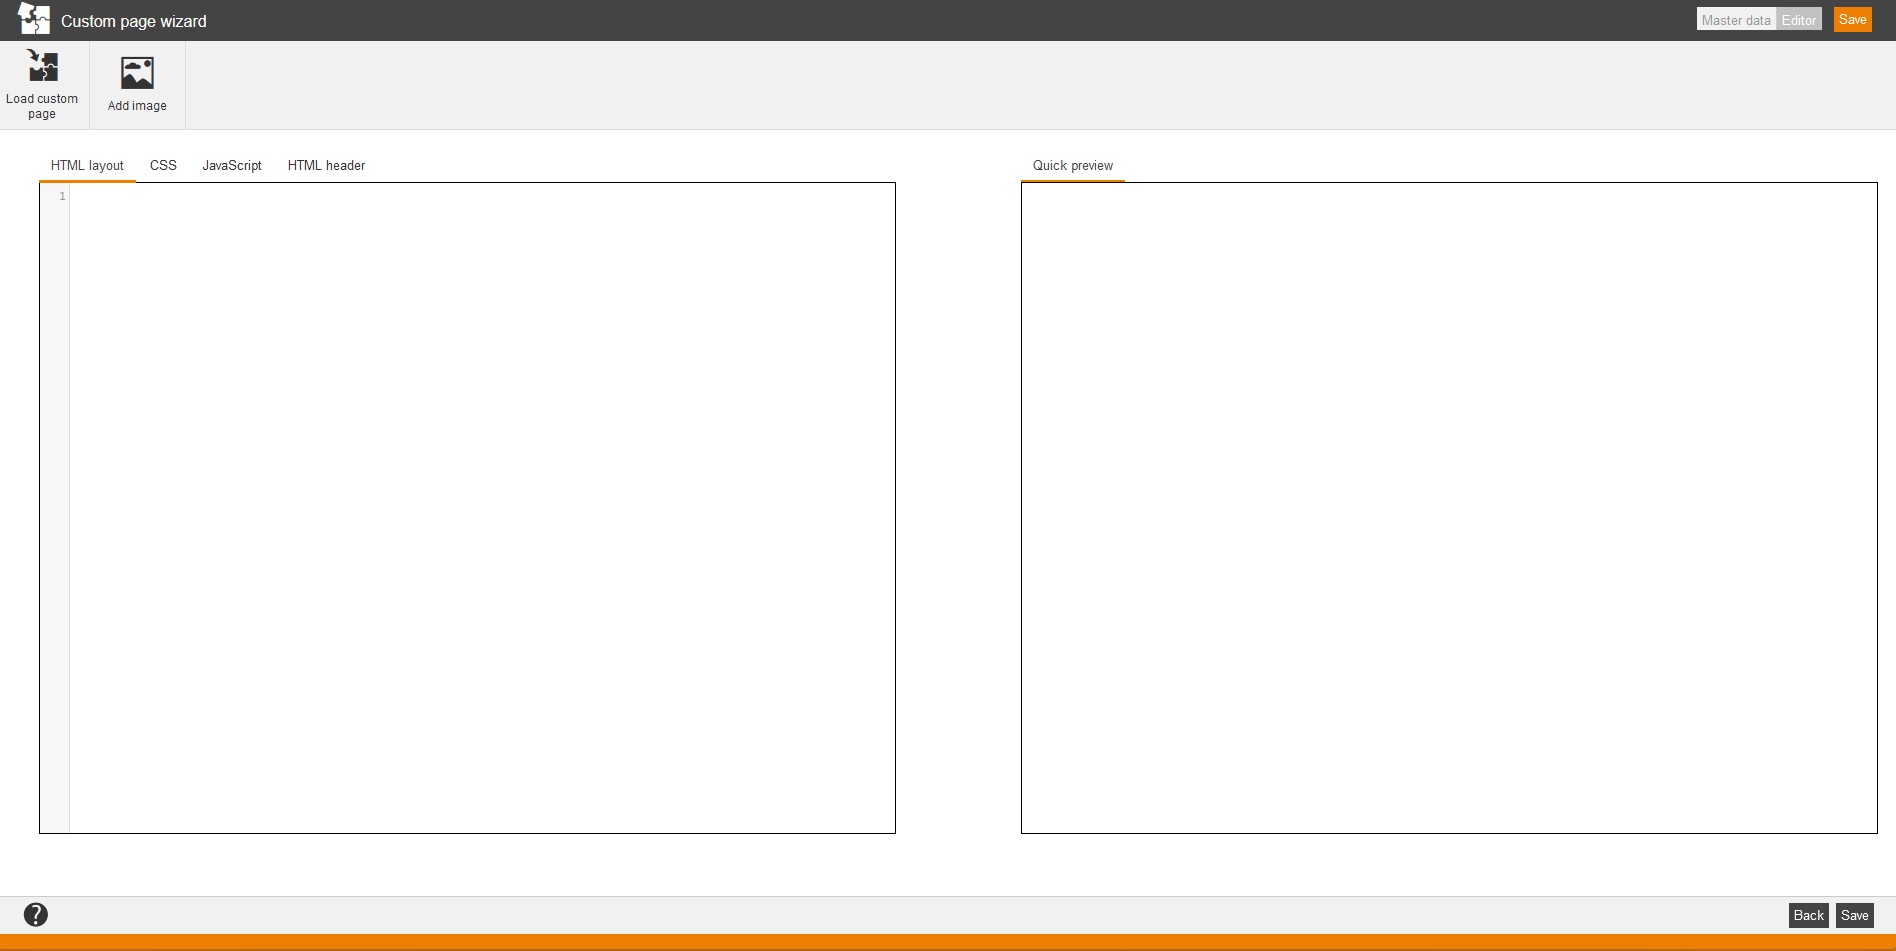
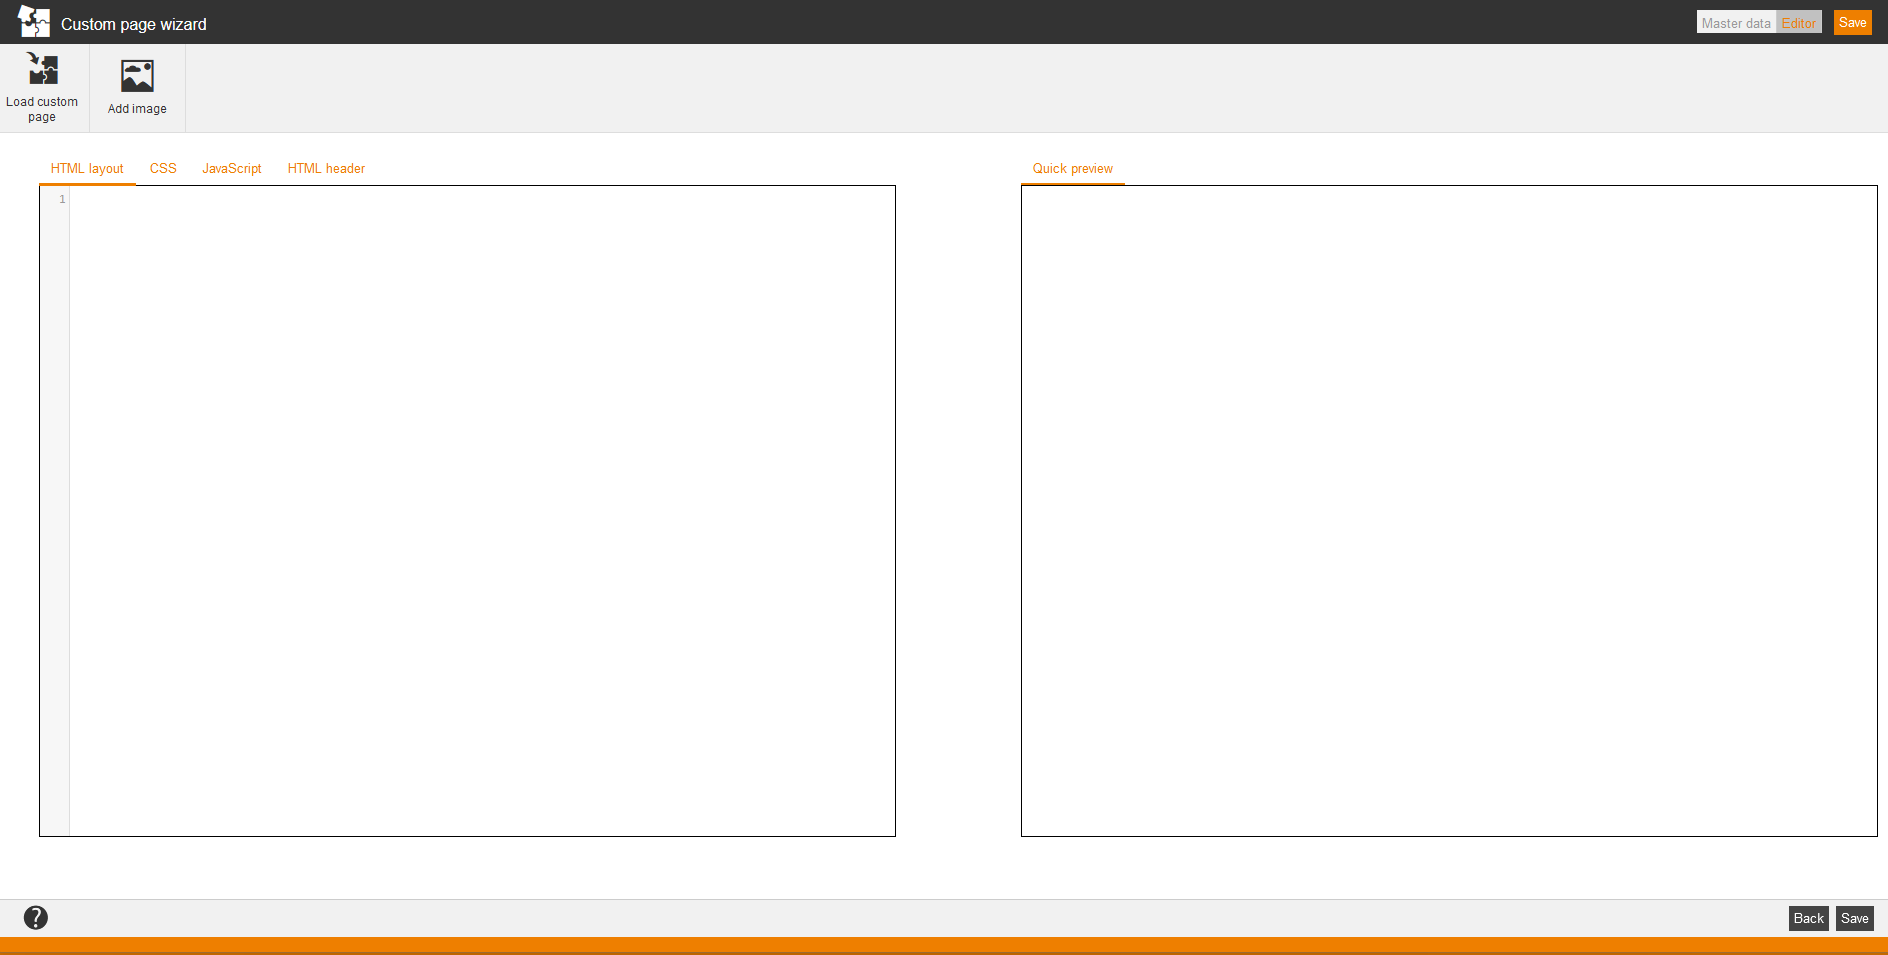
You can do the following steps in the editor:
- load a custom page
- add an image
Further you can choose regarding layout between:
- HTML Layout
- CSS
- JavaScript and
- HTML Header.
Additionally, you can use the Quick preview on 404 error pages.
Editor of individual user area
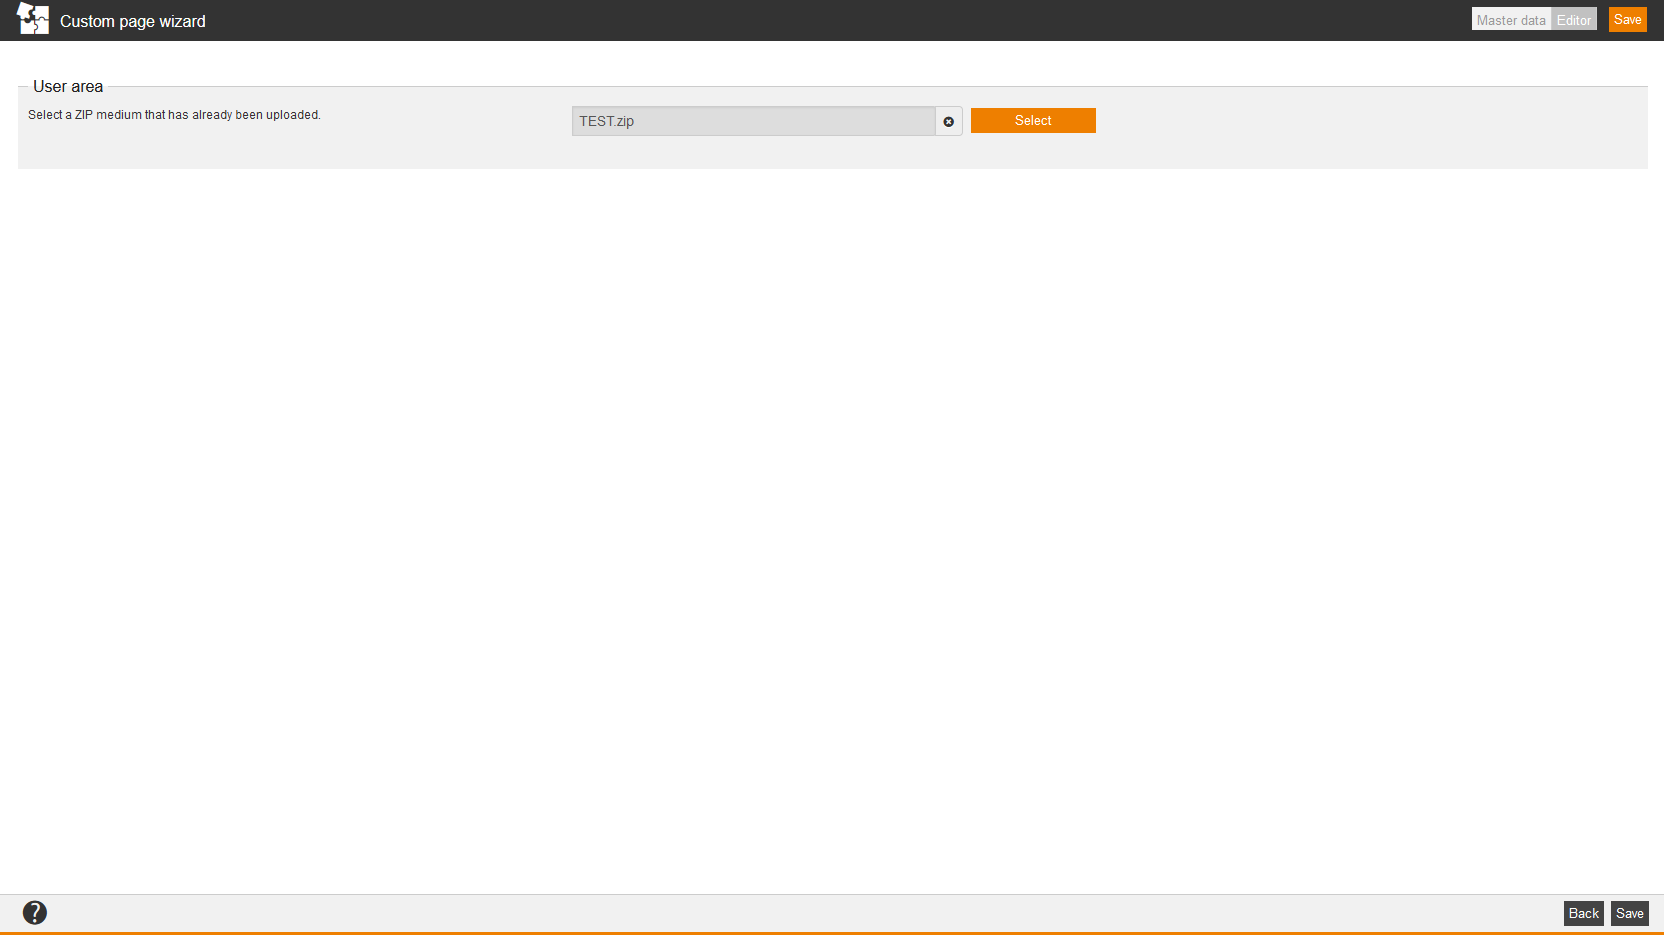
You can do the following steps in the editor:
- select a custom page or
- change a custom page
by clicking the button Select or first clicking the X and then the button Select.
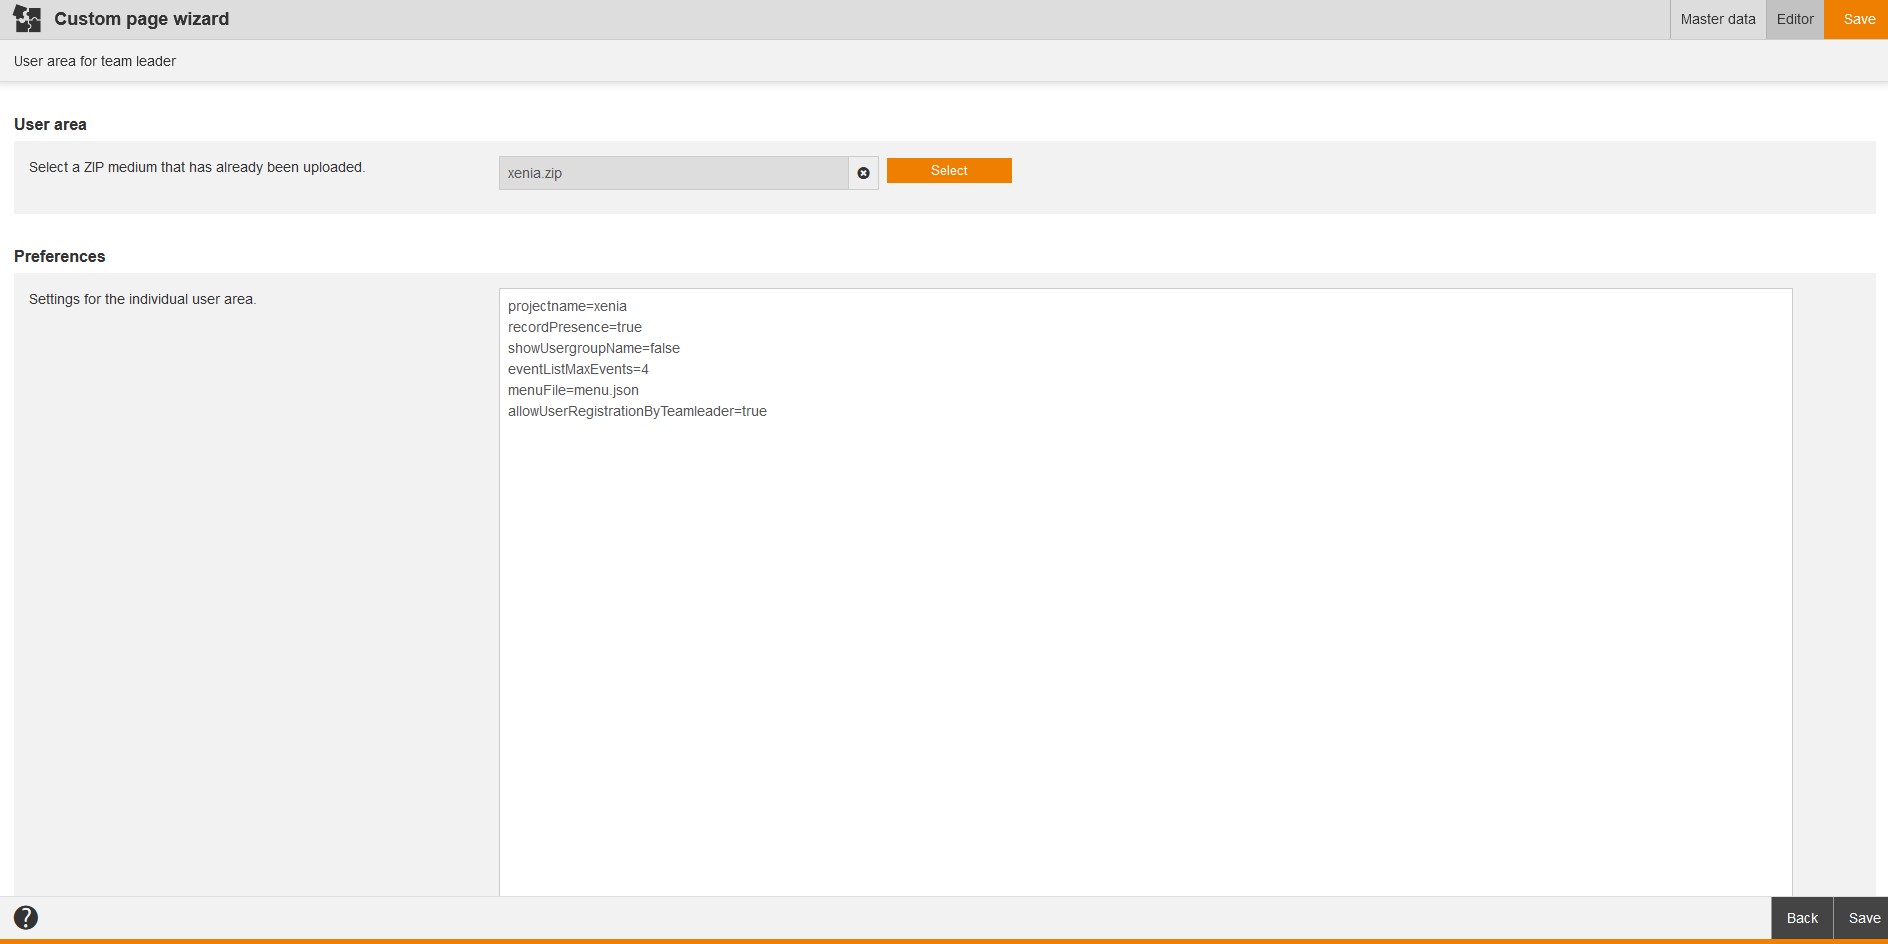
If you’ve selected a custom page for the user area, you can enter the following parameters as configuration for example:
- “projectname=xenia”, this means you define the name of the user area.
- “recordPresence=true”, this means the presence function is activated.
- “showUsergroupName=false”, this means the display of the user group name is deactivated.
- “eventListMaxEvents=4”, this means the list of events got 4 events at maximum.
- “menuFile=menu.json”, this means the menu file got the type JSON.
- “allowUserRegistrationByTeamleader=true”, this means the function Register users is activated in the Cockpit.
- “displayWaitForContentDuration=-1” (via default deactivated)
If you’ve maintained the parameter “displayWaitForContentDuration”, the new created frontend user sees the dialogwindow with a note by the configured time (in seconds).
If you’ve entered the value “60”, this dialog window with the note will be shown to the new created frontend user if the creation time is not older than 60 seconds. - “displayWaitForContentInterval=15” (default value)
You can configure the delay of the catalog request in the parameter “displayWaitForContentInterval”. The default value is “15”, this means the catalog request is done every 15 seconds until that value is reached, this means 60 seconds. In that case the catalog request is done four times.
Editor of Avendoo® Layout
You can do the following steps in the editor:
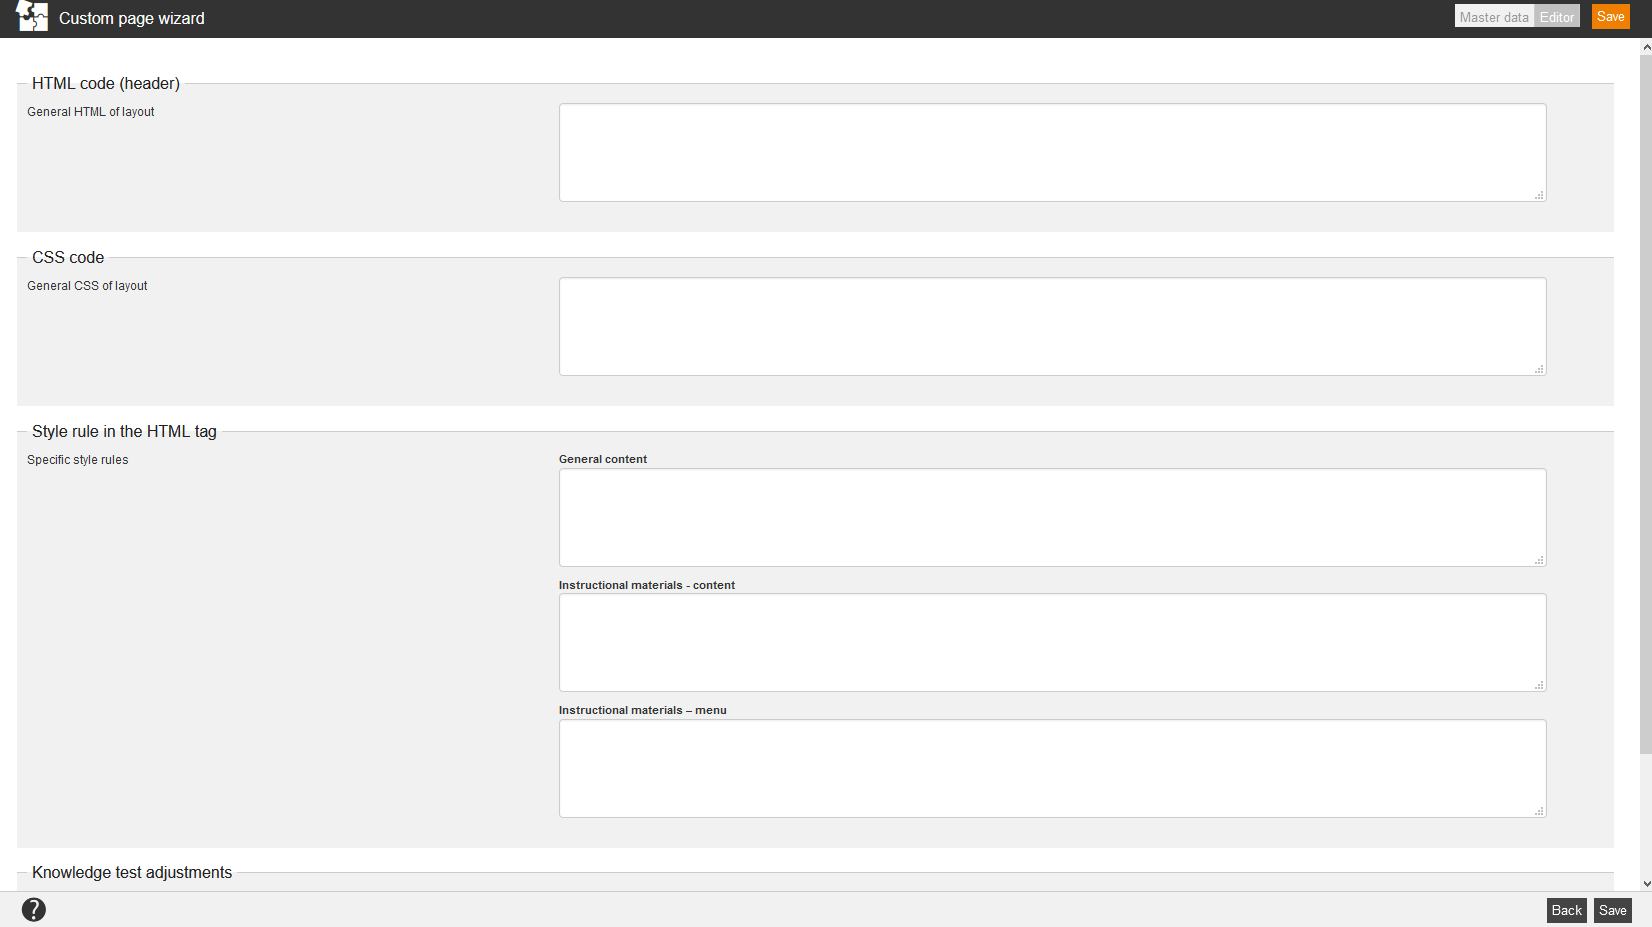
- enter the HTML code, this means the common HTML of the layout
- enter the CSS code, this means the common CSS of the layout
- enter the Style rule in the HTML tag, this means you enter specific style rules regarding General content, Instructional materials content and/or Instructional materials menu and
- you can do Knowledge test adjustments, this means you do HTML and CSS adjustments that control the appearance of the knowledge test.
Editor for error pages for VC join link, system maxed out pages and general error pages
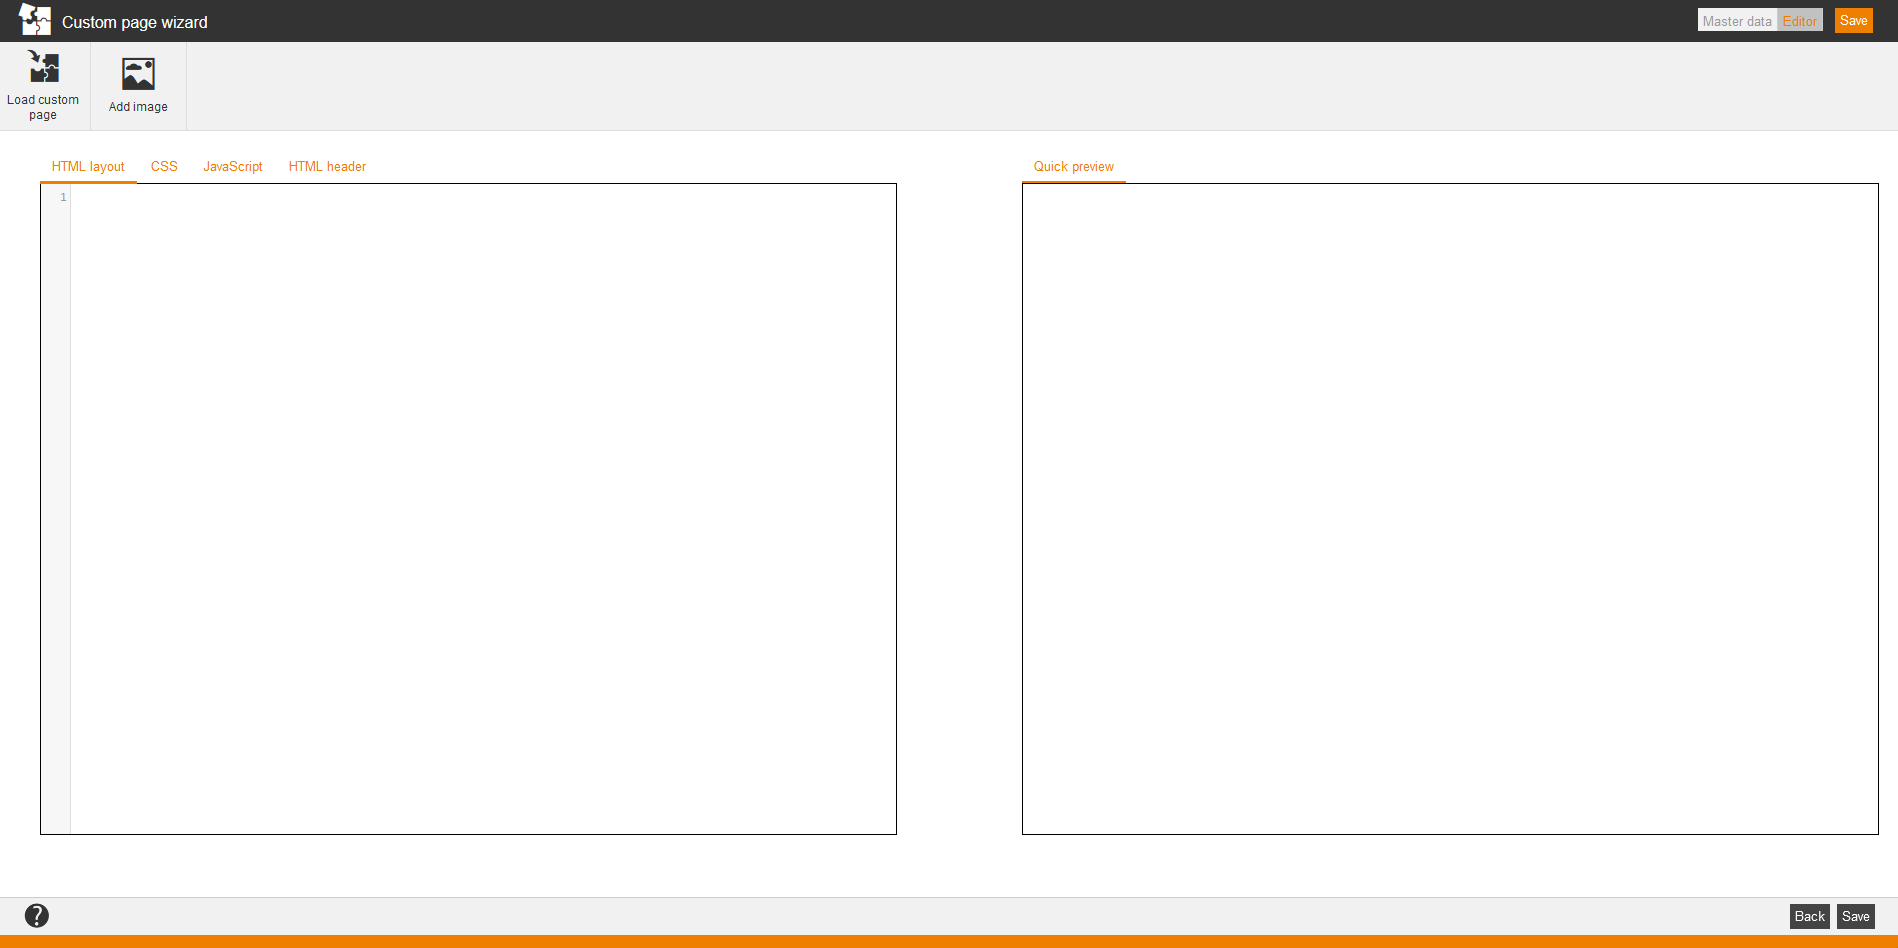
You can
- load a custom page and/or
- add an image
in the editor for error pages for VC join link, system maxed out pages and general error pages.
Further you can choose regarding layout between
- HTML Layout
- CSS
- JavaScript and
- HTML Header.
Additionally, you can use the Quick Preview for error pages for VC join link, system maxed out pages and general error pages.
