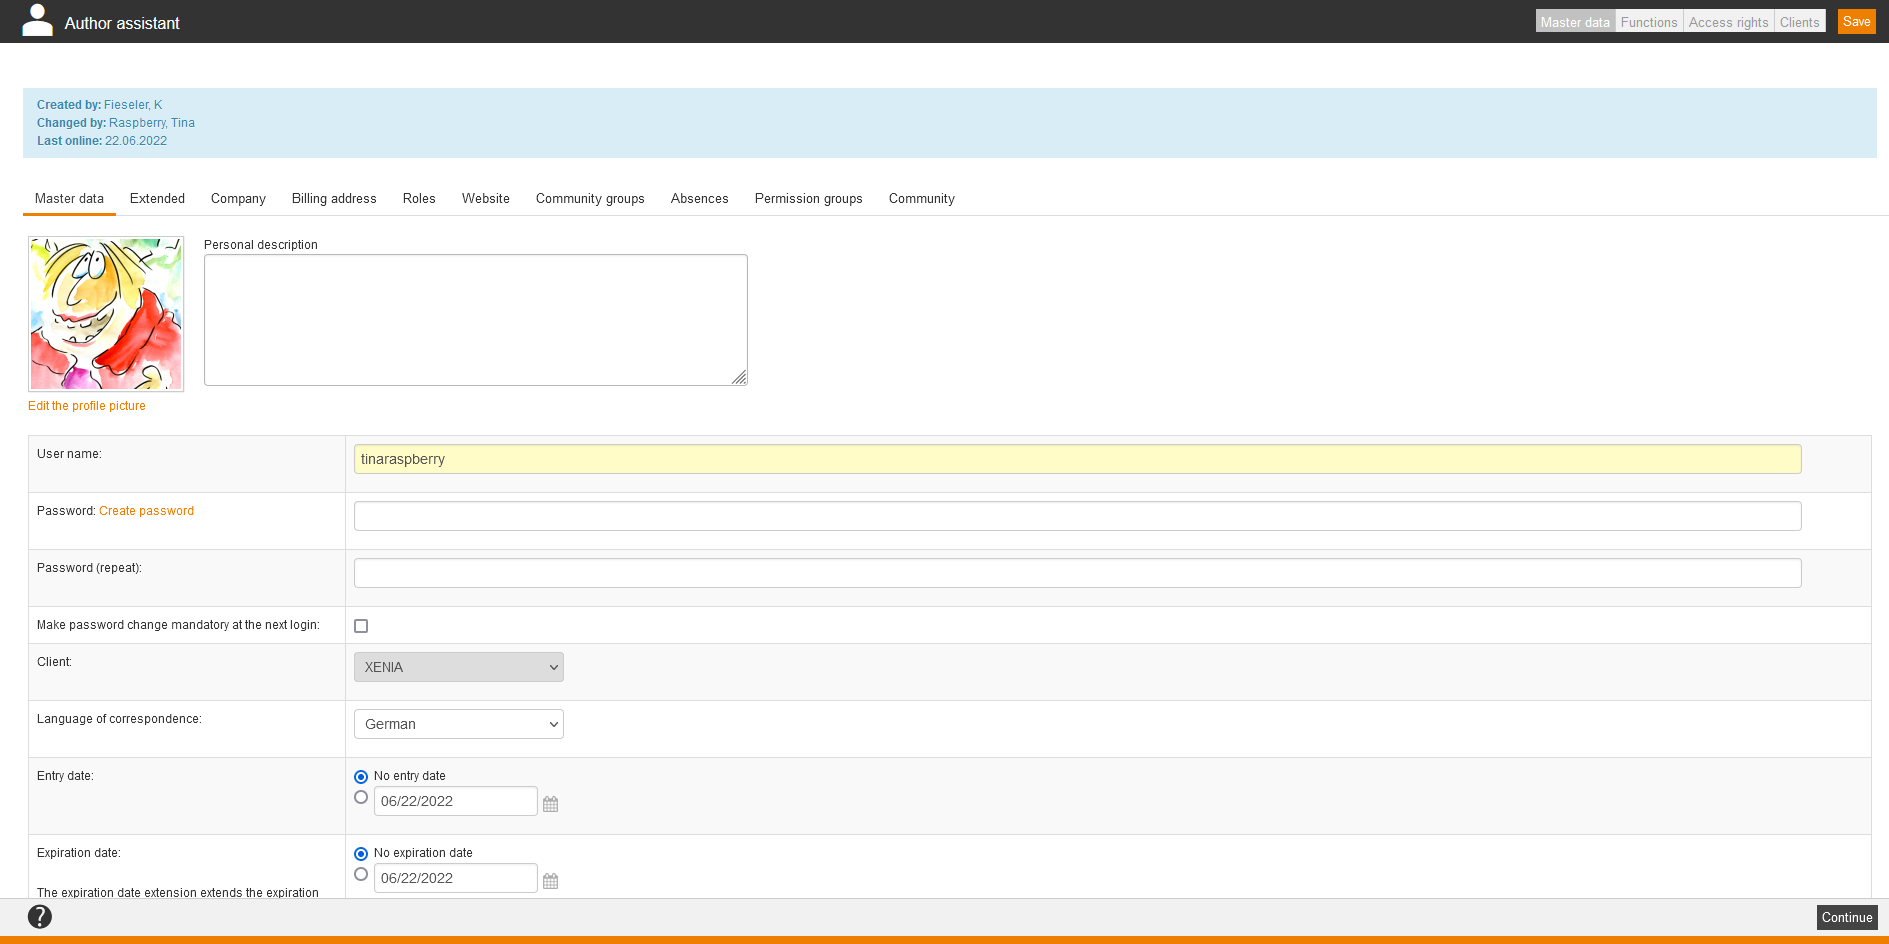
Basically, Avendoo® differentiates between two users. The author has in opposite to the user the part of the lecturer in the learning environment. Additionally, the author can take over also tasks in the administration or in the support, depending on his permissions.
Master data
Automatic completion
If you edit the user data manually in Avendoo®, you can configure an automatic completion for entering the data. Thus you can structure the data more efficiently and incorrect data, for example caused by typing errors, can be avoided. The values will be taken from the data base and a special XML configuration. This one will be created by Magh und Boppert GmbH.
You can choose between two options of the automatic completion:
- strict
A selection of constant values will be shown
- loose
While entering the data suggestions will be shown. Also new values can be entered.
Supported fields
You can configure the automatic completion for the following fields in the User wizard:
| OU | Title | Import |
| Defined 10 | Defined 11 | Defined 12 |
| Defined 13 | Defined 14 | Cost center |
| Company name | Street | Building number |
| ZIP code | Town | Country |
| Region | Division | Group |
| Billing address: Company | Billing address: Street | Billing address: ZIP code |
| Billing address: Town | Billing addres: Country |
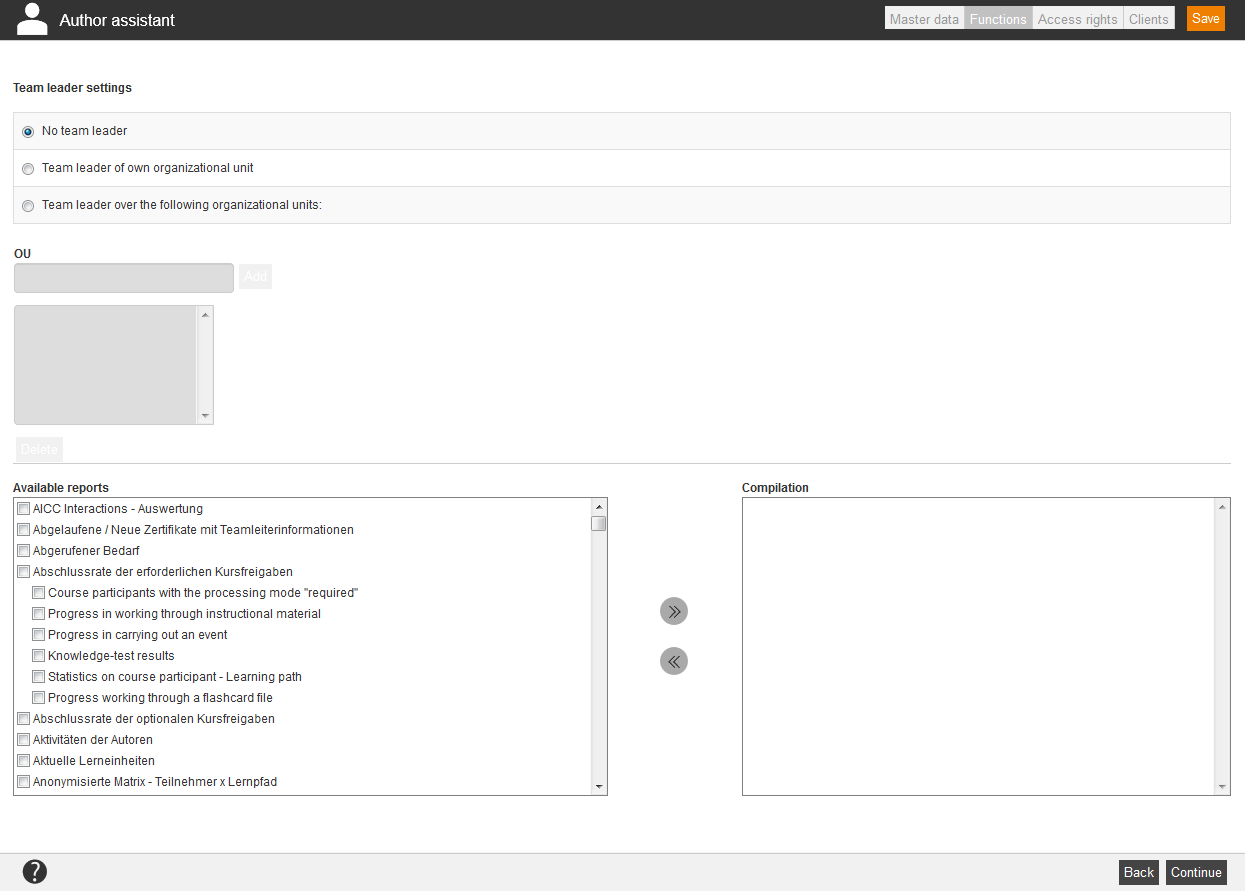
Functions
Team leader settings
Make the team leader settings by defining that the user
- is no team leader
- is team leader of own organizational unit
- is team leader over the following organizational units
Define the organizational unti of the user and add them via clicking the button Add. If you enter “%” as value, all available organizational units will be assigned to the user. Via the button Delete you delete the OU from the list.
Available reports
Select the appropriate reports for the team leader. Via clicking the arrows you get a compilation of reports.
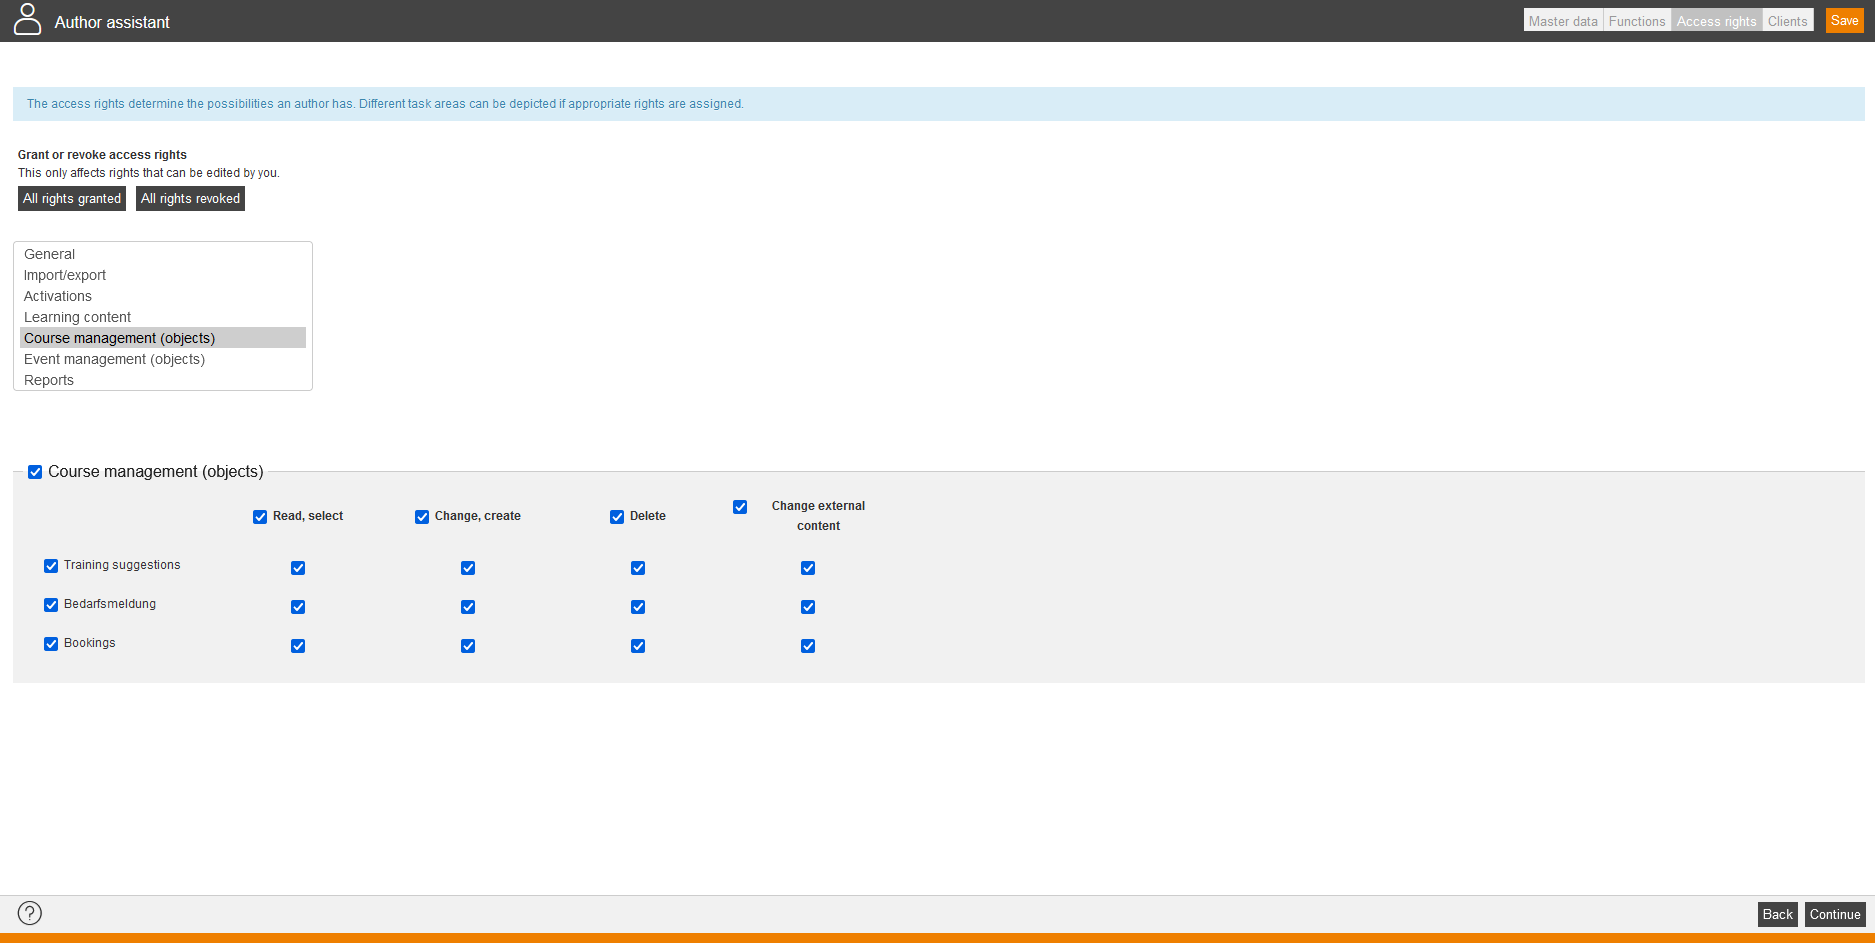
Access rights
The access rights manage the scope for action. Via corresponding assignment of rights different task areas are represented. To assign access rights faster, choose a template.
You can do the following actions generally via the buttons All rights granted or All rights evoke.
But you can also grant the following single rights:
- Activations
- Course activations
- Training plans
- Remote content activations
- Administration
- Administration (objects)
- Custom pages
- Campaign
- Design tools
- Media for use everywhere
- SSO and import configuration
- System settings
- Moves
- PKCS#12 certificates
- User import events
- User-defined fields
- Community
- Course management (objects)
- Event management
- Access to the event manager
- All dates: Show event dates
- All dates: Do deregistrations and registrations
- All dates: Send invitation
- All dates: Send a follow-up e-mail and a thank-you e-mail
- All dates: Record attendances
- Own event dates: Show event dates
- Own event dates: Do deregistrations and registrations
- Own event dates: Send invitation
- Own event dates: Send a follow-up e-mail and a thank-you e-mail
- Own event dates: Record attendances
- Event management (objects)
- Activated event dates
- General
- Import/export
- Import objects
- Export objects
- Import users
- Across import
- Migration import
- Import event dates
- Learning content
- Courses
- Media
- Instructional material
- Knowledge test questions
- Knowledge tests
- Events
- Feedback questions
- Feedback forms
- Assessments
- Remote content
- Web-based training offers
- Forums
- E-payments
- Flashcards
- Flashcard files
- Learning content (general)
- Feedback: Create overarching questions and designate feedback items template
- Show and edit questions CSS
- Organizational rights
- Point account management (objects)
- Reports
- Resources
- Resources (objects)
- Certificates
- Locations
- Materials
- Design templates
- Number ranges
- Grade key
- Qualifications
- Task templates
- Calendars
- Classifications
- Individual notifications
- Notifications
- Content connector
- Support
- Support
- Manage updates
When you got this right, you got the functions of the automatic update and the display of the update steps on the tab Support.
- User administration (objects)
- User management
Clients
You can assign further clients additionally to the main client to the author. The main client can’t be deleted. The author gets access to the assigned clients. Choose the clients, which are up to the author, from the available clients on the left side and add them via the arrows or delete them again.
To remove or add clients on other authors, you need access to these clients, this means you need the access right “Show, create and edit clients”.


