Inhalte
- 1 Supporting systems
- 1.1 MS Teams
- 1.2 GoToWebinar and GoToWebinar Admin
- 1.2.1 Configure OAuth client for GoToWebinar and GoToWebinar admin
- 1.2.2 Authentication code and refresh token (application process before version 17.43)
- 1.2.3 Create a virtual location in Avendoo® (step before version 17.43)
- 1.2.4 Create a virtual location in Avendoo® (new connection process)
- 1.2.5 Test it
- 1.3 YuLinc
- 1.4 Vitero
- 1.5 Zoom
- 1.6 Webex
- 1.7 Further interfaces to VC tools
- 2 Master data
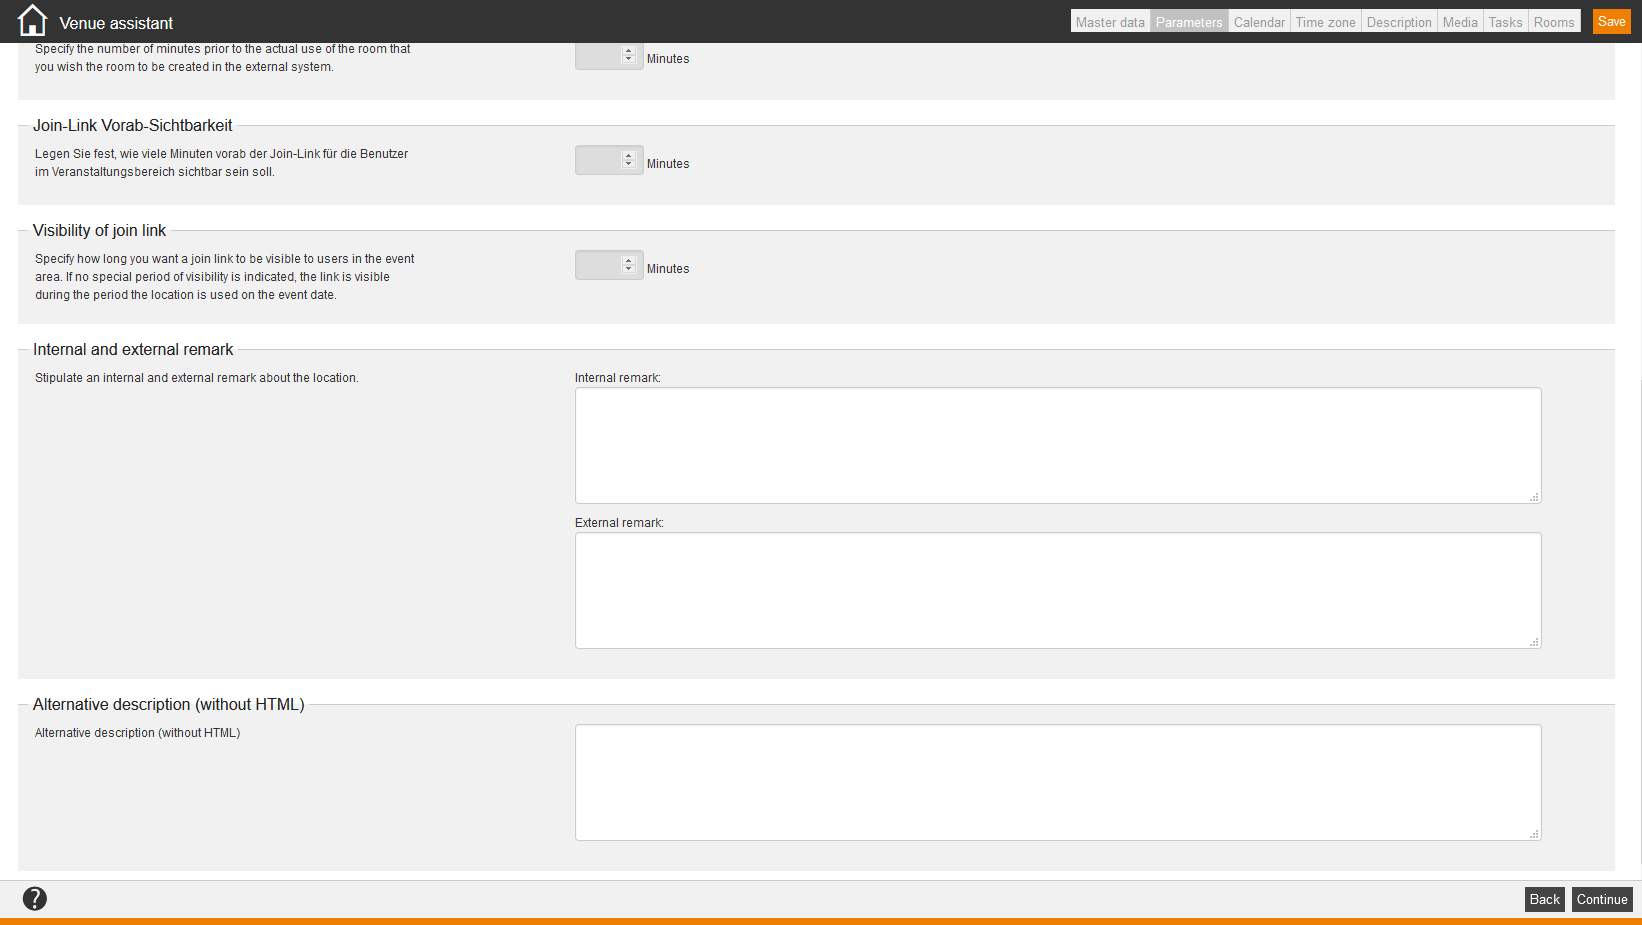
- 3 Parameters
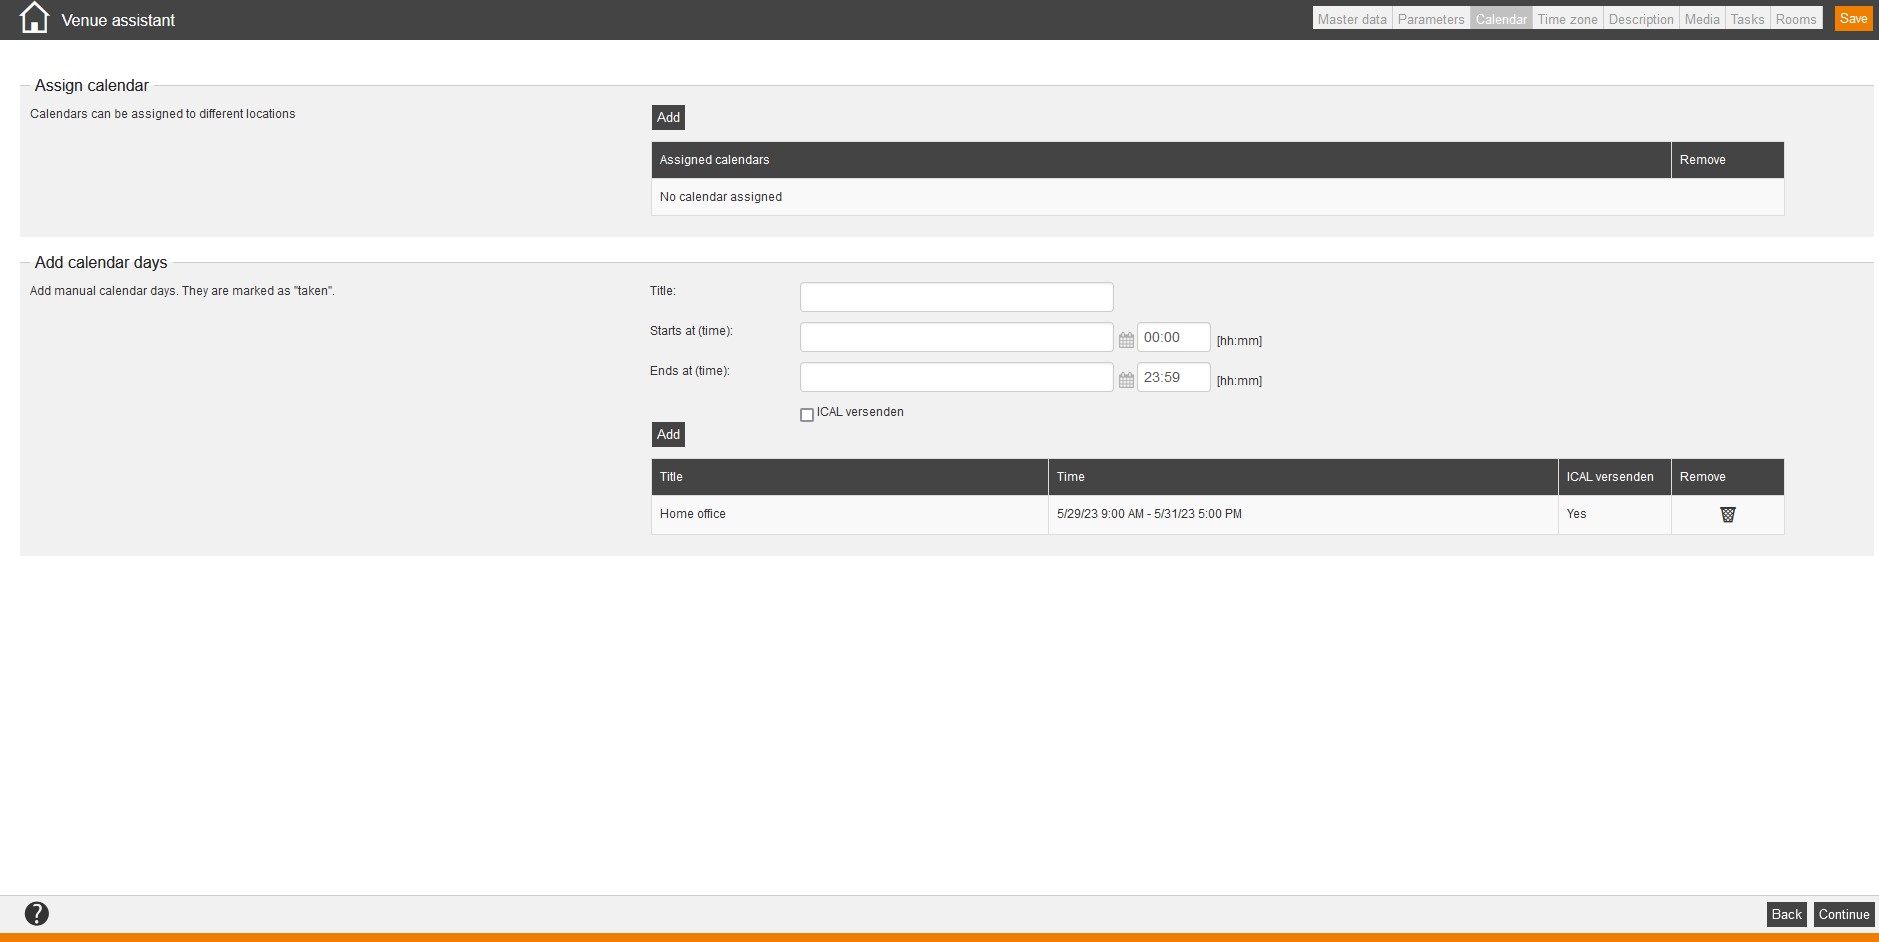
- 4 Calendar
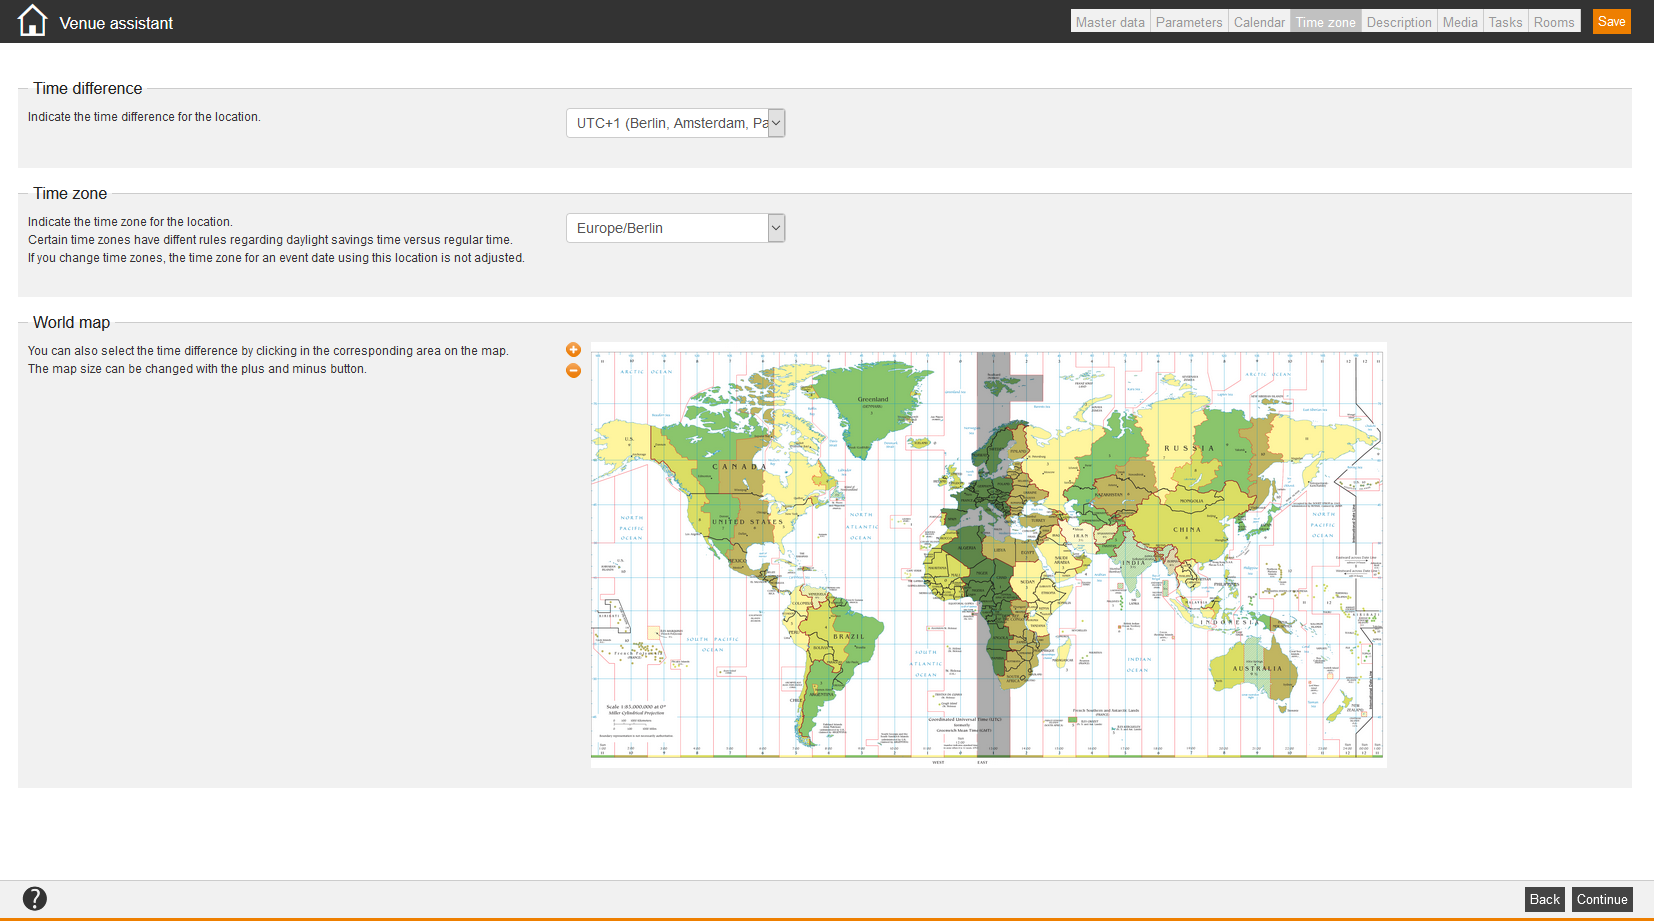
- 5 Time zone
- 6 Description
- 7 Media
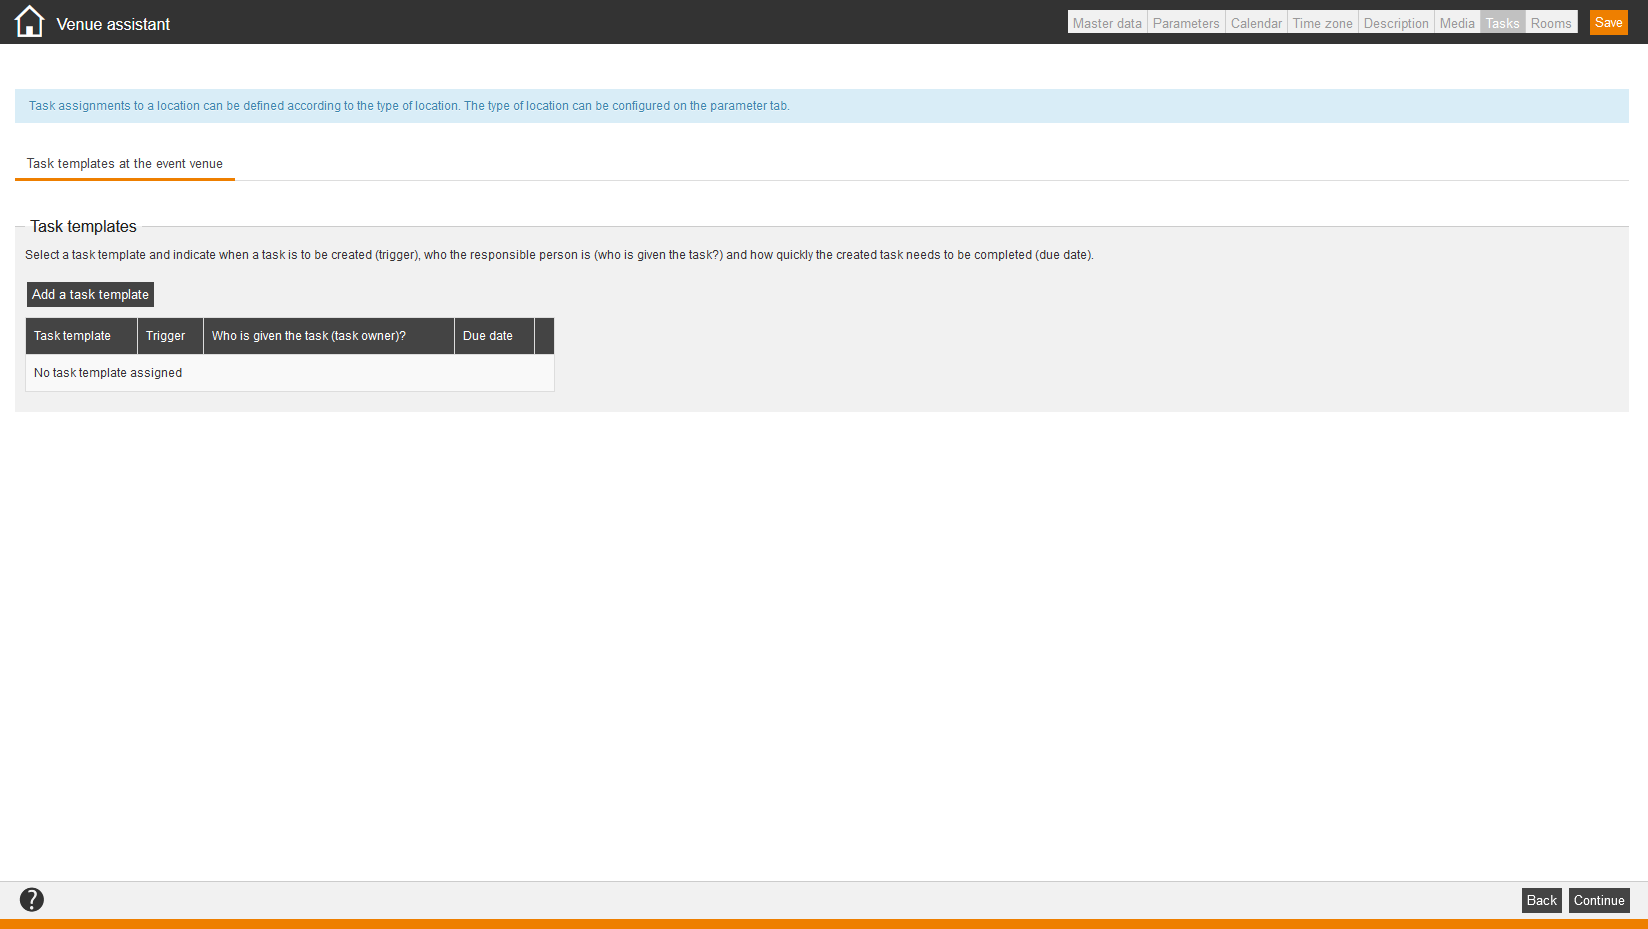
- 8 Tasks
- 9 Support of the following API functions by Avendoo®
- 10 FAQ
Supporting systems
MS Teams
You can create MS Teams as virtual location in Avendoo®. Therefore you have to do the following settings in Azure and Avendoo®:
- Azure: Technical Account
You need one account for organizing the Teams invitations. The access is controlled by the application authorizations. You do not need login details for the account.
The technical user needs a mailbox (calendar) and should not be on a local server. - Azure: Enterprise Application
You have to register a new Costom Application in Azure. The earlier created user requires an authorization for this application. - Azure: App Registrations
Manifest:
Set the value “allowPublicClient” to “true”. Optionally you can select Download to edit the manifest locally and then you click on Upload to use it again for your application.
API Permissions:
You have to assign the following access rights:
- Microsoft Graph calenders.ReadWrite
Allow the administrator agreement for this permission.
- Microsoft Graph calenders.ReadWrite
- Avendoo®: MS Teams as virtual location
As the event should be presented via MS Teams, the author can select MS Teams in the Event wizard via Virtual location. The access link for the meeting appears for the user in the event date. Therefore the author has to create MS Teams as virtual location.
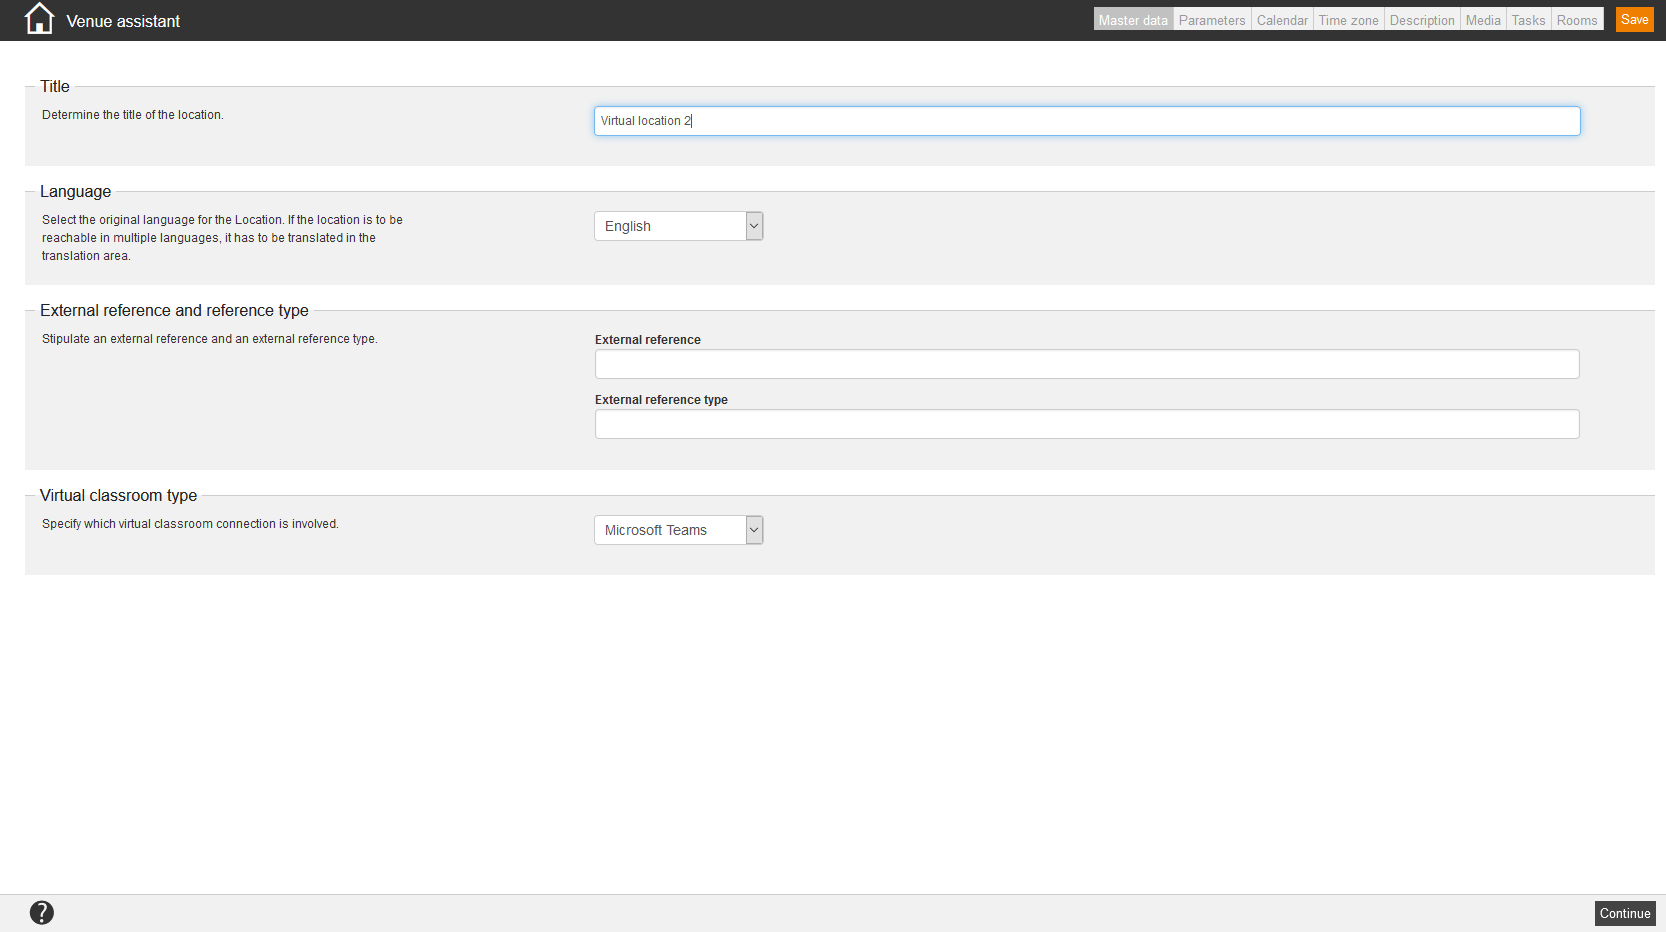
Choosing Resources → Locations → New location → Virtual location opens the Venue assistant. Then you can create MS Teams as virtual location. It is important, that you choose Microsoft Teams as Virtual Classroom Type. Also you can do further configuration for the MS Teams location, for example Visibility of join link, Calendar, Time zone. Further information you find in the Venue assistant.
- Finally you maintain the specific settings from the steps before in Avendoo® in the Venue assistant under Parameters → Virtual classroom settings for the virtual classroom connection (see screenshot) as follows:
- tenantId is maintained (=ID of the Microsoft account; you can show it on the Overview page of the Azure Active Directory in the UUID (=Universally Unique Identifier) format)
- clientId is maintained (=application ID of Avendoo® within the AzureAD environment; you can show it in the Azure Active Directory under Business applications -> App registrations)
- Use the Client Secret Authentification Procedure by adding the userId of the Teams user and the value for clientSecret. The authentification via user name and password is not recommended by Microsoft and thus it’s not any longer supported.
If you have any question, please contact our Support Team.
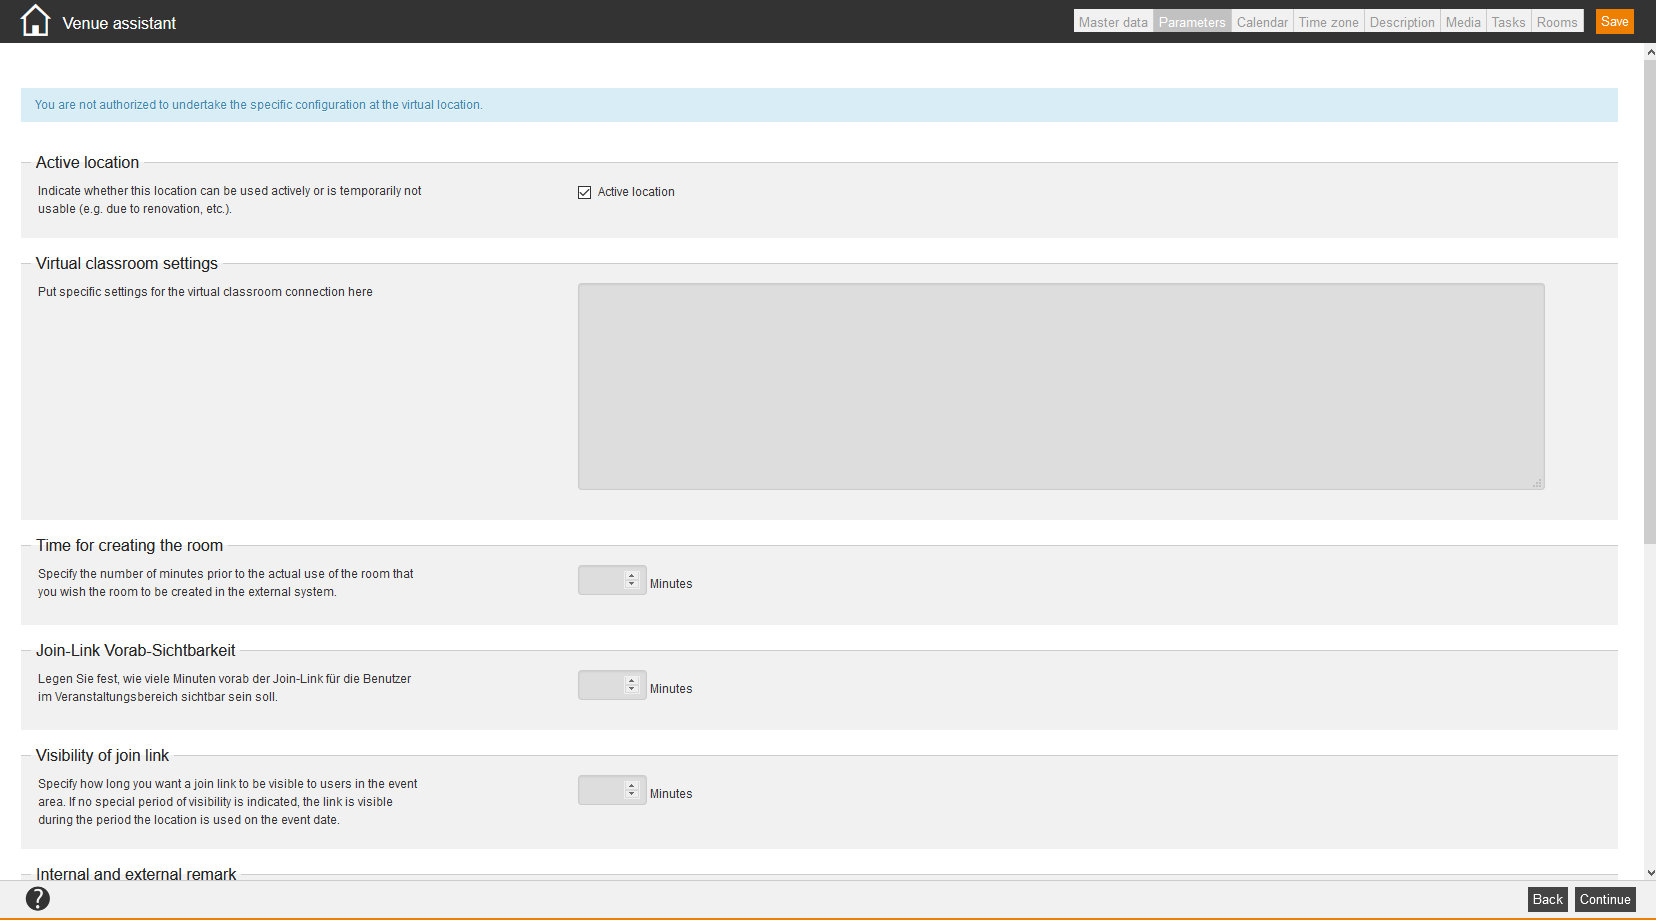
The following settings correspond to the shown Virtual classroom settings on the tab Parameters in the Venue assistant of the virtual location.
To use a virtual location (at this time with Microsoft Teams connection), the following prerequisistes have to be fulfilled for interface users:
- You choose Business applications -> Avendoo (=name of the application) -> Users and Groups in the Azure Active Directory for the Office365 user access and check, if the Teams user is added and has got the appropriate permission.
- The license of Exchange Online (calendar) exists for the user.
Furthermore there have to be the following prerequisites regarding Microsoft Teams:
- authentification of Avendoo® is maintained. Therefore you choose first App registrations in the Azure Active Directory and then Manifest. A web based manifest editor opens, in which you set the property “allowPublicClient” to “true”.
- Application Avendoo® has the permission “Group.ReadWrite.All” to use the Microsoft API for creating Teams events.
How to connect MS Teams rooms with the MS Teams API
GoToWebinar and GoToWebinar Admin
To use a virtual location with GoToWebinar connection, do the following steps:
Configure OAuth client for GoToWebinar and GoToWebinar admin
- https://developer.goto.com/ , register there with the login data for GoToWebinar.
- Click on OAuth-Clients at the top, then select Create client.
- Enter the name of the Avendoo® system (learning world, customer’s nameAvendoo etc.) under Client’s name.
- Optionally you enter a description, for example OAuth client for VC location in Avendoo® LMS.
- The Avendoo® URL as routing URI has to be stored with the following example path: „https://[AVENDOO_DOMAIN]/author/oauth/return“.
- Set the check mark at “GoToMeeting, GoToWebinar or GoToTraining“ under “Area”.
The OAuth client needs for using GoToWebinar Admin additionally the permission for the area “Admin Center”. - Copy the “Client ID” (example: fb6ea2f5-37e4-9999-abd9-bbf2e819e600) and the “Client Secret” (example: oWvp0sghVBFGeS0f20we8OWt). The client secret can only be shown once. You have to save it.
Authentication code and refresh token (application process before version 17.43)
- Build URL for code request by inserting of the OAuth clientID and the routing URI in the following link: https://api.getgo.com/oauth/v2/authorize?client_id={client_id}&response_type=code&redirect_uri={Routing URL from the OAuthClient}
- Copy this URL into the browser and activate it. Then click on Permit or authentificate again with the GoToWebinar account.
- After loading or re-directing the page, copy all from the address line of the browser into a text editor (not Word). You need the character string after “code” later on.
Example (abbr.): …code=eyJraWQiOiJvYXV0a….-MKSZTrJozmYoE1mPsQ
Execute with cygwin or Postman the following “POST” call:
In Postman:
Type: POST
- enter the URL/End point: https://api.getgo.com/oauth/v2/token and
- enter BasicAuth with the OAuth client ID as “User name” and the OAuth client secret as password under Authorization.
Headers
You have to enter the following headers:
– Accept application/json and
– Content-Type application/x-www-form-urlencoded
Body
You have to select the following Body:
– x-www-form-urlencoded
Parameters
You enter the Key under the Parameters:
– redirect_uri
– code
– grant_type
The Value consists of the following parts: {Routing URL from the OAuthClient}&grant_type=authorization_code&code=(authentificationcodeFromTheResult of code request with https://api.getgo.com/oauth/v2/authorize?client_id=}
The Value is entered as POST in the URL/End point and is then sent as request.
You see which fields should be filled up with which data in the document „GoToWebinar Postman-Request“.
In cygwin:
- First go to https://www.base64encode.org/ . There you enter the OAuth client ID, followed by a colon and you enter the OAuth client secret (client-id:clientSecret). At the bottom you click on Encode.
Example: fb6ea2f5-37e4-9999-abd9-bbf2e819e600:oWvp0sghVBFGeS0f20we8OWt
- Copy the result (mostly with two equal signy at the end) into a text editor (not Word).
Example: ZmI2ZWEyZjUtMzdlNC05OTk5LWFiZDktYmJmMmU4MTllNjAwOm9XdnAwc2doVkJGR2VTMGYyMHdlOE9XdCA=
curl -X POST https://api.getgo.com/oauth/v2/token \
H “Authorization: Basic YTIwfAKeNGYtODY4YS00MzM5LTkzNGYtNGRhMmQ3ODhkMGFhOjNuYU8xMElBMmFnY3ZHKzlJOVRHRVE9PQ==” \
H “Accept:application/json” \
H “Content-Type: application/x-www-form-urlencoded” \
d “redirect_uri=https://example.com&grant_type=authorization_code&code=iS0vynEEvRFA9i6kZ8gvNDnnOGE…”
CAUTION: At the end of the code in “-d “redirect_uri..” is a quotation mark (“)!
- Send the POST call. The answer contains a “refresh_toke” and a “organizer_key”. These both will be used for the configuration in Avendoo®.
Example:
{“access_token”:”eyJraWQiOiJvYXV0aHYyLmxtaS5jb20uMDIxOSIsImFsZyI6IlJTNTEyIn0.eyJzYyI…kBsT19H2CpNOr4uuITu-tEb4rTfvx53nEsOVtrl3t0BAUaPLH3C7HC5TUxrr1nMvUHvnEf6W_dbTic_Ac6D_XXYsmosCPEGiw”
,”token_type”:”Bearer”,
“refresh_token”:”eyJraWQiOiJvYXV0aHYyLmxtaS5jb20uMDIxOSIsImFsZyI6IlJTNTEyIn…KOLrYtvrHNs-MTO9xQ_Lor1Ls0bSLFgoaqGuojODK1dYrSDBzuhBfHy0t3WMYQ”
,”expires_in”:3600,”account_key”:”4980789151390994437″,”email”:seminare@Musterfirma.biz,”firstName”:”Musterfirma”,”lastName”:”Seminare”,
“organizer_key”:”526690667472934″,”version”:”3″,”account_type”:””}
Create a virtual location in Avendoo® (step before version 17.43)
- Create a new location in Avendoo®. Select in the Venue Assistant Virtual location.
- You select on the tab Master data in the section Virtual classroom type the option GoToWebinar.
- Insert on the tab Parameters under Virtual classroom settings the following:
clientId=017e6790-…78d2a9211683
clientSecret=**********
organizerId=526690667472934
refreshToken=eyJraWQiOiJvYXV0aHYyLmxtaS5jb20uMDIxOSIsImFsZyI6IlJTNTEyIn…KOLrYtvrHNs-MTO9xQ_Lor1Ls0bSLFgoaqGuojODK1dYrSDBzuhBfHy0t3WMYQ
The values for the clientId and the clientSecret are from the OAuth configuration.
The values for organizerId and the refreshToken are from the POST Call (via cygwin or Postman).
Enter on the tab Parameters under Time for creating the room “2440” minutes. Thus the room or session will be created two days before in GoToWebniar.
- Configure the Prior Visibility of the Join Link between 30 to 60 minutes. This means, since when the participant can see the link to the GoToMeeting on the Learning place or in the detail view of the event date.
- Configure the Visibility of join link between 30 to 60 minutes.
- Save the location.
- IMPORTANT: If there should be generated several GoToWebinar event dates parallel (=conflicts regarding time), you have to create several virtual locations regarding the event dates.
Create a virtual location in Avendoo® (new connection process)
Prerequisites
– You got an admin account, which got GoToWebinar rights (registered to “https://developer.go.to.com“).
– You’ve generated an OAuth client.
– You’ve noticed the “clientId“ and the “clientSecret“.
To use a virtual location with GoToWebinar connection (VC type GoToWebinar admin), do the following steps:
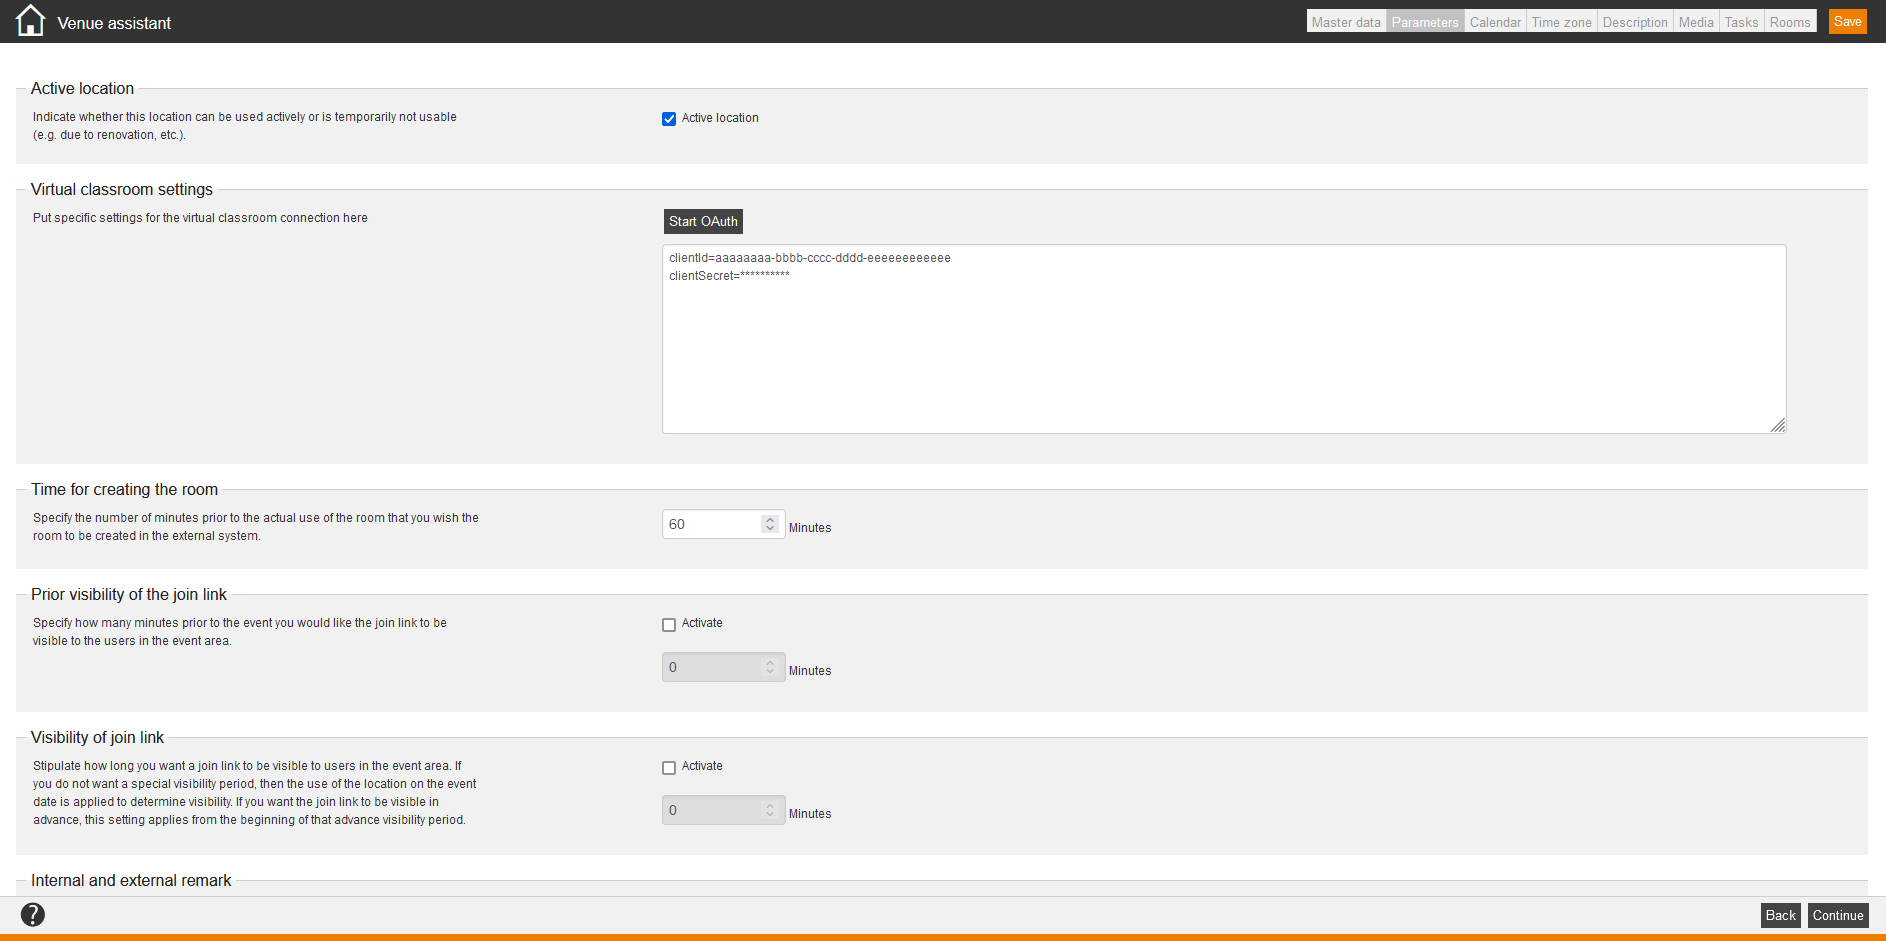
- Switch in the Venue Assistant for the virtual location to the tab Parameters (see screenshot) after selecting the VC type GoToWebninar admin on the tab Master data.
- Enter the values for “clientId” and “clientSecret” in the following schema:
„clientId=aaaaaaaa-bbbb-cccc-dddd-eeeeeeeeeeee“ and „clientSecret=***********“
You can create a new GoToWebinar standard with “clientId“ and “clientSecret“ in Avendoo®. Therefore you save the values in the configuration on the tab Parameters under the option Virtual classroom settings and open the page again or reload it. - Then you click the button Start OAuth.
A dialog window opens. - In this dialog window you confirm, that Avendoo® is connected.
Then the “OrganizerId“ and the “RefreshToken“ are automatically filled.
Result
You can start a manual recording in the Event manager (attendance list) or you can activate the automatic recording of the attendance lists.
If you got questions, please contact our support team.
Test it
- Create event and event date with virtual location “GoToWebinar”. The event date should be at maximum in future as the value is configured in the Prior visibility in the join link.
- At that you create a course and a course activation.
- Register test participant, with whom you log in, to the event date.
- Substitute the URL of the Avendoo® system after https://avendooURL.de/share/ with “/tutor/TutorController?action=runTestMethod&testMethod=newVcInstantRun” to https://avendooURL.de/tutor/TutorController?action=runTestMethod&testMethod=newVcInstantRun and call it. This is for transmission at once for testing.
- You can register under https://dashboard.gotowebinar.com/ with the login data for GoToWebinar.
- The VC event date of the event should be shown on the dashboard in GoToWebniar.
- You can log in in Avendoo® with the registered test participant and can click on the event date on the Learning place.
- There should be the Join link for going to GoToWebinar in the detail view of the event date.
YuLinc
The following settings correspond to the displayed Virtual Classroom Settings on the tab Parameters in the Venue Assistant of the virtual location.
To use a virtual location with YuLinc connection, the following prerequisites have to be fulfilled:
- manager_username (= user name of the manager in the YuLinc system) is maintained
- manager_password (= password of the manager in the YuLinc system) is maintained
- session_success_percentage (= time in percentage, which have to be joined by a user in a YuLinc session for passing) is maintained
Note that the YuLinc API event date time is always transferred in the correct time zone. This means, time is created in the time zone of the user in YuLinc. This means that the time zone of the Avendoo® location has to be the time zone of the YuLinc user for having the same time with Avendoo®. And the time, which transfers YuLinc, is the same, which the author configures in the Venue Assistant, independent from the real time zone.
Please feel free to contact our support team.
Vitero
The following configuration is congruent to the shown Virtual classroom settings on the tab Parameters in the Venue assistant of the Virtual location.
To use a virtual location with Vitero connection since Avendoo® version 17.51 you have to maintain the system setting “connector.vc.vitero”.
Please feel free to contact our support team.
Zoom
The following configuration is congruent to the shown Virtual classroom settings on the tab Parameters in the Venue assistant of the Virtual location.
To use a Virtual location with Zoom connection, the following requirements have to be fulfilled:
- App in Zoom has to be Server-to-server OAuth app (https://marketplace.zoom.us/docs/guides/build/server-to-server-oauth-app/)
- The interface user has to be a paid account.
- All speakers have to be paid accounts to register as alternative hosts.
- Speakers get the name from the Zoom account displayed and not the name from the Avendoo® account.
- Only Zoom meeting can be supported in the API. You can’t connect Zoom Webinar.
- The following information has to be maintained in the location:
- accountID from the app
- clientID from the app
- clientSecret from the app
- userID (e-mail address of the interface user)
Please feel free to contact our support team.
Webex
Configure Webex
- Create under https://developer.webex.com/my-apps/new a new service app.
- Give the service the following scopes:
– meeting:schedules_read
– meeting:schedules_write
– meeting:participants_read
– meeting:admin_participants_read
– meeting:admin_schedule_read
– meeting:admin_schedule_write
– spark:people_read
– spark:people_write
– spark-admin:licenses_read
– spark-admin:people_read
– spark-admin:people_write
- Save the service.
- Copy the Client ID and the Client Secret.
- An administrator releases the service app.
- To authorize the service for an organization, select the organization and enter the Client Secret.
- Copy refreshToken and accessToken.
Configure Avendoo®
- Login as an author in Avendoo®.
- To create a new virtual location with type WebEx, choose Resources → Locations → Create → Virtual location.
The Location wizard for virtual locations opens.
- Enter the required data on tab Master data.
- Switch to tab Parameters and maintain the following parameters under Virtual classroom settings:
- clientId=(copied from WebEx Service App)
- clientSecret=(copied from WebEx Service App)
- refreshToken=(copied from WebEx Service App)
- accessToken=(copied from WebEx Service App)
- hostEmail=(copied from WebEx Service App)
- sessionPassword=(copied from WebEx Service App)
- siteUrl=(information from WebEx Admin)
- You can maintain the following optional parameters:
- captureSuccess=(number of percent between 0 and 100, which defines since when the automatic record attendance allows the participant to pass, standard: 90%)
- meetingEnterpriceLicense=(that ID of the license to give the
– We recommend you the new configuration of WebEx.
– You see the link view maximum 15 minutes before event date.
– Speaker which are created as host at Webex, receive an e-mail by Webex later on.
– If 90 percent is done of the meeting time, means that the participant was present.
If you got any question, feel free to contact our support team.



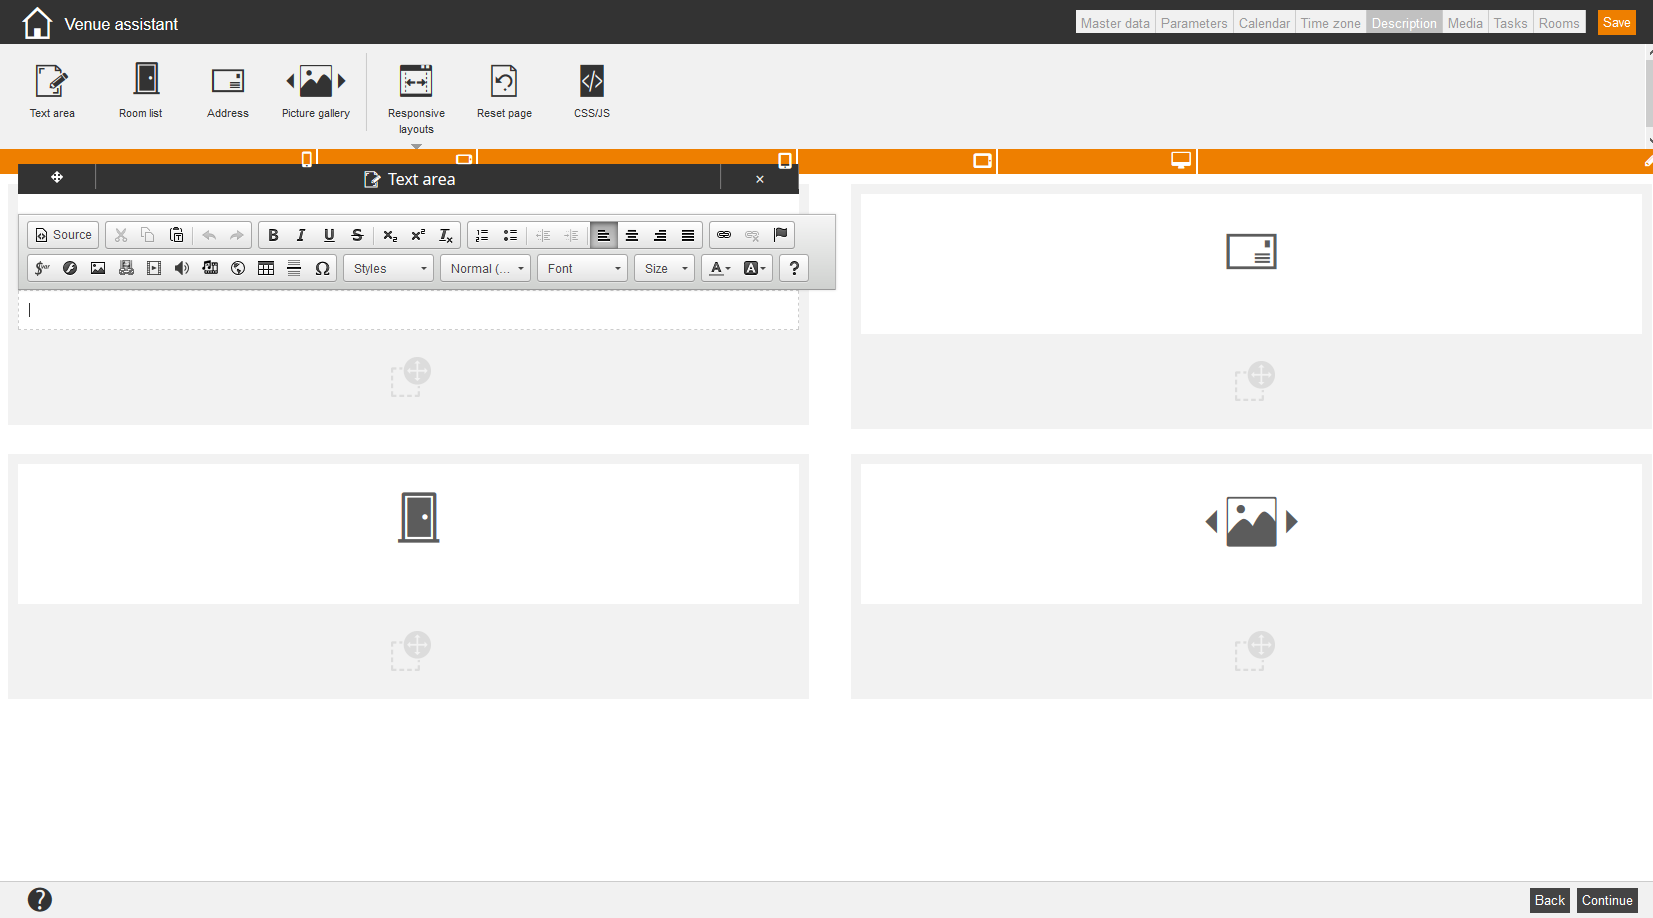
 Via this button you can create responsive layouts.
 Via this button you can reset configured pages.
 Via this button you can configure regarding JavaScript or/and
