Basics
Prerequisites
You got depending on your requirements the rights Read, select, Change, create, Delete (object permission) and Chamge external content and Manage participants for Training plans under Activations via your Author account or your permission group.
Additionally, you can define the object permissions directly on the object or in the category. You find more information in the chapter “Security”.
If you want to define the links or the width of the path on training plans, you can do this under the system setting “system.scss.global.variables”. Prerequisite is the author right Read, select and Change, create under Administration (objects) → System settings on your Author account or your permission group.
Use
A training plan gives you a summary of course activations to focus on the same training topic. It’s a set of several course activations, which belong to the same training. If you connect these course activations you get a structure, which represents the order or the processing of the training plan. Thus you can design complex scenarios and you give a time frame to the training.
Functions
A training plan is closed, if at least one path is completely processed. Course activations, which have no path and no connection to another course activation, are for the completion of the training plan irrelevant.
Further information about the rule on participants of training plans you find on the page “Rules on participants”.
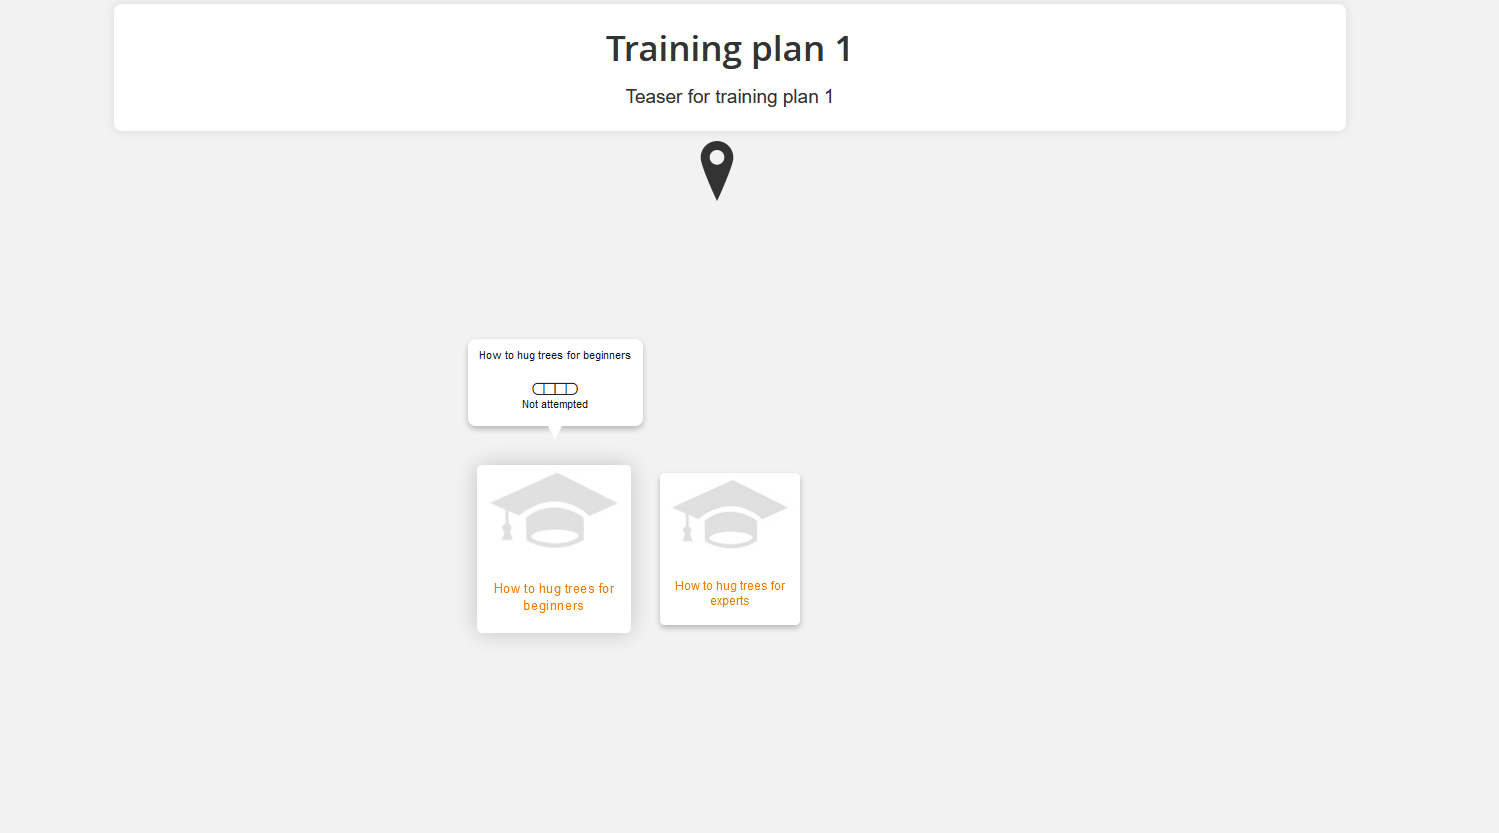
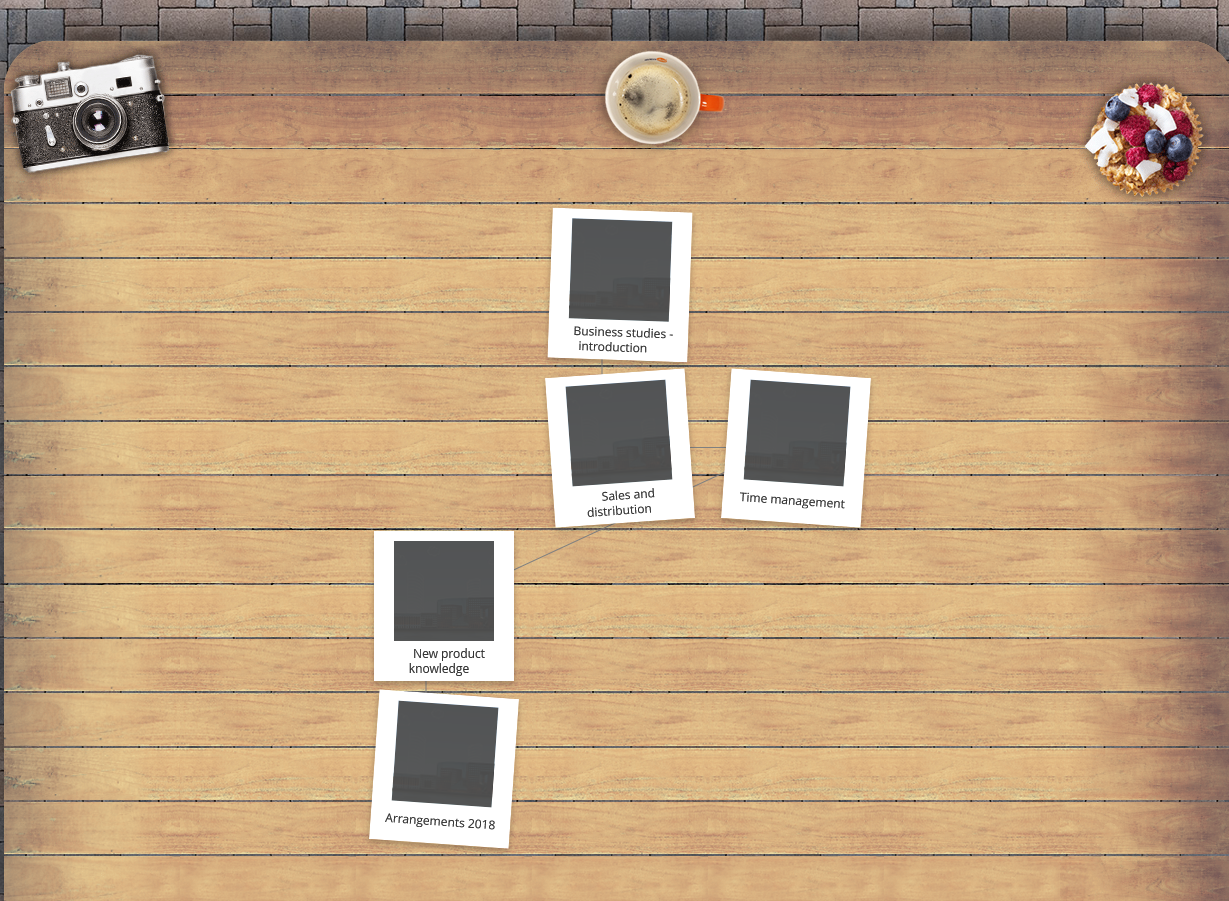
The training plan preview (see screenshot) and the training plan editor include also the layout of the client. This means you can define a layout design for the standard training plan and a new layout design, which is only inserted in a certain client.
In the overview (Course management → Training plans) you see all already created training plans.
If you click the title, you get to the corresponding Training plan wizard.
Via clicking the symbol of the translation area you get into the translation management of the corresponding training plan.
Via clicking the national flag you get to the preview of the frontend user.
To open the participant management, click the participant icon ![]() . Furthermore you see the owner of the training plan, the creation and change date.
. Furthermore you see the owner of the training plan, the creation and change date.
There are the mass processing functions Move, Delete, Change owner and Copy for training plans. More information about these functions you find under Training plan: Mass processing functions.
The following functions are available via the context menu of the corresponding training plan title. In the context menu you find also the object permissions, which are used on user content.
Create training plan
Master data
Enter first title and teaser and choose the main language of the training plan.
Edit mode for imported users
Define which edit mode is to be used for registering new users in the training plan if the extended import function was used to add these users:
- Optional
- Mandatory
Status
Select the status of the training plan:
- Initiated
The user still can’t see the training plan at the learning place. Neither a self-registration nor an external registration are allowed. The training plan is in the process of creation and shouldn’t be used yet.
- Active
The training plan can be processed by the user. Registration is allowed.
- Closed
All user, which have begun the training plan, can end this. A new registration is not allowed.
- Archive
The training plan can’t be edited by the user. The learners in the training plan are stopped. The training plan serves only for assessment. In this status the training plan can be deleted in training plan overview. If you archive a training plan, you can archive the assigned course activations, too.
Parameters
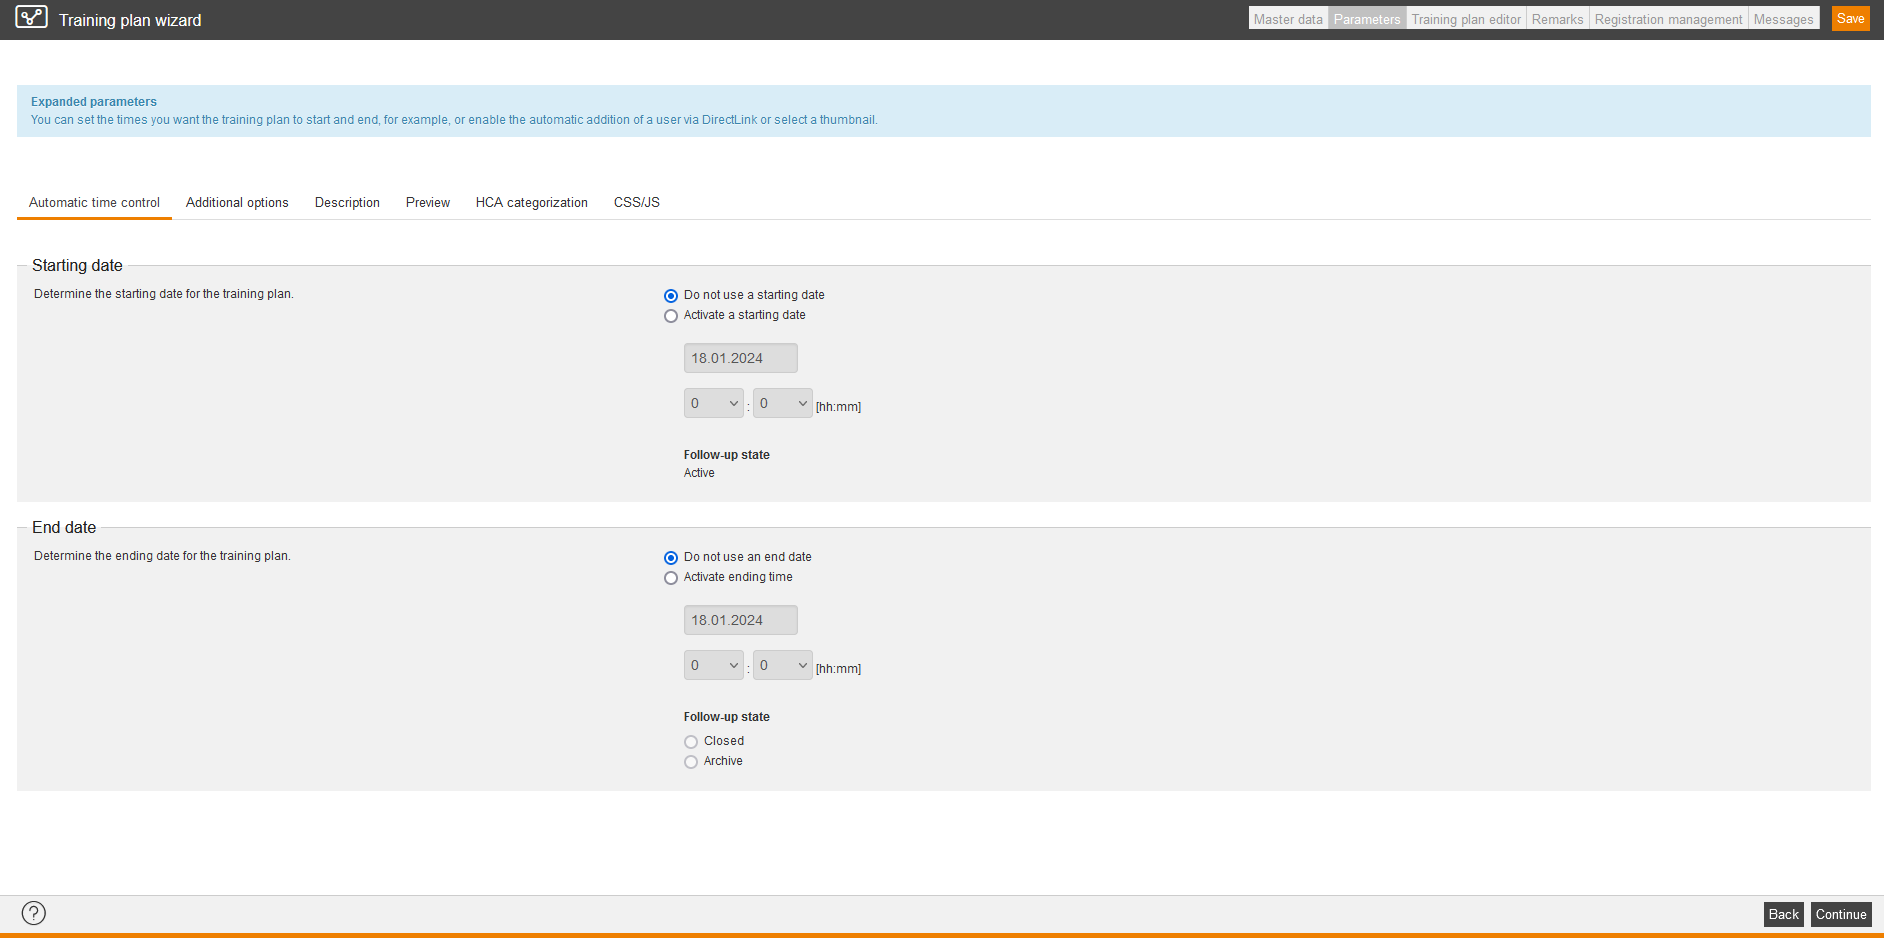
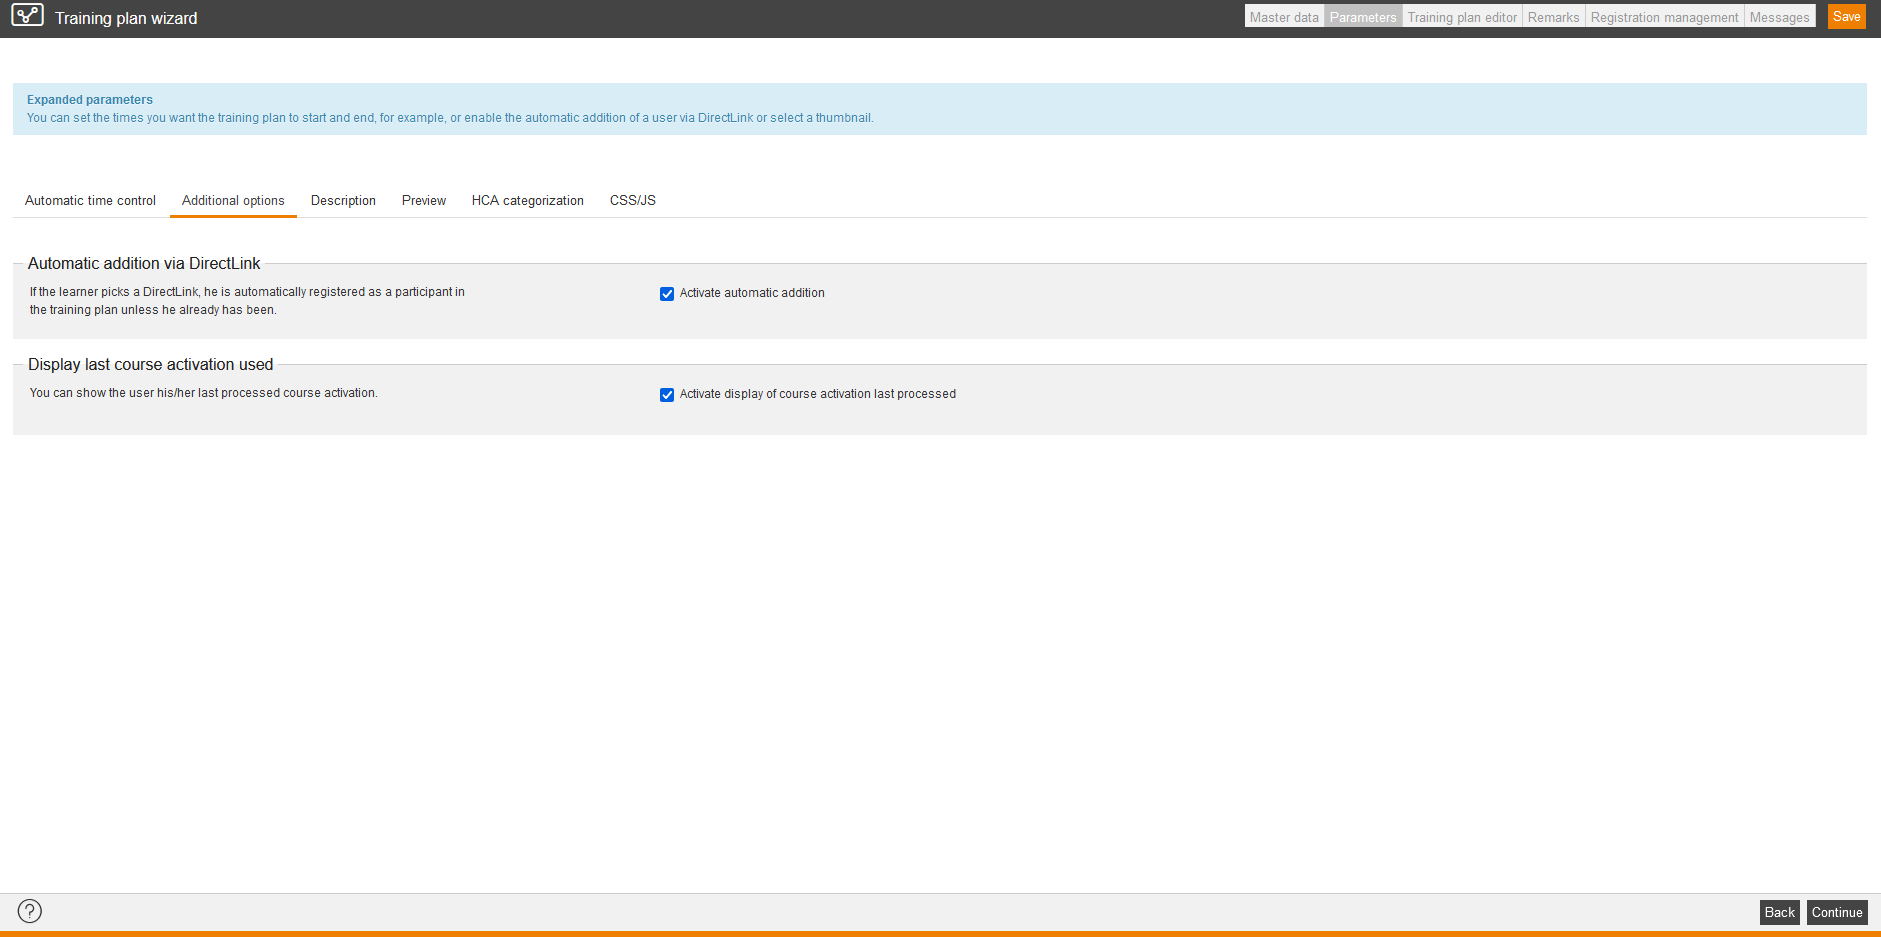
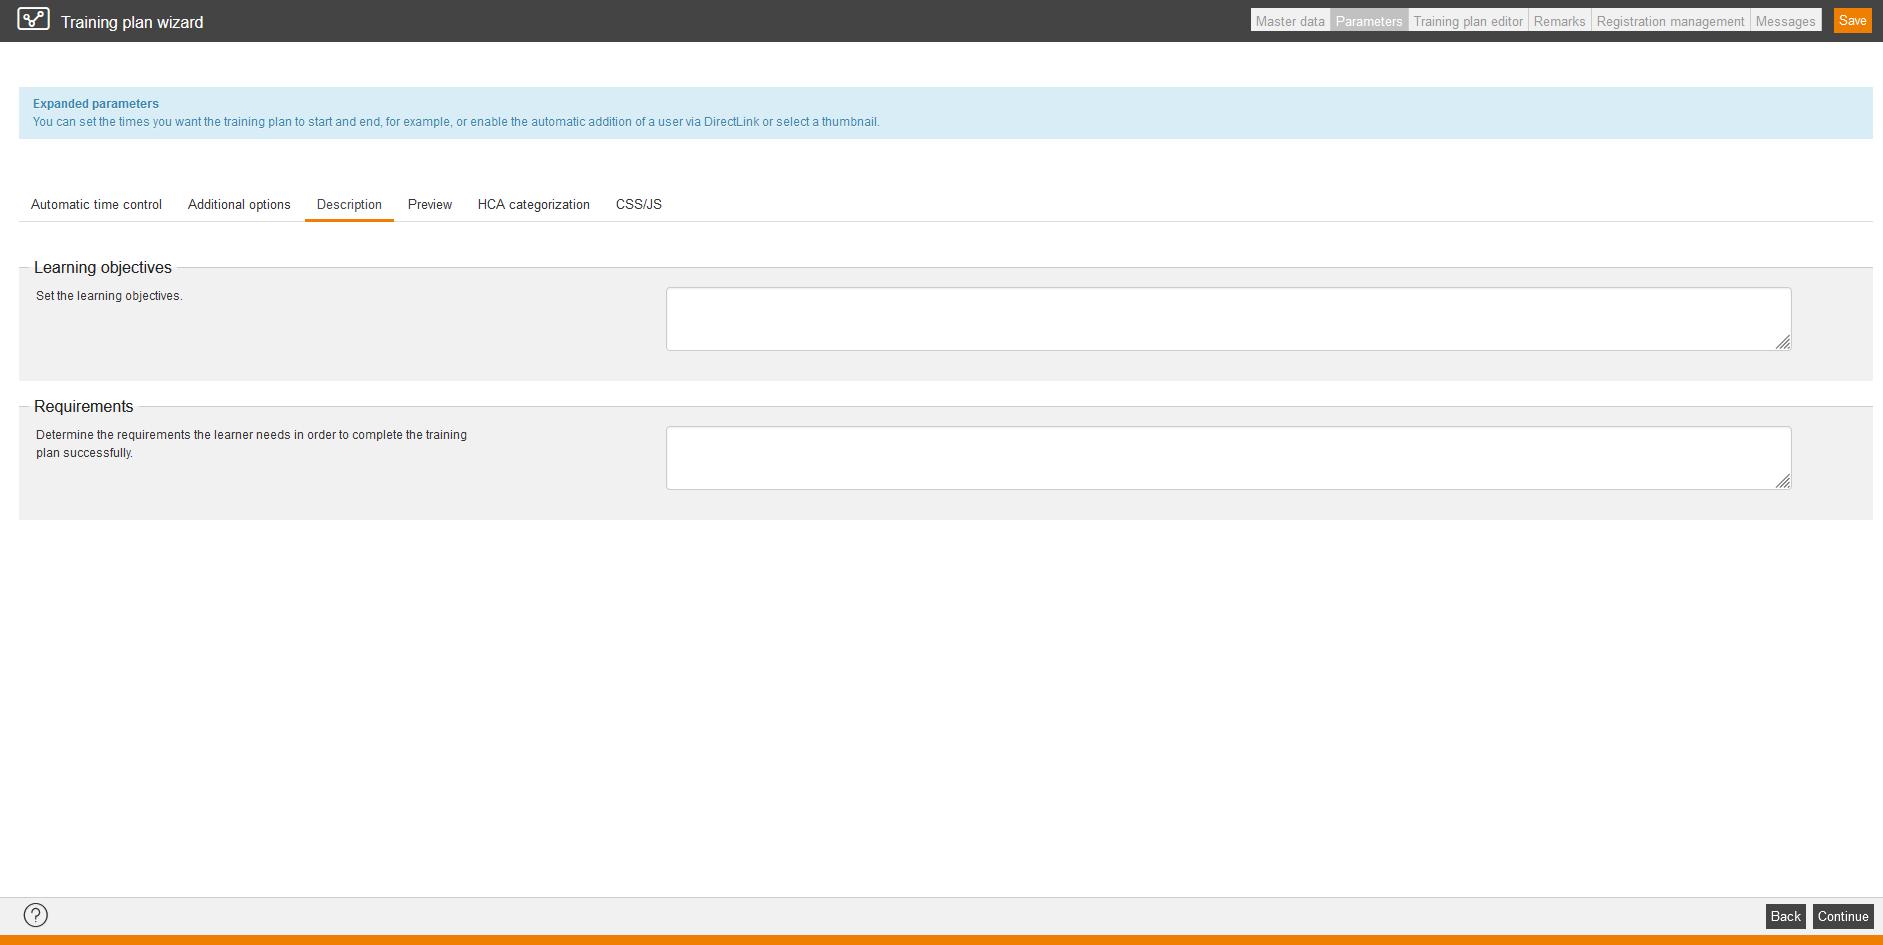
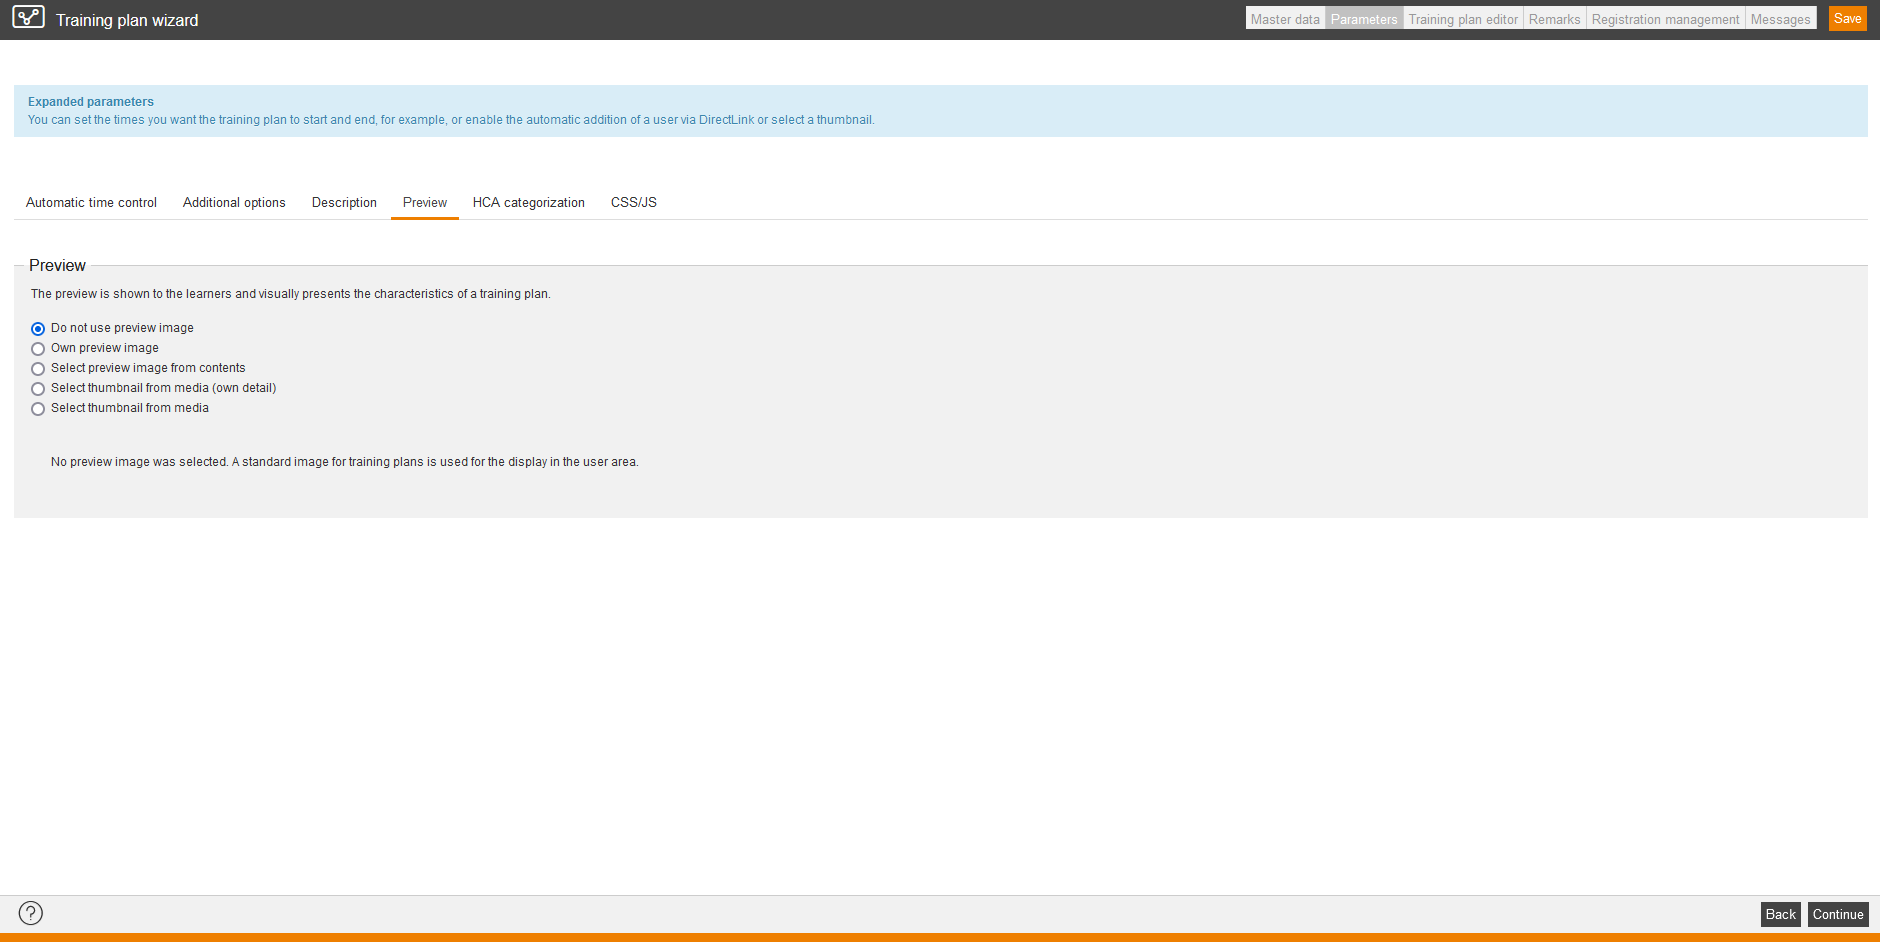
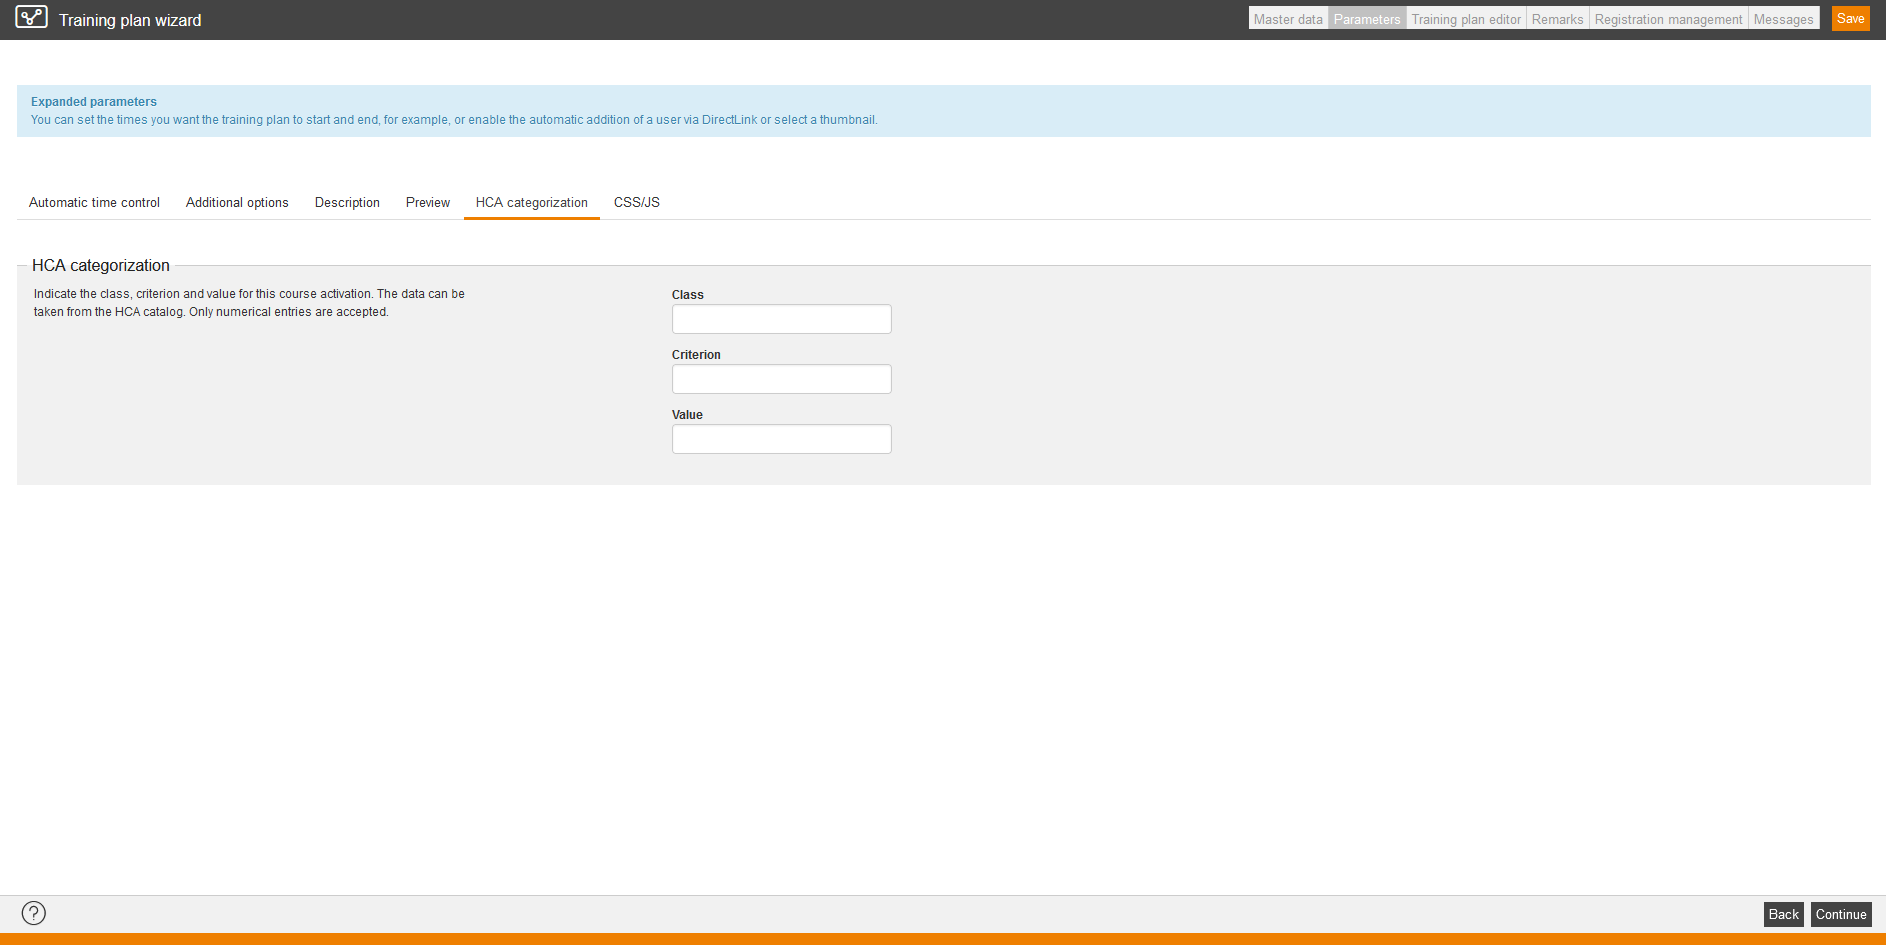
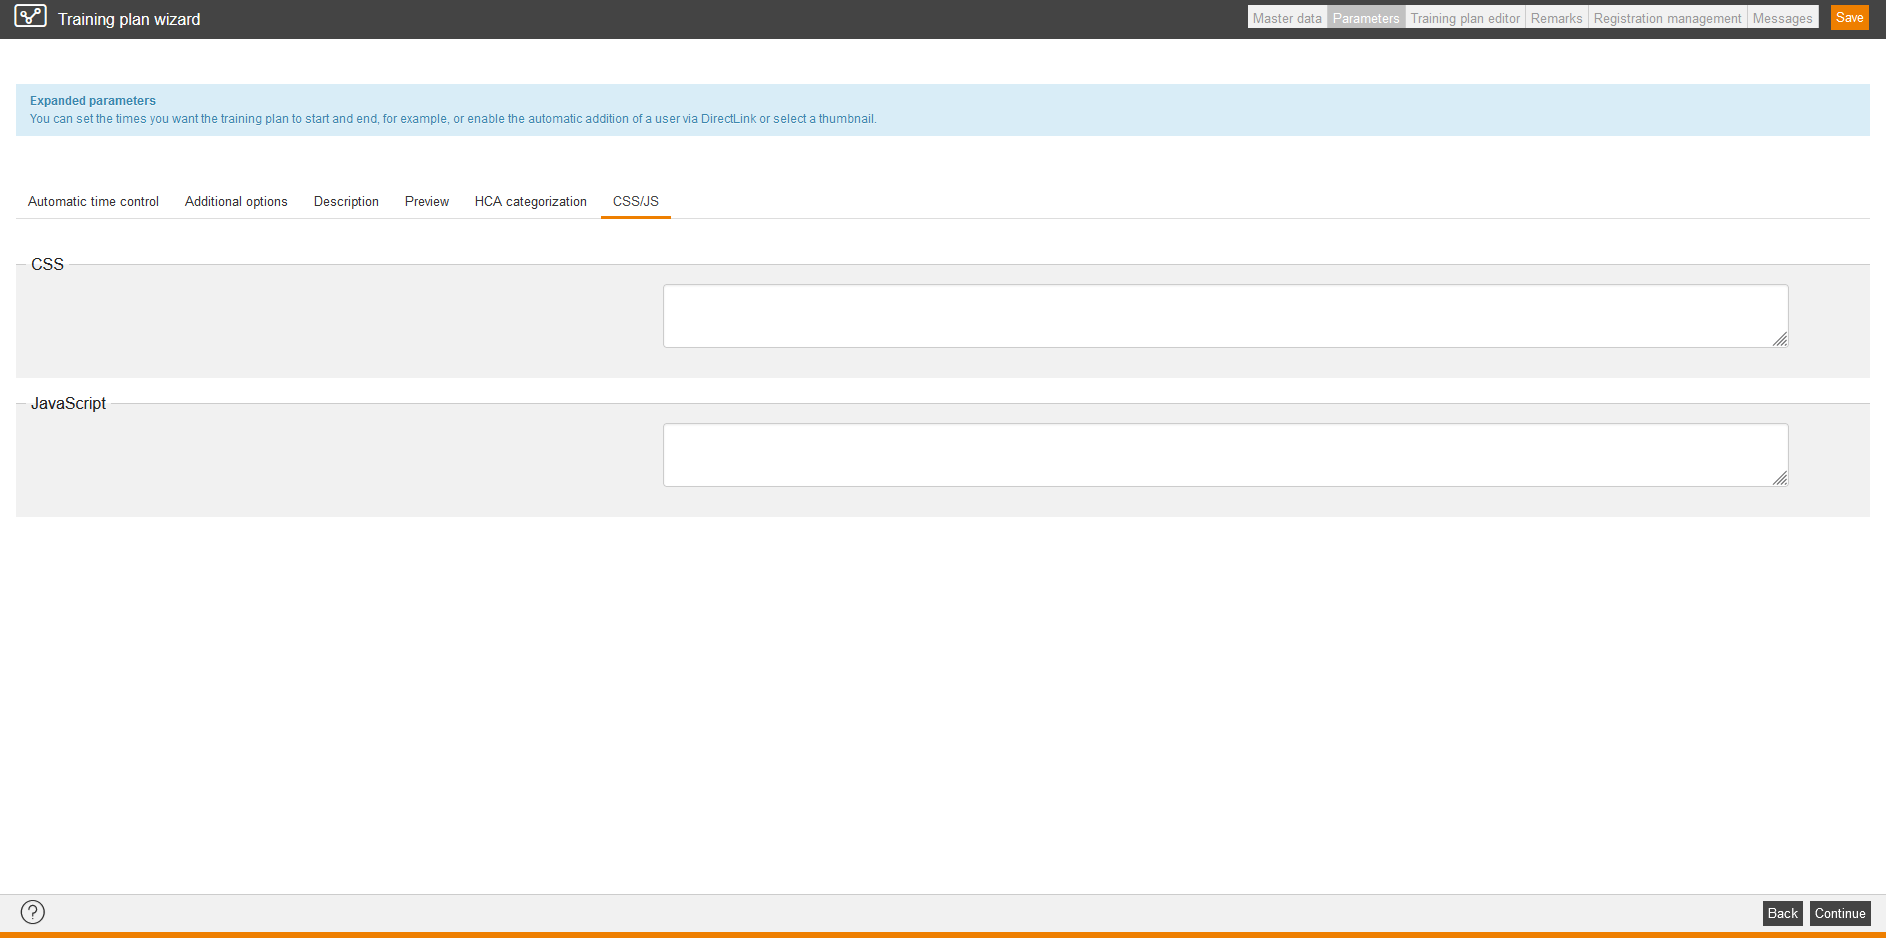
The parameters provide to define the expanded settings for the training plan. You define beside a possible starting and end date learning objectives, requirements etc.
Starting date
Define the starting date (date and time) for the training plan. The follow-up status “Active” is set automatically.
End date
Enter a end date, if you want that the training plan should be available for a fixed time period. Decide, if the follow-up status should be Closed or Archive.
Training plan editor
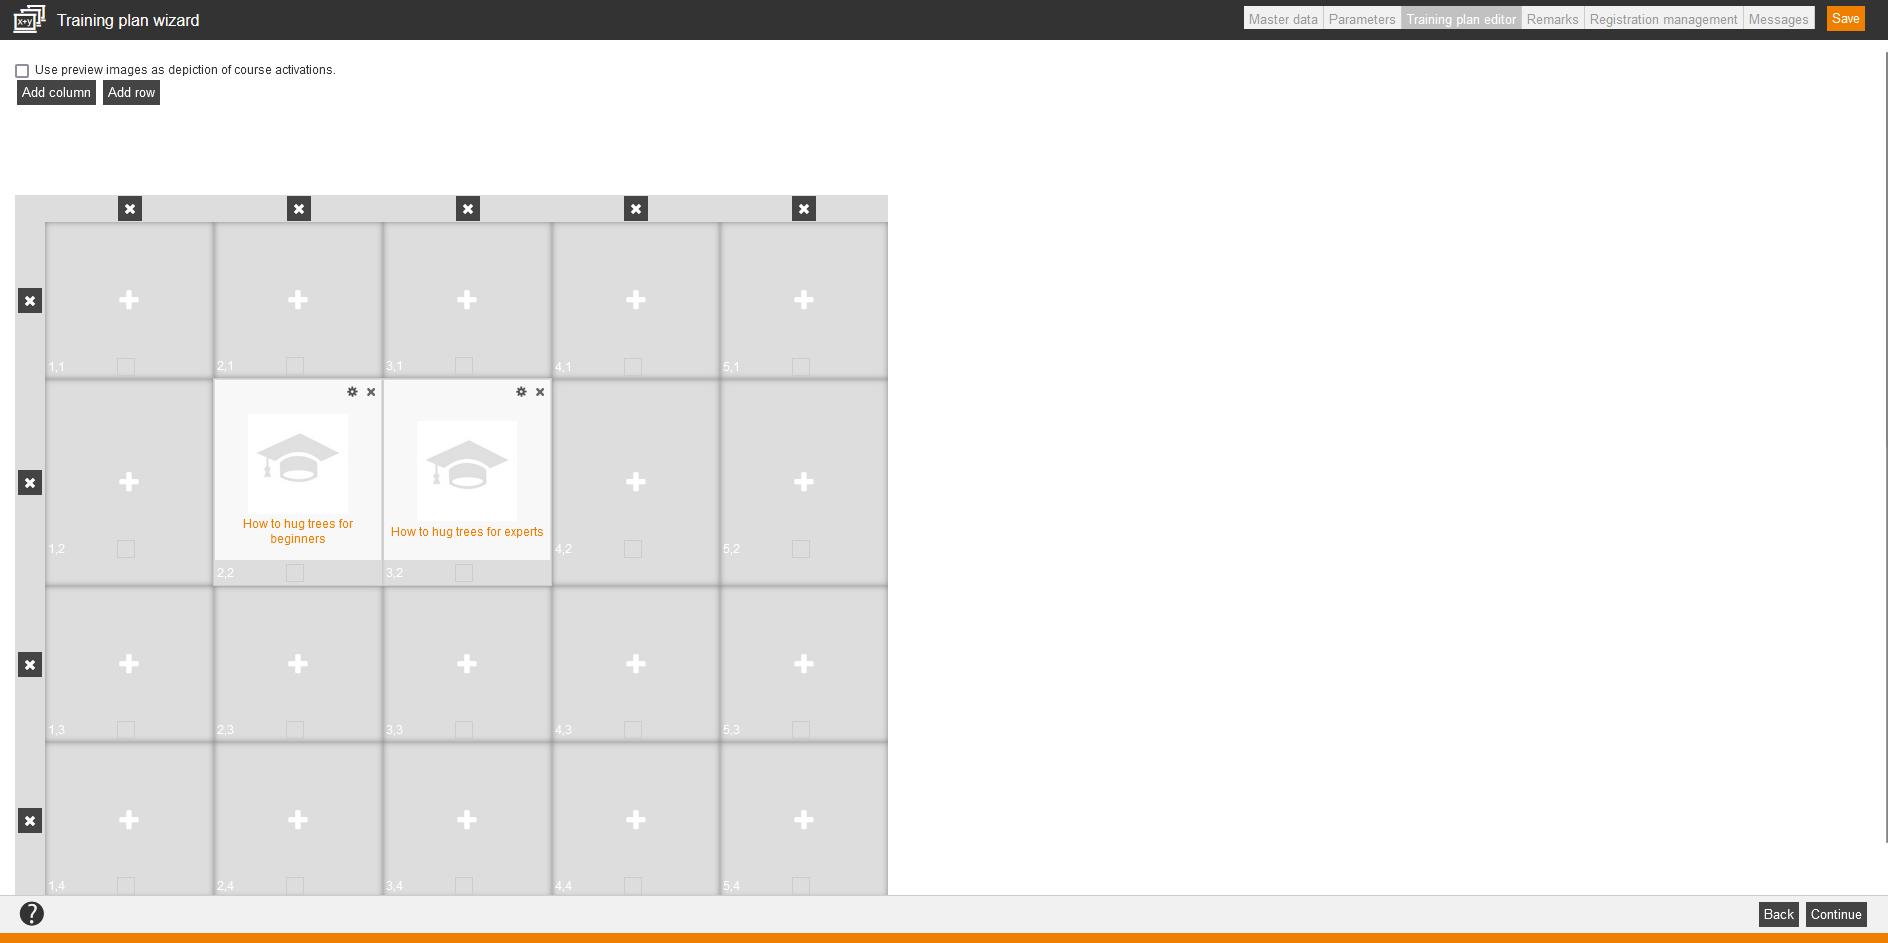
The training plan editor consists of a coordinate raster, which already represents a modified display of the visualized training plan. If the raster doesn’t suffice, you can add any rows and columns in the wizard via the appropriate buttons top left. The connection between content is always vertically. Thus the starting content should be arranged at the top.
You can define the classifications, which you have created in the Classification wizard and added in the Client wizard, in the Client wizard as mandatory selection for the Training plan wizard.
Add course activation
To add a course activation in the training plan, click a plus sign in any rectangle in the raster. In the opening dialog window you can select the corresponding course activation and add it to the training plan.
Consider, in which order you want to add further course activations. We recommend to edit from top to bottom. You should consider by adding further content to arrange clearly. Avoid the crossing of individual ways in a training plan.
Edit training plan
If you have misplaced an element, you can delete it by clicking the x in the upper right corner of the element.
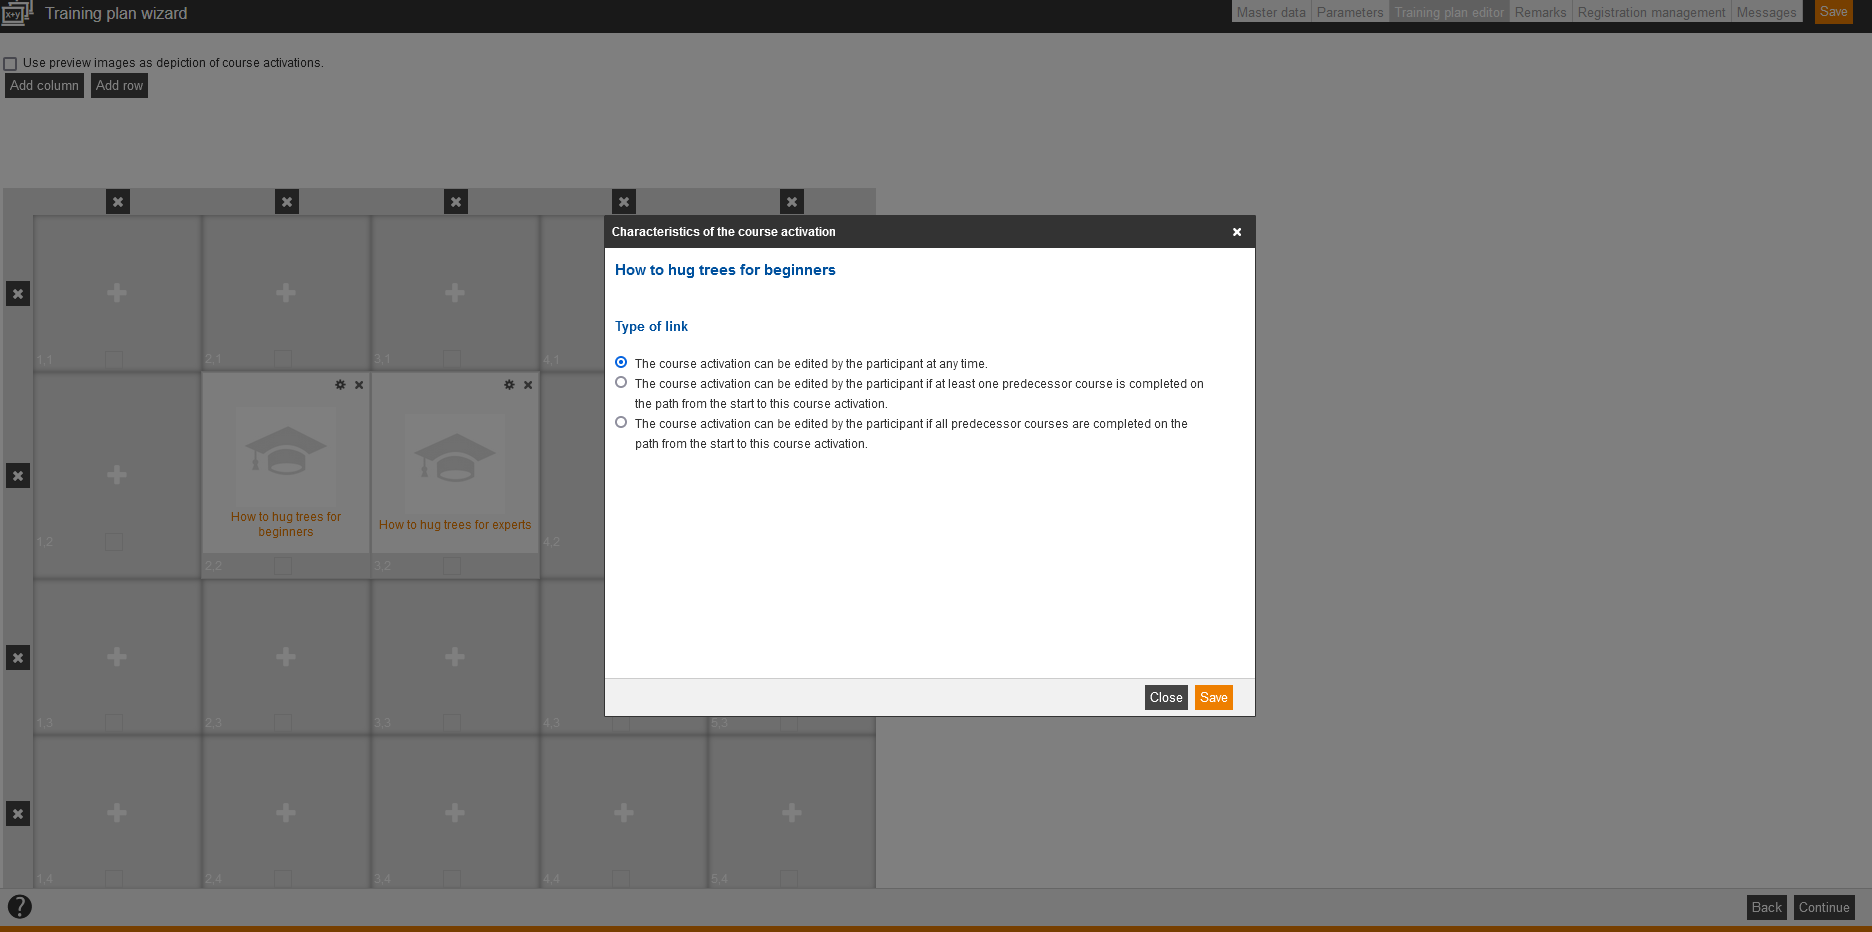
Besides the x you see a small gear wheel. Via this gear wheel you open the dialog window Characteristics of the course activation.
Characteristics of the course activation
Select link type
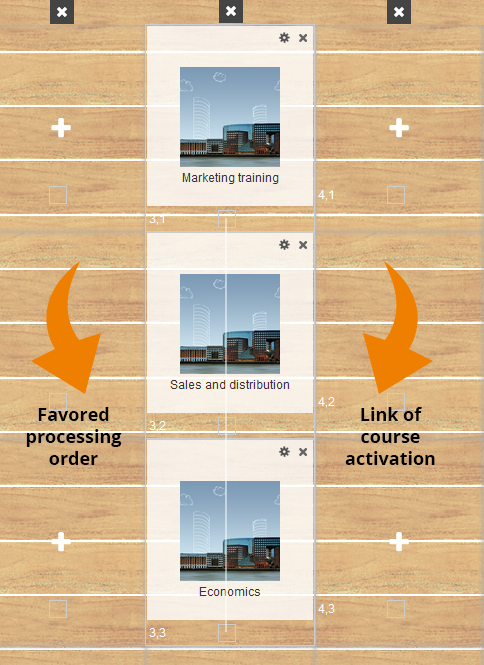
If you have added several course activations to the training plan, you can link them to get an order.
Therefore click the small rectangle below the first course activation and then click the small rectangle below the second course activation. The course activations are now linked.
Path direction
The direction of the links in the training plan corresponds to the click order.
The first clicked link point is the starting point and the second clicked link point is the end of the link.
You link A -> B and Avendoo® processes A -> B.
Define link types
To give the participant a processing order, you can define the link type. Therefore click on the gear wheel in the upper right corner of a course activation. In the opening dialog window you can select one of the following link types:
- The course activation can be edited by the participant at any time.
There exists no special link between the selected course activation and the predecessor elements of the path. The participant can decide in which order he/she processes the course activations.
- The course activation can be edited by the participant if at least one course that directly precedes this course activation is completed.
This option defines that one direct predecessor has to be completed at least on the path, before the participant can process the selected course activation. Which course activation the participant has to complete before, is not defined. But the course activation has to be predecessor in the order of the path regarding the selected course activation. Thus you restrict the processing order for the participant in some parts. - The course activation can be edited by the participant if all predecessor courses on a path from the beginning up to this course activation are completed.
If you select this link type, the participant can only process the course activation, when he/she has all others course activations completed, which are on the path. There can be several paths regarding the selected course activation.
But it’s enough, if all course activations are completed, which are on one path regarding the selected course activation. Thus you provide the participants an exact processing order.
In the lower area are all links of the selected course activation to further course activations listed. You can delete any link of the selected course activation via the appropriate delete button. Course activations, which have no link, are end points. These end points influence for example, if the training plan is processed. Thus add later course activations or exchange an old with a new course activation, consider the links in the training plan. Course activations, which are linked by no path to other course activations and are “alone” on the training plan, are irrelevant for the completion of the training plan.
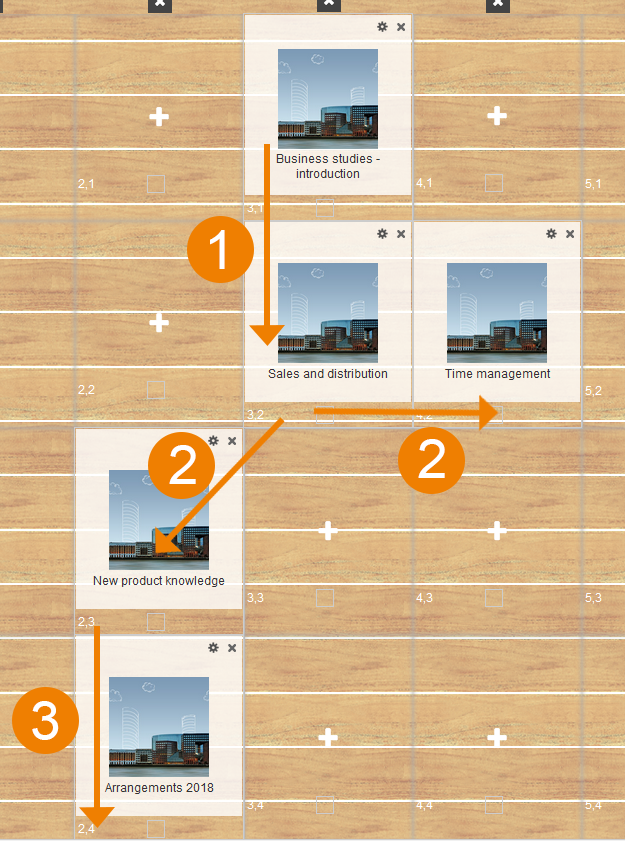
Practical example
Business studies – introduction → Sales and distribution (1)
The participant can process the courses “Business studies – introduction” and “Sales and distribution” at any time in any order. The arrangement of the courses provides that first the course “Business studies – introduction” should be processed and then the course “Sales and distribution”. Thus there is no link not necessary.
Sales and distribution → New product knowledge or time management (2)
The participant can process the courses “New product knowledge” and “Time management” only, if he/she has completed the course “Sales and distribution” or the course “Business studies – introduction”.
New product knowledge → Arrangements 2018 (3)
The participant can only process the course “Arrangements 2018”, if all previous courses are completed on the path. Thus the participant can only start this course, if he/she has completed the course “New product knowledge” and the courses “Sales and distribution” and “Business studies – intrododuction”.
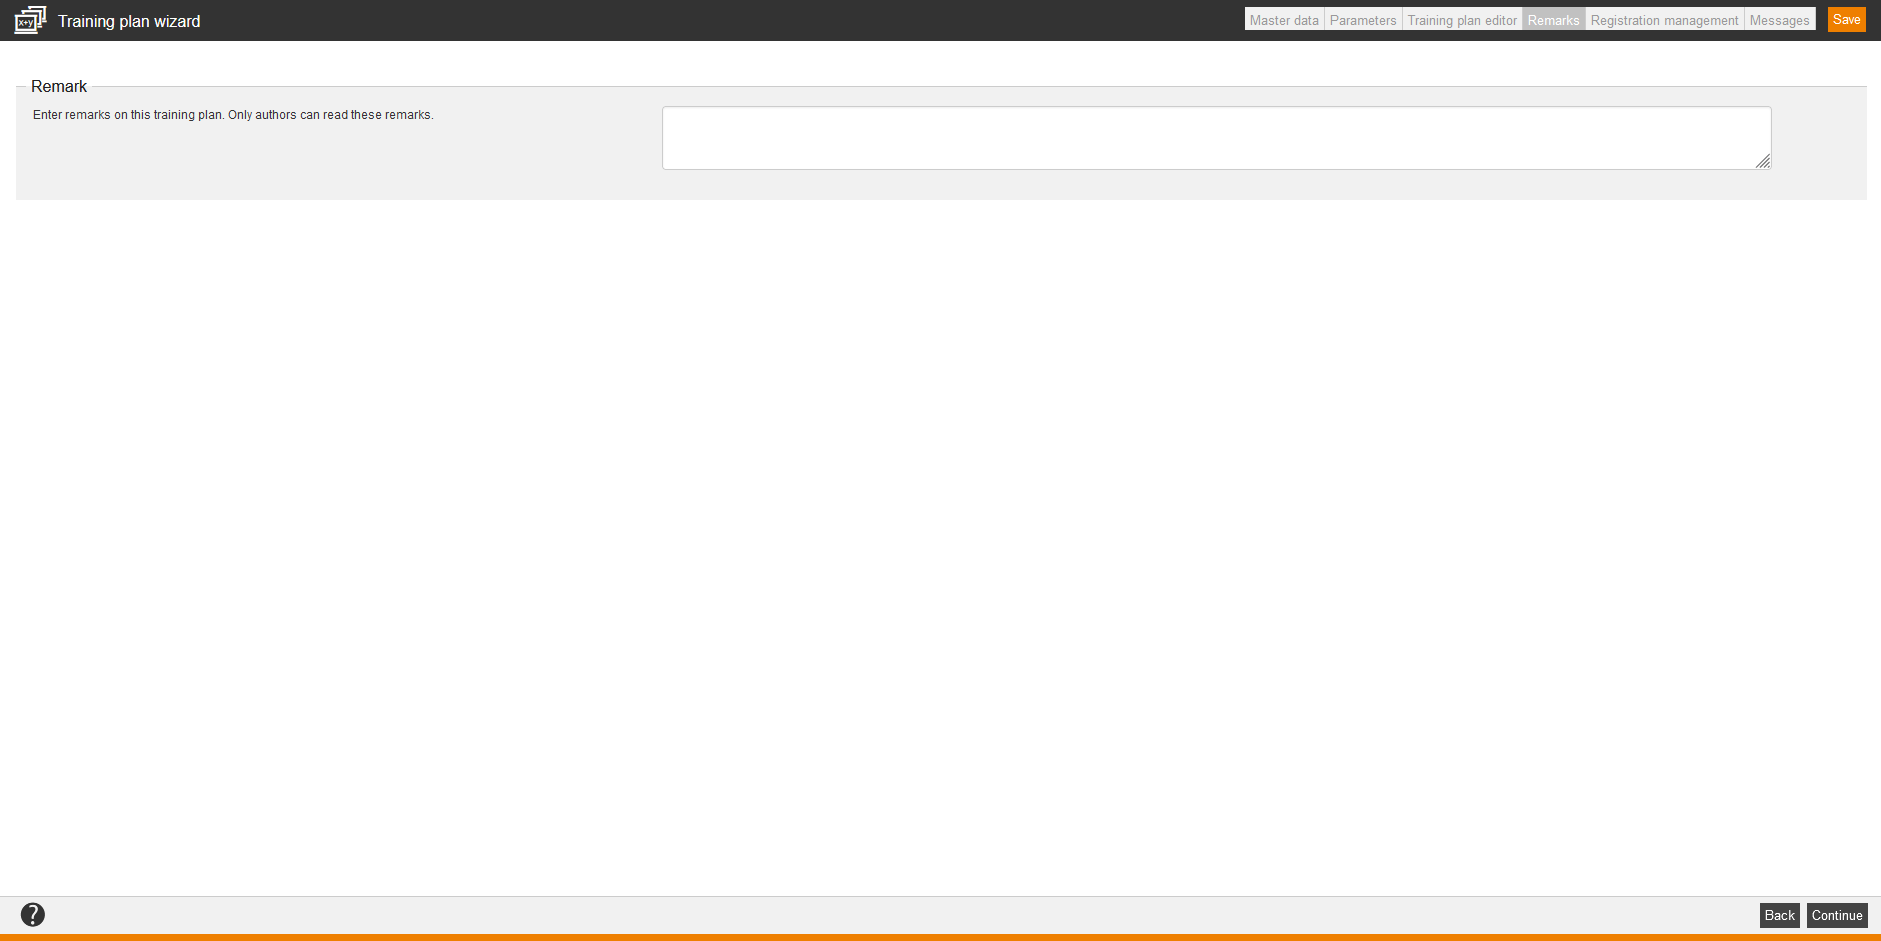
Remarks
You can enter additional information. This information is only viewable for authors.
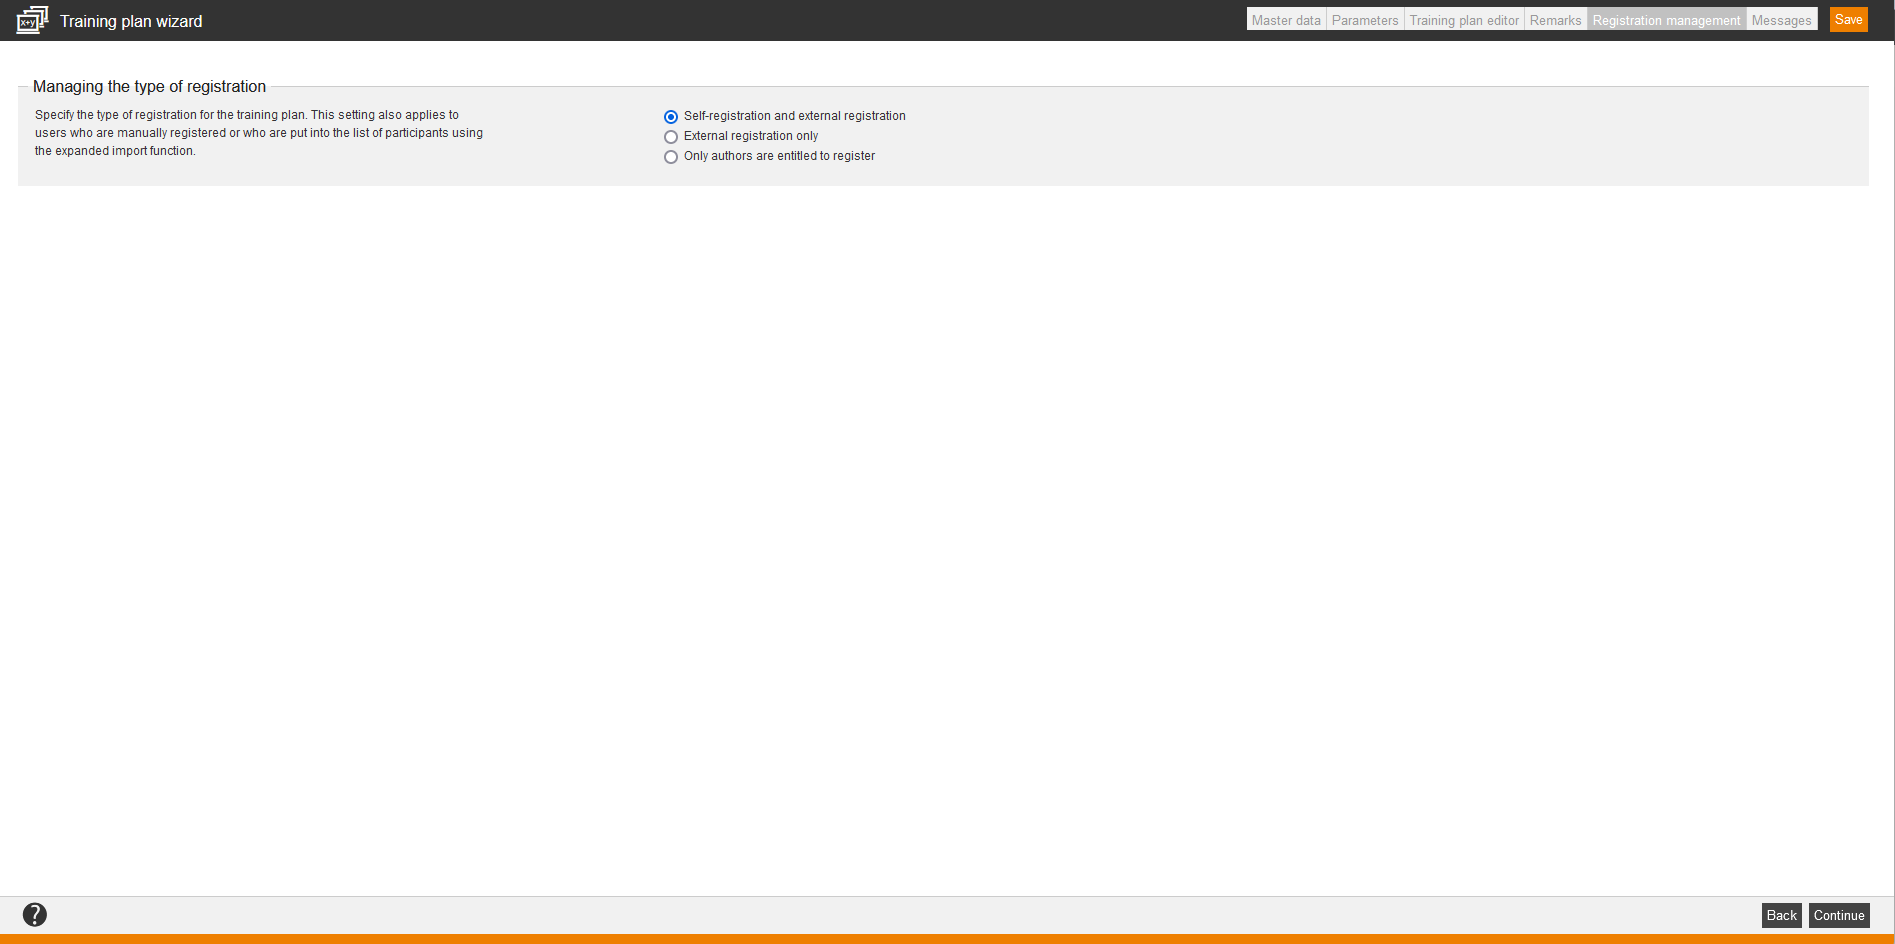
Registration management
Specify the type of registration for the training plan. This setting also applies to users who are manually registered or who are put into the list of participants using the expanded import function. Select one of the following options:
- Self-registration and external registration
- External registration only
- Only authors are entitled to register
Messages
Training plan – registration
Specify which notification a user should receive on registration for the training plan.
You can select Do not send a notification or Use client setting (Send notification) or you click on the button Select and select the appropriate individual notification. Then the source path of the individual notification will be shown. Further information about creating an individual notification you find here.
Training plan – deregistration
Graphic elements of the training plan
You can adjust the design of the training plan individually in Avendoo®. You see the different status in the city theme design.
planet_assignment_inactive.png
planet_assignment_inactive_locked.png
Viewed
planet_assignment_browsed.png
planet_assignment_browsed_locked.png
planet_assignment.png
planet_assignment_locked.png
planet_assignment_failed.png
planet_assignment_failed_locked.png
Completed
planet_assignment_completed.png
planet_assignment_completed_locked.png
Current point of view
rocket.png
Background
background.png
Practical example
Complete training plan
FAQs
What’s meaning of the file names of the zip file for the graphic elements?
- planet_assignment_inactive.png für „Not yet begun“
- planet_assignment_inactive_locked.png für „Not yet begun and locked“
- planet_assignment_browsed.png für „Viewed“
- planet_assignment_browsed_locked.png für „Viewed and locked“
- planet_assignment.png für „Begun and not completed“
- planet_assignment_locked.png für „Begun, locked and not completed“
- planet_assignment_failed.png für „Failed“
- planet_assignment_failed_locked.png für „Failed and locked“
- planet_assignment_completed.png für „Completed“
- planet_assignment_completed_locked.png für „Completed, but locked“
- rocket.png für „Current point“
How can a course activation in the same course activation be completed and locked at the same time?
