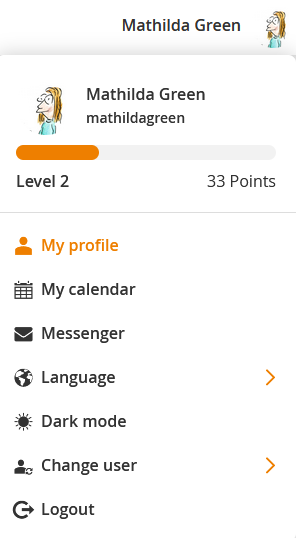
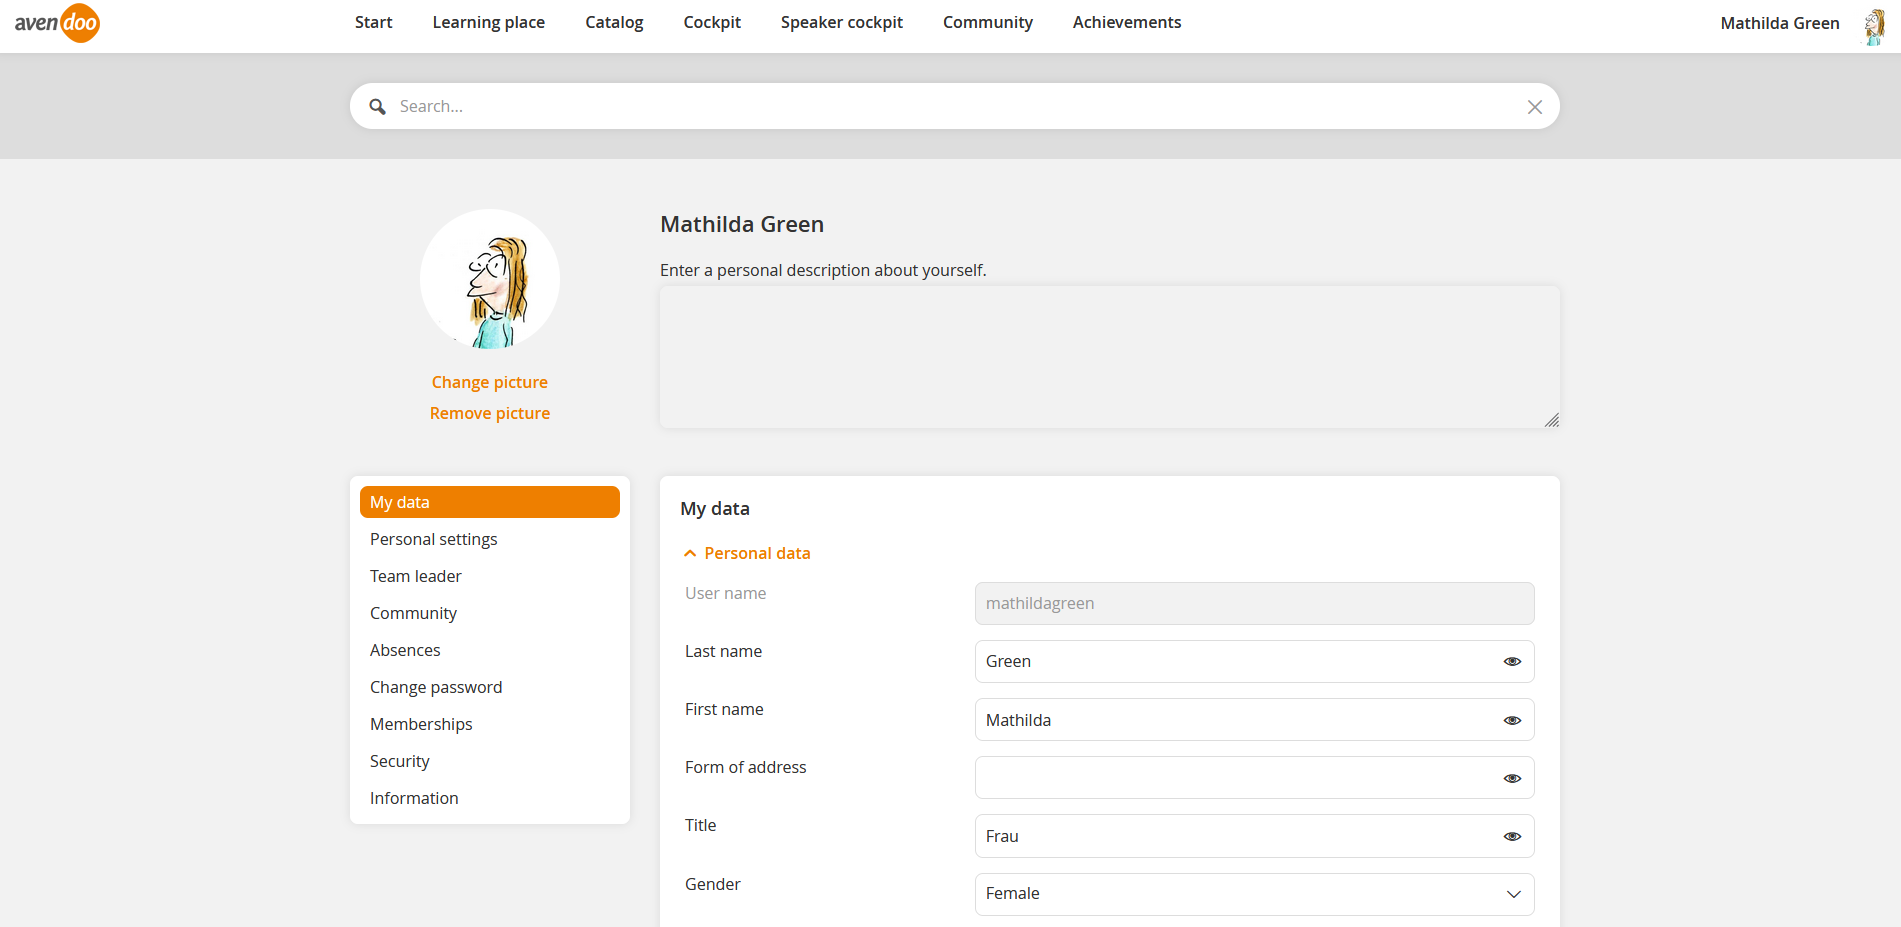
Click the upper right corner of your the Avendoo® user interface the User name or the Profile image and then My profile for changing your own user data. The single tabs and the setting options are described after the table of content.
You see the level with points and the status bar corresponding the settings in the components Gamification and the system setting „gamification.configuration“.
Settings regarding Avendoo® Progressive Web App with Single Sign-On login
Prerequisites
You find information about Single Sign-On (SSO) on the page “Login via Single Sign-On“.
Step by step procedure
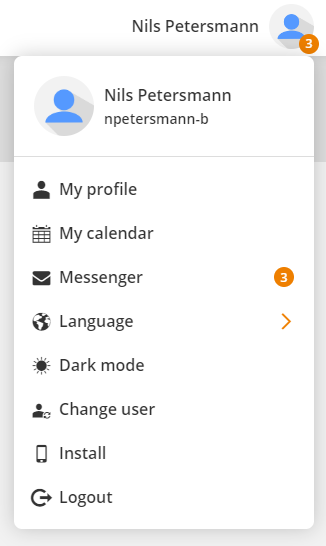
To install the Avendoo® Progressive Web App (PWA) with SSO functionality, login uniquely via the browser and SSO in Avendoo®, click first on User name or the profile image and choose then Install (see screenshot).
If you open the PWA in future, you’ll be logged-in via SSO always.
Messenger
Information about the messenger you find here.
Change user
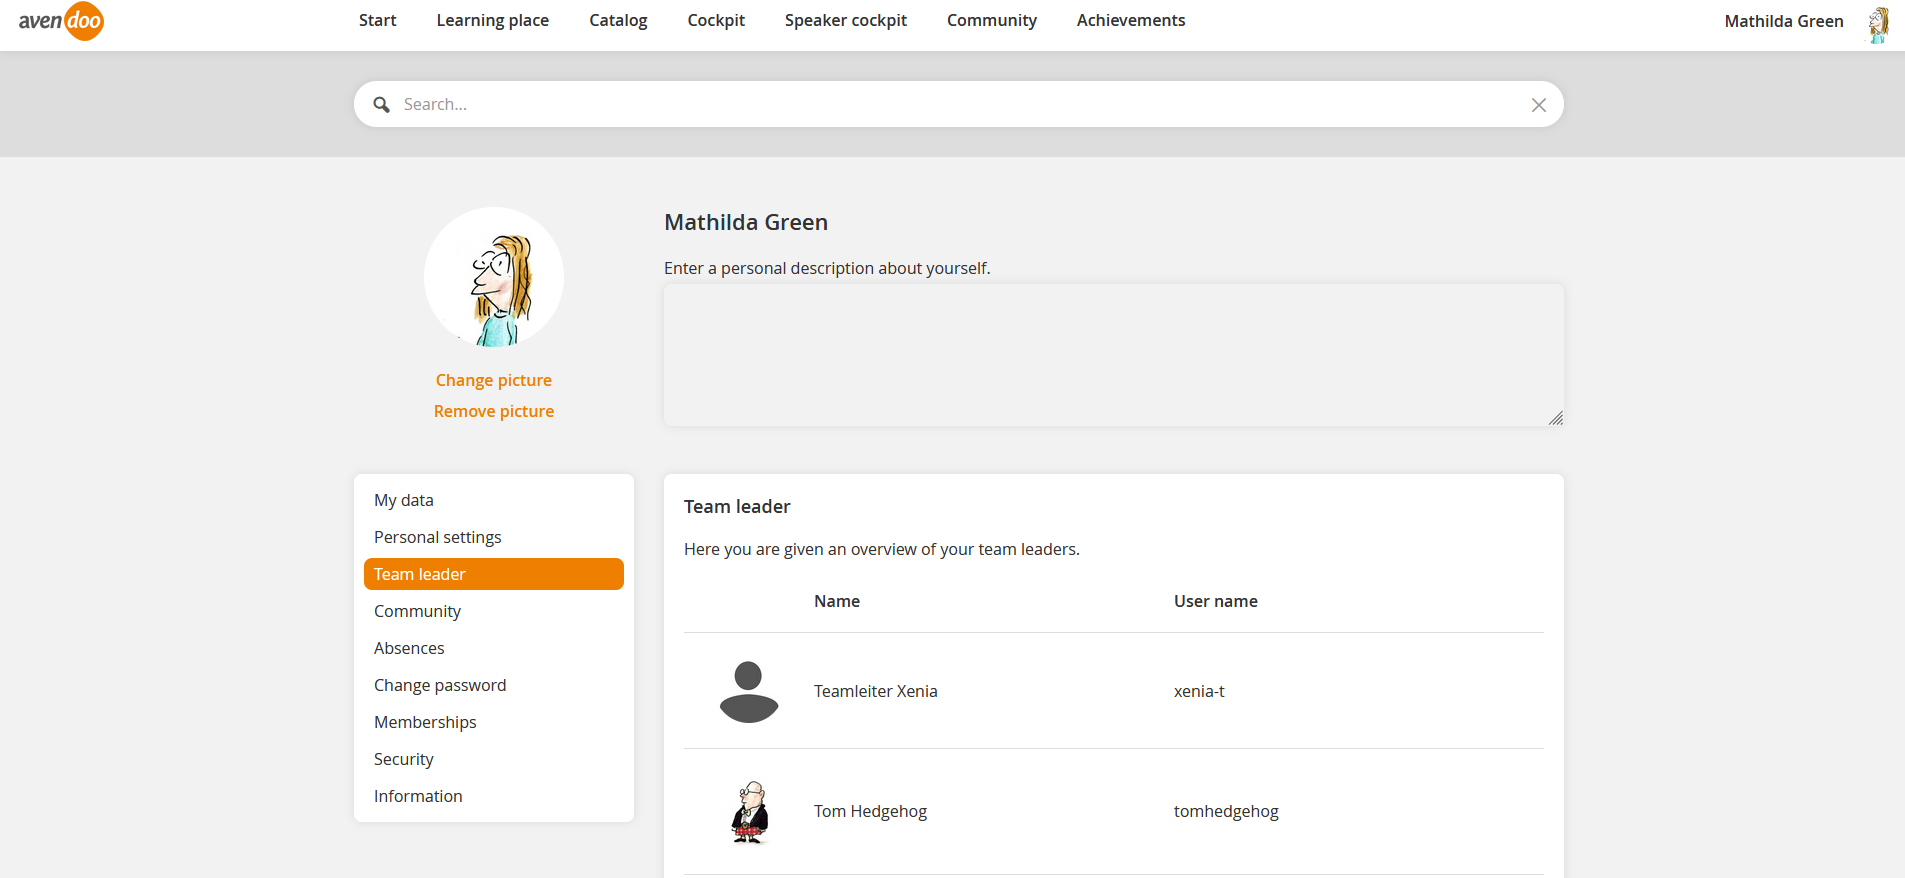
If the responsible author has linked one or more authors or/and users with your account, you’ll see as soon as you’ve clicked on Change user, a list with all linked authors and users. On the example screenshot you see the linked users with a user team leader. You click on your favored account on the list and an automatic change will be done.
My profile
You can upload your personal profile picture by selecting and uploading a nearly square-cut picture with 10 percent difference at maximum.
The profile picture is also used on all activities in the community and can also be displayed in the speaker slider for example.
Furthermore you can add a personal description.
My data
You can change the Personal data, for example: your mobile number (private) and your language of correspondence. If you want to configure a check for forbidden characters in phone numbers, just see under Checking phone numbers for forbidden characters.
Furthermore there are the tabs Address, Extended (for example show or change IDD ID) and Billing address.
Which data is visible and/or editable and/or visible in the participant list for the event date, configures the author in the user profile. If the author has set the checkmark Visible in the participant list for the event date, the corresponding data is shown in the speaker list of the event date or/and in the participant list of the event date on the detail page of the event.
Further information about activating the function IDD you find here.
Personal settings
If the certification data should be available via the interface, set the appropriate check box under Make available certification data for the interface. Further you can reset all personal settings. This means that for example the filter and table settings are reset to the standard values and information messages are seen again.
If the author has selected Activated under the option Self-anonymization on the sub tab Extended of the tab Master data in the User wizard, you can remove your account irrevocably. Also the author can activate this option client dependent in the Client wizard. If there are certificates, you can download them before removing the account.
Team leader
On this tab you see the responsible superiors. This tab is only shown if team leaders are maintained.
Community
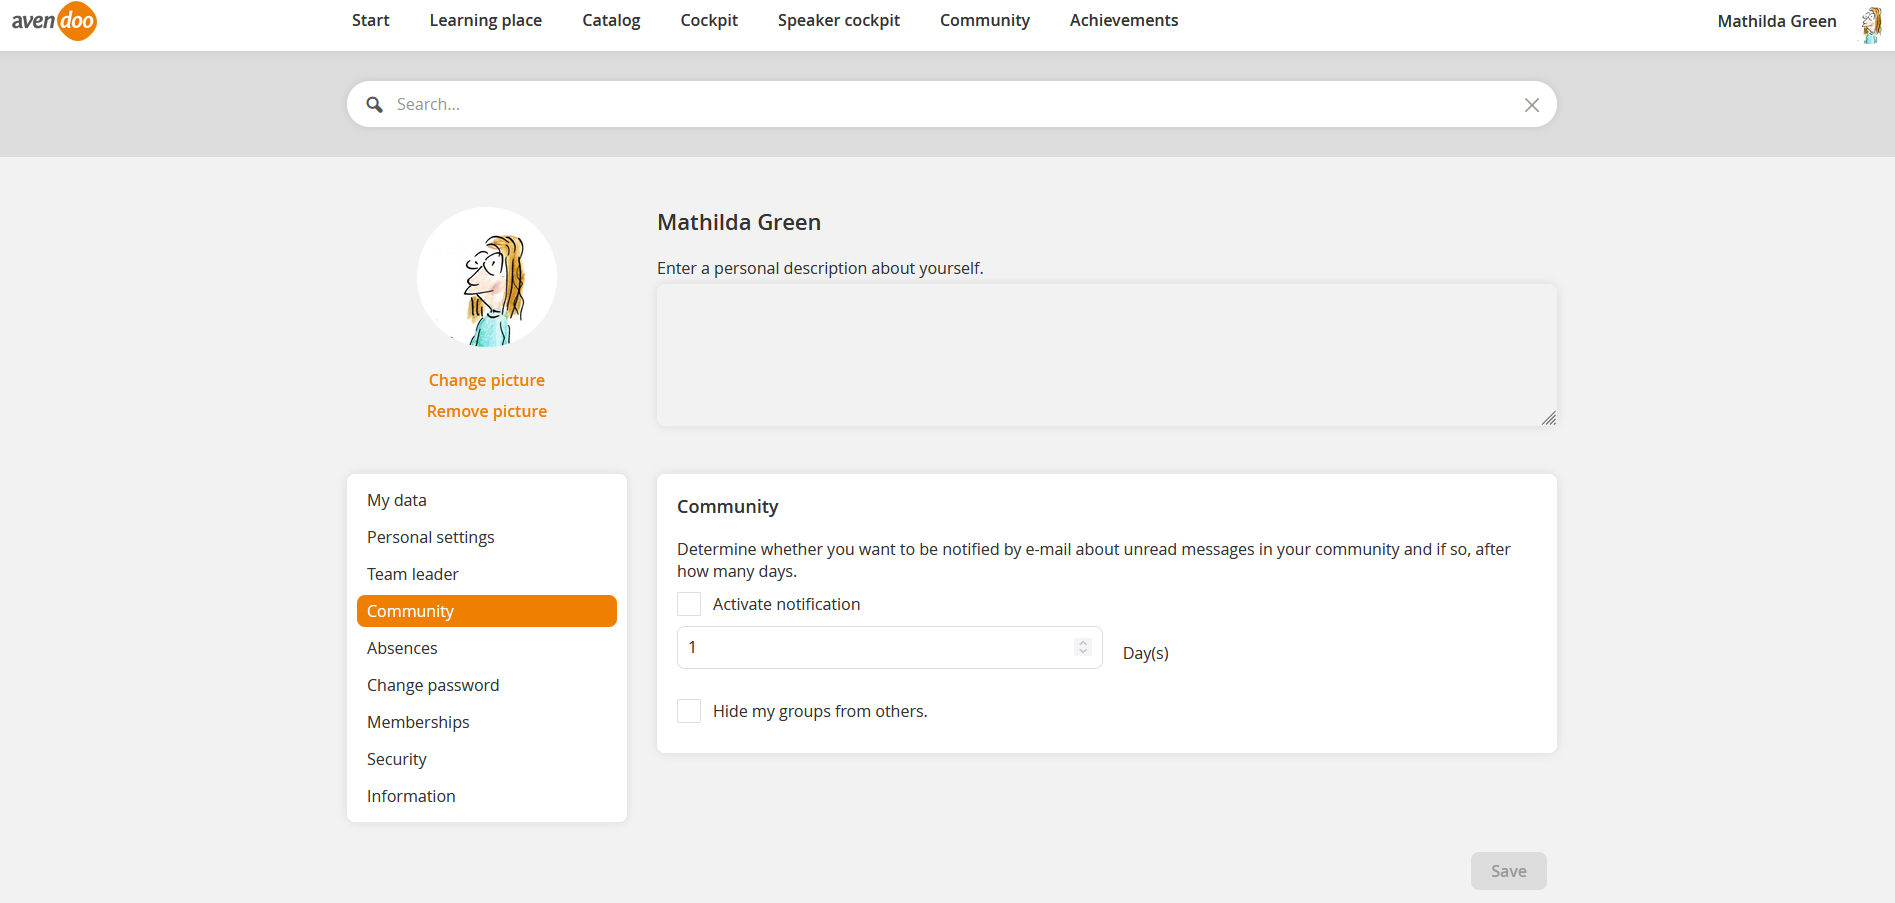
Stipulate, if (by setting the check mark Activate notification) and after how many days you want to be notified by an e-mail, when there are unread messages in your Community.
Additionally you can select the option Hide my groups from others. Then other users, who click in the community on your profile picture, don’t see groups of you in the user details.
Absences
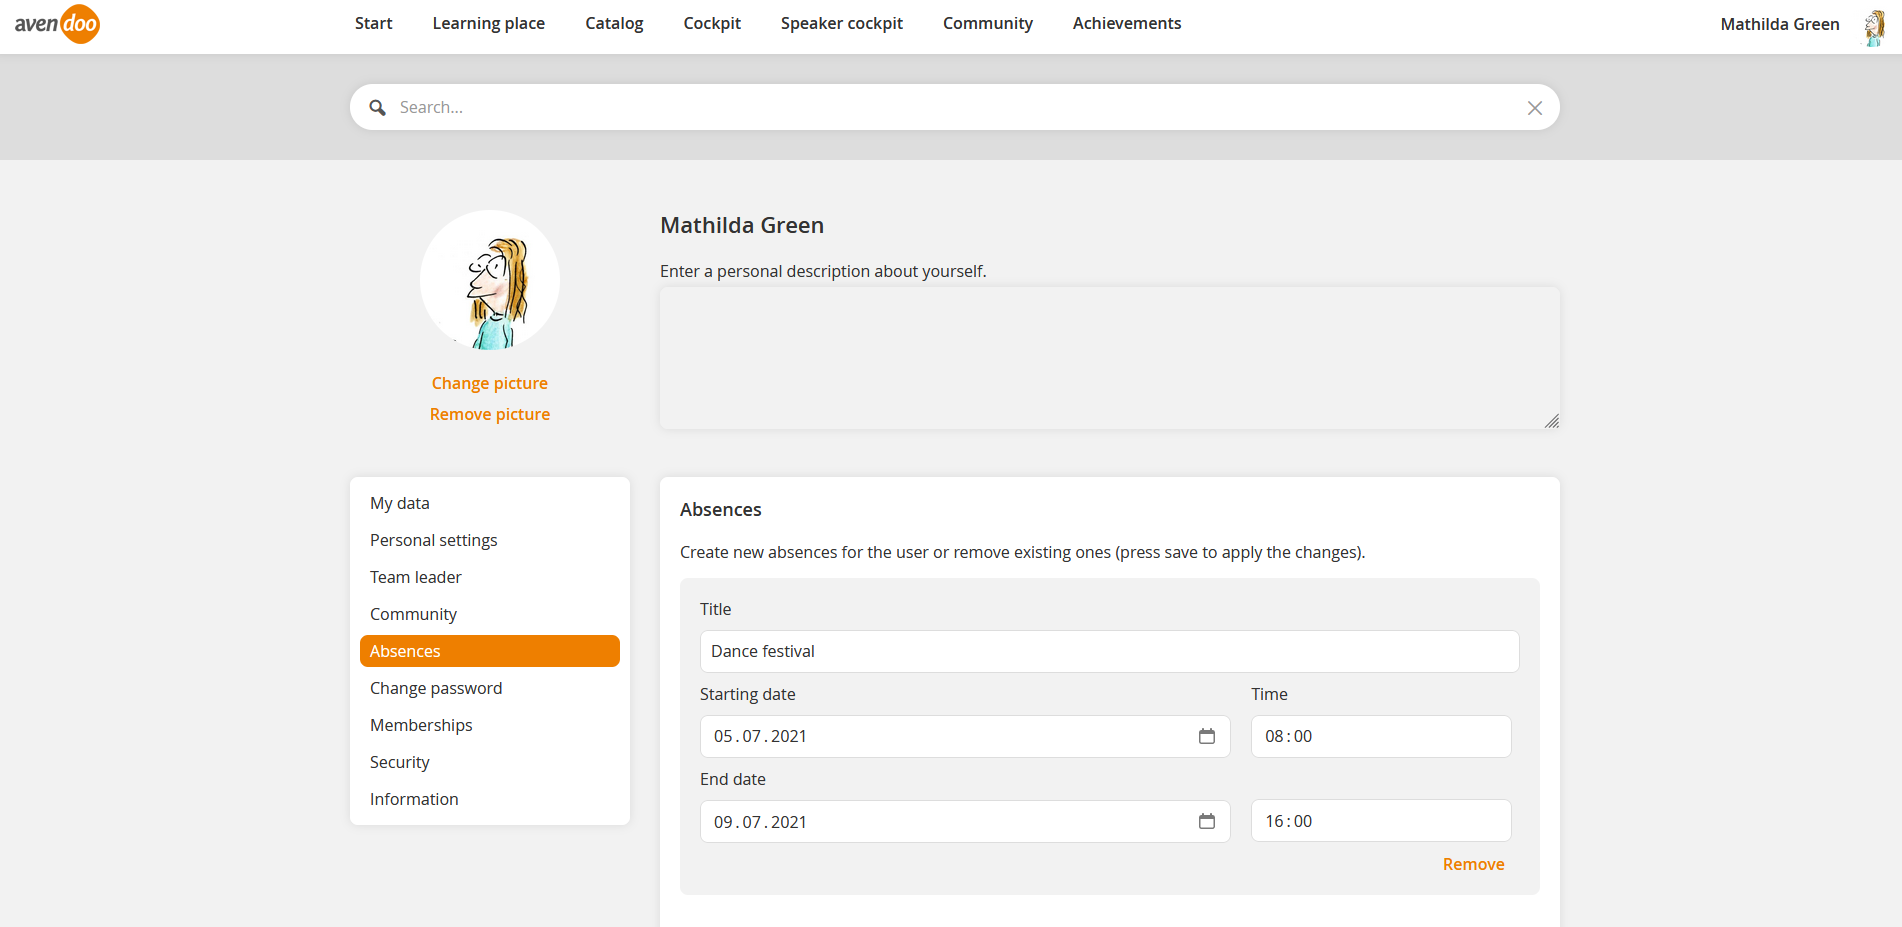
You see the absences of the appropriate user. This tab is only shown, if absences are saved.
If the author has done an absence entry in the Utilization of speakers, you see here the appropriate absence, which you can delete if required.
Change password
Prequisite
The author has set the check mark Visible and Editable for Password in your User profile for showing this tab.
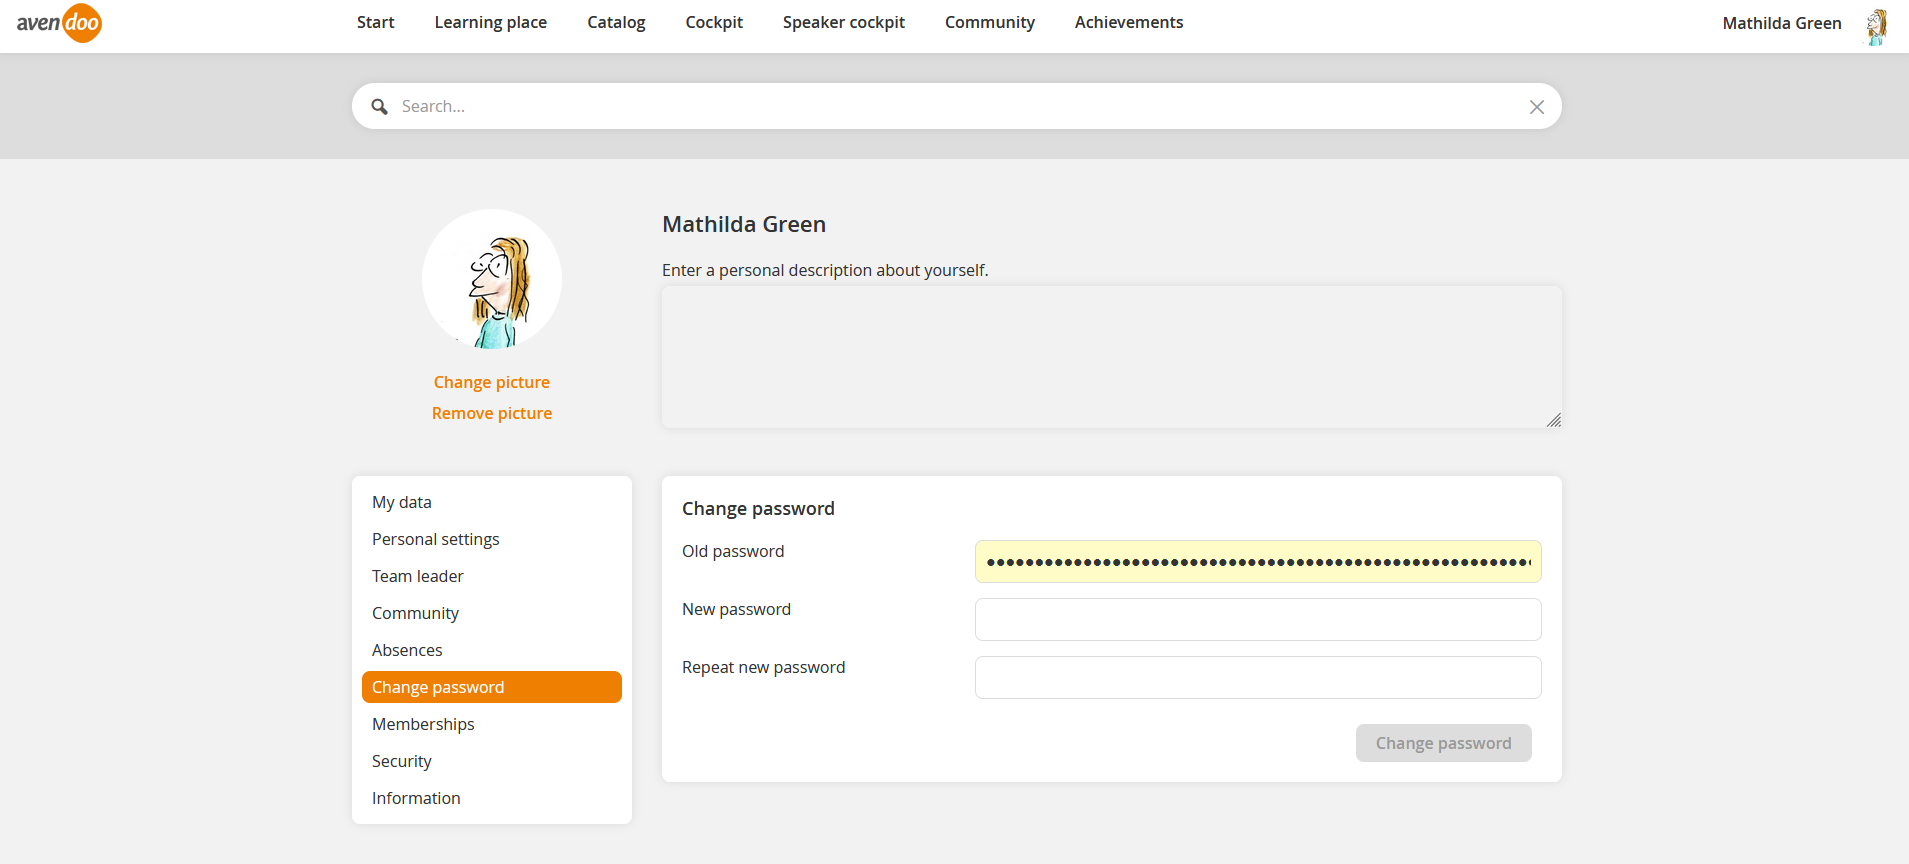
On this tab you can change your password. Therefore enter your current password, then your new password and repeat entering the new password. Finally you click on the button Change password. You get the message Password was changed successfully.
Memberships
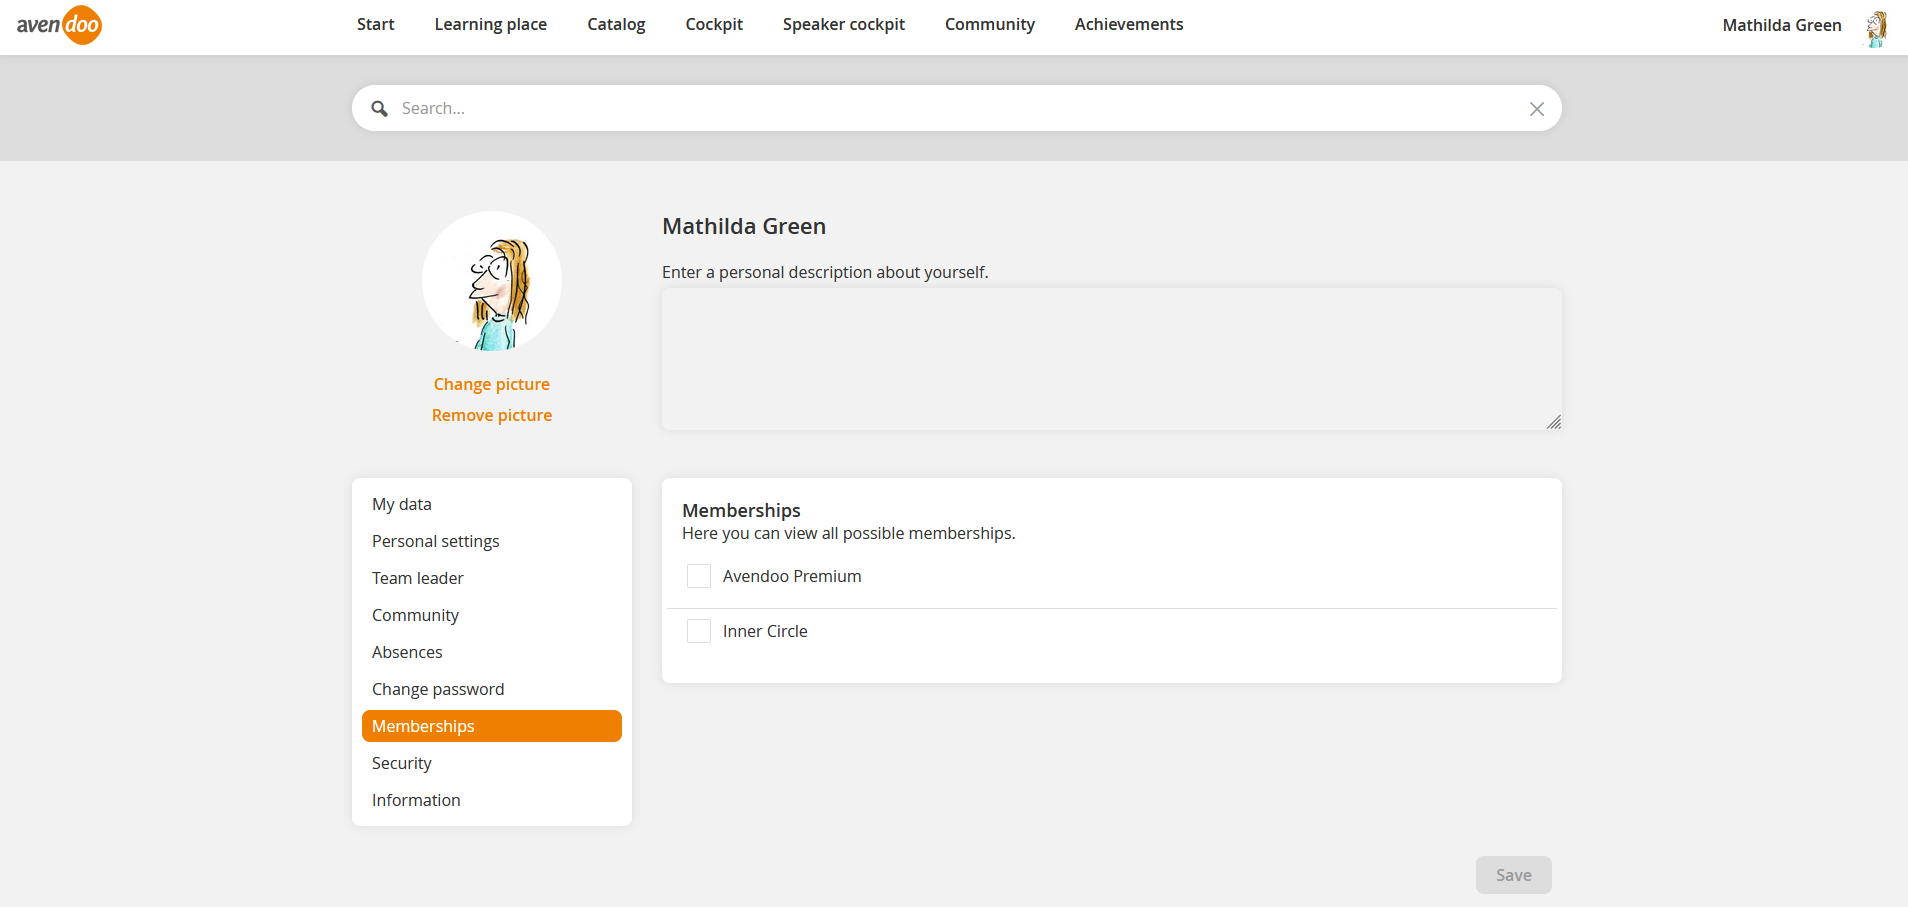
On this tab you can select possible memberships by setting a check mark.
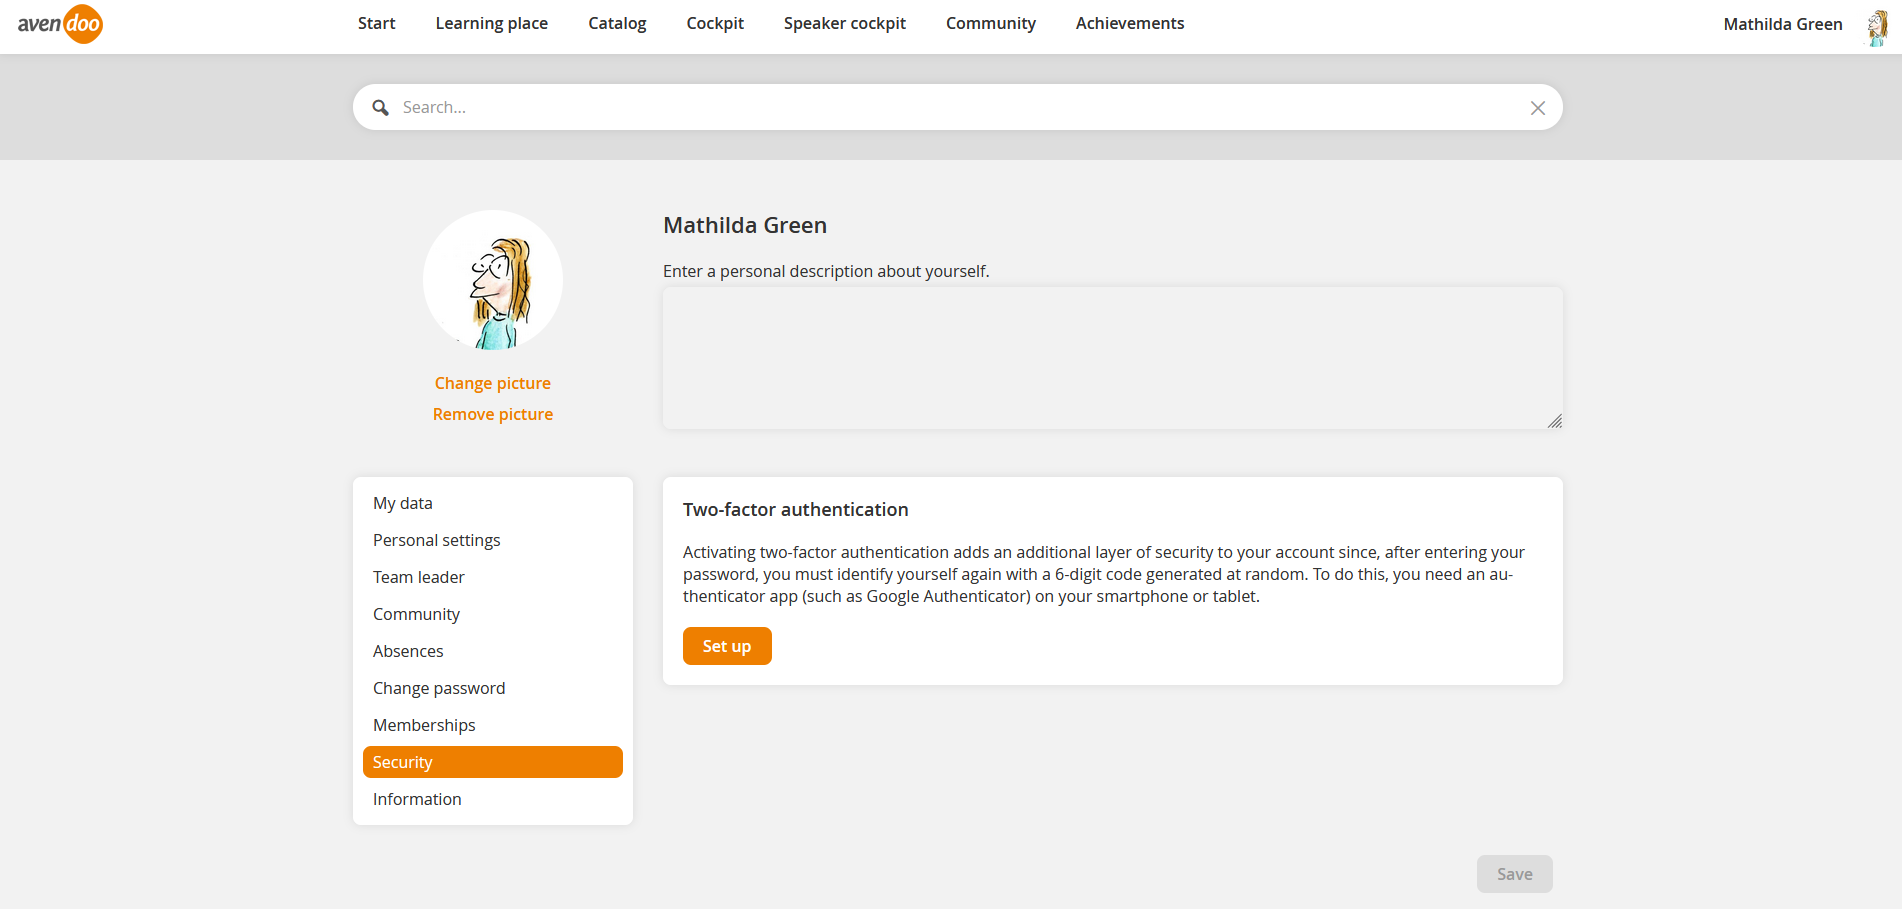
Security
On this tab you can activate the two-factor authentication.
Activating two-factor authentication adds an additional layer of security to your account since, after entering your password, you must identify yourself again with a 6-digit code generated at random. To do this, you need an authenticator app (such as Google Authenticator) on your smartphone or tablet.
For the two-factor authentication the author configures the option (Optional or Mandatory) for the password policy in the Client wizard on the tab Password policy.
As soon as you use the function “Change user” you have to enter the two-factor code if you switch to a user with activated two-factor authentication.
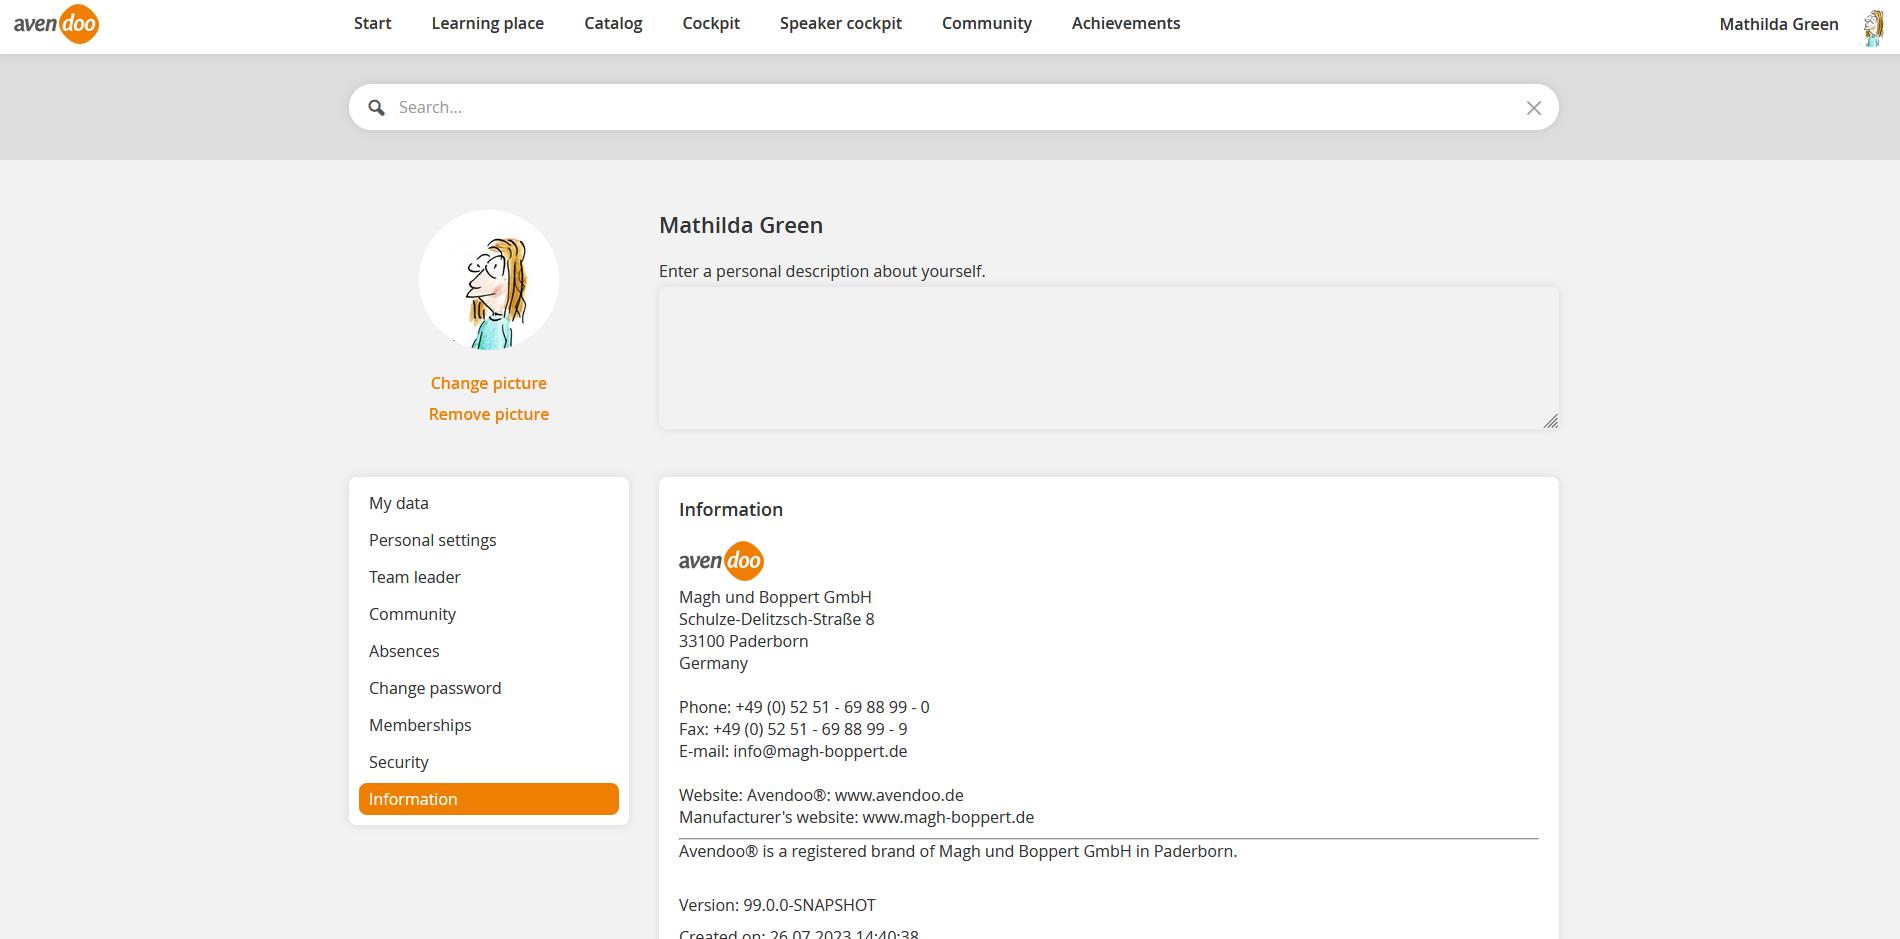
Information
General product information of the Avendoo® world of learning. You see the current version, which you use.


