Basics
Prerequisites
You got the rights (depending on your requirements) Read, select, Change, create, Delete (object permission) and Change external content for Instructional material under Learning content via your author account or your permission group.
You can also define the object permissions directly on the object or in the category. You find more information in the chapter “Security”.
Use
Instructional materials communicate information in Avendoo®. Compared to the other learning objects of a course (knowledge tests, feedbacks, events etc.) instructional materials have no interaction with the learner. The learners use instructional materials as preparation for knowledge tests and events for example.
Functions
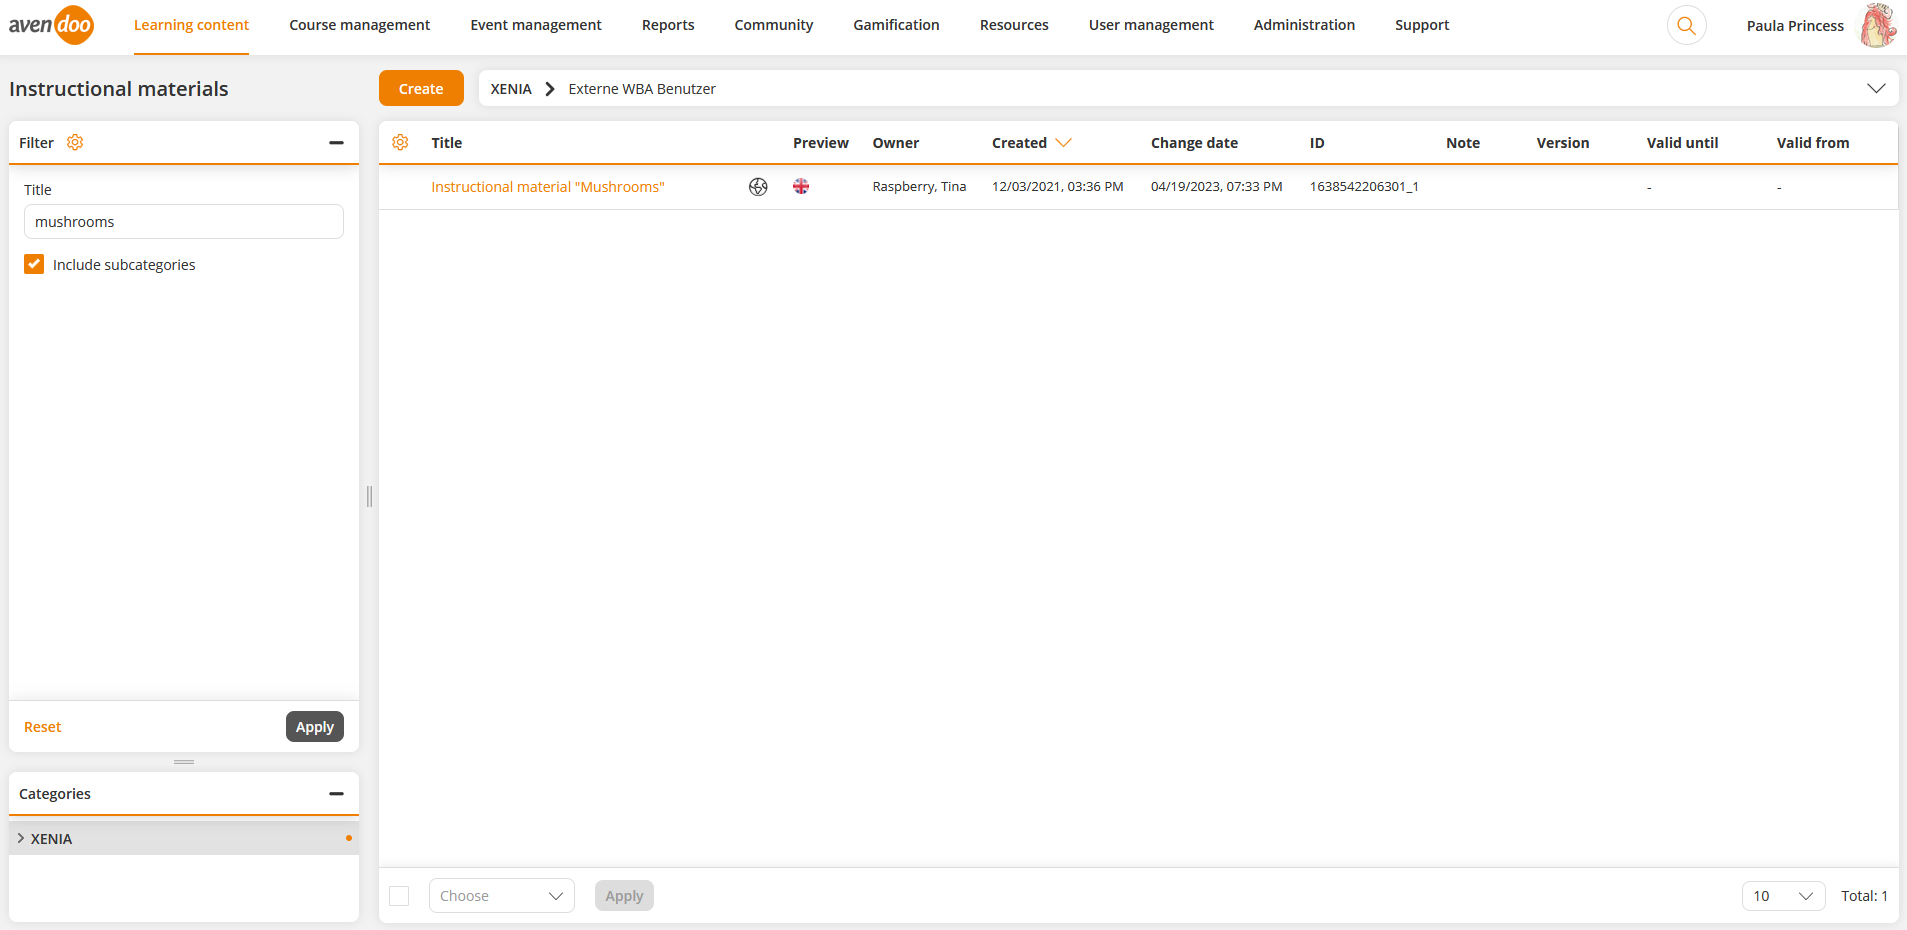
In the overview (Learning content → Instructional material) you see all already created instructional materials. To open the corresponding Instructional material wizard, click a title. Via clicking the symbol of the translation area, you get into the translation management of the corresponding instructional material. Via the national flag you open the preview for the frontend user. Furthermore, you see the owner of the instructional material.
You mark single tabs as favorites by clicking the star besides the criterium like Expected Editing time and Qualifications on the tab Meta data. Then the star is automatically shown filled-out besides the criterium and the corresponding tab is marked as favorite. You can redo this tab favorizing by mouse-over the tab text, then the favorite star shows. Then you can click it. This field with the star is then gray again.
If you’ve selected your favorites on all tabs, you can activate the Toggle Favorites by clicking it. Then the Instructional material wizard will be shown only with your favorites.
You can configure the column view of the table on the overview page of the instructional material by clicking the gear wheel and selecting the corresponding columns per check mark. You can change the column order via drag and drop per 6 points menu. Additionally, you can change per 6 points the position of the boxes Filter and Categories via drag and drop. You can scale up or down a box by using + or – on the upper right corner of the boxes. Thus the other box automatically scales down or up. You can change the size of the boxes per mouse over on the double dividing line.
There are the mass processing functions Copy, Move, Delete, Change status and Export for instructional materials. More information about these functions you find under Instructional materials: Mass processing functions.
The following functions are available via the context menu of the corresponding instructional material title.
Create instructional material
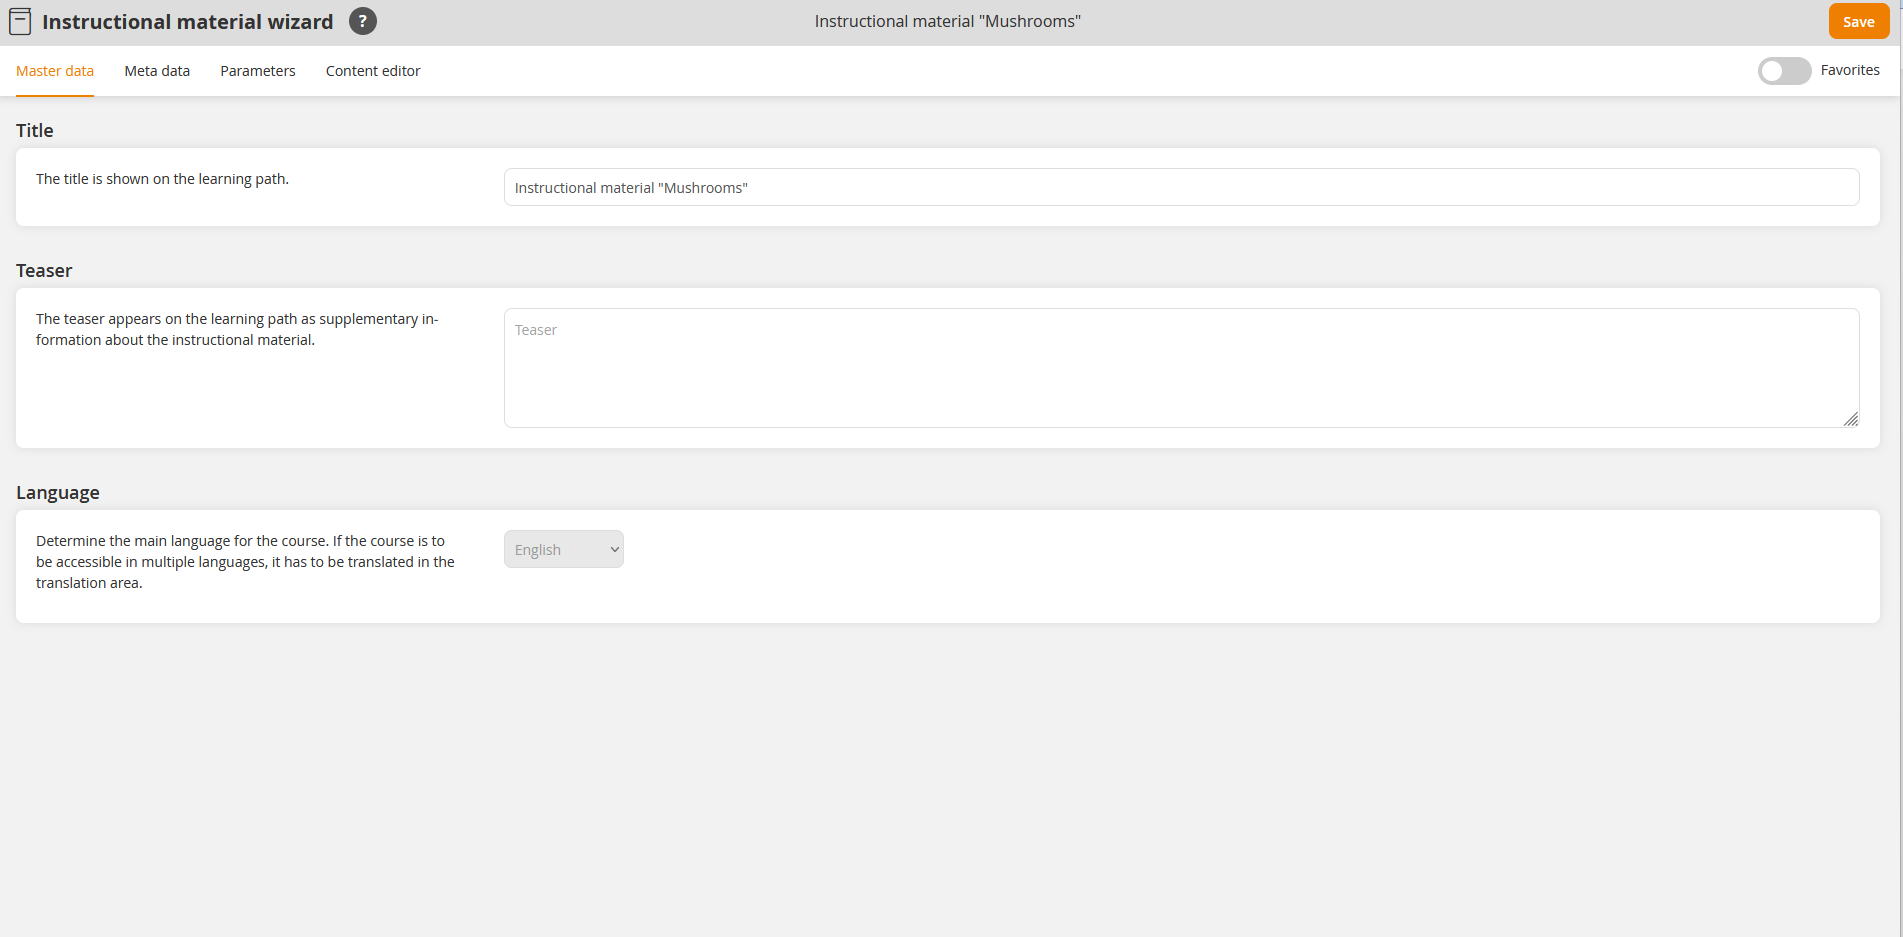
Master data
Enter title and teaser for the instructional material.
Select the main language for the instructional material.
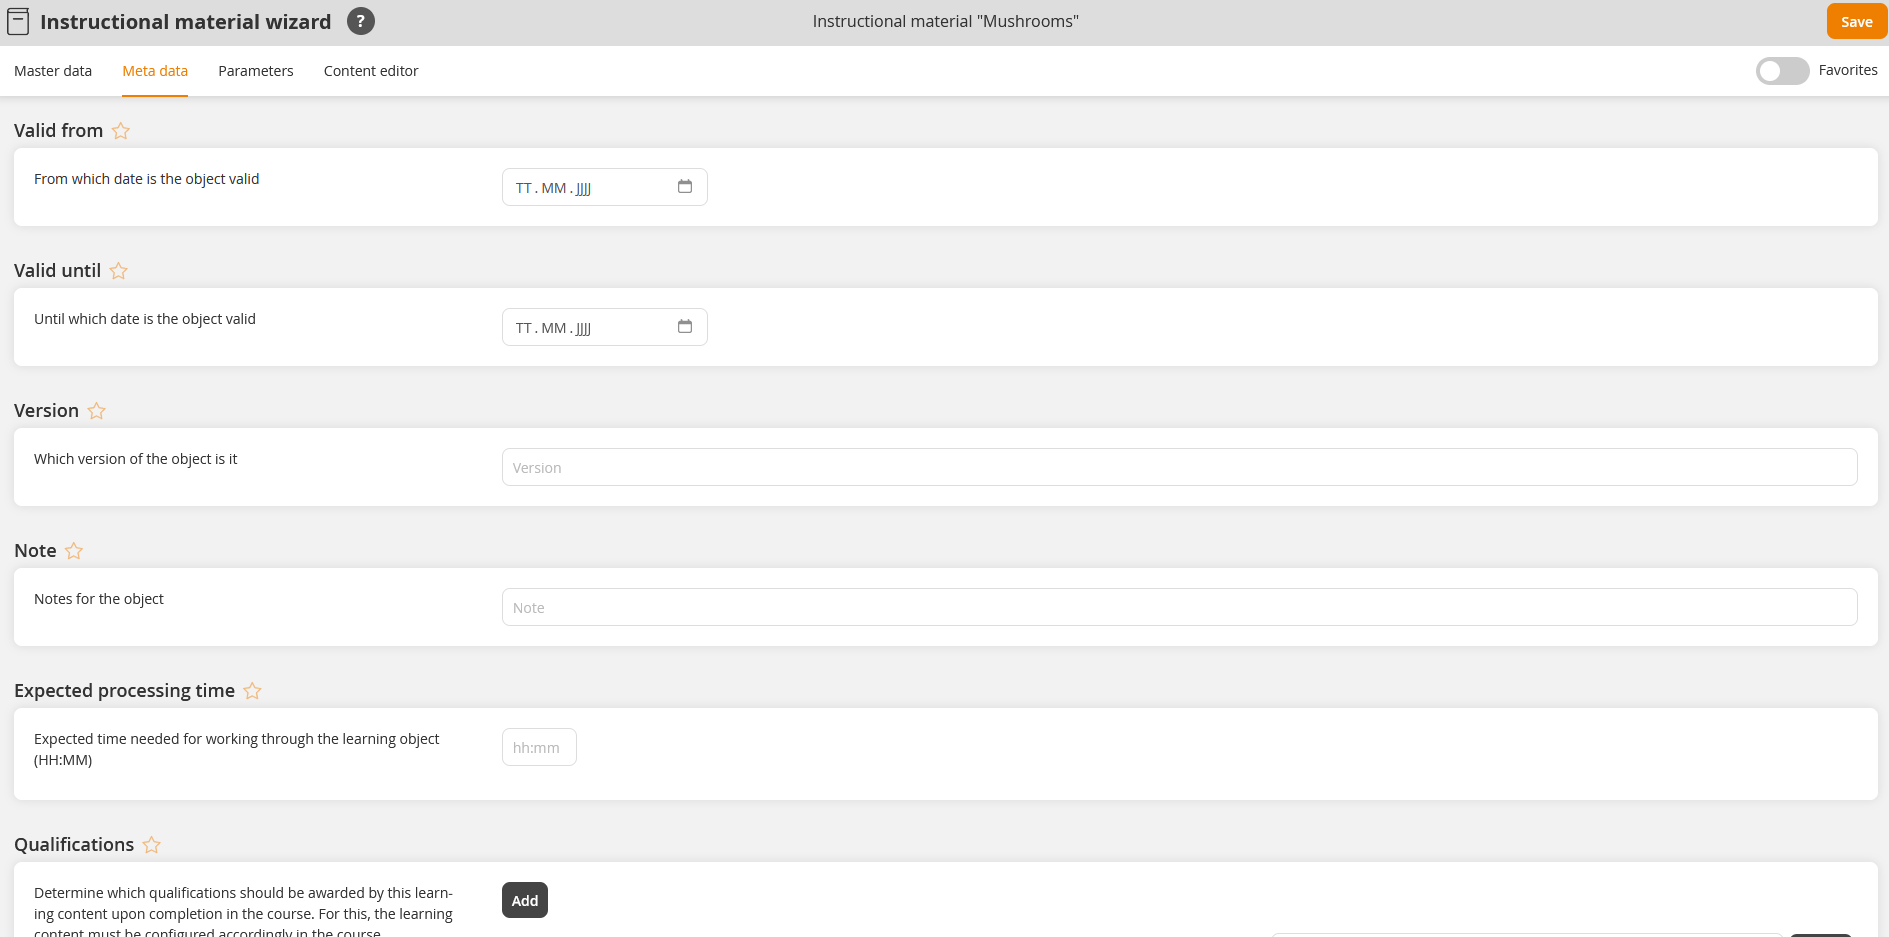
Meta data
Valid from
Enter a date, from which the instructional material is valid. You can delete the date if applicable.
Valid until
Enter a date, until which the instructional material is valid. You can delete the date if applicable.
Version
Enter the version of the instructional material.
Note
Enter some notes for the instructional material.
Expected processing time
Enter a value for the expected processing time in the format “hh:mm” regarding the instructional material. How Avendoo® will transfer the expected processing time to the learning path depends on the configuration in the Course wizard on the tab Course content under General characteristics of the instructional material.
Qualifications
Determine which qualifications should be awarded by this learning content upon completion in the course. For this, the learning content must be configured accordingly in the Advanced characteristics of the instructional material on the tab Course content in the Course wizard.
To assign the qualifications via this instructional material on completing the course to the participant, click the button Add and select the corresponding qualification. If you’ve maintained the qualification group and the qualification scale, you see the corresponding scale values in a drop-down menu (see screenshot).
If required you can remove the qualification via the button Remove. Note that you consider if the course completion is already done by the participant.
Content editor
Experienced authors (with appropriate HTML/CSS and JavaScript knowledge) can access on Avendoo® API (application programming interface) for instructional materials and thus can transfer certain parameters to an own created design.
Move editor
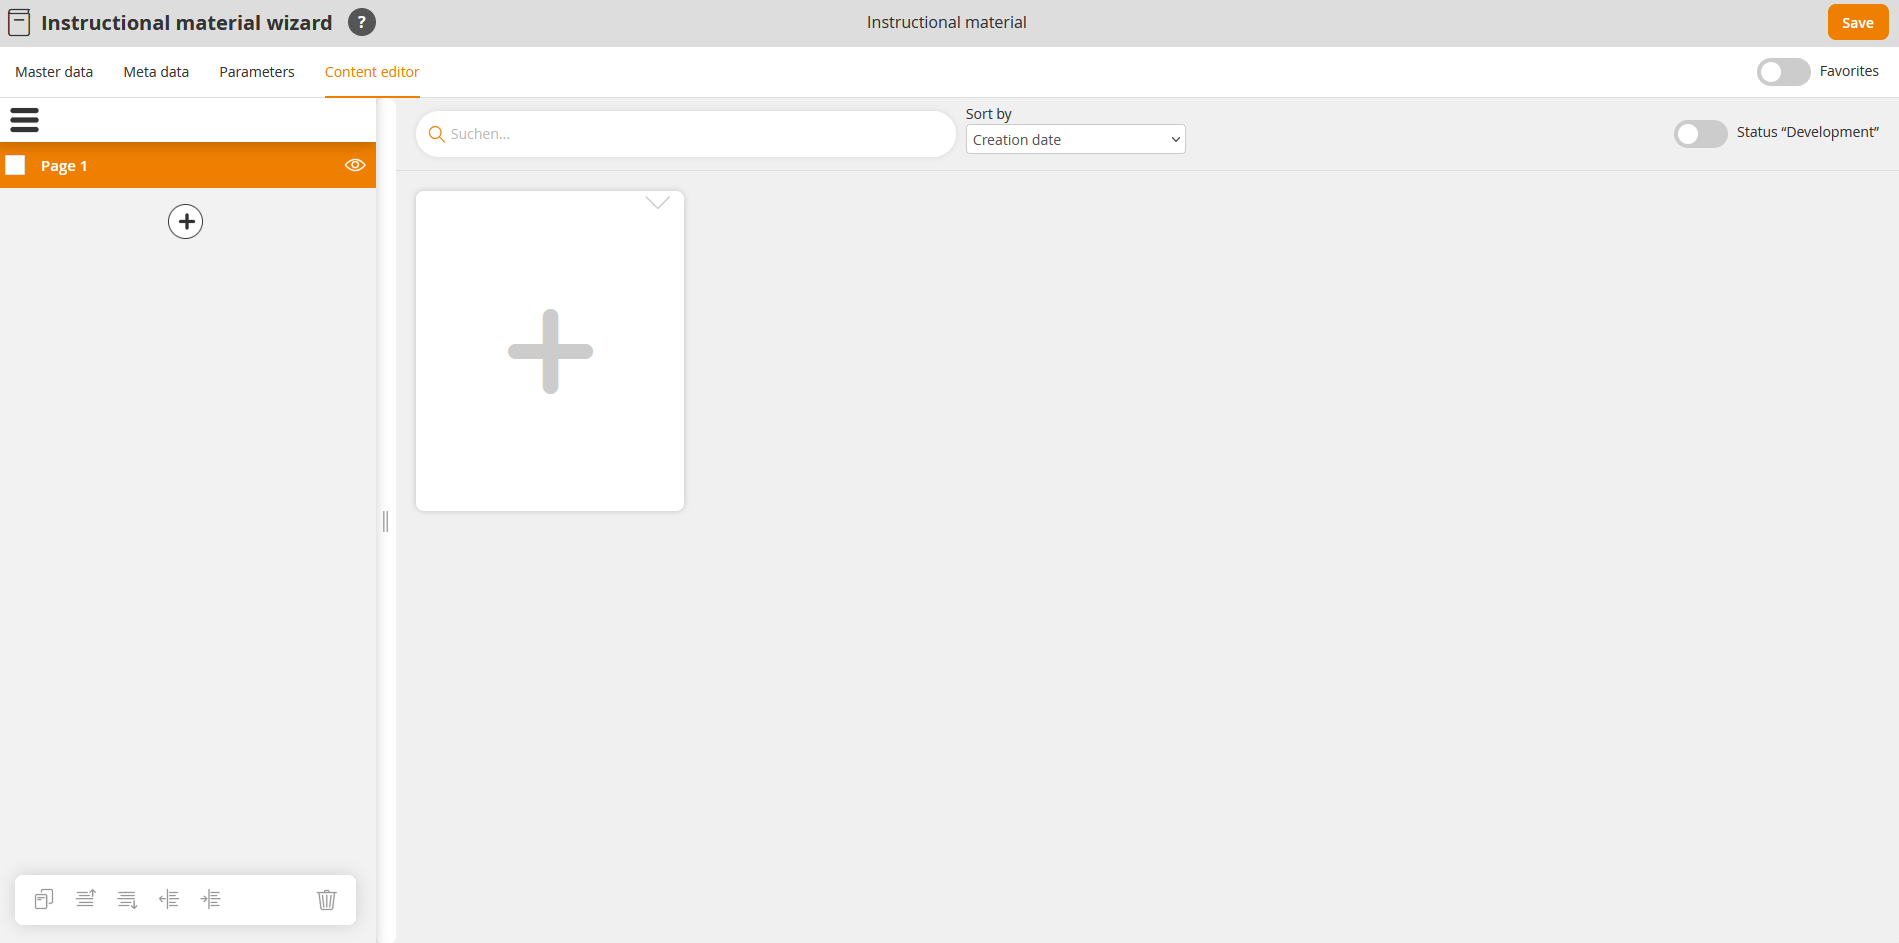
- To change the title of the existing Page 1 (see first screenshot), click the Pencil and adjust the title. Then click the check mark.
- You configure this page in the right menu area via the +tile by clicking it.
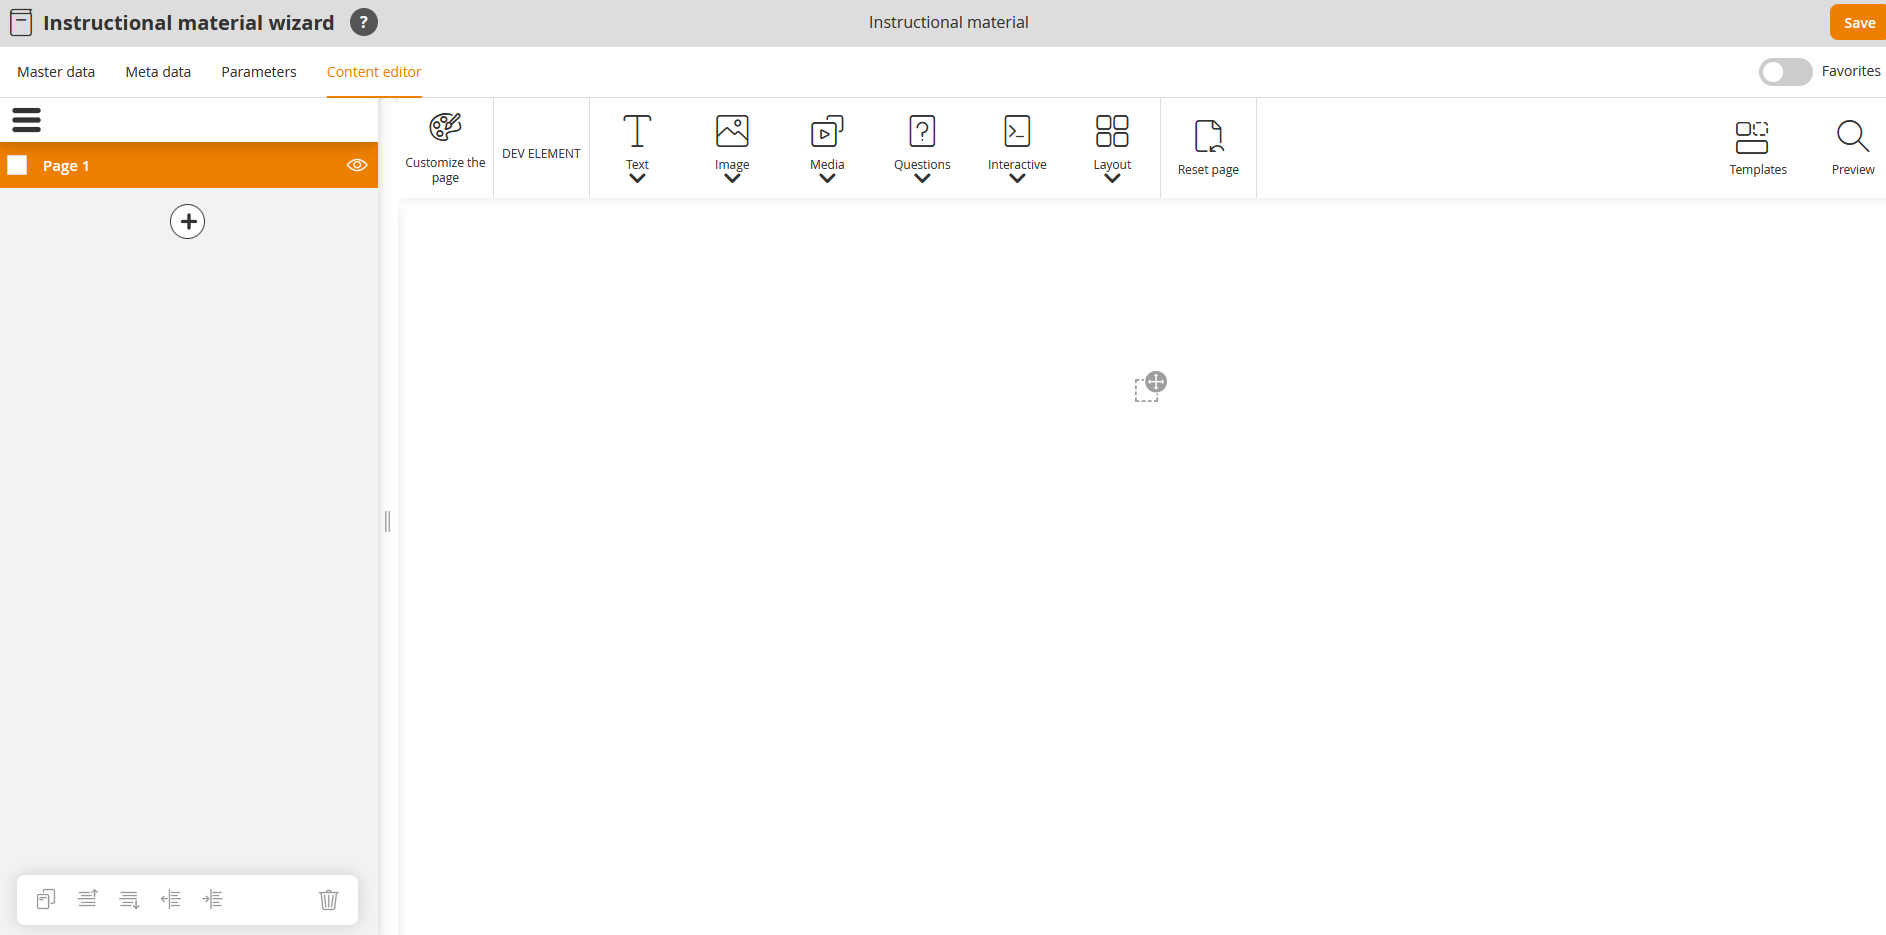
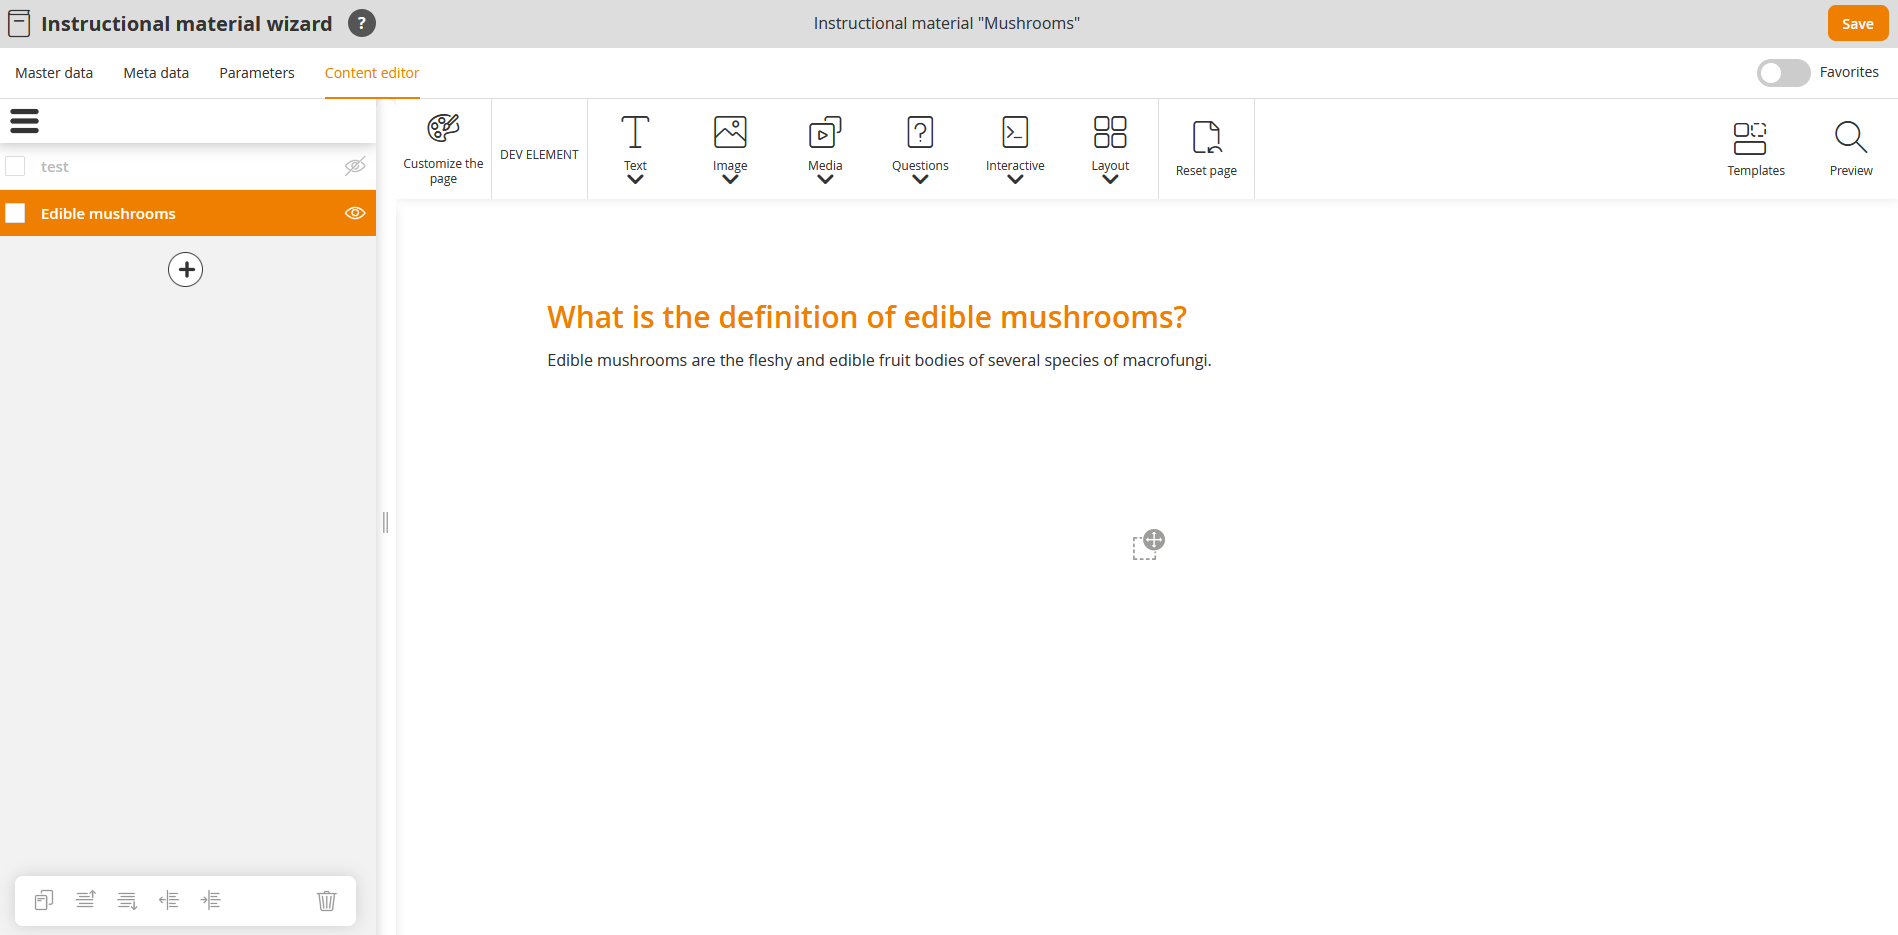
The Move editor opens (see second screenshot) to create high quality responsive content and to upbuild individual pages. - Choose the favored Text, Image, Media, Question and interactive and Layout Moves. Configure them for your requirements.
- To select a favored Move template, click the button Select termplate and click the tile of the favored template in the dialog window Move template.
This template will be inserted as next Move on the corresponding instructional material page. - If you want to add a further page to the instructional material, click the + in the left menu area.
- You can sort the pages by Creation date or Title.
- You can hide or show the menu if you want. Also you can change the size of both boxes via the double separating line by moving it.
- You can activate the status Development per Toggle.
- You can use the following variables in the CKEditor (automatic adding of content):
Available variables
![]()
You got various variables for creating an instructional material in the editor. Chosen content is automatically inserted via variables:
- $CourseTitle$ = title of the course
- $ObjectCertification$= link to the certificate, if the course is passed
- $ObjectTeaser$= teaser of the assessment
- $ObjectTitle$=title of the assessment
- $UserCountry$ = country of the registered user
- $UserDivision$ = division of the registered user
- $UserFirstname$ = first name of the registered user
- $UserGroup$ = group of the registered user
- $UserLastname$ = last name of the registered user
- $UserOe$ = organizational unit (OU) of the registered user
- $UserRegion$ = region of the registered user
- $UserSex$ = gender of the registered user
To add a page to the instructional material, click first the +, then click the Pencil and adjust the title. Confirm the title by clicking the check mark.
After entering the title you can duplicate the page, move page up or move page down, reduce indent or increase indent when you’ve set the check mark in front of the corresponding page.
Also, you can remove the page via the recycle bin.
CKEditor
If you use the CKEditor within the Move editor, read the information on the page “HTML editor”.
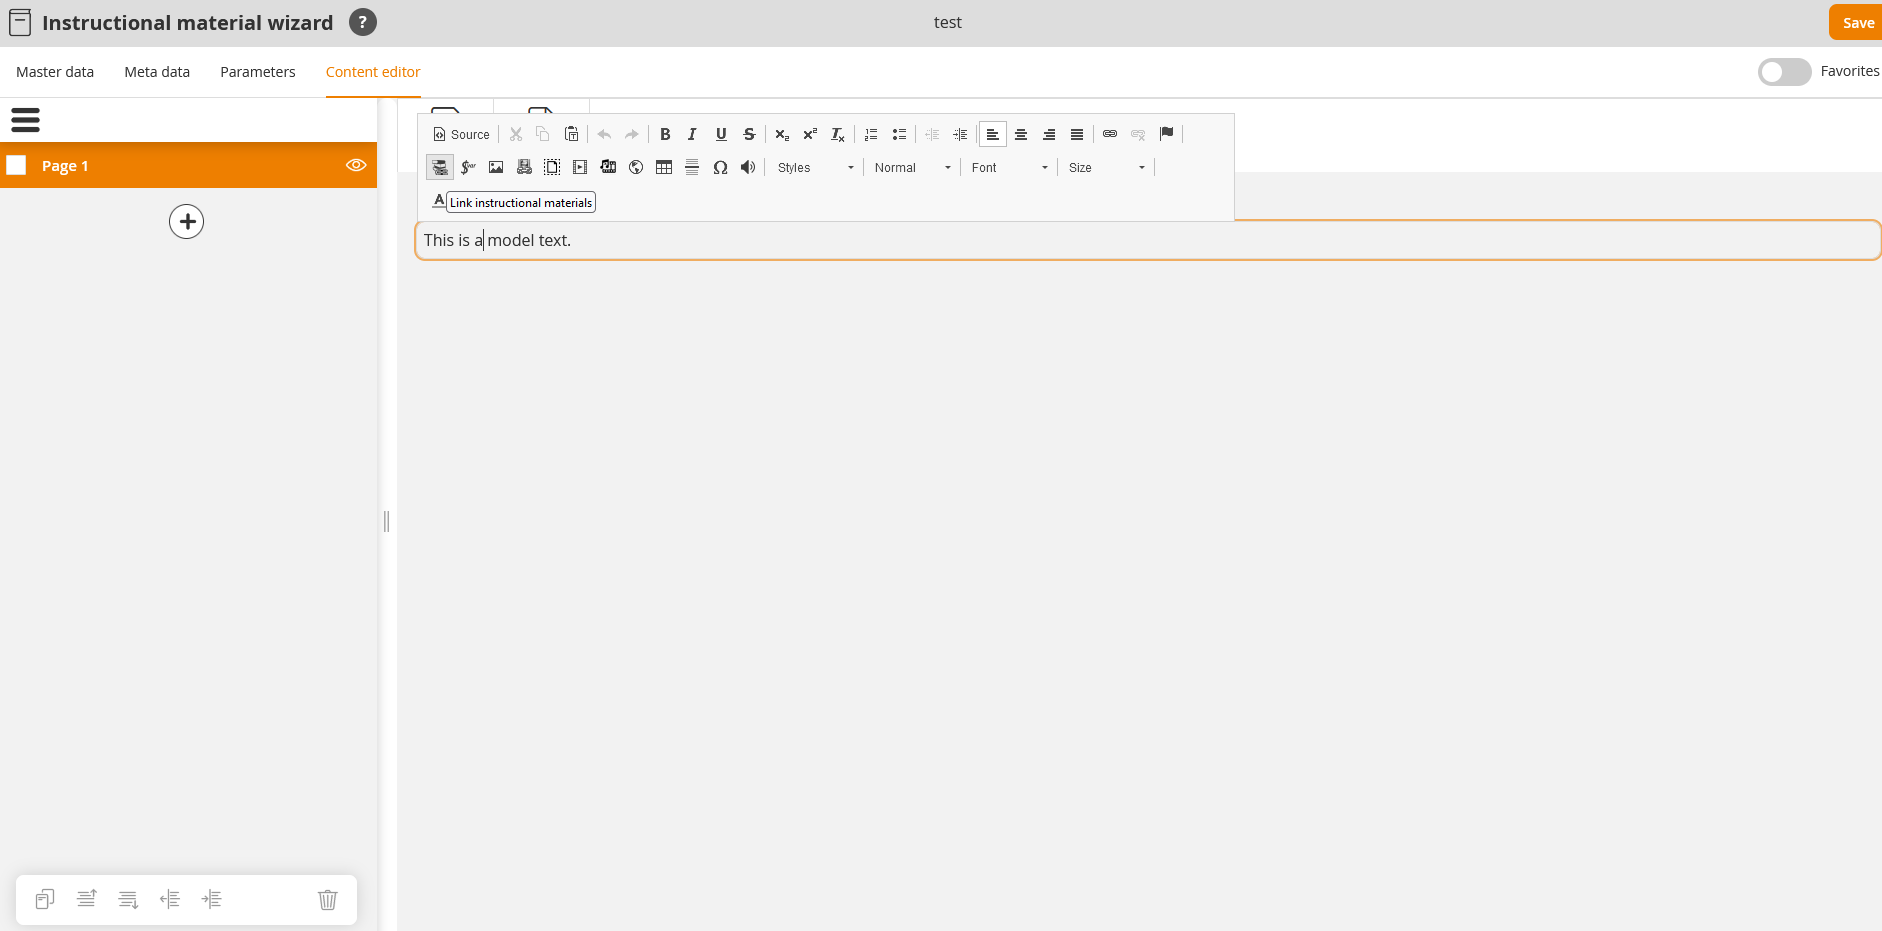
- To generate a link to another instructional material which contains further information, click the button Link instructional materials (see first screenshot).
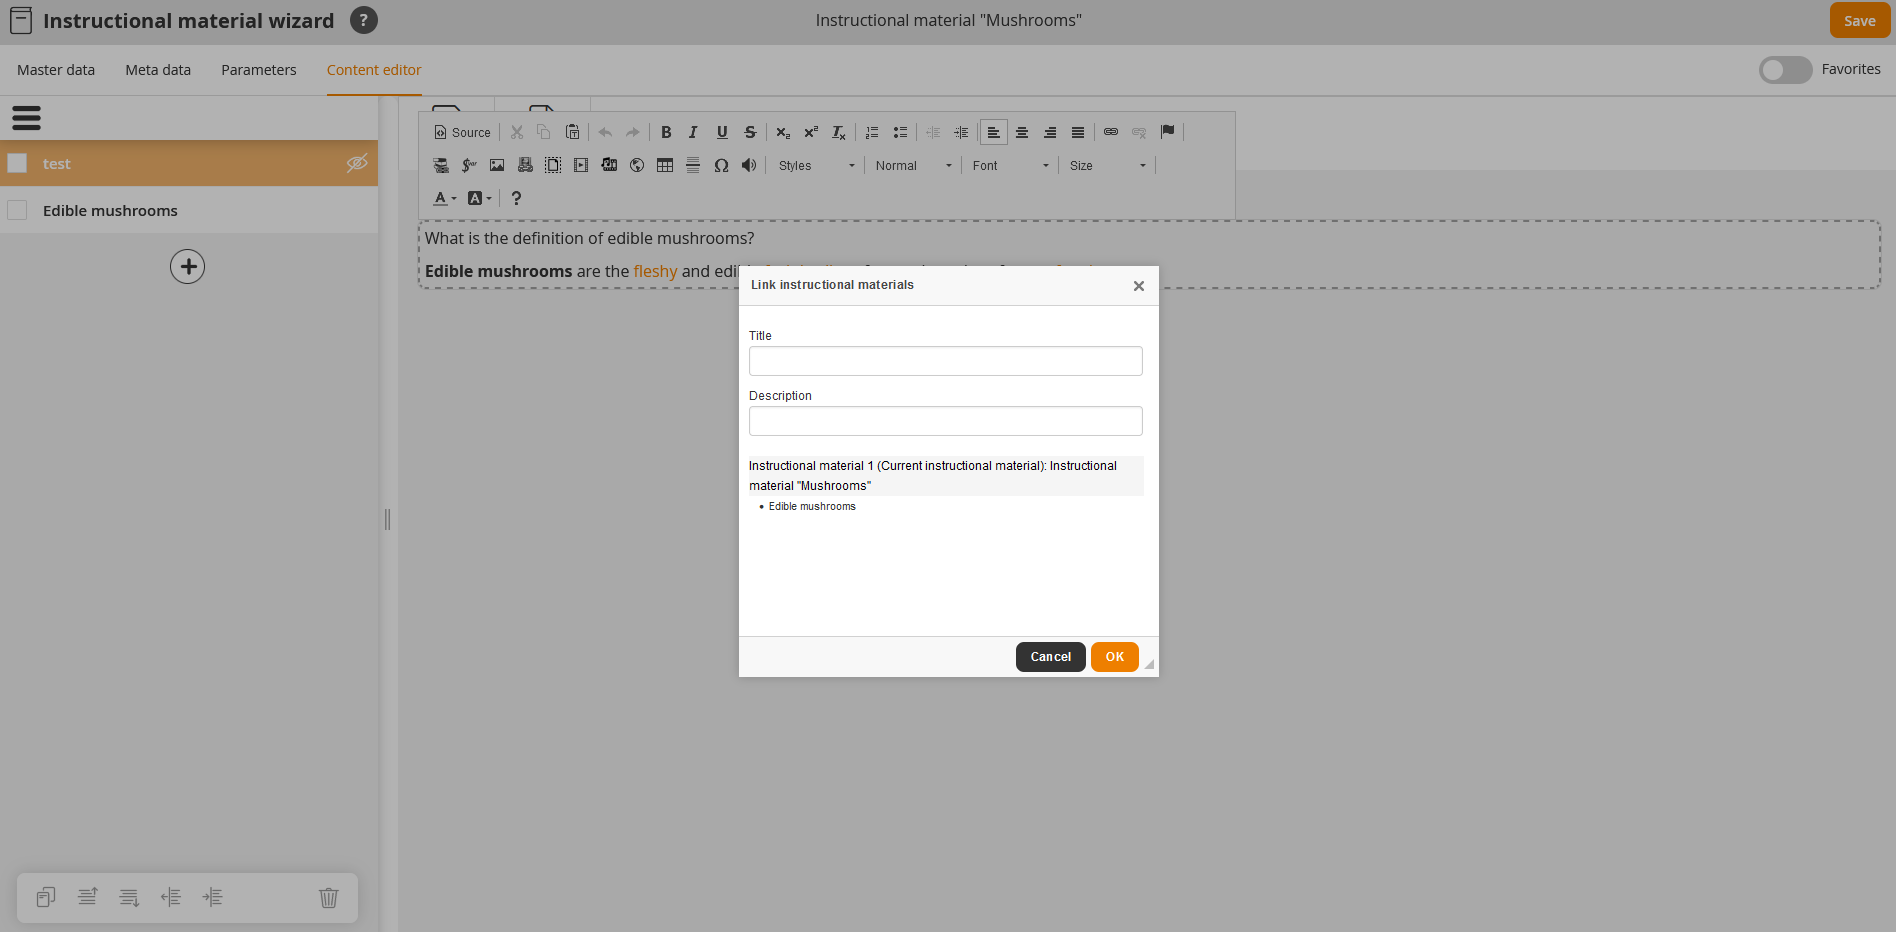
The dialog window Link instructional materials opens (see second screenshot). - Select the favored instructional material.
If the instructional material is not added in a course, this list is empty. - Click the button Save.
Preview
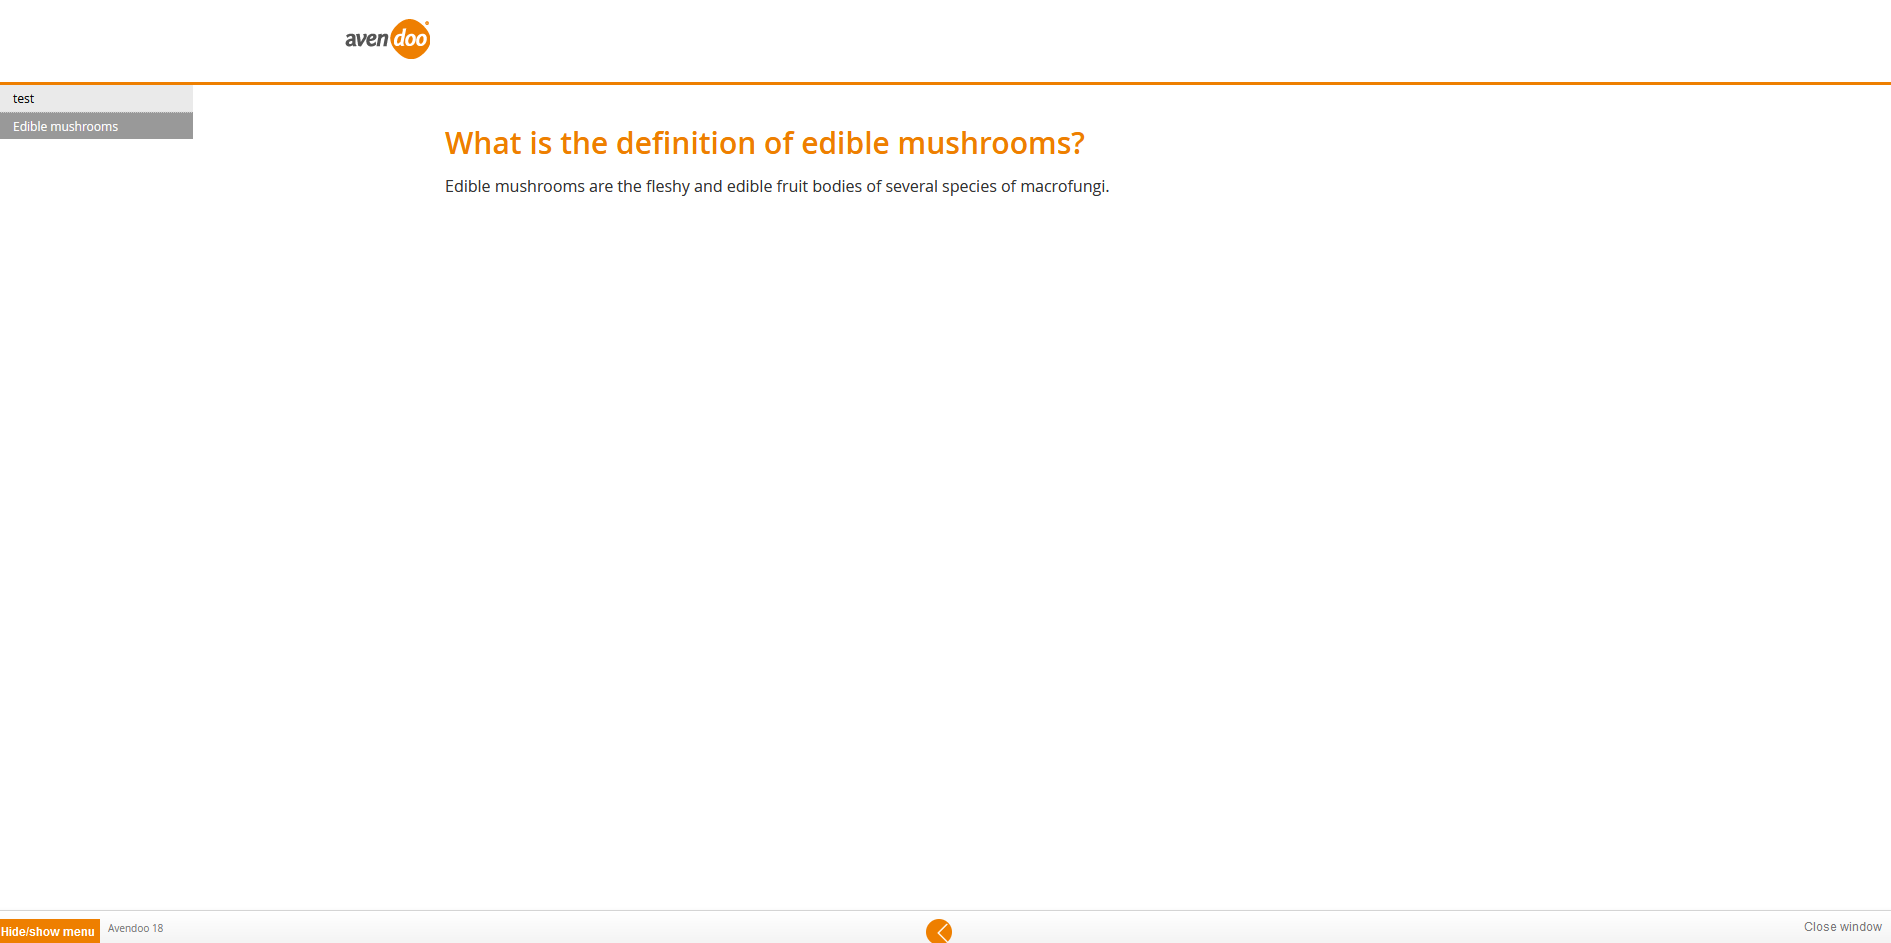
- To see how the corresponding page of instructional material will look like, click the button Preview (see first screenshot).
The corresponding dialog window of the preview opens (see second screenshot). - You can show or hide the menu.
- You can test the page of the instructional material.
- Click the button Close window at the bottom right.
Practical example
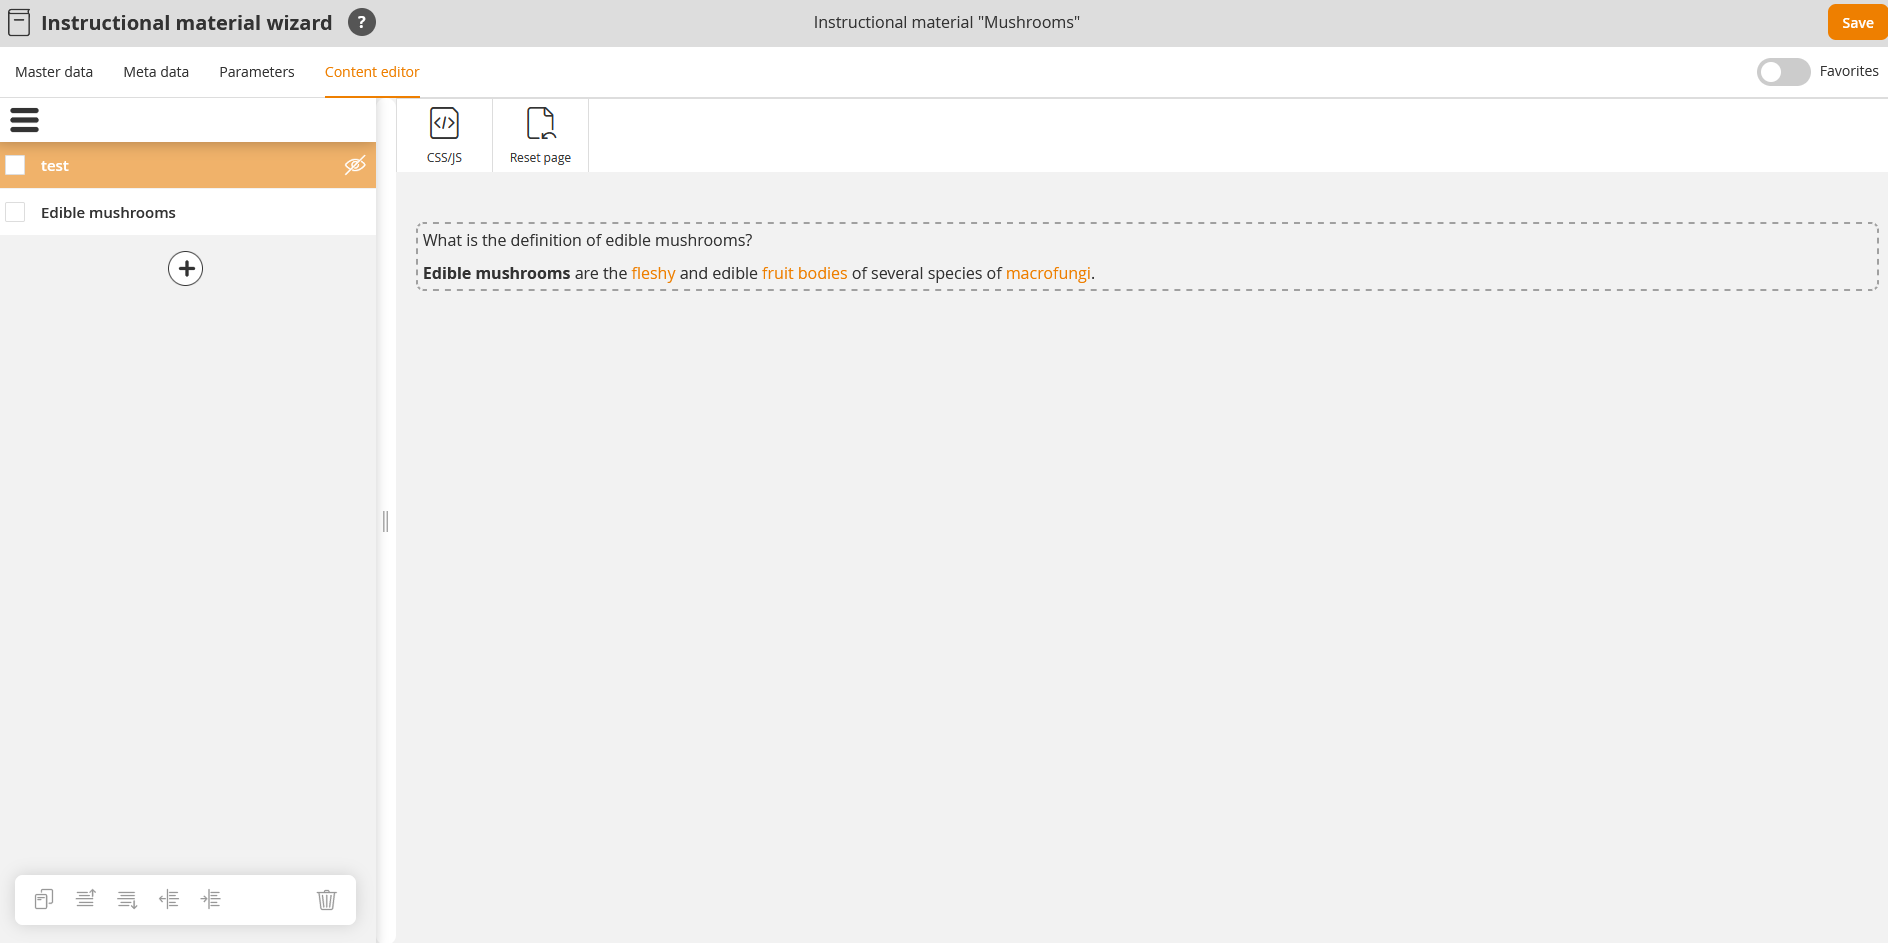
- Choose Learning content → Instructional material → Instructional material “Mushrooms” (title of the instructional material).
The Instructional material wizard opens. - Switch to the tab Content editor.
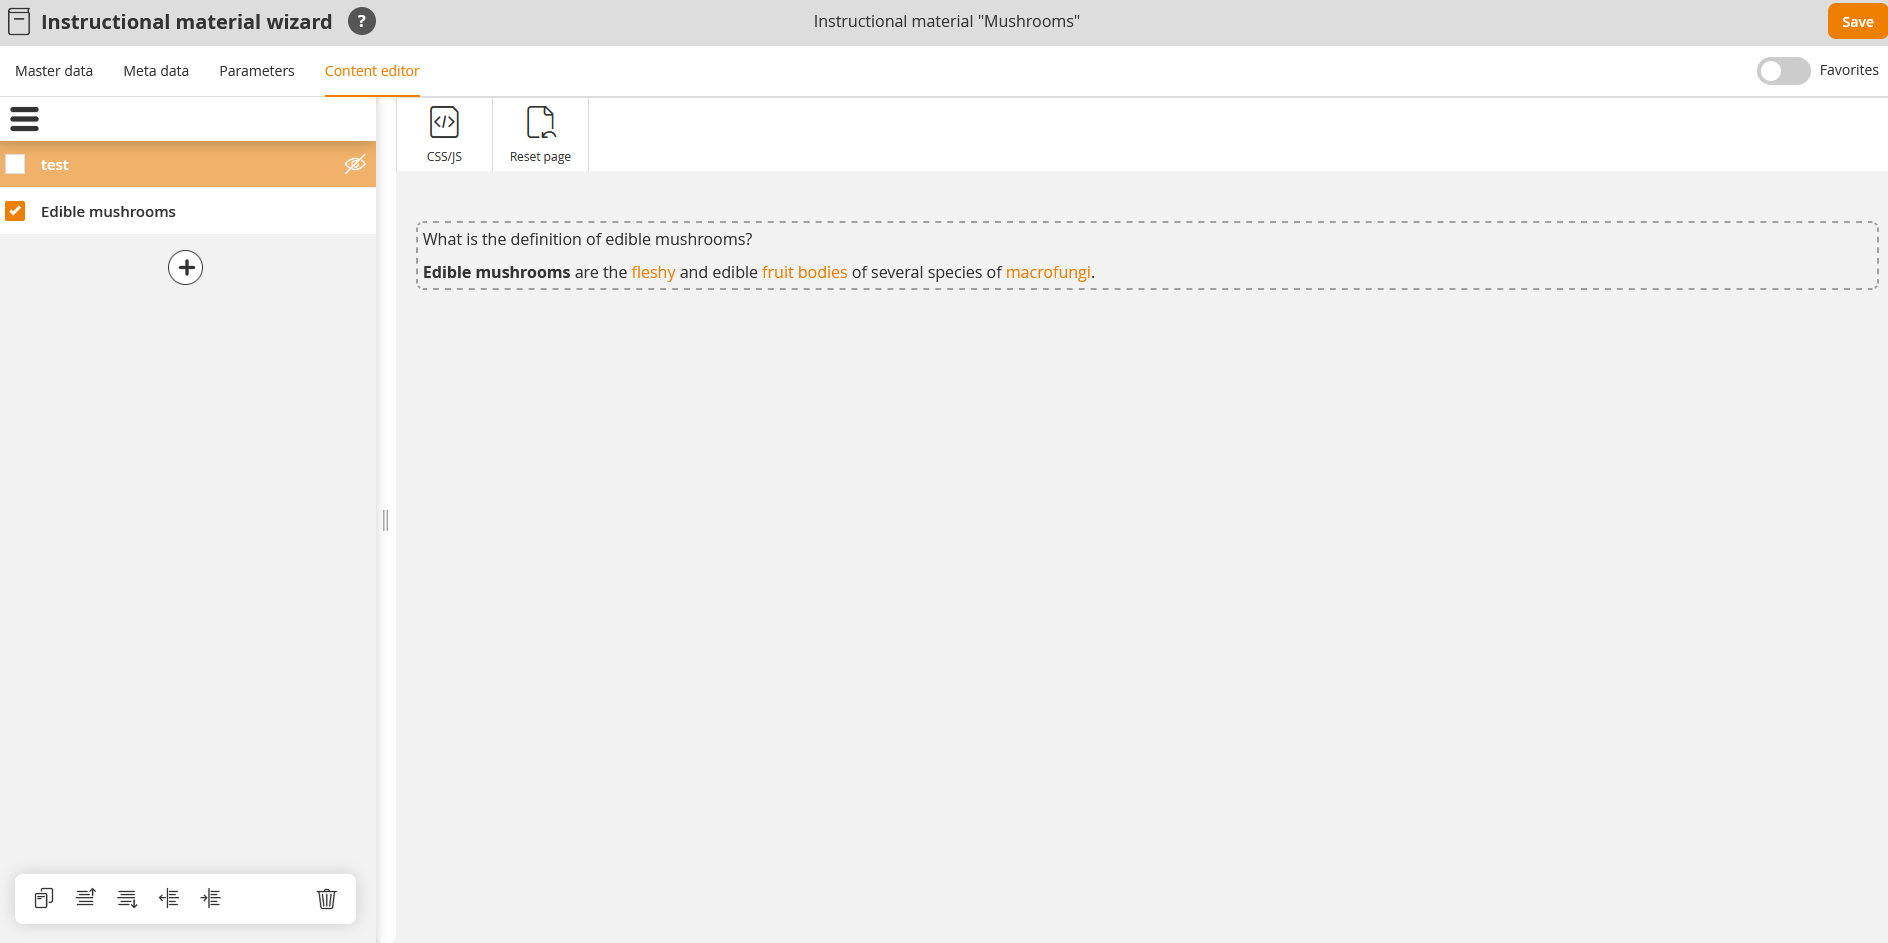
- Set a check mark in front of the page of the instructional material which you want to edit.
The editing bar in the left menu area is active (see screenshot). - You can duplicate the page, move page up or move page down, reduce indent or increase indent.
- If required you can remove the page via the recycle bin.
- You can use all functions of the Move editor in the right menu area.
- You click the button Save.
The changes are saved. - Click the button Close.
