Preview
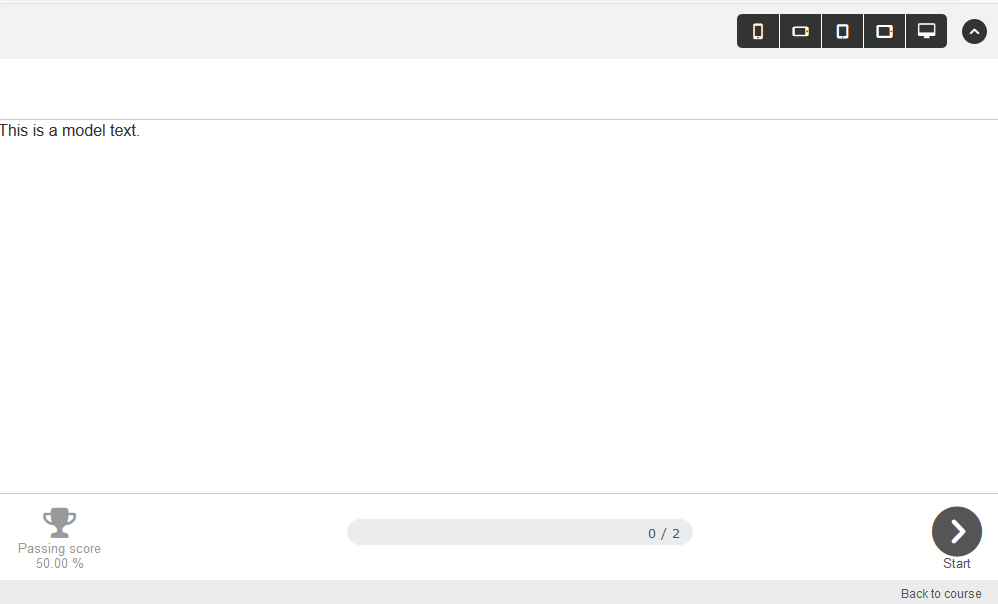
If you choose Preview in the context menu of the appropriate knowledge test, the Preview window from user view opens. The dialog window of the knowledge test opens.
New knowledge test
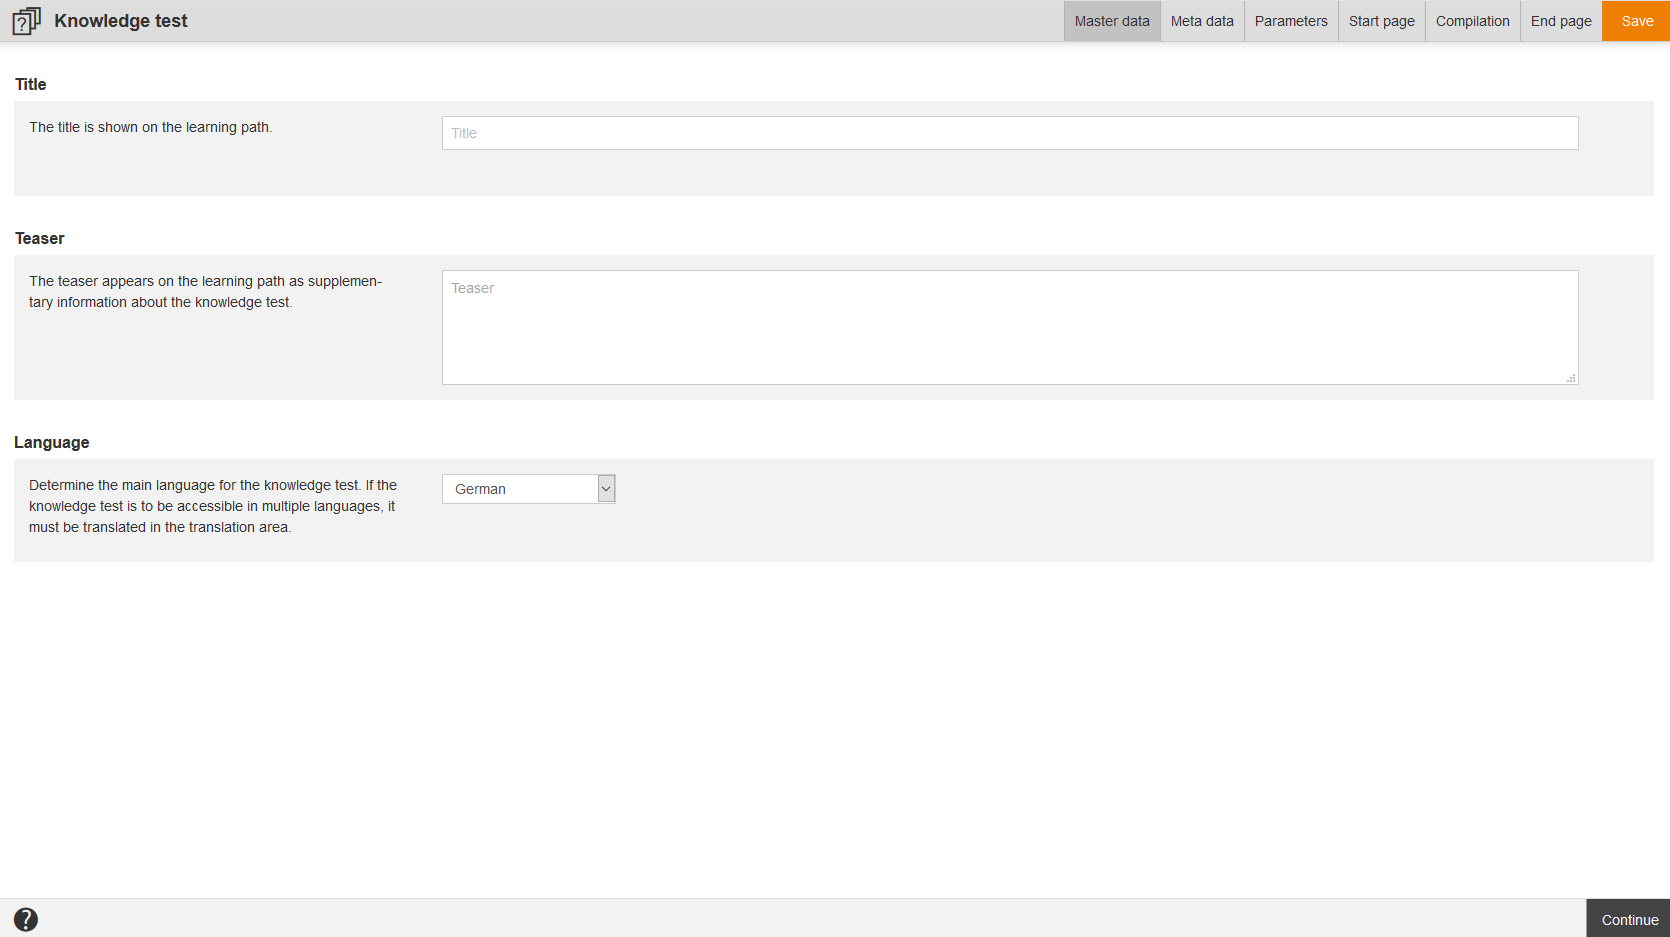
If you choose New knowledge test in the context menu of the appropriate knowledge test, the dialog window Knowledge test for creating a new knowledge test opens.
Edit
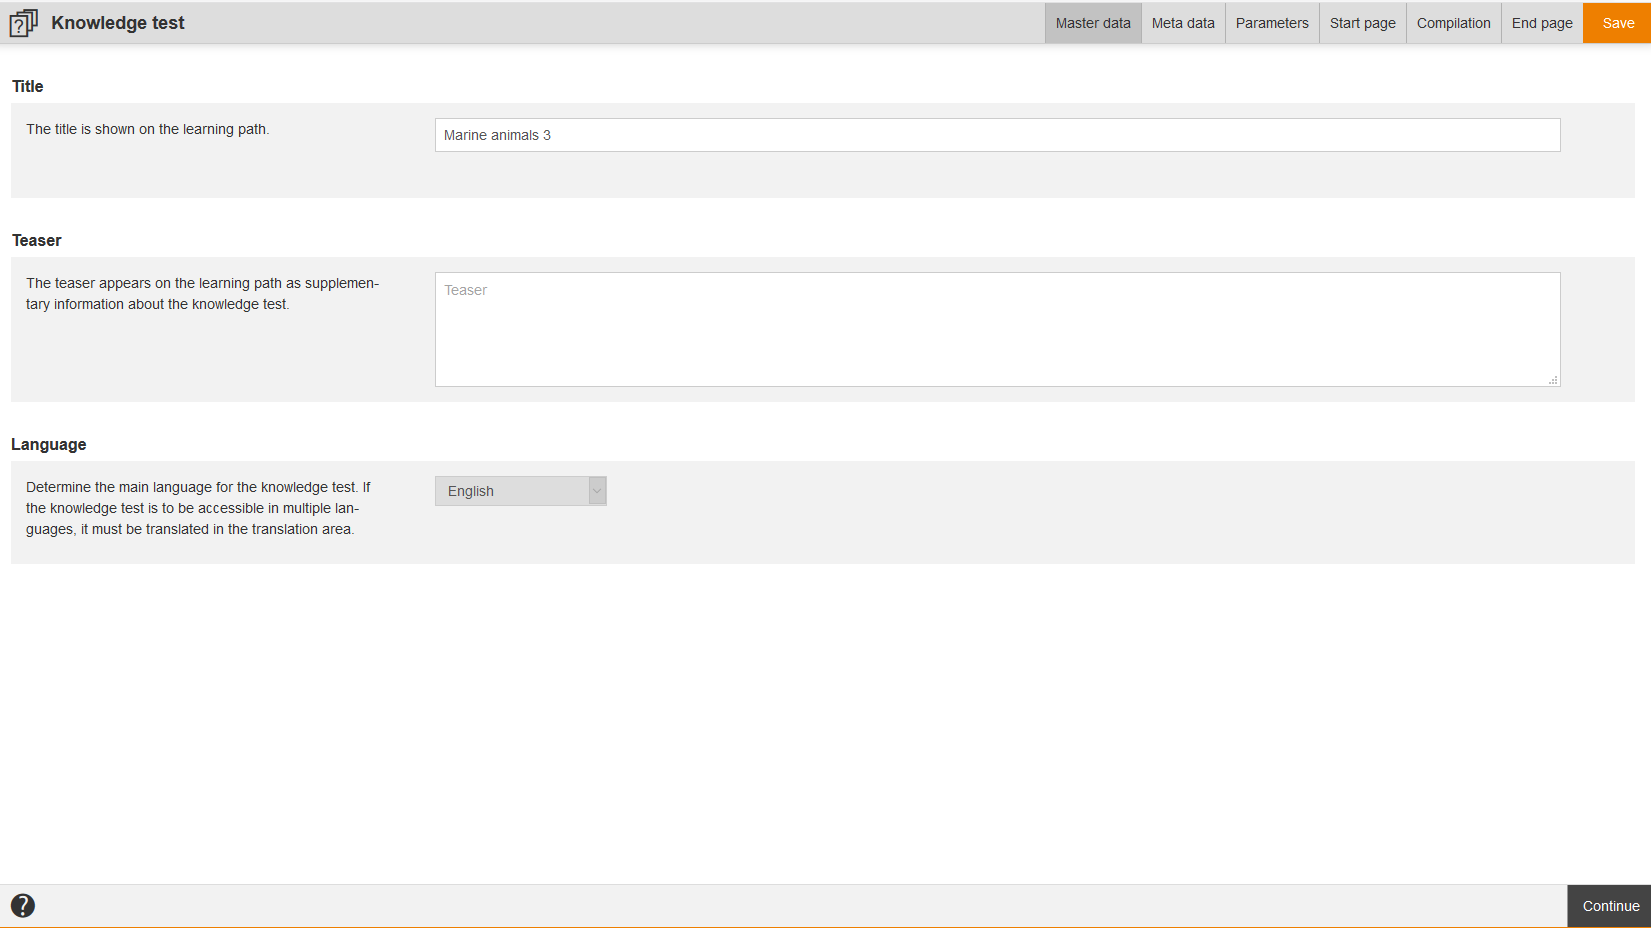
If you choose Edit in the context menu of the appropriate knowledge test, the dialog window Knowledge test for editing the knowledge test opens.
Delete
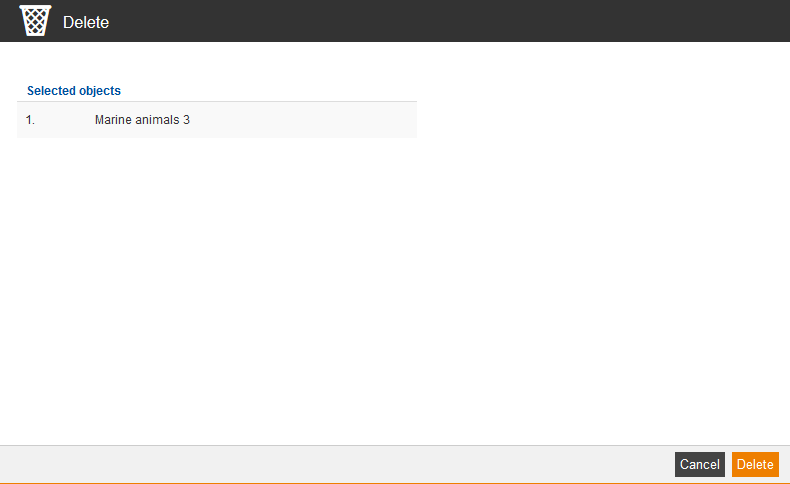
If you choose Delete in the context menu of the appropriate knowledge test, the dialog window Delete for deleting the knowledge test opens. Then you click on the button Delete.
Translation area
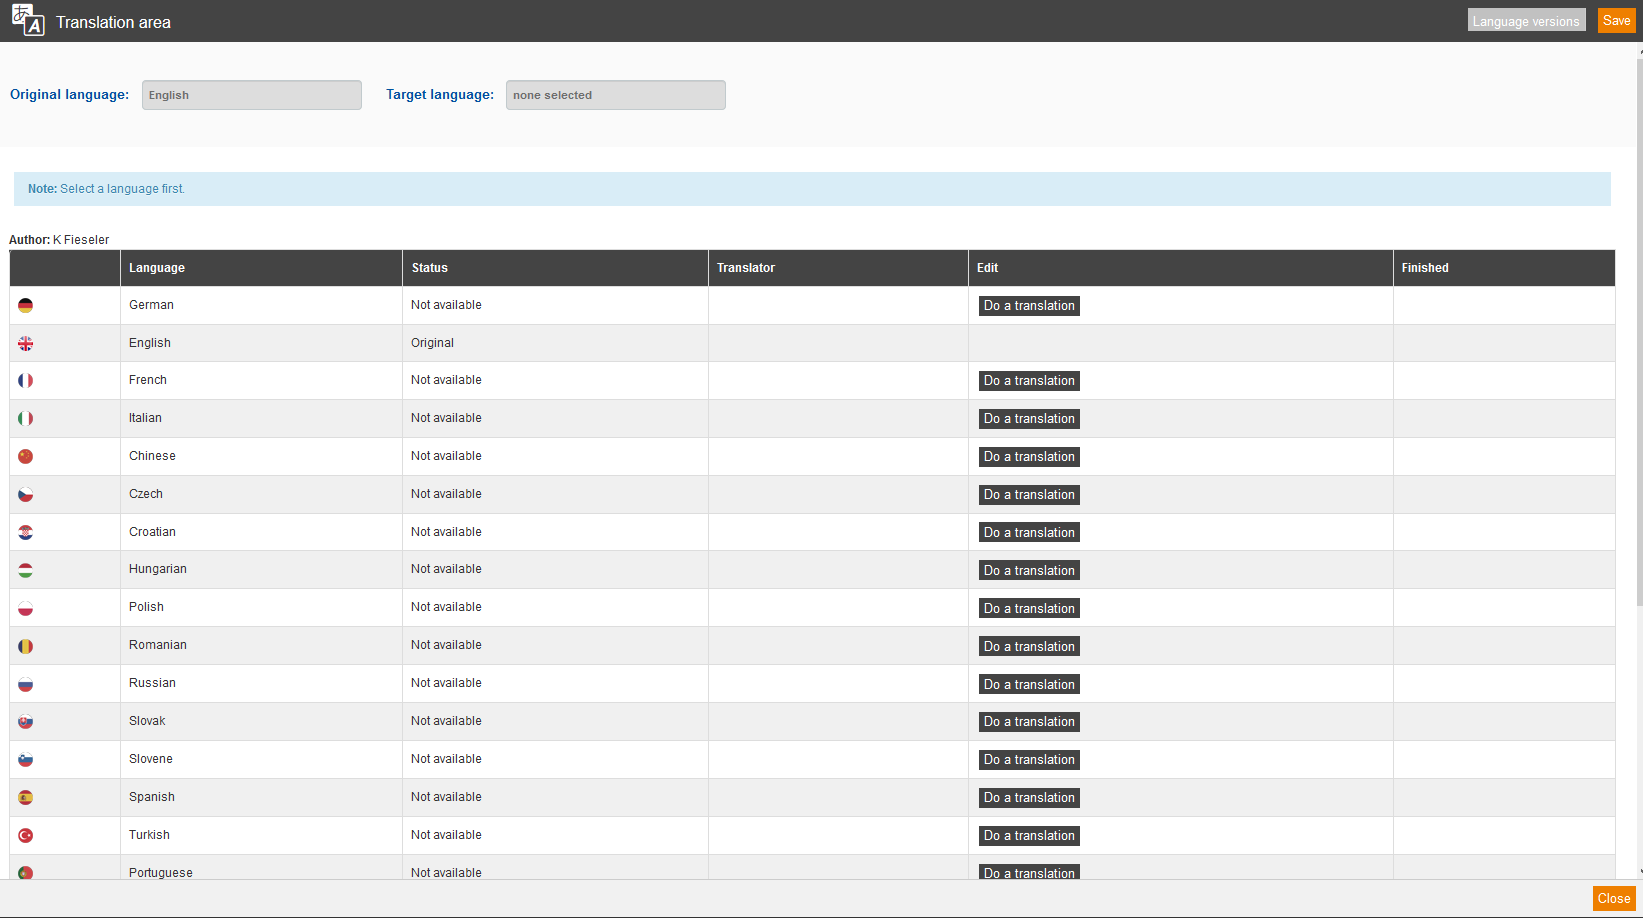
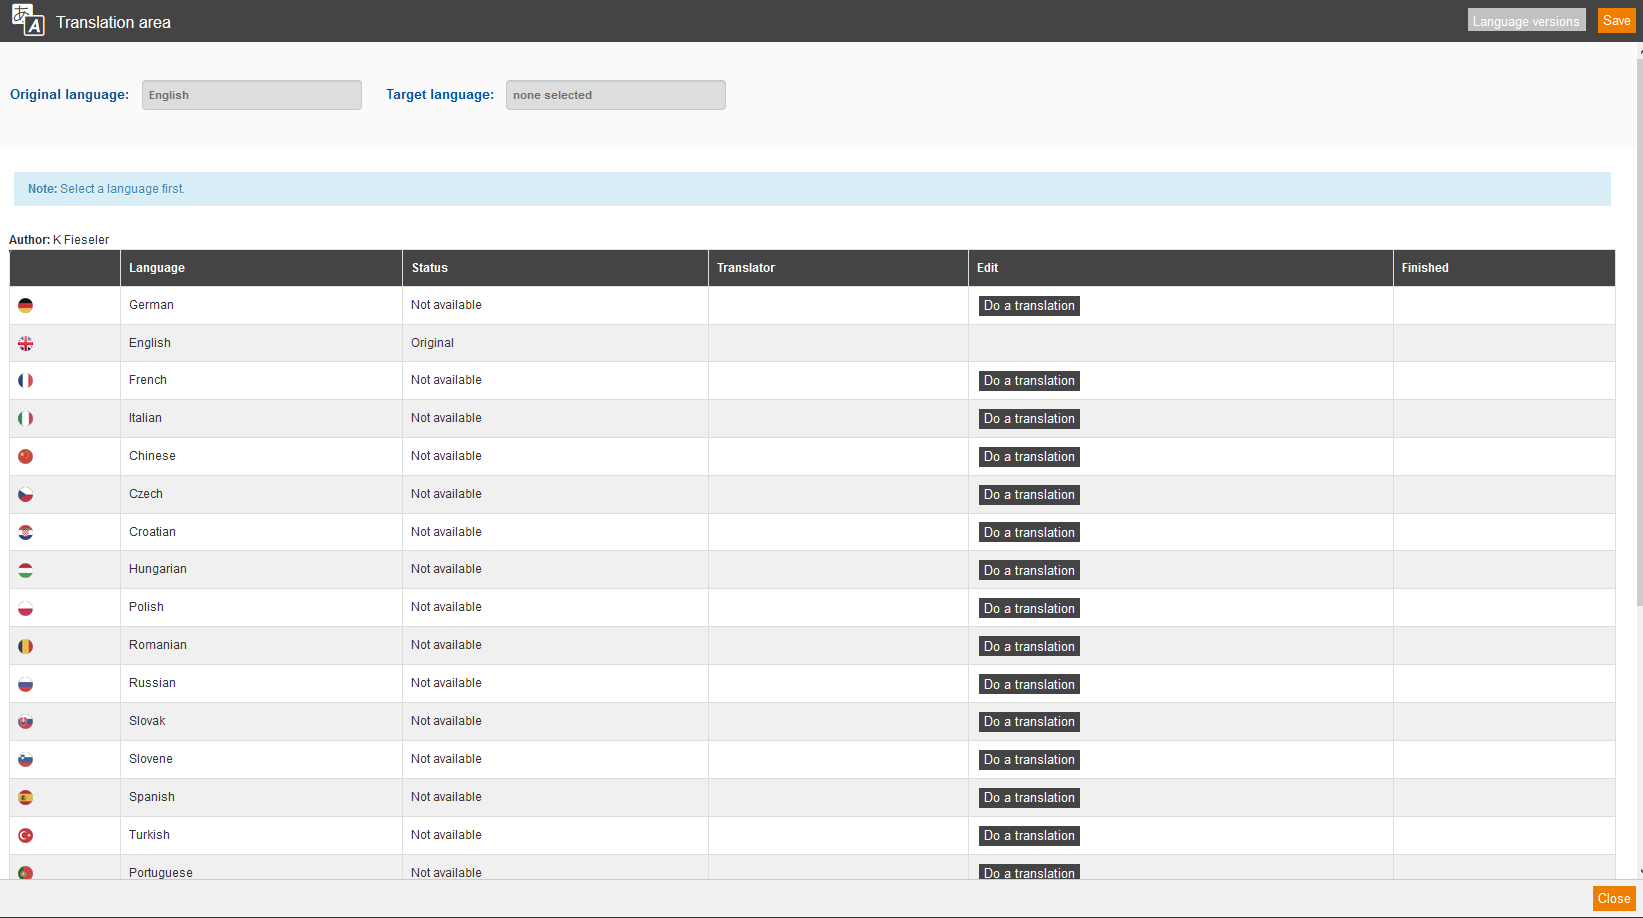
If you choose Translation area in the context menu of the appropriate knowledge test, the dialog window Translation area for translating the knowledge test opens. To do translations in different languages, you click on the button Do a translation of your favored language. More information about the translation management you find here.
Show report
If you choose Show report in the context menu of the appropriate knowledge test, the dialog window Reports opens. By marking the appropriate report and clicking the button View, you can view this report.
Information
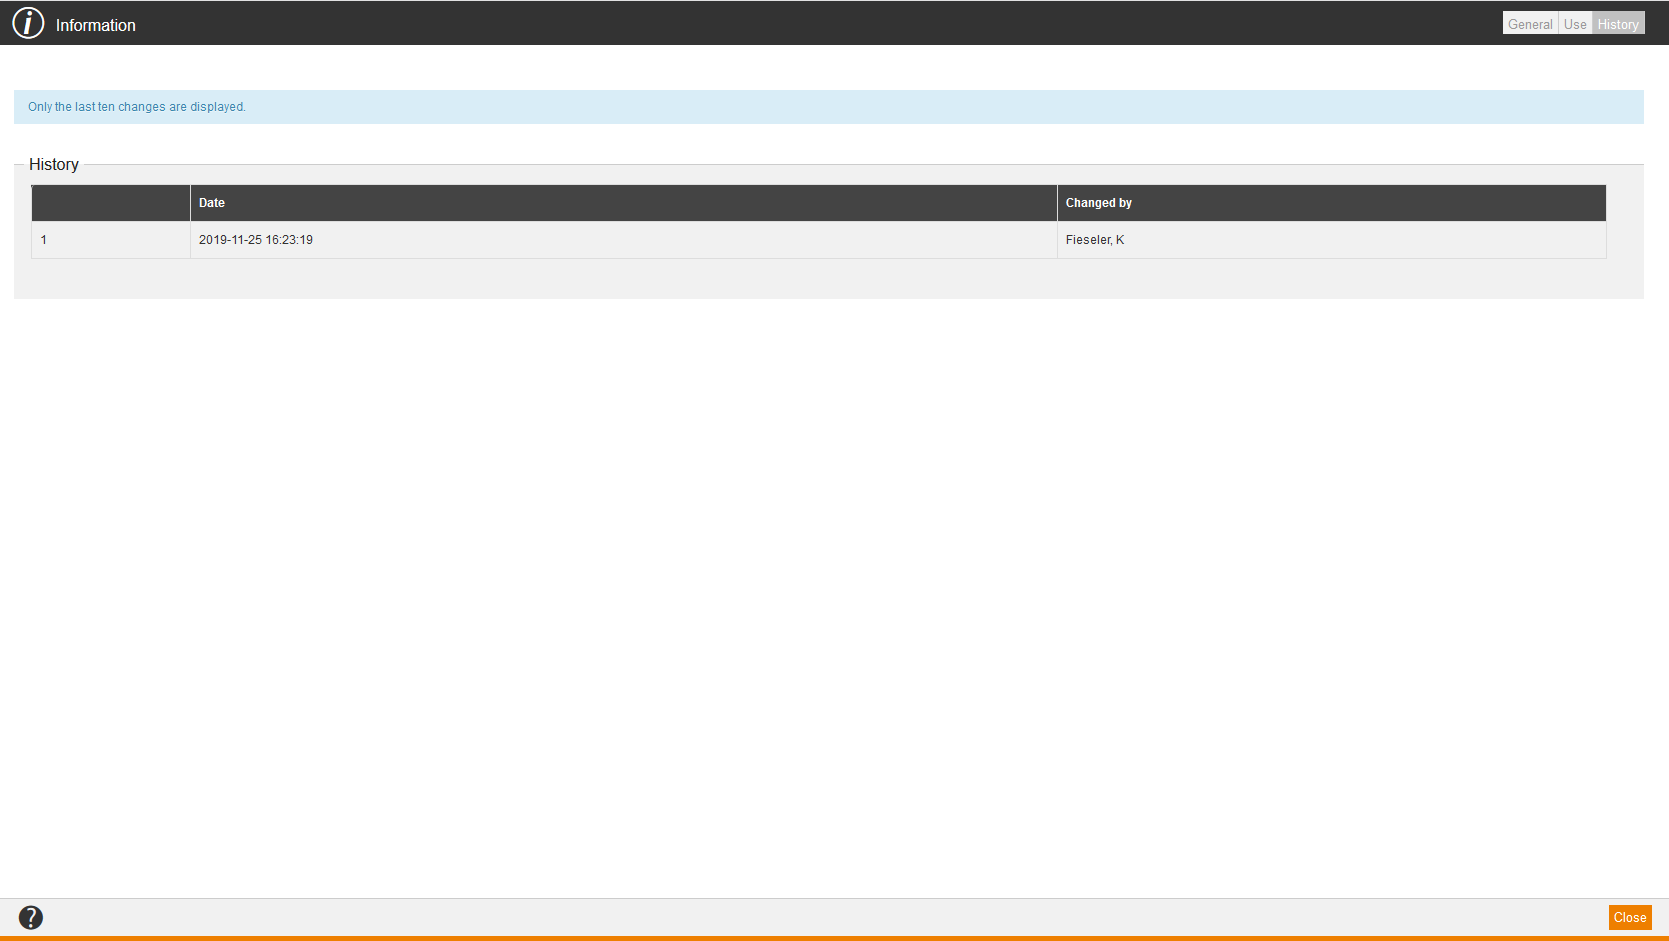
If you choose Information in the context menu of the appropriate knowledge test, the dialog window Information with the tabs General, Use, History and Security opens.
General
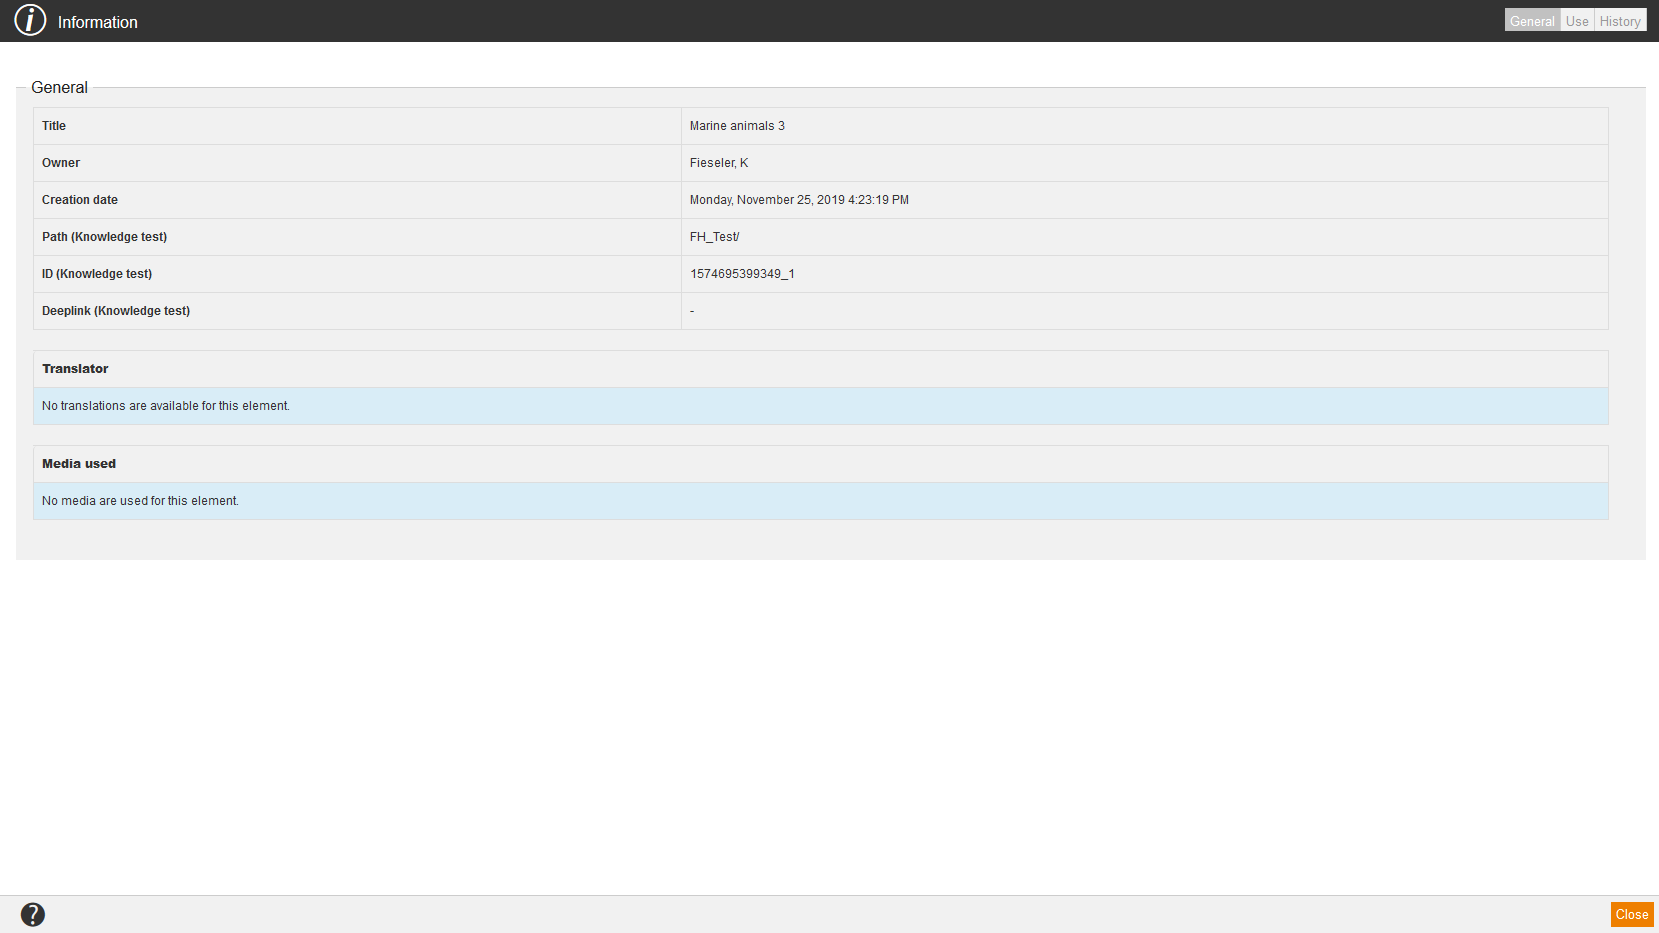
On the tab General you find information regarding:
- Title,
- Owner,
- Creation date,
- Path (Knowledge test),
- ID (Knowledge test),
- Deeplink (Knowledge test),
- Translator and
- Media used.
Use
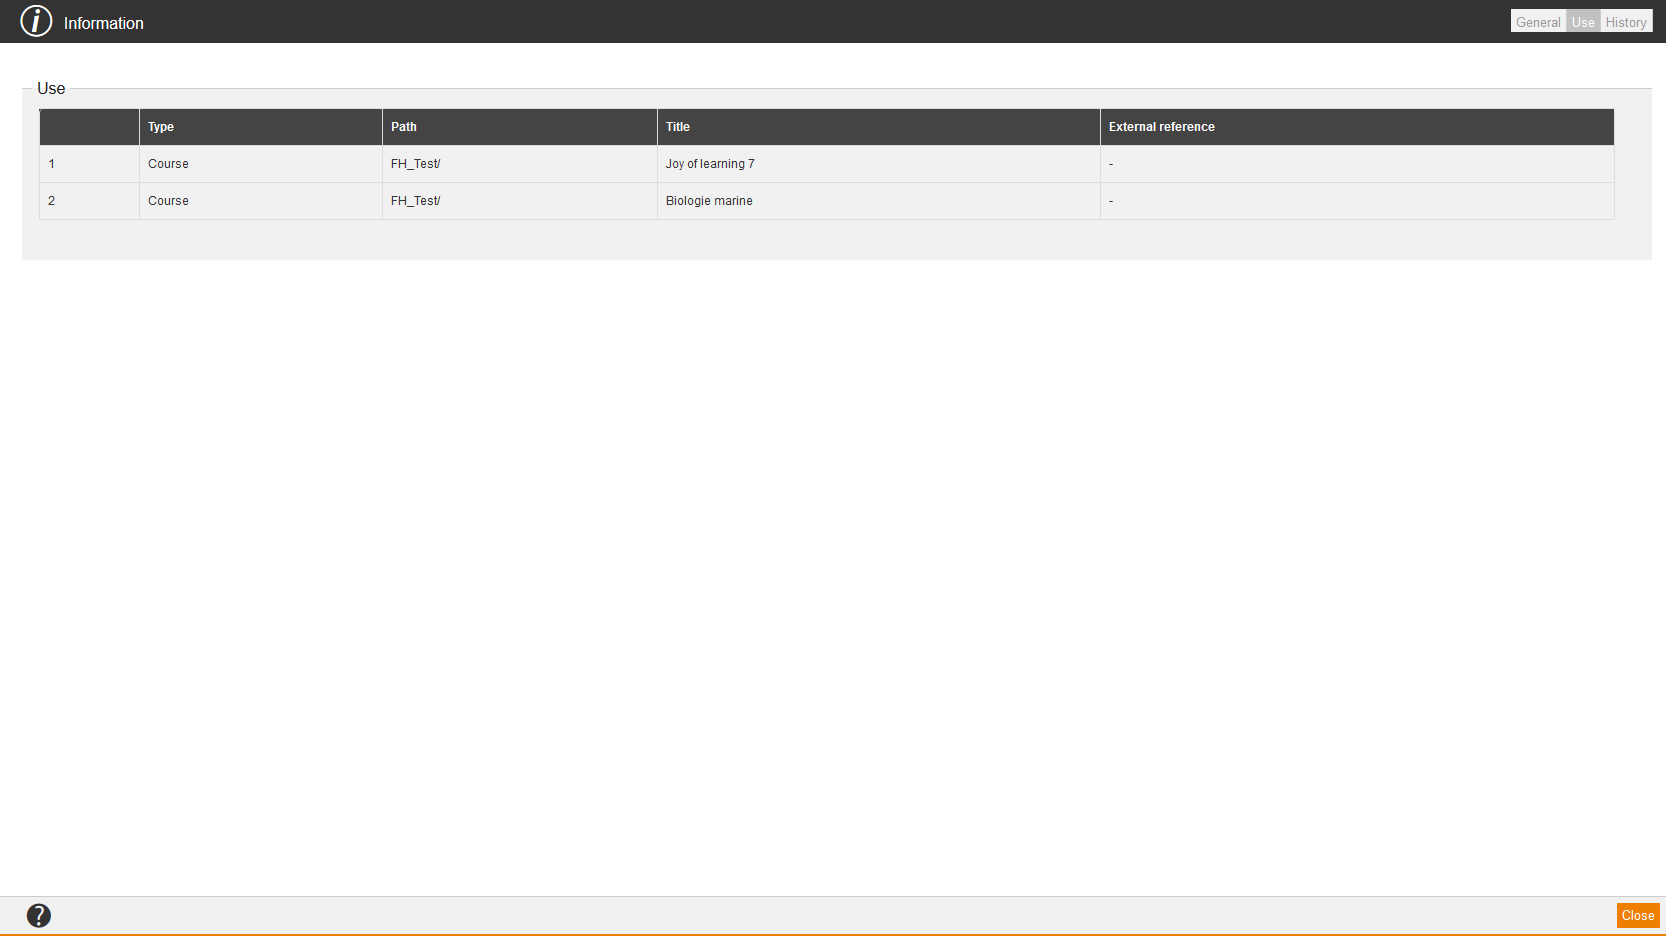
On the tab Use you find information regarding:
- Type,
- Path,
- Title and
- External reference.
History
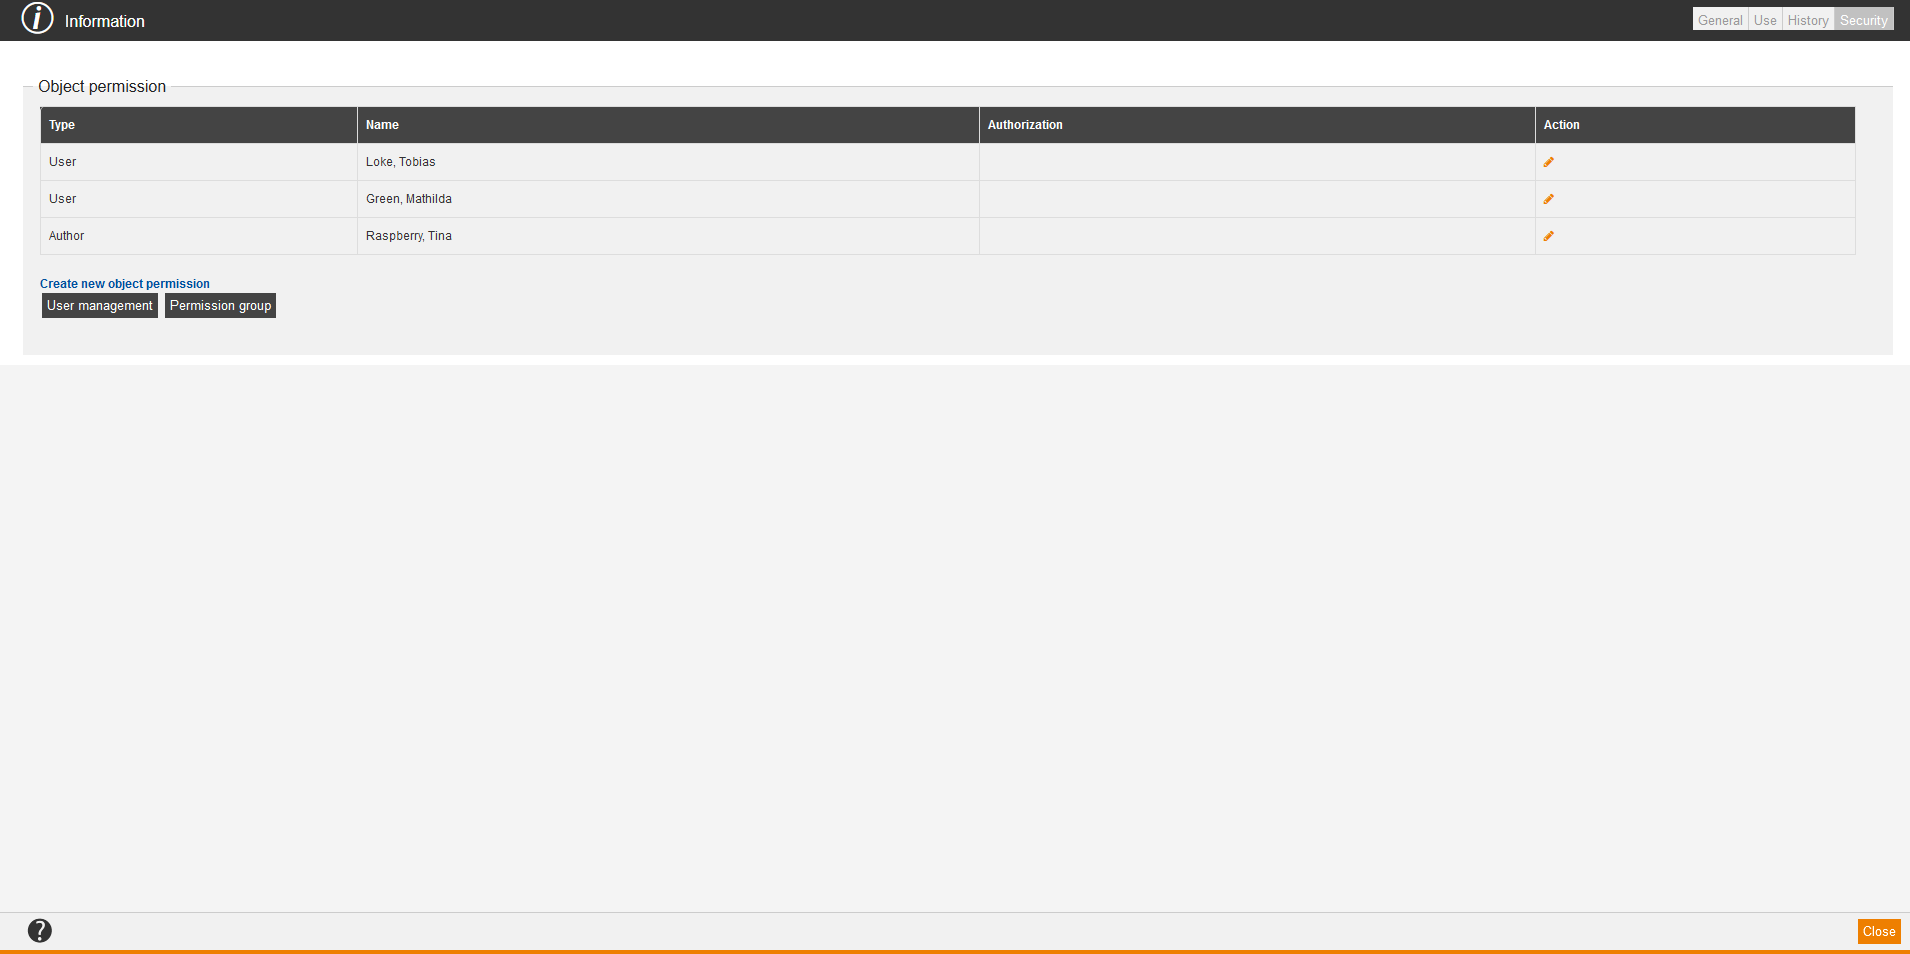
Security
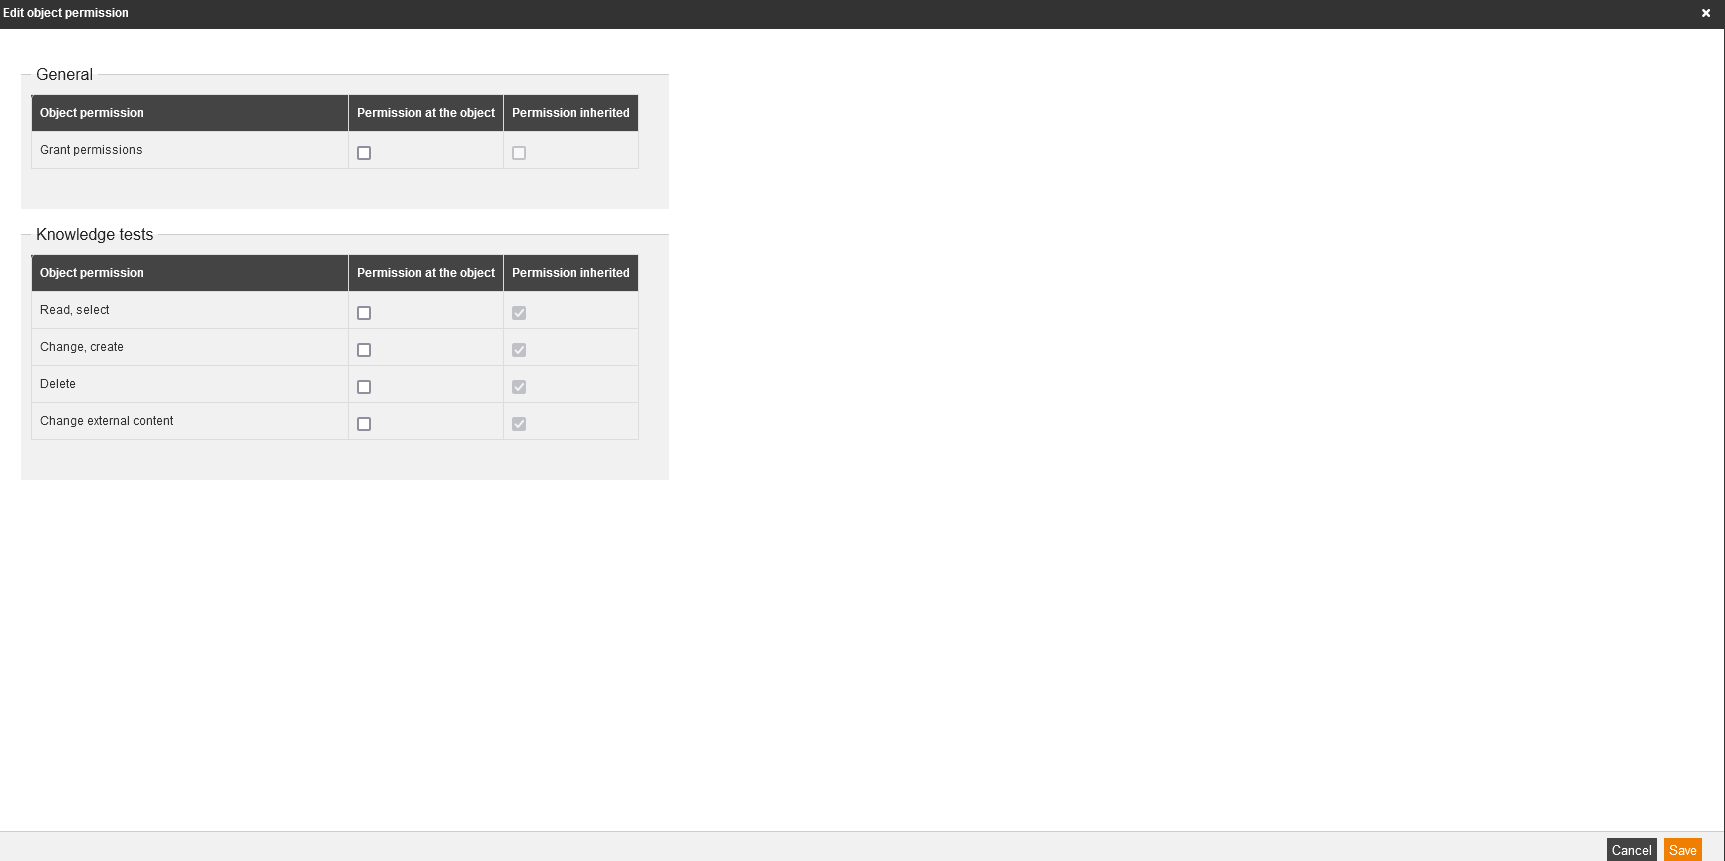
On the tab Security you can define object permission for an author, user or team leader or a permission group. Therefore click on the button User management to select single users and assign them object permissions, or you click on the button Permission group to select a permission group and assign object permissions to it. You can grant the following object permissions:
- General
- Grant permissions (object permission)
- Knowledge tests
Finally, you click always on the button Save.
After that you can edit object permissions by clicking on the Pencil, set or deactivate the appropriate check marks and click on the button Save. If you click on the Pencil, you also see the inherited object permissions.
