You can add as many rooms as you want to an already created location to simplify the organization of face to face sessions. Furthermore you can unite subrooms on bookings or reservations to one multiple room. Note that you create subrooms first and then the superordinate room (=multiple room). The multiple room is marked in the Event date wizard and in the Gantt diagram of the utilization of locations (door icon).
Furthermore you can send room reservations to Outlook and you can book these as Outlook rooms.
Master data
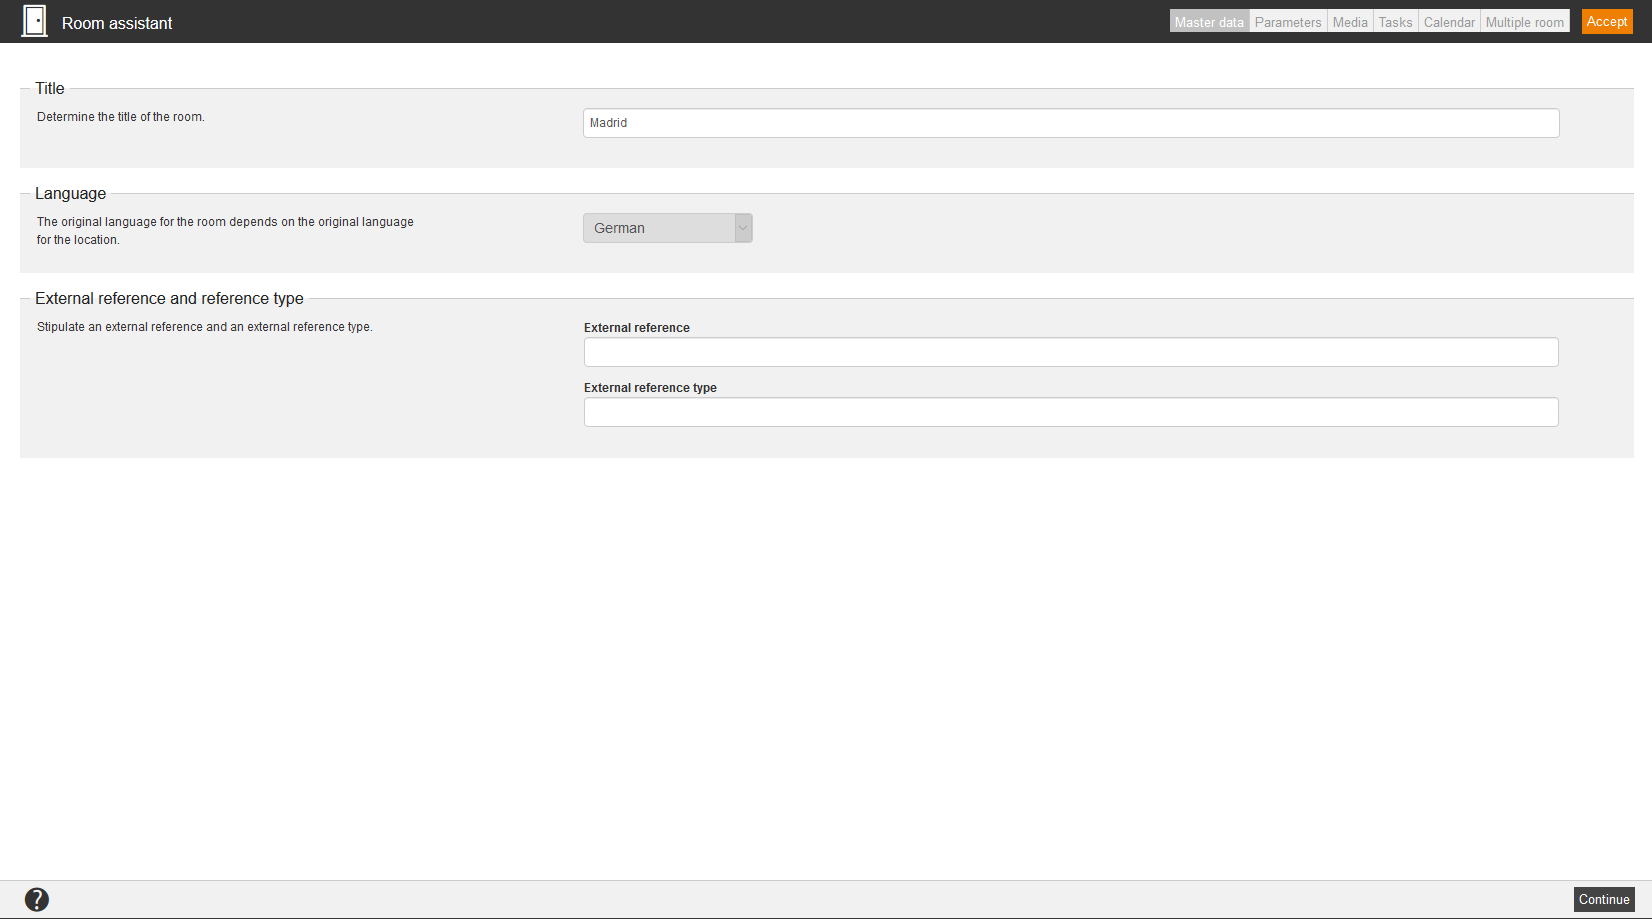
Title
Enter a significant title for the room. You can’t edit the language selection, because the language of the roon depends on the original language of the location.
External reference and reference type
External references are used for organizing and for linking to other systems. This you can use for manual assignments and on using interfaces, for example: REST API. You can search for external reference in the advanced filter function.
The external reference represents a reference value like ID, serial number or name. The external reference type describes which reference it is and how to understand the reference value. This is very important, if there are different sources or types of references, which use the same reference values.
Examples:
Reference type SAP customer number with the external reference 100234
Reference type SAP user ID with the external reference 000004
Parameters
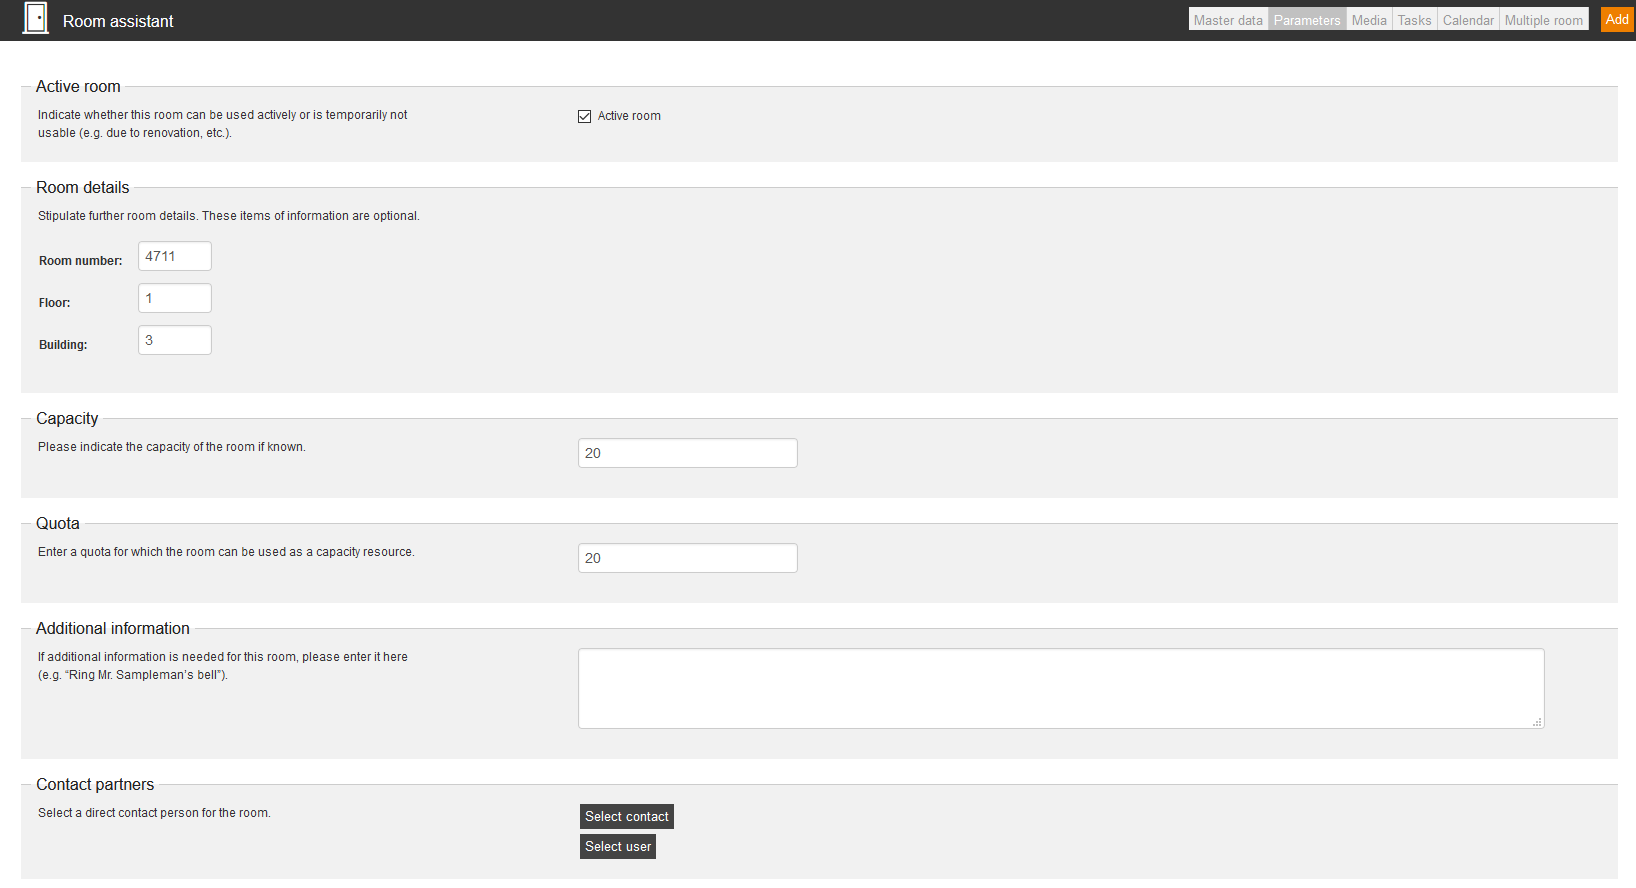
Active room
Indicate whether this room can be used actively or is temporarily not usable (e.g. due to renovation, etc.).
Room details
Enter the room number, the floor and the building, in which the room is. Note that these items of information are optional.
Capacity
Enter the number of the potential participants for this room.
Quota
Enter a quota for which the room can be used as a capacity resource. Further information about the function Add resource with its capacity under Create event date.
Additional information
If additional information is needed for this room, please enter it here.
Contact partners
Select a direct contact person for the room. Further information for creating a contact you find under contact management: new contact.
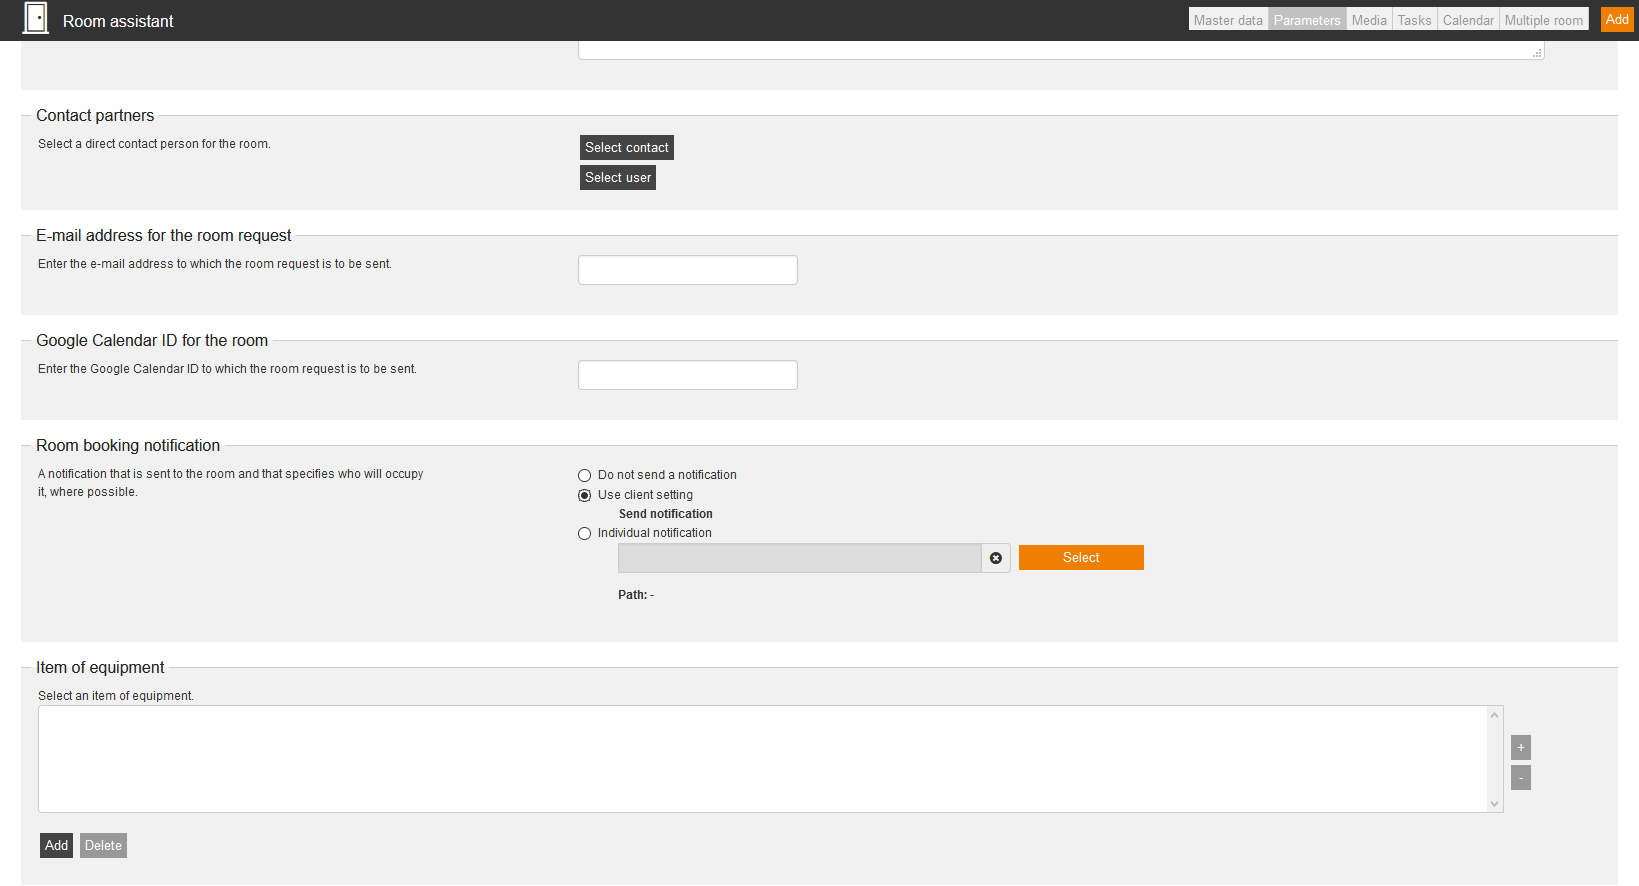
E-mail address for the room request
Enter the e-mail address to which the room request is to be sent.
Google Calendar ID for the room
Enter the Google Calendar ID to which the room request is to be sent.
Select between the following options:
- Do not send a notification
- Use client setting or
- Individual notification (After selecting the individual notification the source path of the Individual notification is shown. Further information about Individual notifications you find here.)
Item of equipment
To select an item of equipment for your room, click on the button Add. Select the favored item of equipment in the list and click on the button Select. To delete the item of equipment, mark the appropriate item of equipment and click on the button Delete.
Media
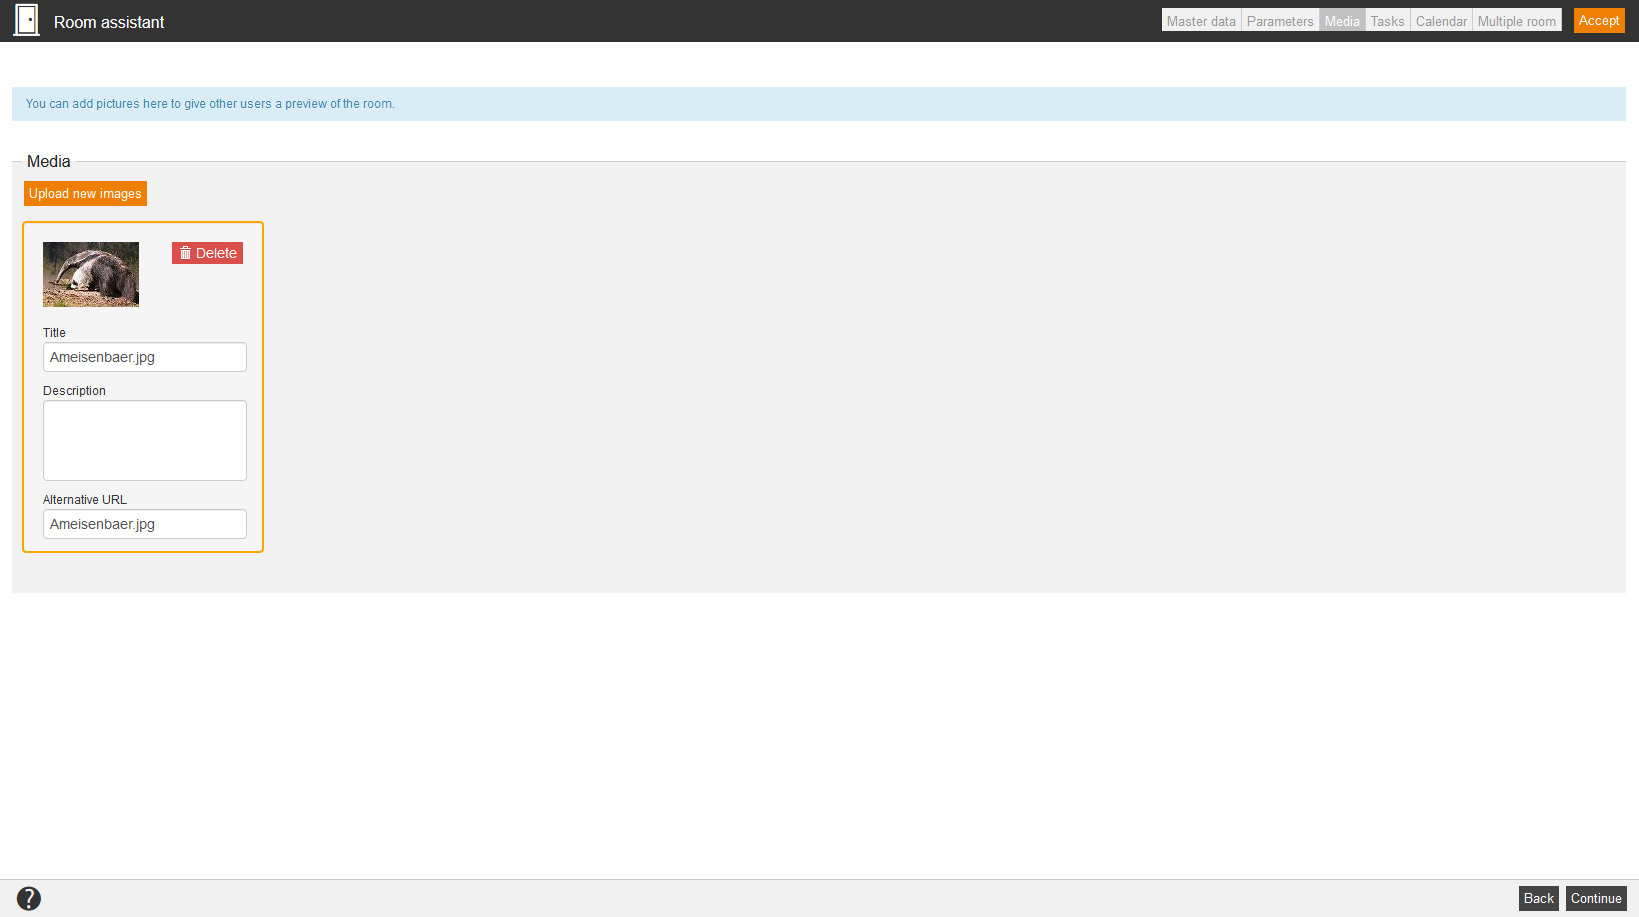
Upload media for describing the room more exactly or displaying it graphically to give a preview to the learner. If you have uploaded multiple images, the image, which is at first position and bordered in colors, will be selected as standard preview image.
You can click the colored title of the picture, after the picture was uploaded, in the dialog window Upload pictures (see second screenshot). Thus this picture is available in the download folder of the Explorer.
Tasks
Task templates
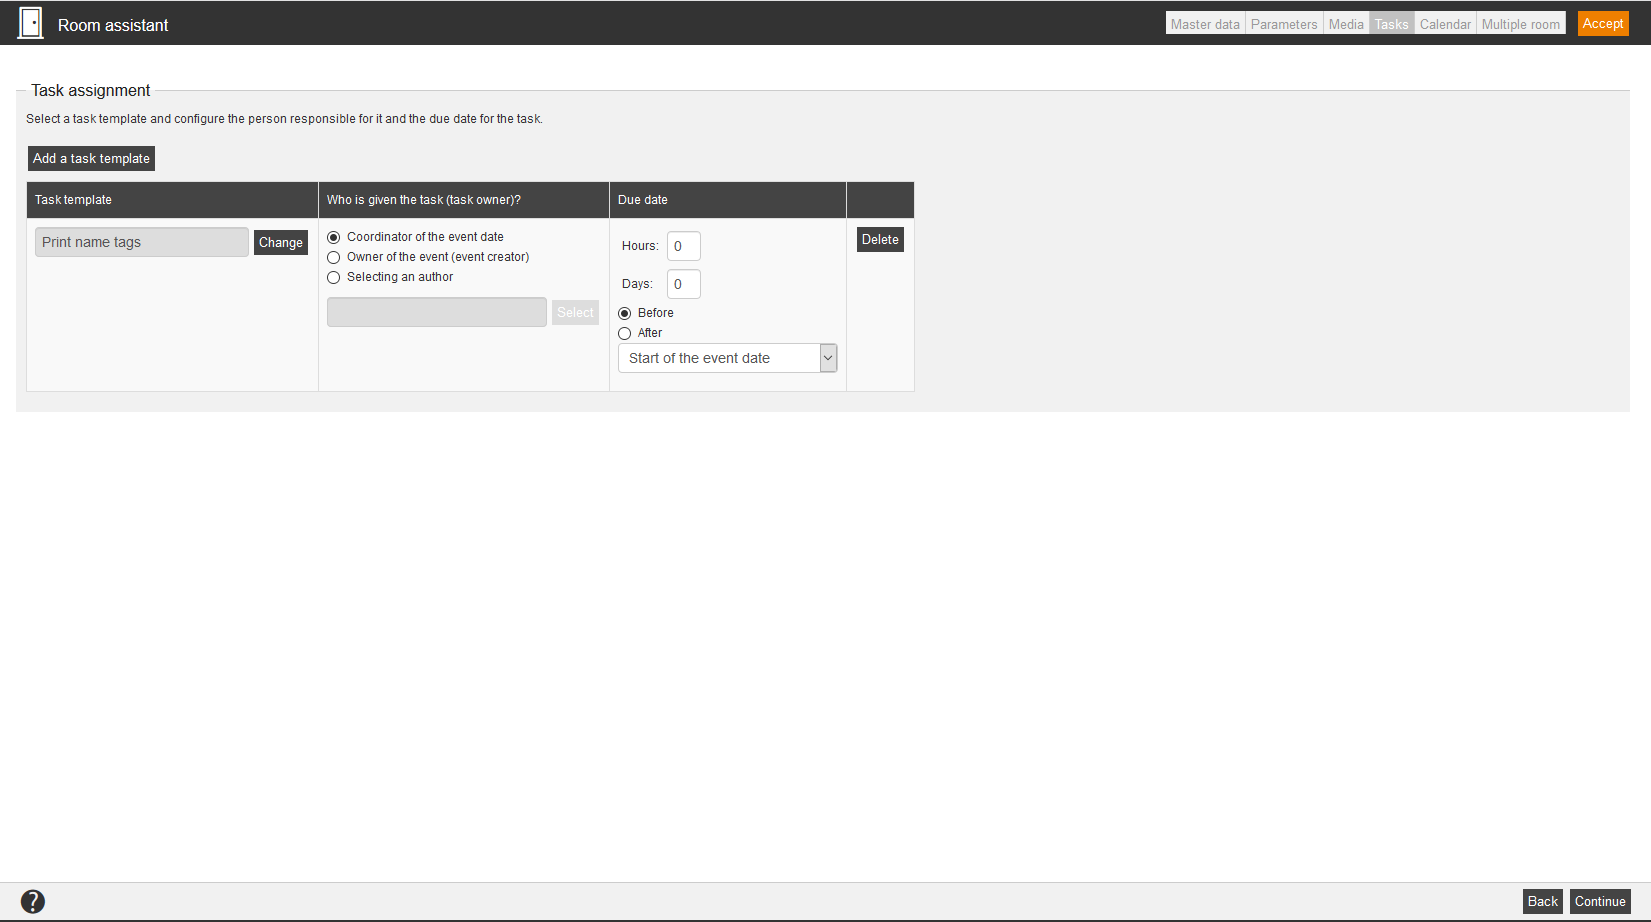
To add a task template, click on the button Add task template, select the appropriate task template and click on the button Select.
To create a new task template, click first on the button Add a task template and then on the button New task template.
You can select the following trigger:
- Event date activation,
- Changed food requests,
- Changed overnight stay bookings,
- Substitute participants,
- Registrations,
- Registration cancellations,
- Advance on the waiting list,
- Too few participants,
- Too many participants,
- Event date initializing,
- Event date planning or
- Event date cancelation.
You define by setting the check box, if the trigger is
- immediately active or
- how many hours and days before or after Start of the event date, Registration deadline or Deregistration deadline.
If you have selected the trigger Event date activation, Event date initializing, Event date planning or Event date cancelation, you cannot define Trigger active from, because these triggers are always immediately active from. Via the trigger Event date initializing and Event date planning the coordinator can create and edit tasks, which are before the Event date activiation.
On trigger Event date activation the task is created as the event date status switches from Initialized to Active.
On trigger Event date initializing the task is created as the event date status switches from Planned to Initialized.
On trigger Event date planning the task is immediately created as the author saves the event date and the event date status is Planned.
On trigger Event date cancelation the task is immediately created as the event date status switches from any status to Canceled.
If you’ve selected the triggers Changed food requests, Changed overnight stay bookings, Substitute participants, Registrations, Deregistrations, Advance on the waiting list, Too few participants or Too many participants you can also select before or after closing date for hotel booking. Further information about the Closing date for hotel booking you find under the Event oder Event date wizard.
If you have added task templates with the trigger Registrations and Advance on the waiting list and a participant has been moved up from the waiting list and then will be registered by the waiting list, Avendoo® generates a registrations task and when the participant moves up from the waiting list an advance on the waiting list task.
You can define, who the task receives (coordinator of the event date, owner of the event, main speaker for the event date or a selected author) and the due date of the task in hours and days before and after the starting date, the registration or deregistration deadline. If applicable you can delete the task.
Calendar
To create a new calendar, choose Resources -> Calendar -> New calendar. Further information you find under Calendar.
Assign calendar
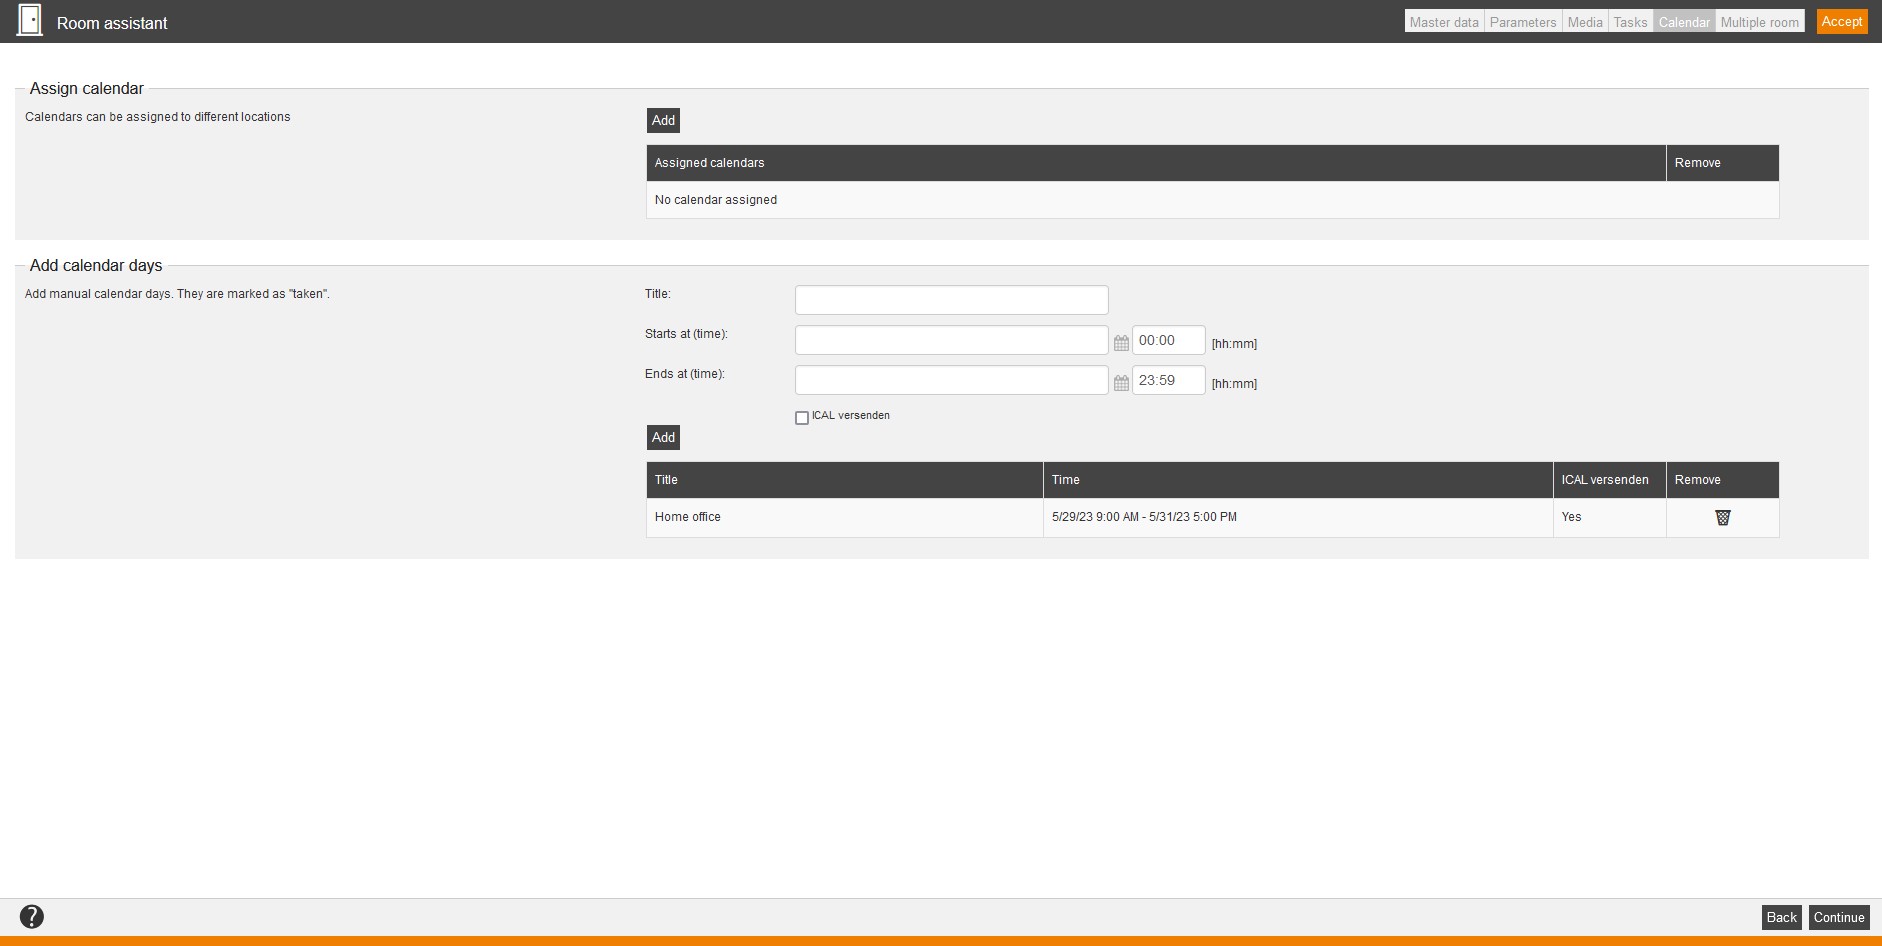
To assign a calendar to an appropriate room, click on the button Add and select the appropriate calendar. Calendars can be assigned to different locations.
You can delete the assigned calendar if applicable.
Add calendar days
Add manual calendar days. These calendar days are then marked as “booked”.
Enter an appropriate title like “Home office” and select the favored date for the starts and ends at time. Also enter the corresponding time. If you set the check Send iCal and click the button Save, the (individual) notification “Calendar booking for material” will be sent, which is configured in the Client wizard.
Finally, click the button Add. If required you can remove this calendar entry via clicking the Recycle bin.
Multiple room
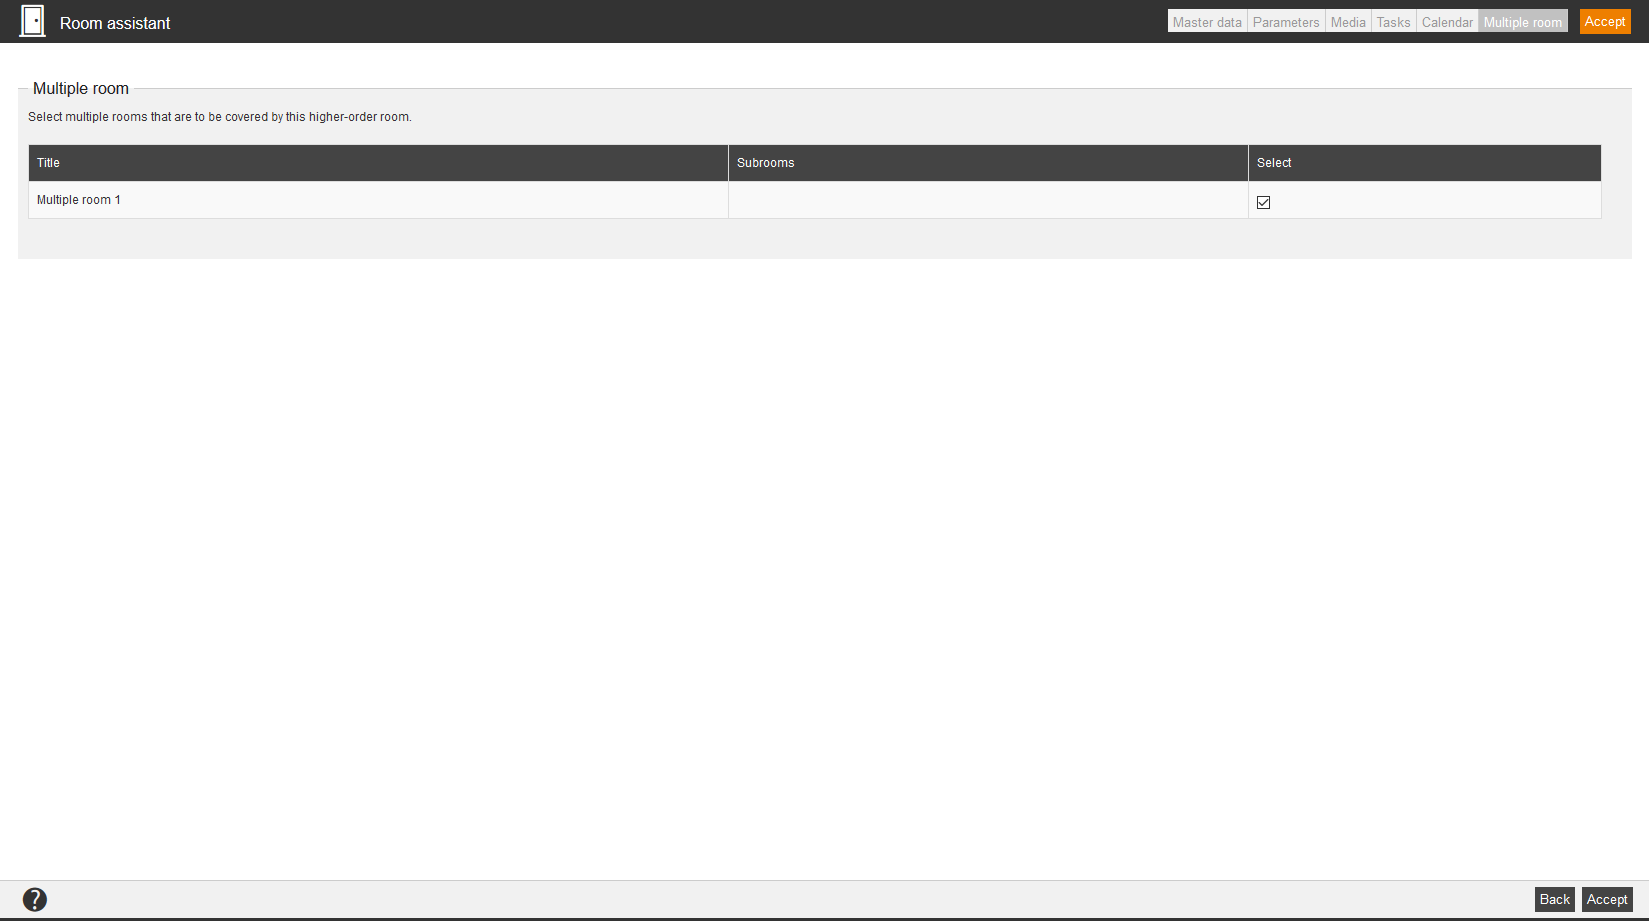
Via setting the checkbox Select in the appropriate line you define the rooms, which are covered by this higher-ordered room.
If there are subrooms contained in the appropriate room, you get these in this table listed.


