The catalog search bar gives you an overview of all learning units for which you were registered or for which you have the option of registering yourself. Furthermore the Remote contents with content connector LTI are shown. Also it’s shown if a registration is Required.
There can be restrictions regarding the languages if the author has defined them in the corresponding course activation.
If the team leader has put your learning unit into your catalog via the option Show in the catalog in the UGC learning unit, you can click on the tile and register via the button Register. If you’re already registered to this UGC learning unit, you can Deregister from the learning unit via the context menu three points or you choose Participant management. To open and edit the participant management, the author has activated the object permission Register users to a course activation to register employees and for favored participants the object permission Change edit mode that you can change the edit mode from Set “optional” to Set “mandatory” and reverse. More information about selection of users in the participant management. Further information about the object permissions in the course activation you find here.
On the tab Catalog a recommendation carousel is available, on which you get learning units, which are suggested to you. Popular learning units are the most booked learning units, which the learner still hasn’t booked. On similar learning units the number of each classification value is calculated, how often this value exists in already booked learning units. On new learning units the last assigned learning unit is relevant.
If you want to activate the recommendation carousel, please contact our Avendoo® support team.
To share the results of your catalog or of your search as SSO link, click on the symbol Share results and then on Copy link behind the SSO link. You can use this copied link also for an individual stream. Furthermore the SSO link is available in the Employee view in the Team leader area.
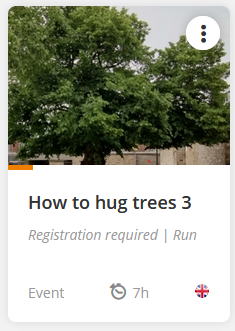
As soon as a course is available on the learning place, the starting progress bar is shown on the course tile. Additionally, you see in which languages that learning unit is available and which dates are available next in the learning unit.
If there’s an event in a course and you still haven’t registered as user and the event got event dates in future, you see the text Registration required on the course tile on the learning place.
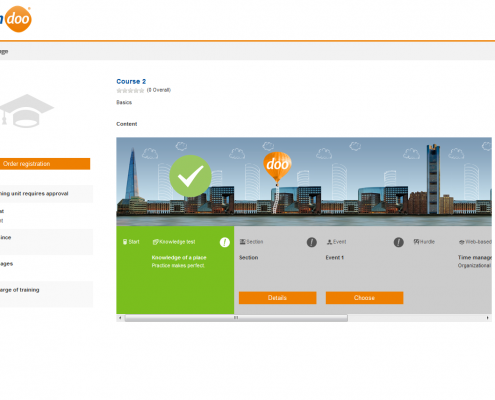
Via click on the title of the learning unit the info page of the course opens in case you are not registered. You find the following information: title of the course, assessment of the course, learning path with learning contents, learning format, date, since the course is available in the catalog, available language and trainining coach.
If a participant selects a course activation with a shown first learning object in the catalog, Avendoo® opens the info page. Only after the registration to the course activation the participant can open the shown first learning object.
After the search process in the catalog the course activations are sorted in that way that this course activation is at the top, to which the user was registered recently. Then the course activations are listed, which got descending register dates. The order of the course activation search results is also similar to the search term. Futhermore you find course activations, which are similar in the title or sound similar. You enter for example “Skorm” and you get “Scorm” as search result.
Inhalte
- 1 Filter options
- 2 Selfregistration to courses
- 3 Selfregistration and registration for employees to events
- 4 Selfregistration to runs and substitute participants
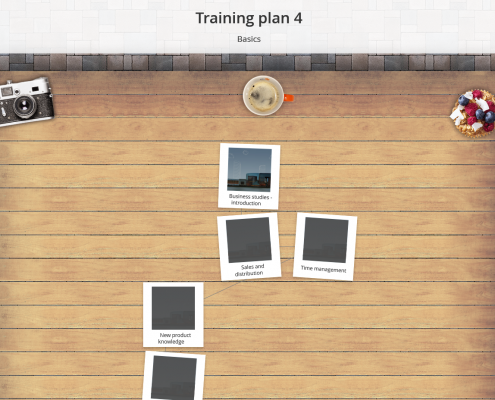
- 5 Selfregistration to training plans
- 6 Selfregistration to lists of interested parties
- 7 Ratings on course pages
- 8 Hotel bookings
- 9 Booking of additional services
- 10 Create and edit food requests
- 11 Knowledge test behaviour if knowledge test questions are not completely translated
- 12 Tasks in course activations
- 13 Filling-out of assigned feedback forms
Filter options
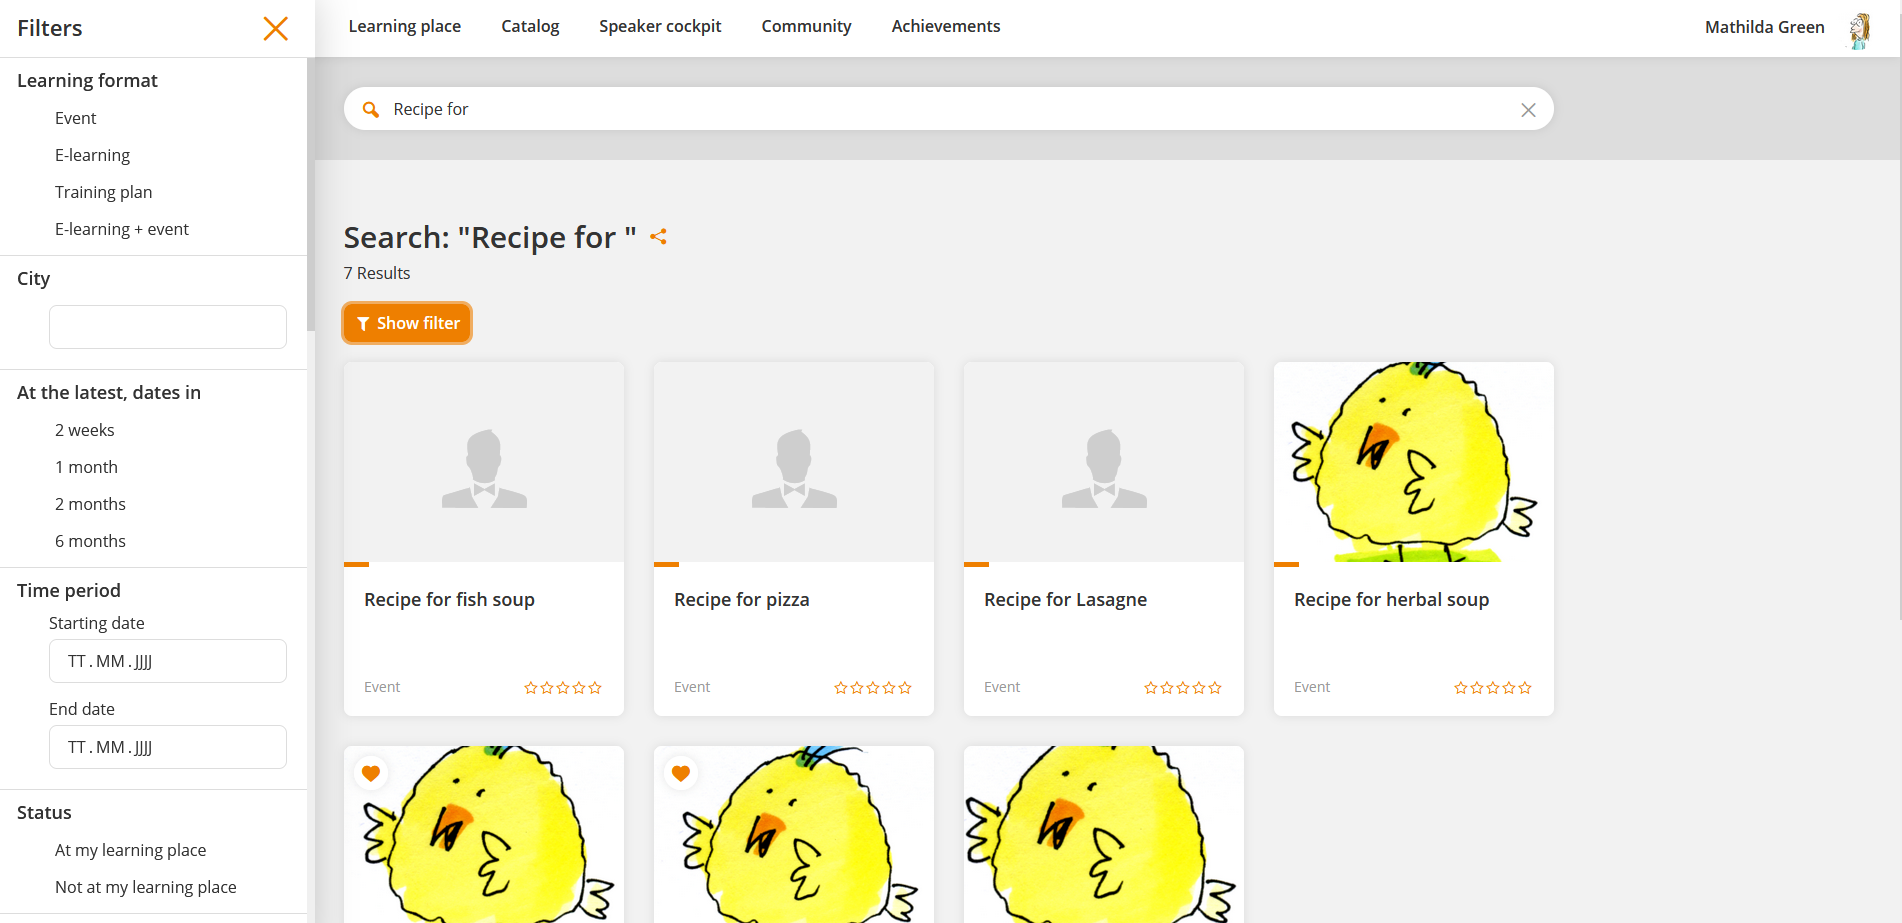
If you want to show the filter, click on the button Show filter. Then a filter list on the left side (see screenshot) is shown. You select via clicking the appropriate line. Via clicking the X you close this list.
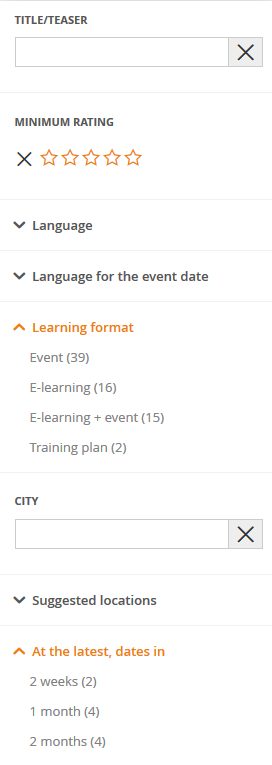
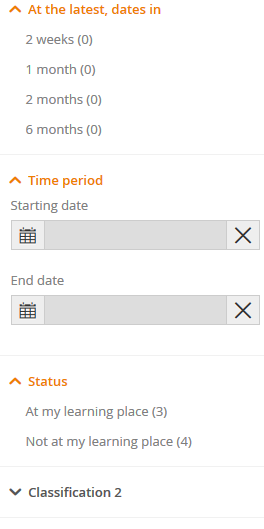
You can restrict the view by the following settings on the right side. The done filter settings will be used and saved in real time. Thus the result list is even shown again if you have switchted the tab or have left the learning world. The number in the brackets shows the number of results for the filter. If you want to deactivate the entered or clicked filter again, click the X besides the filter value.
You got also the following text search functions:
- You can search for word components
(example: expert -> workshop for experts is searchable, also shop -> workshop for experts), - you can search exactly with quotation marks before or after the search term or title
(example: “Training for trainees” is searchable, but “school” is not searchable for this title) and - if you enter a search item without quotation marks, the catalog filter searches also for pronunciation
(example: foto is searchable for photo, also tris for trees).
If you use the LTI interface and have integrated external learning provider, LinkedIn Learning for example, you can filter for your desired Learning offer under Content connector.
Furthermore you can define the individual streams for the start page via the catalog filter.
The display of the catalog filters is defined in the Client wizard by the authors. Then the following filters are available and filter which have several lines are fold-in and fold-out and the filter on mobile devices are fold-in by default:
Title/ teaser
Minimum rating
Click on your favored number of stars, for which learning units with favored minimum rating should be searched for.
Language
Shows the language(s) of the courses.
Language for the event date
Shows the language(s) for the event date.
Relevant to IDD – Only relevant
If the author has configured the system setting insuranceDistributionDirective and has activated IDD (IDD is only relevant in Germany) in the course activation or in the rule on participants and the IDD ID exists, the filter Relevant to IDD – Only relevant is available for user and team leader.
Learning format (also LTI)
- Event
- E-learning
- E-learning + event
- Training plan
Editing status
- Not attempted
- Being edited
- Completed
Location
This is the location of the event, if the learning unit contains an event.
Suggested locations
If there are several events of learning units at the same location, they are listed here.
At the latest, dates in (Starting date of the event)
- 2 weeks
- 1 month
- 2 months
- 6 months
Time period
- Starting date
- End date
Status
- At my learning place
- Not at my learning place
Classifications
You see the classifications and classification value, which the author has maintained.
Skills
Shows the qualifications. If you set a qualification as filter, then only elements of the catalog are shown, with which you can achieve this qualification. Also training plans are shown.
Approval
- Approval requested
- Approval are not required
Certification
If you click in the search field that certifications are listed in which the course isn’t archived or not completed. Also certifications on which knowledge test certicates are already received are not considered.
- Optional
- Required
User-defined fields (except field type object selection)
Prerequisite for visibility of the corresponding user-defined field is generally that the author has set the check mark Visibility in the user area on the tab Options field in the wizard User-defined fields. If the content comes from an external system, the author has to set the check mark for the connection type Remote content on this tab, too.
If you filter via the search bar, you can only filter for Multiselect fields.
The filter links are independent from the language.
Example: Frontend user Mathilda Green with the user interface language German can send the frontend user Tom Hedgehog with the user interface language English a filter link, which frontend user Tom Hedgehog can also use.
Selfregistration to courses
How can I register or deregister to a course?
If you click on a course unit the info page of the course opens. You get the appropriate learning path shown graphically or via table. Thus you can get an overview before the registration, how many elements are included in your chosen learning unit and what type they are (e-learning, blended learning or event). On this page you get further information about the course details, the available languages, done assesments and the training coach. Deactivated learning objects are labelled.
To register for a learning unit, click on the button Register below the preview image of the course. Now you are registered as course participant and you can pass the course as usual. Via My learning place you find your new course under Optional learning units.
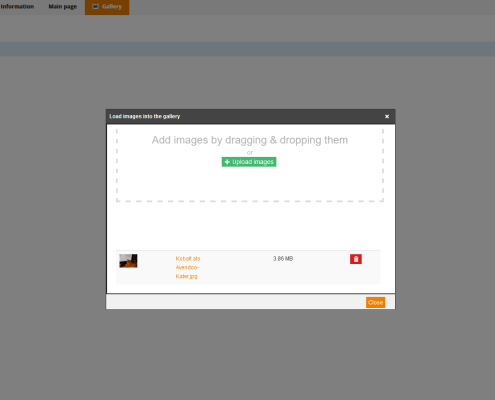
If the author has activated the Gallery for this learning unit, you can upload images on the tab Gallery. These images are available for download after the upload via the colored link of the file name (see screenshot number 4).
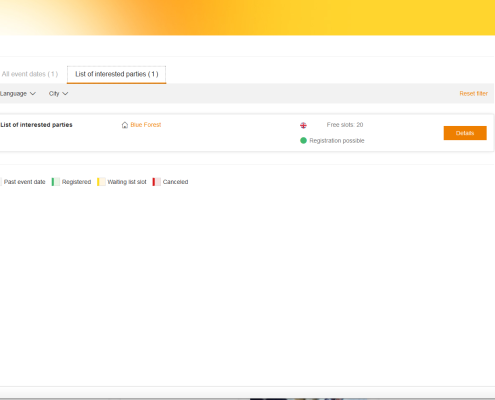
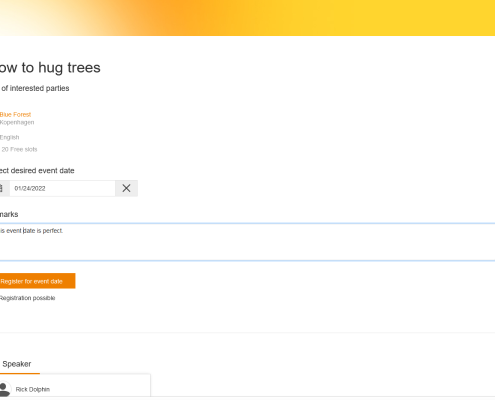
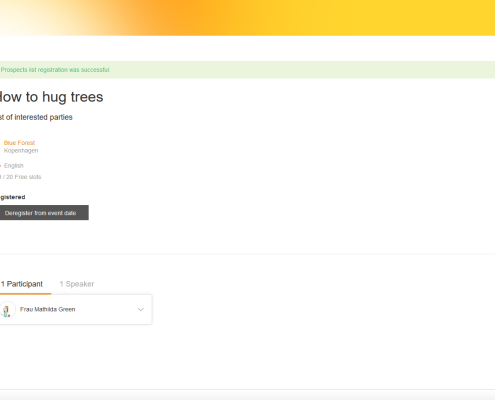
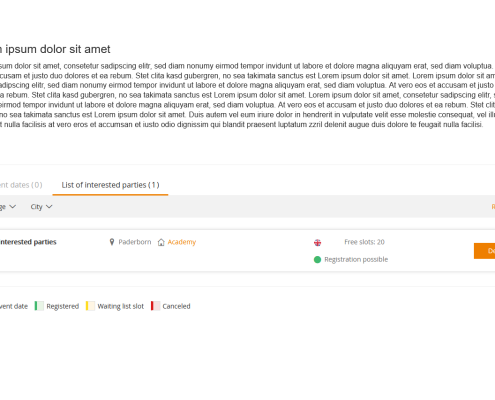
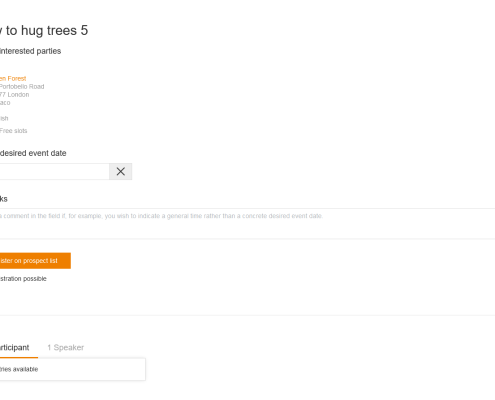
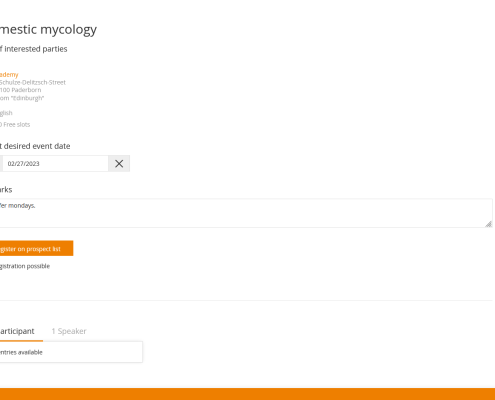
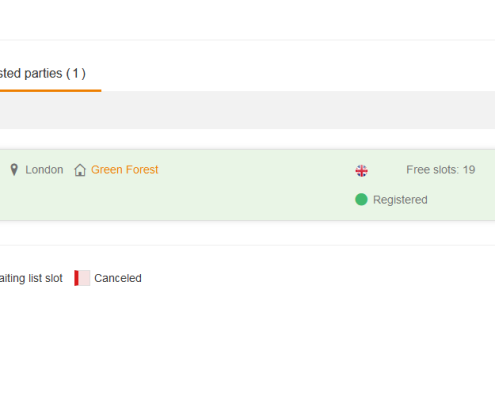
If the author has created a list of interested parties, the list of interested parties will be shown. If the event date is not available anymore, you can register via the list of interested parties. Therefore you click on the button Details (see screenshot number 5). It will be shown, if the registrationis possible. If it’s possible to register, you enter the date you desire for this event and remarks (see screenshot number 6). Via the button Register for event date you confirm your data and register to the list of interested parties. Via your registration the entry in the list of the interested parties is marked in green (see screenshot number 7). If required, you can deregister for this event date.
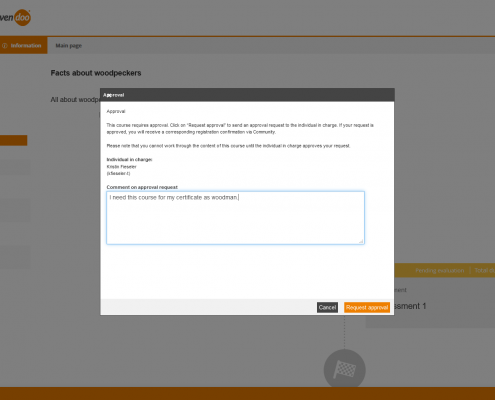
Note: When a course is subject to approval, you can request the participation to this course via click on the button Order registration to request the approval to your superior. In the opening dialog window Approval you can enter a comment for your superior (individual in charge). As soon as the superior has approved your request, you receive a register confirmation via the Community . Only after the approval you can edit the course content.
In courses with several events, which are separated by hurdles, the event dates, to which you want to register, have to correspond to the order of the event on the learning path. For example: A, hurdle, B. The event date of B (05/05/2018) have to be before the event date of A (05/01/2018).
To deregister from a course, switch to My learning place, search for the appropriate learning unit and click on X. Now you can click the button Yes, deregister.
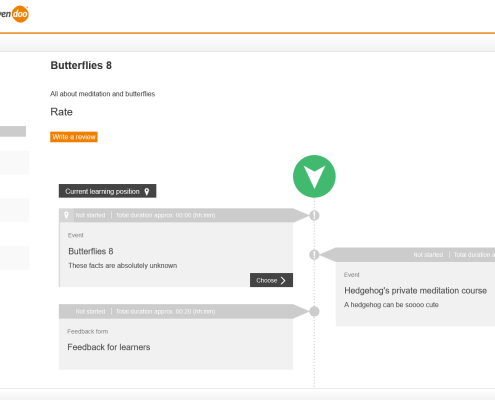
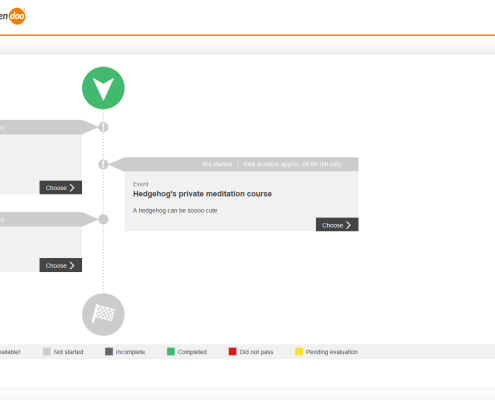
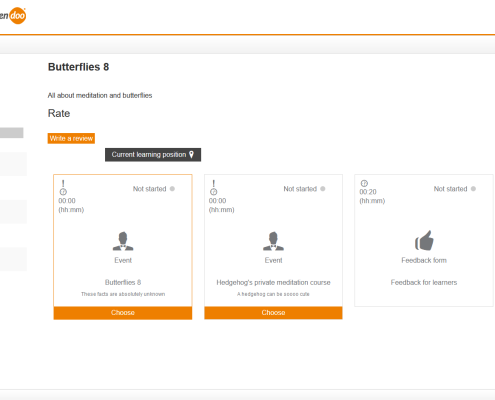
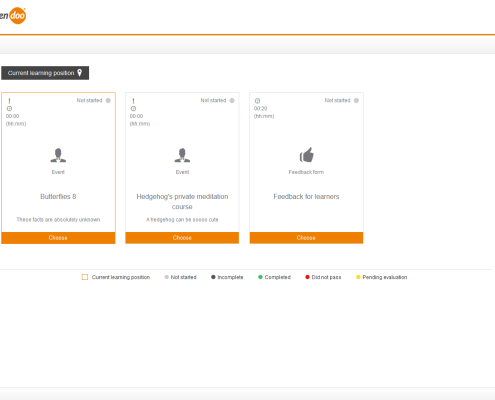
What is the function behind "Current learning position"?
Prerequisite for this function is that the author has selected a vertical learning path or a learning path with line breaks under Learning path display in the Course wizard on the sub tab Structure of the tab Parameters.
If you click the button Current learning position (see from 8th to 11th screenshot), you get to this learning position of the vertical learning path or the learning path with line breaks, which was last changed by you.
Selfregistration and registration for employees to events
How can I register to an event and how can I cancel this registration?
If the registration management in the course activation is appropriate defined, you can open the main page of the course by clicking the course unit. Then click on the tab Info. If you have a long list of event dates, you can set filters, which restrict the event location, the event language and the starting and end date. The author has defined, if you get shown first the tab My event dates or All event dates.
If the author has created a list of interested parties, the list of interested parties will be shown. If the event date is not available anymore, you can register via the list of interested parties. Therefore you click on the button Details (see screenshot number 4). It will be shown, if the registrationis possible, and the participant list as the view of the participant list depends on the settings in your user profile. If it’s possible to register, you enter the date you desire for this event and remarks (see screenshot number 5). Via the button Register for event date you confirm your data and register to the list of interested parties. Via your registration the entry in the list of the interested parties is marked in green (see screenshot number 6). If required, you can deregister for this event date.
Also the text Only bookable via a run on the details page of the event date is shown. This is displayed if the event date belongs to a run. If you click on the button, you get to the course main page. If the course main page doesn’t exist – like in an one object course – the link isn’t shown. Also all information relevant to the run like registration deadline or the button Register are not shown.
If the author has defined the number of participants in the run, you get free slots shown in the run within the run view on the course main page.
If there’s a hurdle between two events and the author has selected No restriction for the learning path in the Course wizard on the tab Parameters you can register to the event after the hurdle only if you’re already registered to the event before the hurdle.
If the author has selected the option Prohibit registration you can register only to events to which you’re qualified. If haven’t completed the element before the hurdle you can’t register to the event after the hurdle.
If the author has selected the option Prohibit registration (event view further accessible) you can’t register without qualification but you see the view of the events and the event information.
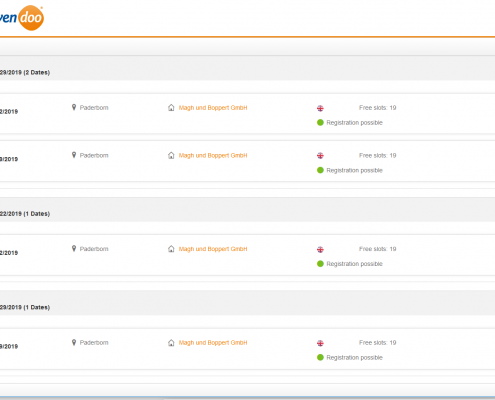
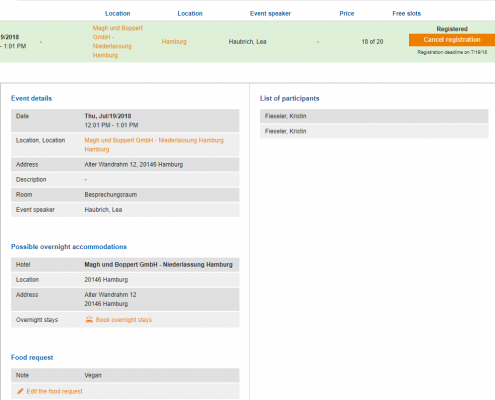
The filters pop up via the arrow and you can reset them via Reset filters. In the list below you see under Available event dates (numbers) all event dates next, which correspond to your filter criteria if set. The list contains the exact event date, the registration deadline, the location, the event speaker, a price if applicable and the number of free slots. Via Details you can show further details about the event date. Under details you see the title, the time period and the teaser of the event and the venue, the event language, the free slots, total slots, the registration status, if an approval is pending, the registration deadline and the price. Regarding the price you can see the prices for members. If there are several prices for memberships, you will see the lowest price for members. Information about memberships for the author you find under System settings, New user, Event date and Course activation.
Furthermore the shown minimum number of participants is considered in the automatic price calculation of the participant price, if the author has maintained the event date costs, set the check mark Calculate participant price automatically from the costs and has entered a minimum number of participants under Participants.
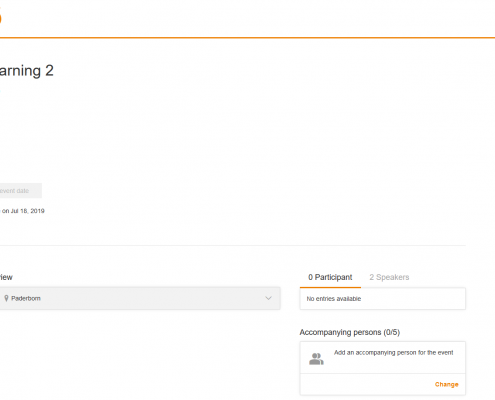
Furthermore, you get an overview of event dates (for example with the option to book a train ticket), a participant list, a speaker list (if the author has set the check mark Visible in the participant list of the event dates at the favored data in the appropriate user profile, the corresponding data is shown in the speaker list or/and participant list of the event dates on the detail page of the event) and the function to add accompanying persons (if the author has activated that function in the Event wizard on sub tab Participants of tab Parameters, also it depends on what’s the maximum number).
If the author has stored a registration code of the type Accompanying persons in the user client, you can add after your registration new accompanying persons. Generally, you can add also accompanying persons without registration code if these are not new. As you add the new accompanying person via clicking the button Save, a new user is generated who is marked as accompanying person. This user is registered to the course activation and the event date.
You can go back via the button Back in the footer.
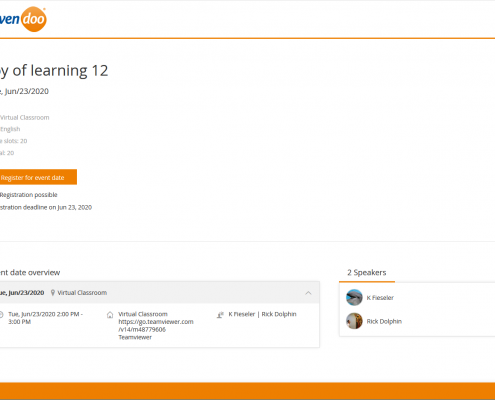
As user you can register to a Virtual Classroom, which the author has created als manual room (see screenshot 5).
Furthermore, you can confirm the registration on the event via the button Confirm registration. When you are registered, you can confirm the deregistration until the deregistration deadline via a button. Below the button Confirm registration you see the registration deadline and below the button Confirm deregistration you see the deregistration deadline. Also you get an overview of event dates and of participants and event speakers.
If required you can add accompanying persons (see screenshots). This is configured by the author in the Event wizard on the tab Configuration.
If the author has added the list of future event dates for each event within a course on the tab Course information page in the Course wizard, you can register directly to the appropriate event date.
If the author has selected the option Substitute participants can be entered till the close of registration or Substitute can be registered up to the start of the event date or up to… in the Event wizard on the tab Configuration, you can do the registration of substitute participants as defined.
You can register to the appropriate event date via click on the button Register. You receive a direct notification about the success of the registration.
If the author has created contingents or automatic allotments in combination with a waiting list, this will be considered on registering. Example: An event date has got 6 places. The automatic allotment AA1 for the organizational unit OU1 is activated with 2 places, also AA2 for OU2 and AK3 for OU3. All automatic allotments are taken, this means 6 participants are registered. Now you register as participant of OU4 and because the places are all taken, AA4 will be generated and you are set on the waiting list. If a participant now deregisters, you succeed in the waiting list (AA4 for OU4 is 2).
Further you can book overnight stays, create food requests or book a rail ticket for example (individually configurable link) regarding your status as participant of an event date.
If the deregistration deadline and the registration management of the course activation allows it, you can deregister from the appropriate event date via My learning place → Optional learning units → Event date via the button Cancel registration. You can choose via drop down menu a cancelation cause and enter additionally a remark. Not that, users can only cancel the registration of event date groups (main and follow-up dates). This is also valid if you accept or reject via iCal (Outlook calendar date). If you have added accompanying persons on registration before (Prerequisite: the author has entered accompanying persons under Promotion phase on the tab Communication in the Event wizard), a notification appears that these accompanying persons are deregistered, too. You can confirm the deregistration and the co-deregistration of the accompanying persons via the button Deregister from event date.
How can I register employees as team leader to an event date?
Prerequisites
You as team leader have got the corresponding permission (team leader right Manage course participant or the object permission Register other users as team leader or corresponding object permissions).
The event date has not the status Closed and is not used as a run.
You have opened the detail page of the event date on the page Catalog in the team leader area.
To register employees as team leader to an event date, do the following steps:
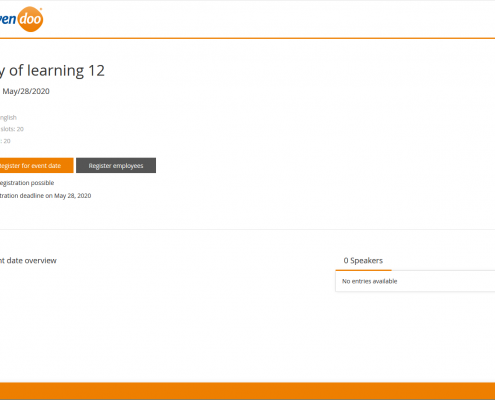
- Click the button Register employees (see screenshot Register employees 1).
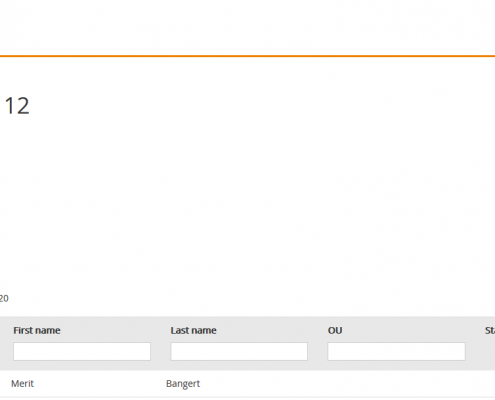
A table of employees you can register as team leader , is opened (see screenshot Register employees 2). - Click the button Register of the corresponding employee.
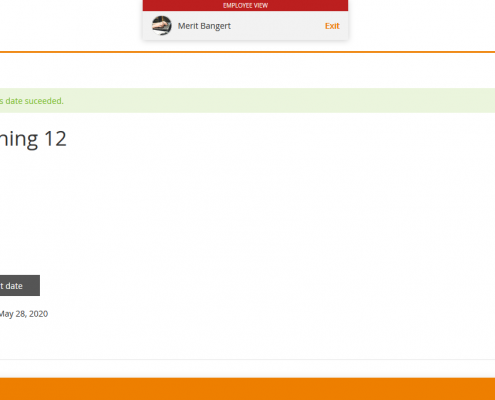
In the new dialog window you get the message The registration for this date succeeded (see screenshot Register employees 3).
If applicable you can click the button Deregister from event date. - Click in the window header Exit of the corresponding Employee view.
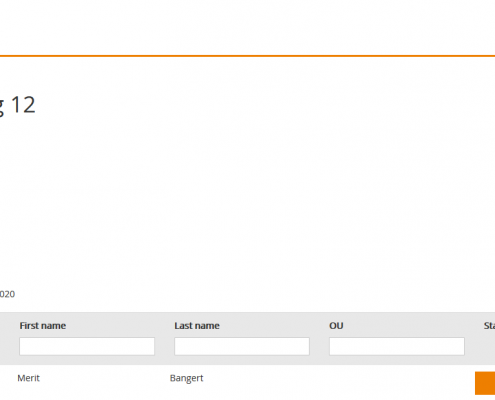
The detail page of the event date with the employee table is shown (see screenshot Register employees 4). Note that the view of the participant list depends on the settings in your user profile. Regarding the price you can see the prices for members. If there are several prices for memberships, you will see the lowest price for members. Information about memberships for the author you find under System settings, New user, Event date and Course activation. - To show the event details of the corresponding employee registered by you, click Event details in the line of the corresponding employee.
How can I cancel user’s registrations as a team leader?
If you click on the tab Employee in My cockpit, you get an overview of all users, which are registered to the appropriate event dates. To cancel the registration of an user, click on the link of the appropriate user, the tab Event dates and then the button Cancel registration. Alternative you can click via the link of the OU the button Participant, then click on the button Deregister all or Cancel registration. You can choose via drop down menu a cancelation cause and enter a remark.
Note: Only if the option “Self-registration and external registration” on the tab Registration management in the Course activation wizard is selected, this function is available.
Selfregistration to runs and substitute participants
How can I register to a run of a course?
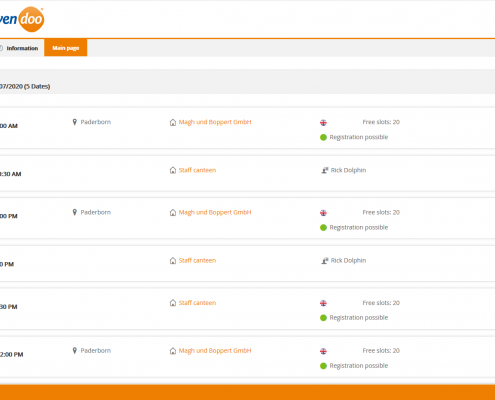
If you click on a course title, the main page of the course with the learning path opens. On this page you see all runs, which wre created by the author for this course activation. The runs are sorted by their start date. Furthermore the list of the event date languages is shown, for example German, English and French, as the most frequent language is shown first. If the number of the event dates is the same the list is sorted alphabetically.
If you show the single runs, the button “Check registration” switches to “Register”. Via this button you can register to the appropriate run. Then you get shown to which runs you can also register. When you are registered, the author gets your registration shown on the tab “Runs” after setting a check mark before the appropriate run and after clicking the button “Show participants”.
If you’ve registered to two isochronic event dates of runs, but from two differents events, Avendoo® does a registration to the runs, but does no registration to the event dates. Furthermore you see a corresponding message with information.
If the author has activated accompanying persons in the run and has allowed it in all corresponding events, you can record accompanying persons.
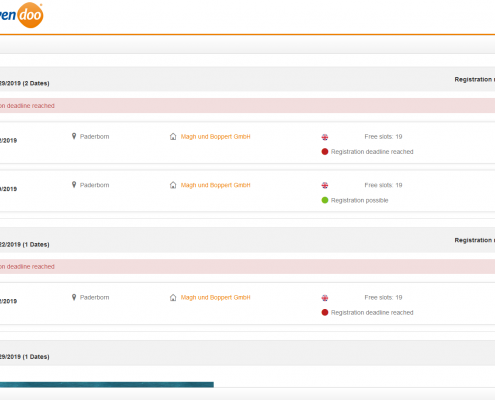
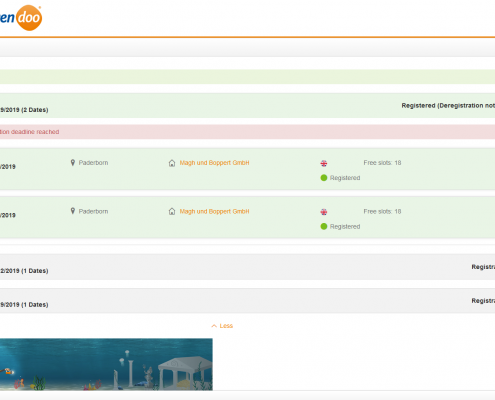
When the registration or deregistration deadline is reached, Avendoo® shows you the relevant event dates red marked and doesn’t allow a registration or deregistration (see screenshots).
How can I cancel the registration to a run or how can I select a substitute participant of a run?
As user or team leader you can cancel the registration to a run done by an author.
Also you can directly select a substitute participant on canceling a run, if the author has activated the option Enable selection of substitute participant on the tab Registration management in the appropriate course activation.
The prerequisites for the cancelation are:
- The author has selected “Enable self-registration” in the registration options (event) on the tab Users in participant management of the appropriate course activation.
- The author has selected “Without approval procedure” in the column “Approval procedure for deregistration (event)”.
If you cannot cancel the registration, contact the responsible person.
To deregister to a run, click in the news on the tab Start or Catalog on the link of the appropriate run. You get to the main page of the course activation. Then click on the button Cancel registration besides the entry of the appropriate run.
To select a substitute participant, choose the run list via the employee view of the registered participant. You click on the drop down button “Deregister with substitute participant”. All participants are available, who are already registered to the appropriate course activation and for who you are allowed to do the registration of the run. Avendoo (R) deregisters now the origin participant in consideration of the deregistration deadline and registers the new participant (registration deadline, conflicts of event dates are considered). If the registration of the substitute participant isn’t possible, the origin participant is still registered. Only if all single deregistrations and registrations on event dates are successful, e-mails are sent to both learners (participants).
Selfregistration to training plans
How can I register to a training plan and how can I cancel this registration?
As user or team leader you can register and cancel the registration of a training plan.
Prerequisites for the registration and deregistration are:
- The author has selected option 3 or 4 of Add user on the tab Users in the participant management of the training plan.
- The author has selected “Enable self-registration” in the column Registration options (training plan) via Create new rule on participant and on the tab Rules on participants in the participant management of the training plan.
To register to a training plan, choose the tab Catalog and click on the title of the training plan and then the button Register.
To cancel the registration of a training plan, choose the sub tab Mandatory learning units of the tab My learning place and click on the link Cancel registration and after a new dialog click the button Yes, cancel registration.
Selfregistration to lists of interested parties
How can I register and deregister to a list of interested parties?
As user or team leader you can register and deregister to lists of interested parties.
If the author has created a list of interested parties in the Event date wizard, you can click on the button Details on the right side beside the title and then you can click on the details side the button Register for list of interested parties. You see List of interested parties as status for a registration to the list of interested parties.
To deregister from the list of interested parties, click on the details side the button Deregister from list of interested parties.
Ratings on course pages
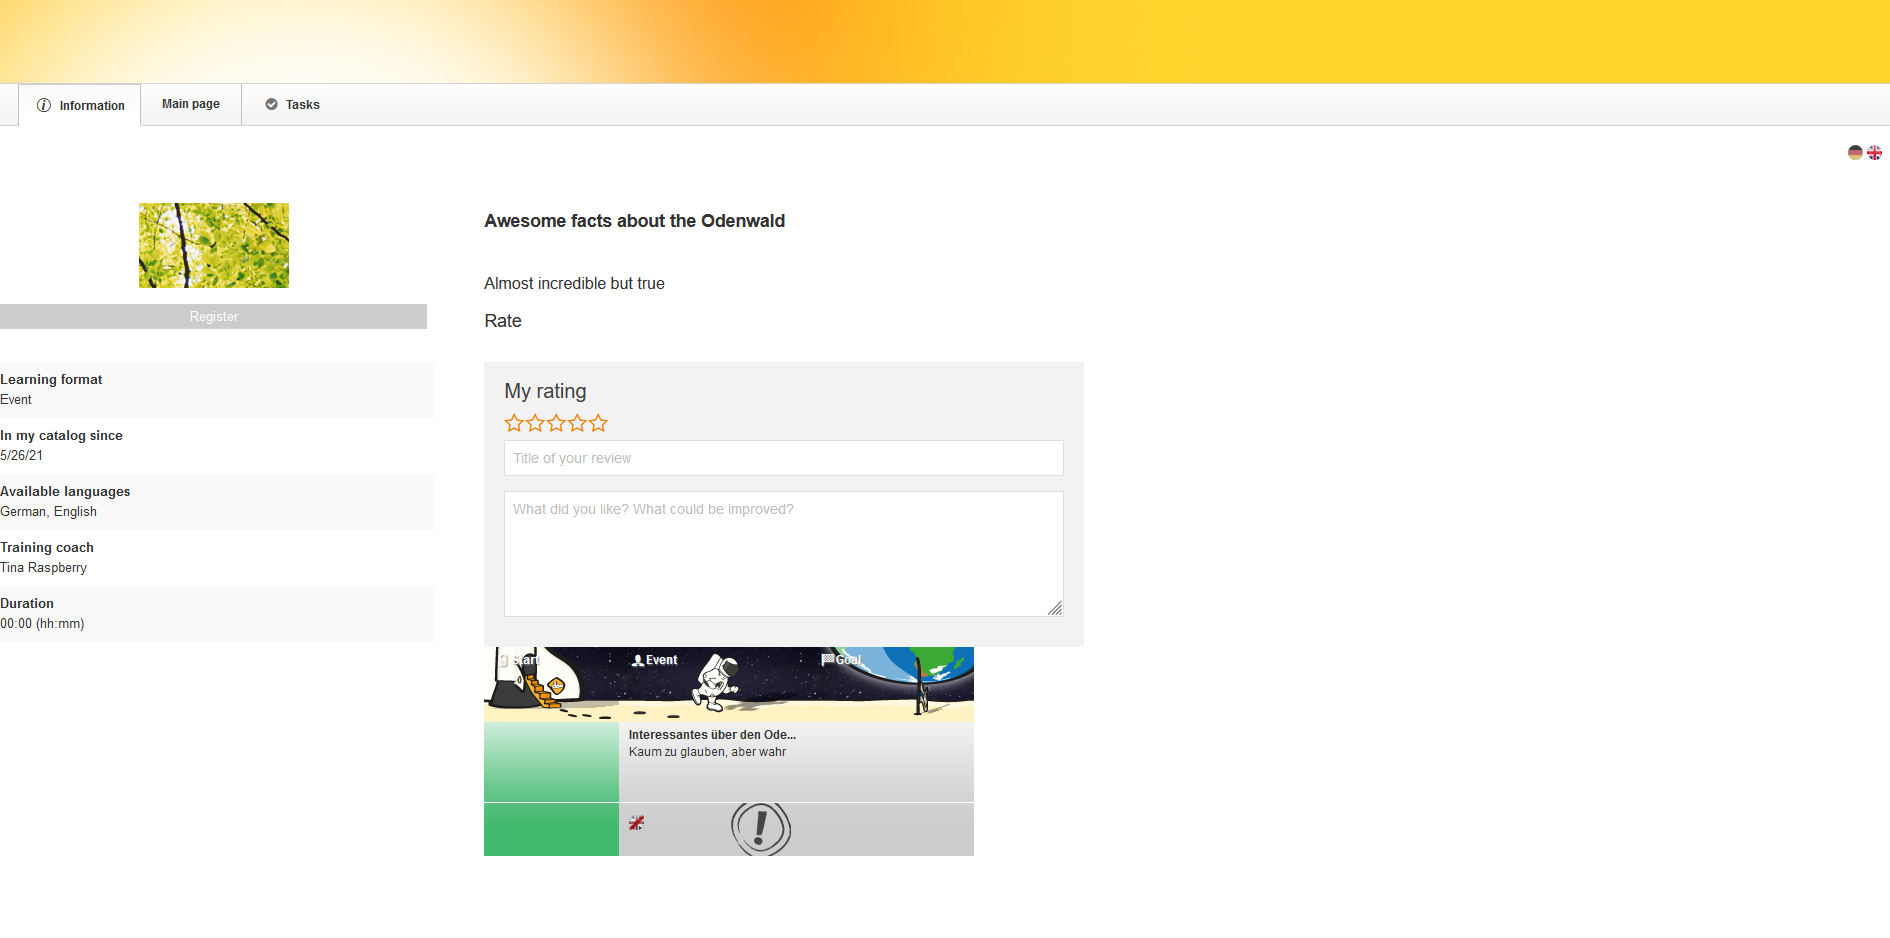
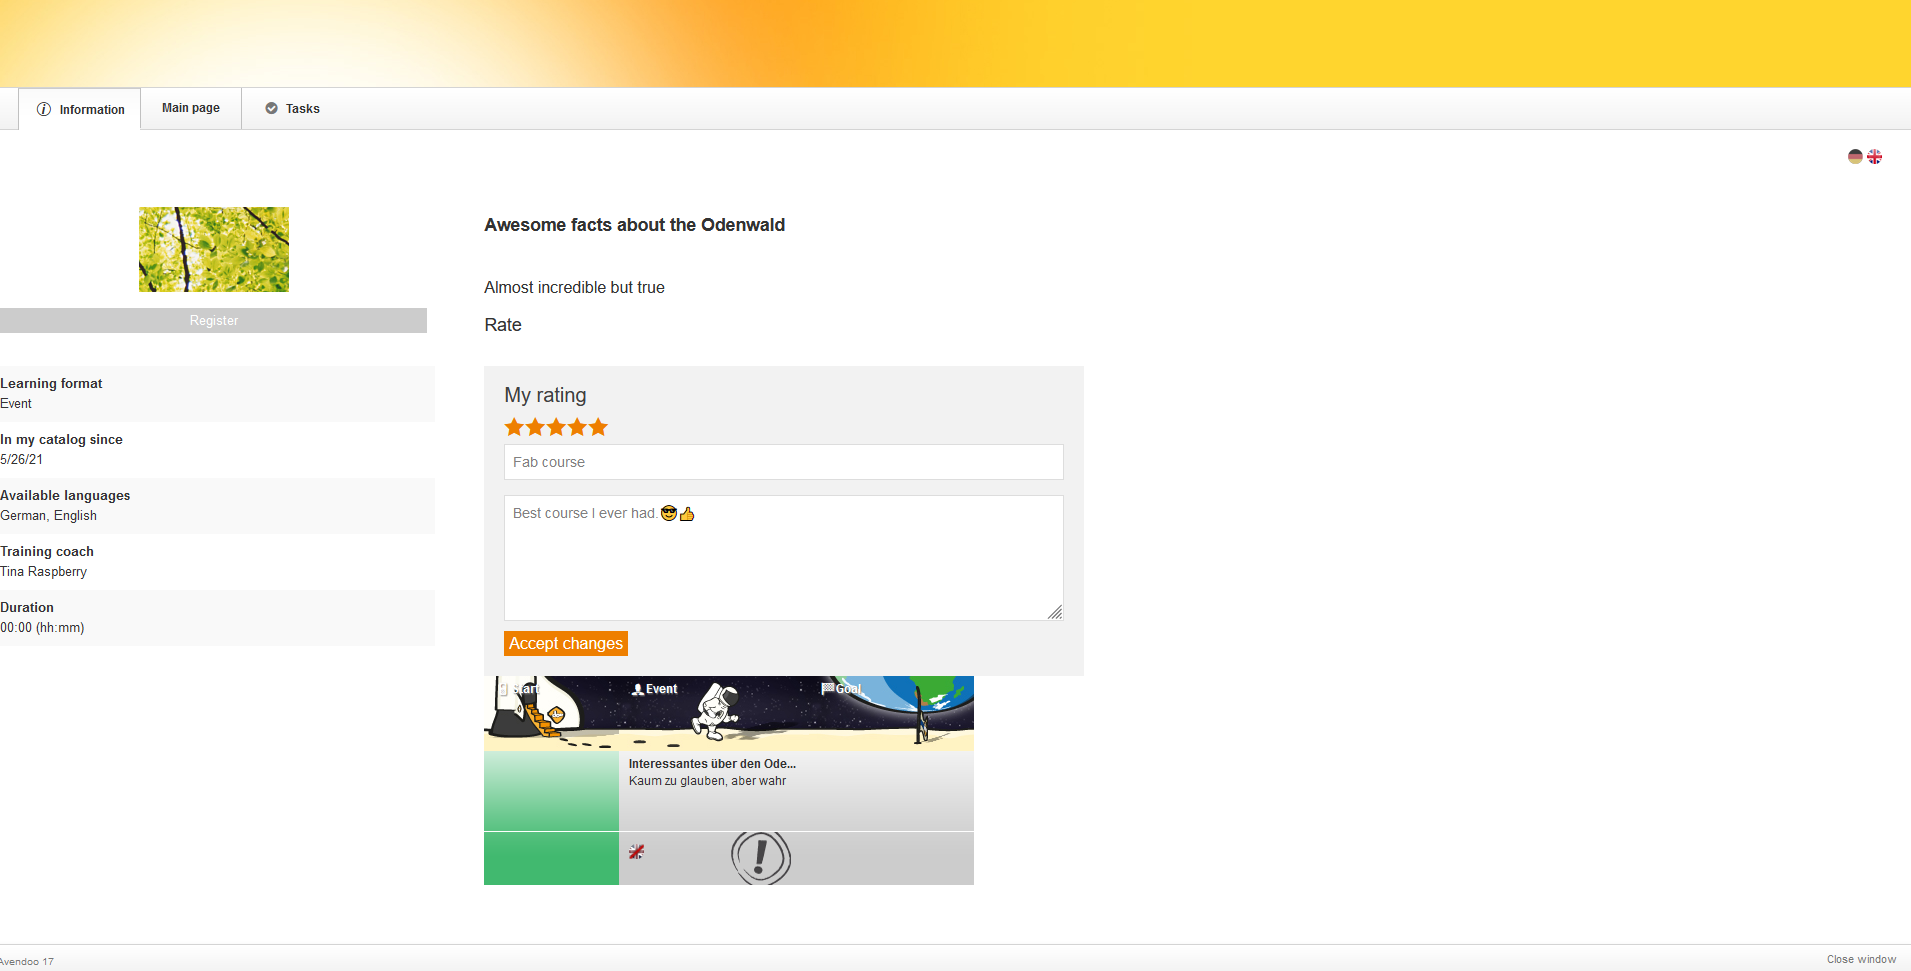
If the author has inserted a review block on the appropriate course page (starting page, main page, final page or expiration page), you can publish an own course rating on the appropriate course page. Therefore you click on your favored number of stars. You get to the page configured by the author in the standard case. If you are already not registered to the course, you only see the info page. If the author has added the assessment block on the info page, you see it on the info page. If you are registered, but the course isn’t completed yet, you don’t get to the final page, if there is only course rating possible. If the course is expired, you don’t get to any page. The responsible author should then added an assessment block on the final page.
Enter title and text if applicable. Finally click on the button Accept changes.
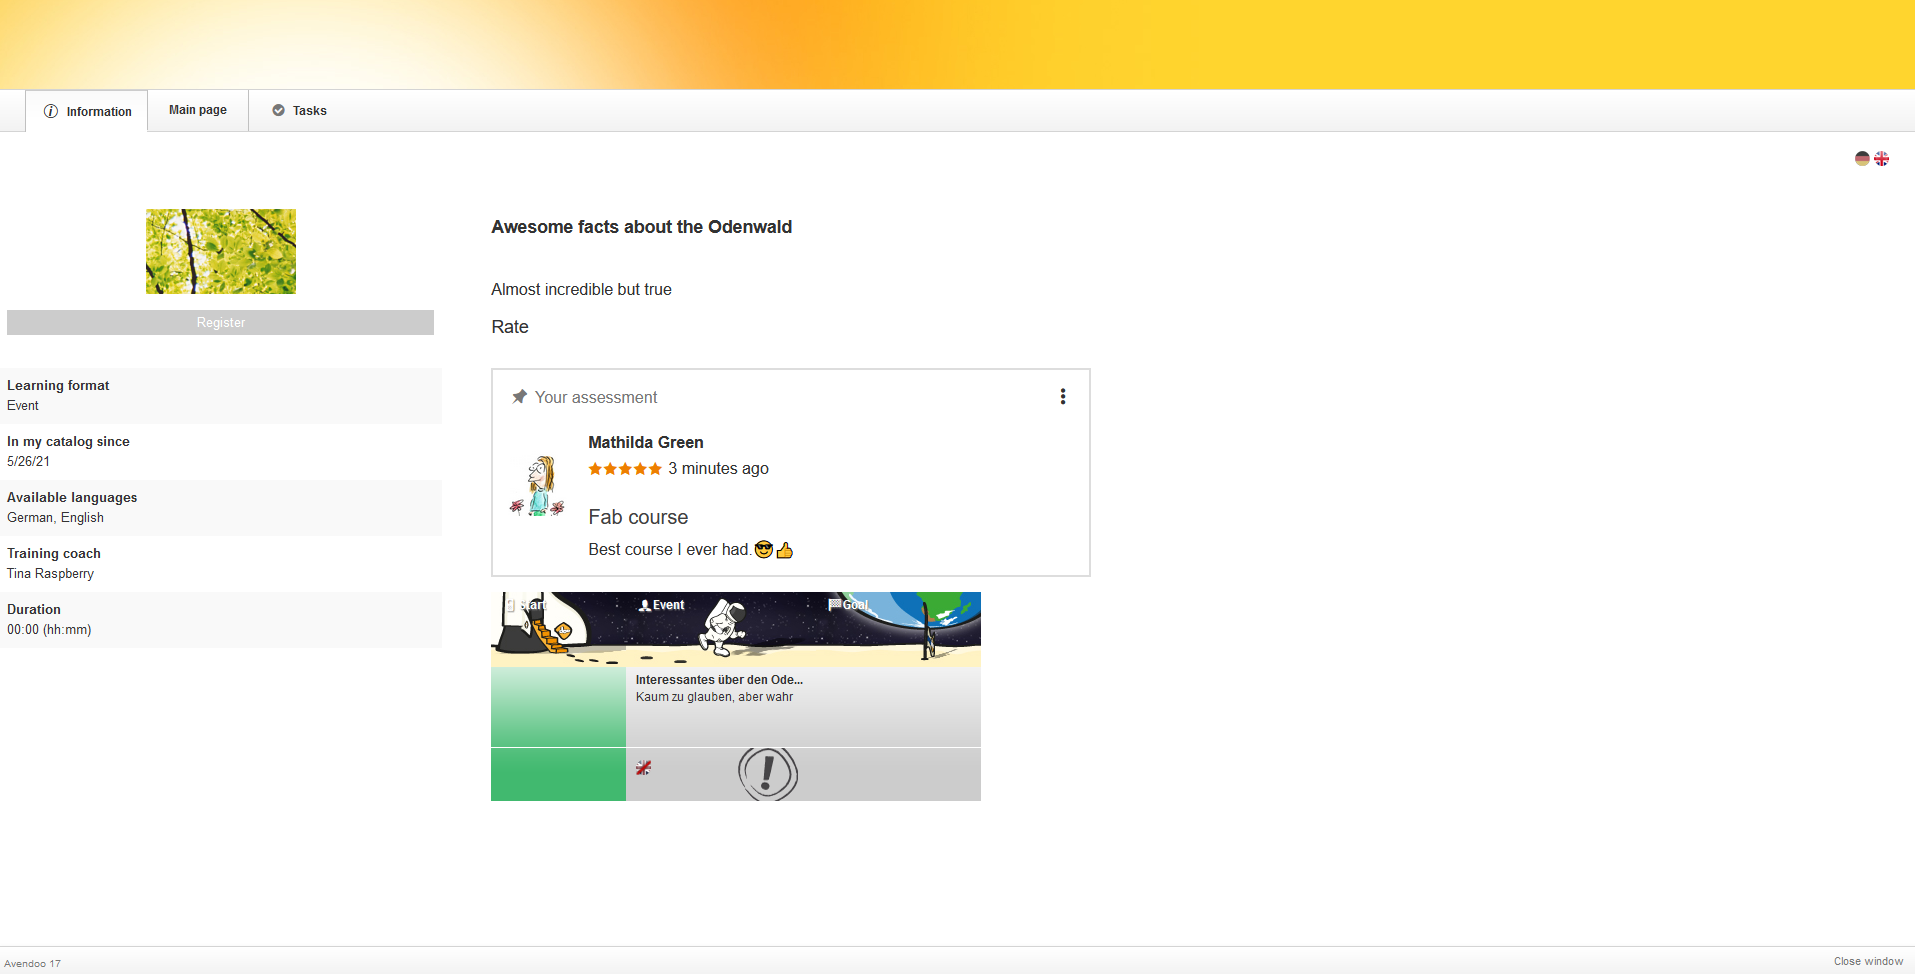
After the automatic saving the course rating is put to the highest position.
You can edit or delete the done course rating by clicking on the three menu points in the review box and choosing the appropriate menu item.
Experienced authors (with appropriate HTML/CSS and JavaScript knowledge) can use Avendoo® API (application programming interface) for the course rating of a course. Thus they can transfer certain parameters to a self created design.
Hotel bookings
How can I book a hotel?
To do hotel booking until the deregistration deadline, do the following steps:
- You click on the title of the event, the e-learning or blended learning. A dialog window opens.
- You click on the button Register of the appropriate event date. A new dialog window opens.
- You select your favorite event date, click on the button Register and close the confirmation message.
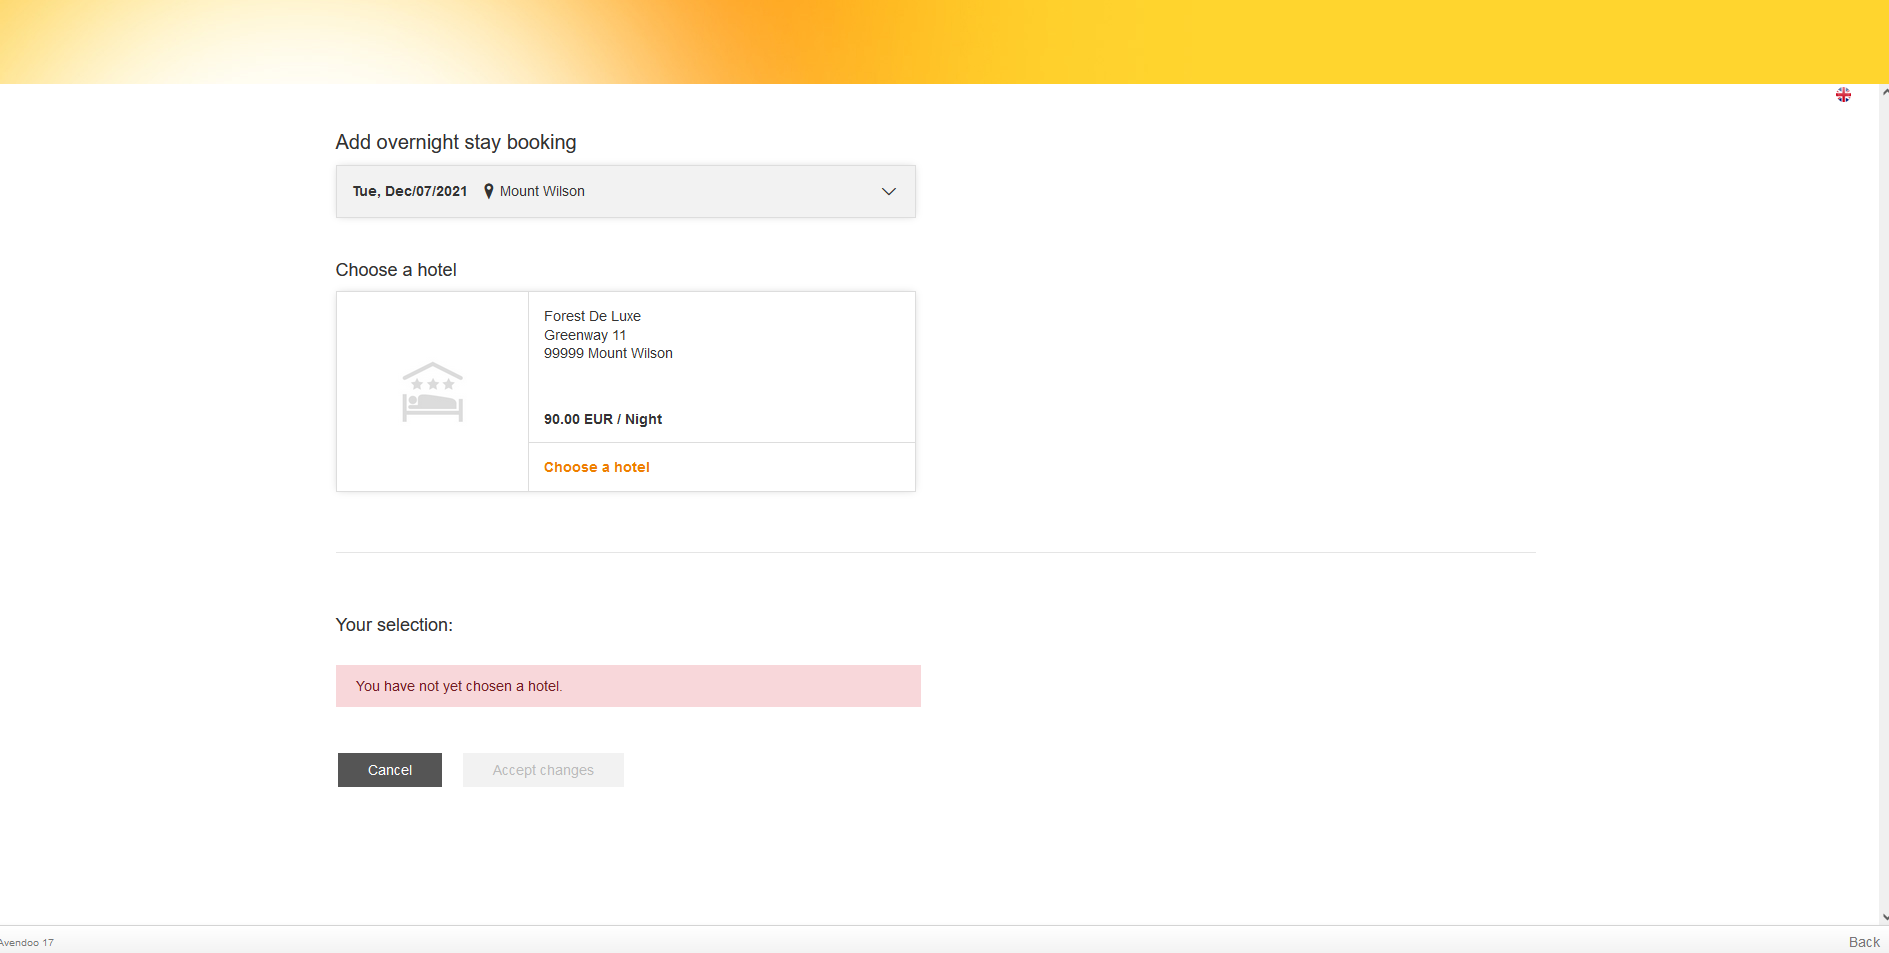
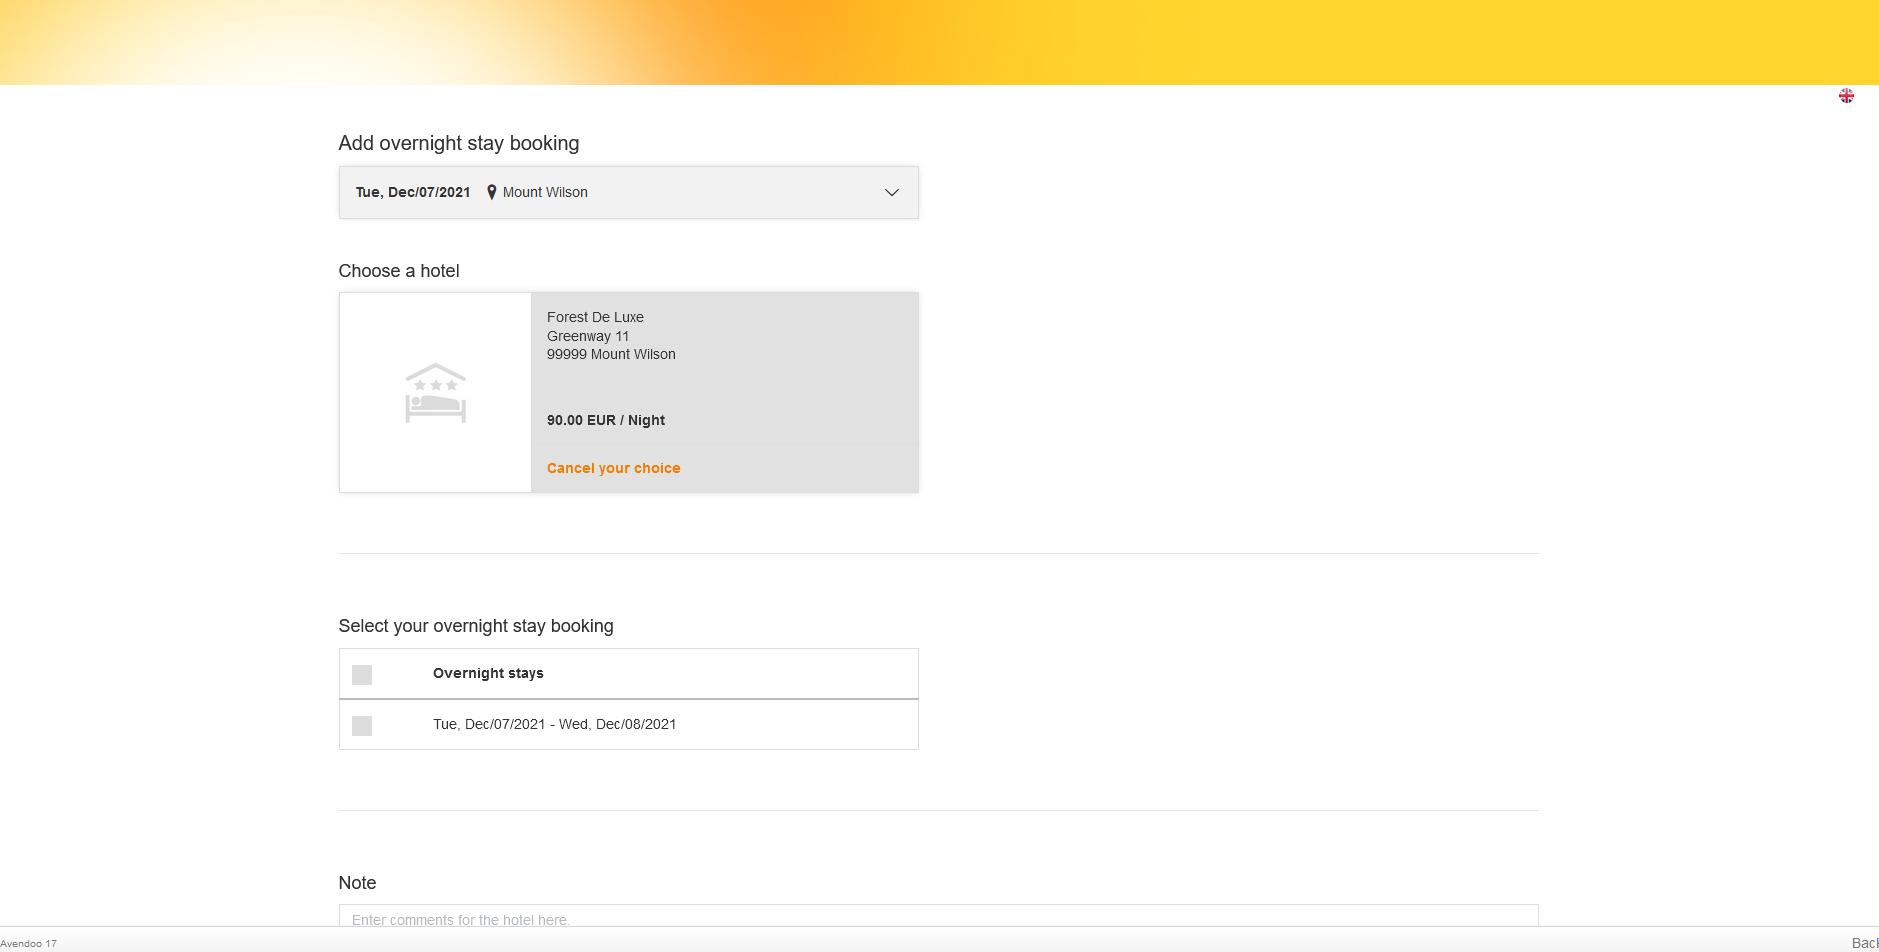
If there a booking days for the appropriate hotel, Avendoo® shows the link Add overnight stay booking under Event date overview. Click on this text. The dialog window Add overnight stay booking opens.
If there are several hotels available, you get a selection window.
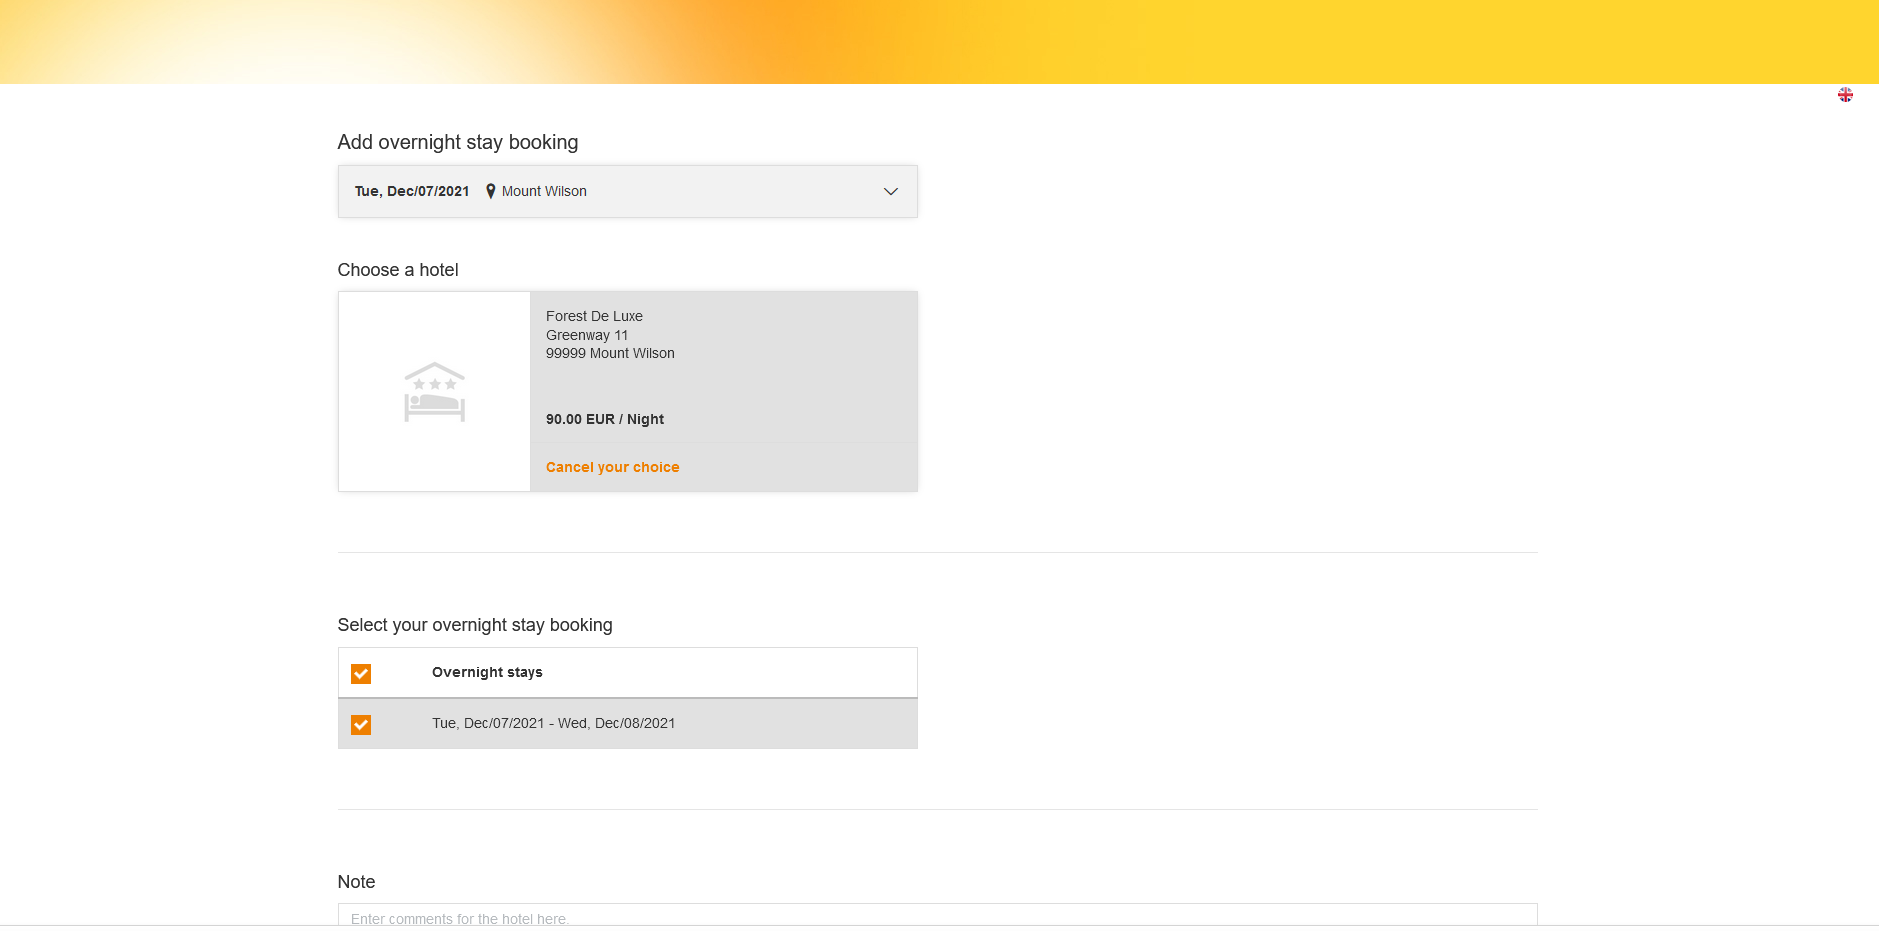
If a hotel is used to full capacity, you see the hotel above capacity and an alternative hotel (if existing) to book. - Click on the text Choose a hotel in the field of the appropriate name of the hotel. A tab Select your overnight stay booking is shown, on which all event dates of the possible hotel bookings are listed. Name, picture, price per night of the hotel and time period are shown.
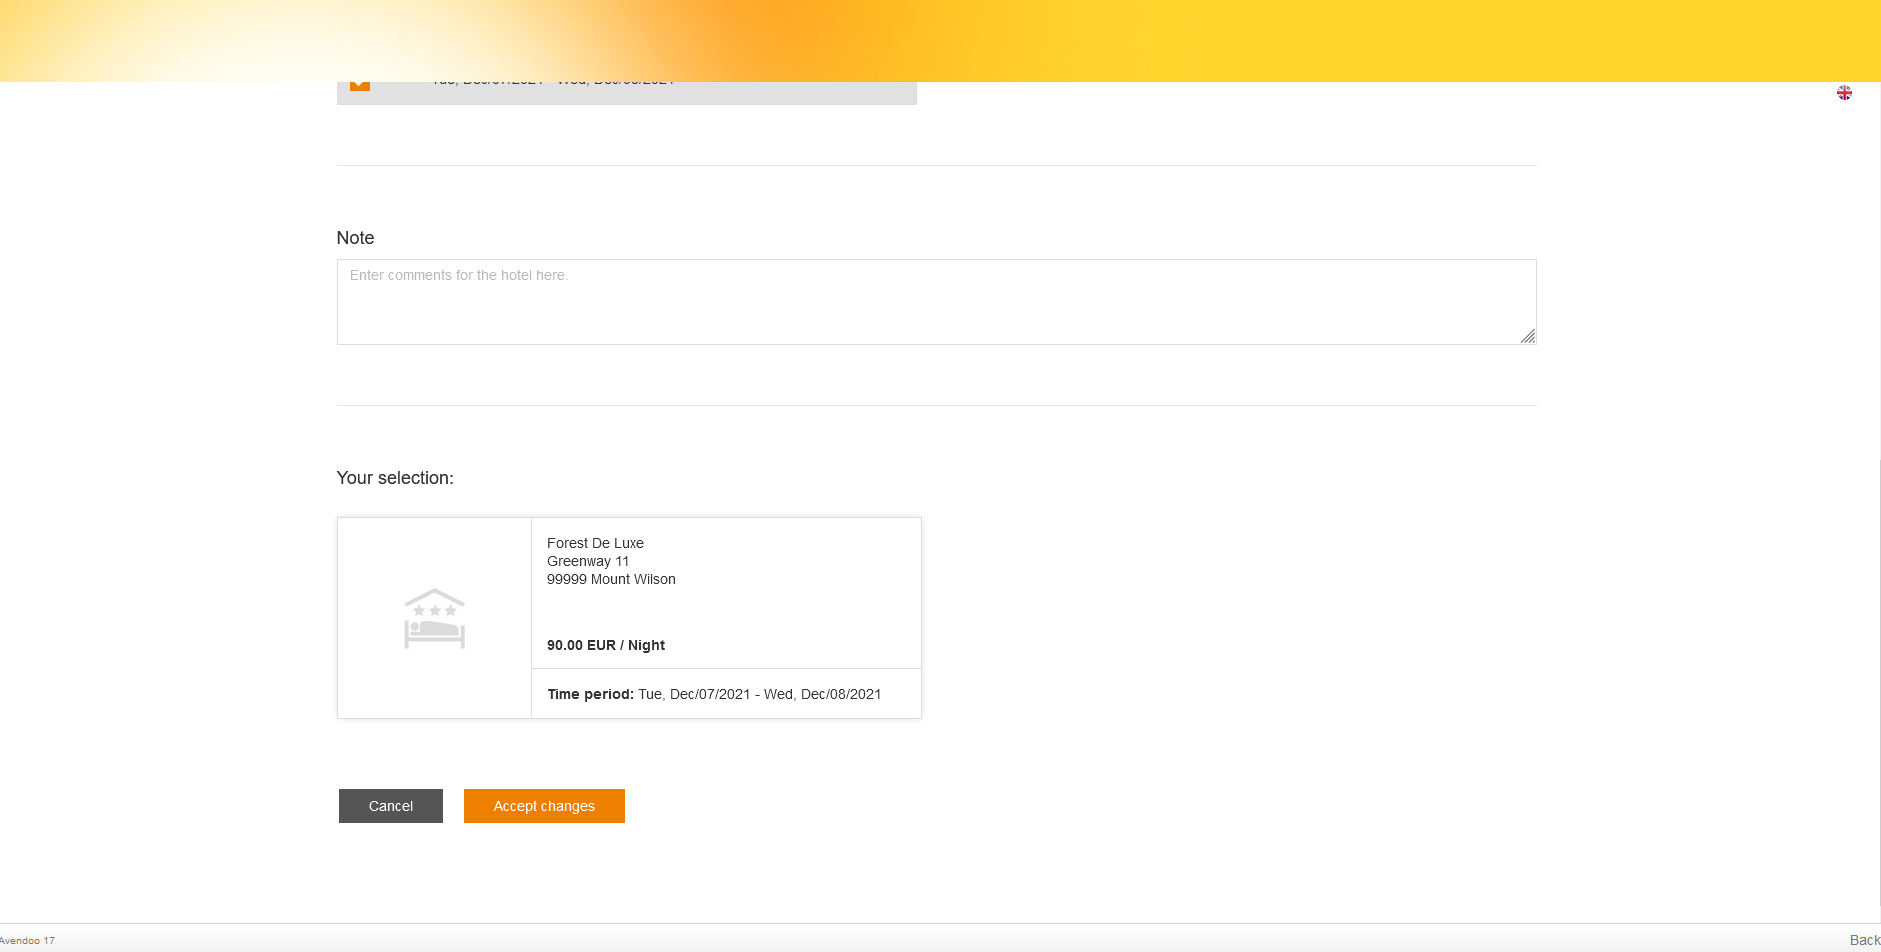
- Set the check marks regarding your booking and enter comments if needed.
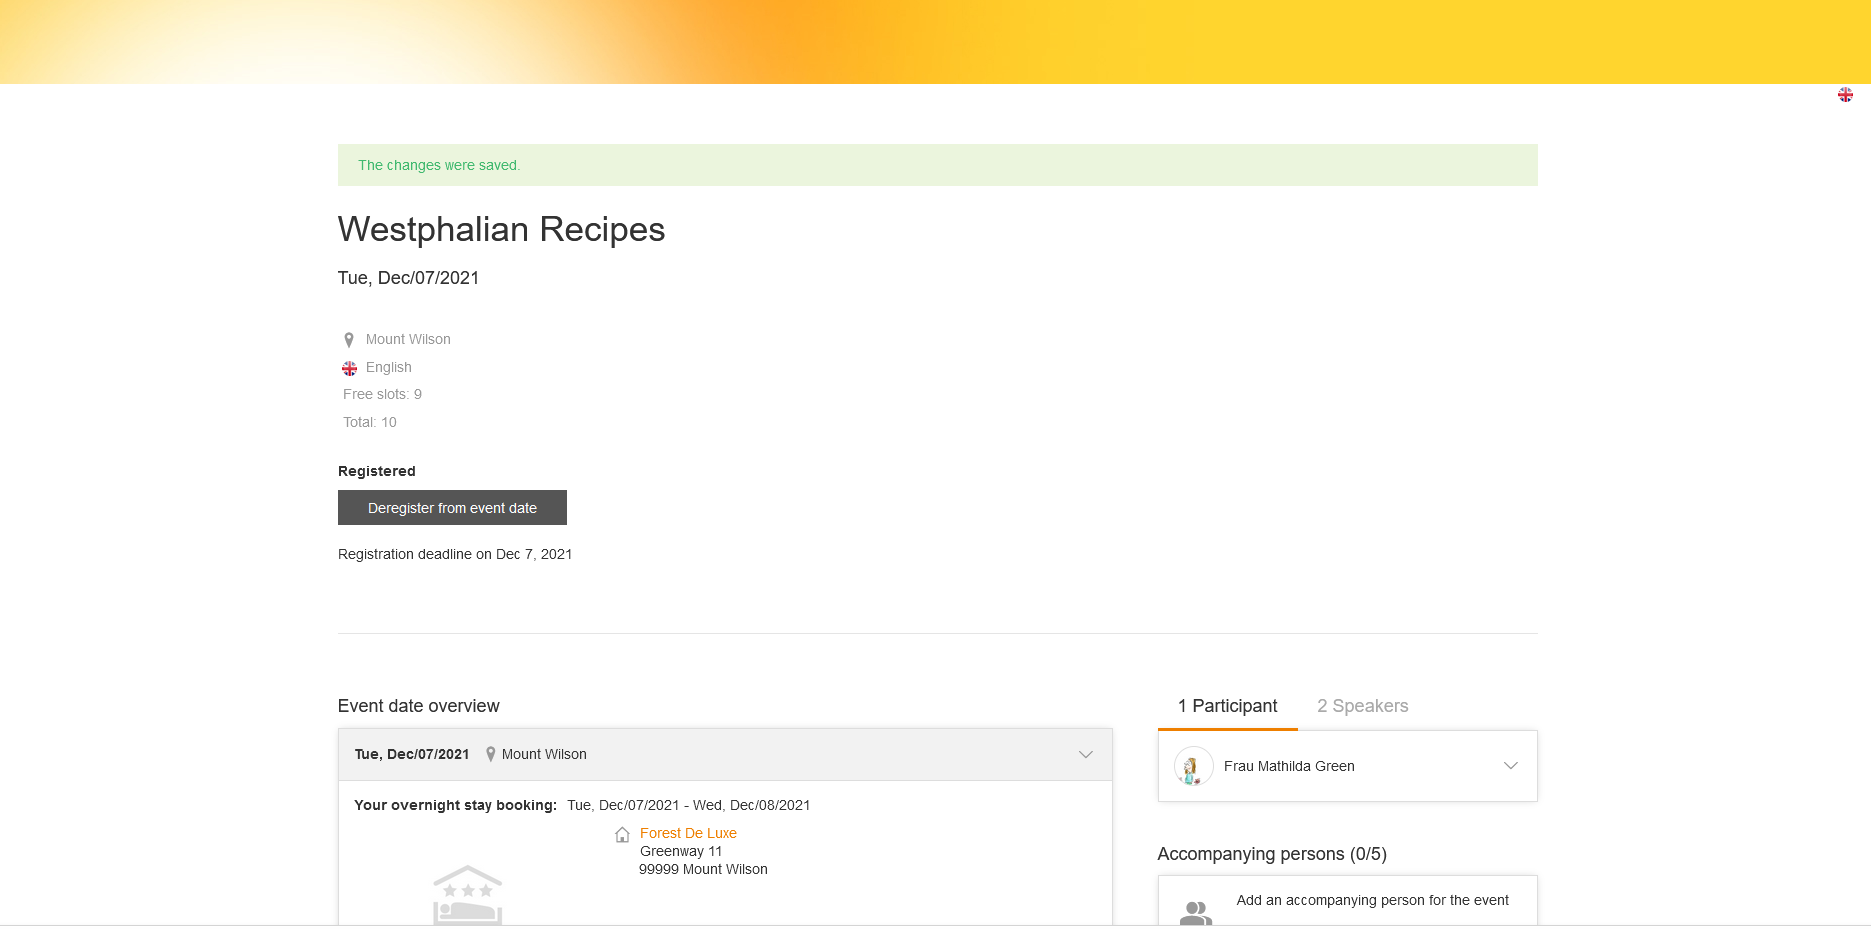
- Click on the button Accept changes. The successful booking will be confirmed.
- You can change a hotel until the registration deadline. If there were changes regarding hotel and activity and the author has set the option Update e-mail on the tab Configuration in the Event wizard, you receive Update e-mails for hotel changes and/or activity changes.
Booking of additional services
How can I book additional services?
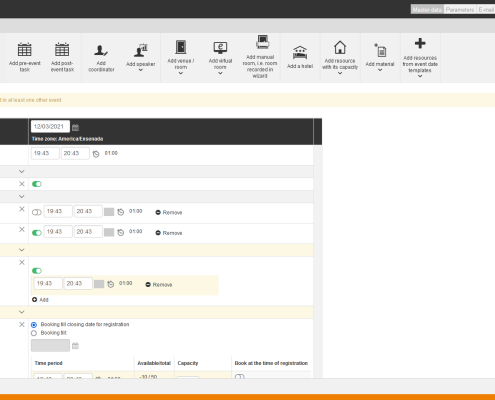
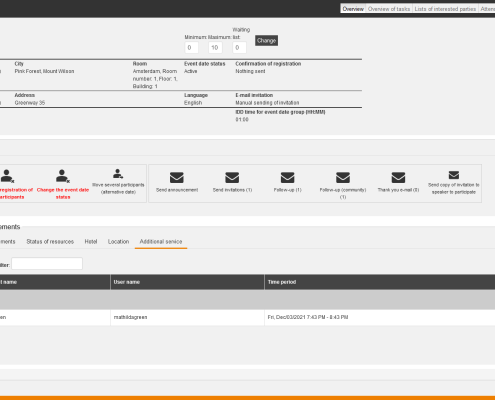
Prerequisite: The author has added a resource with its capacity (room with quota) in the appropriate event date in the Event date wizard (see screenshot number 1).
To book additional services, do the following steps:
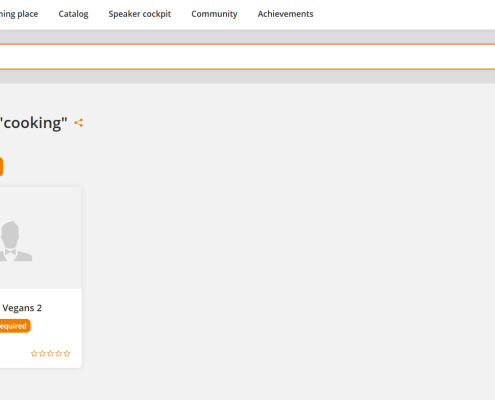
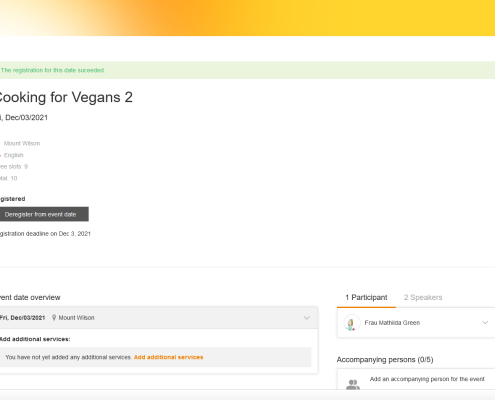
- You click on the tile of your favored event in the catalog. On the tile you see Registration required (see screenshot number 2).
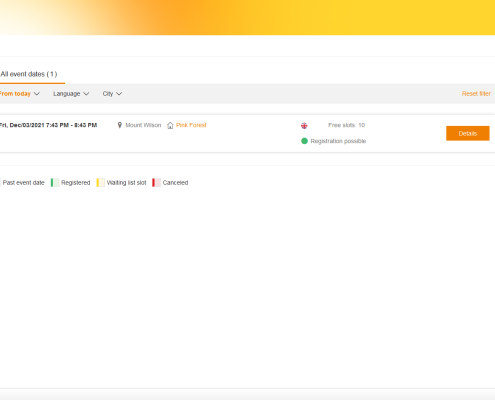
The dialog window of the event date opens (see screenshot number 3). - You click on the button Details.
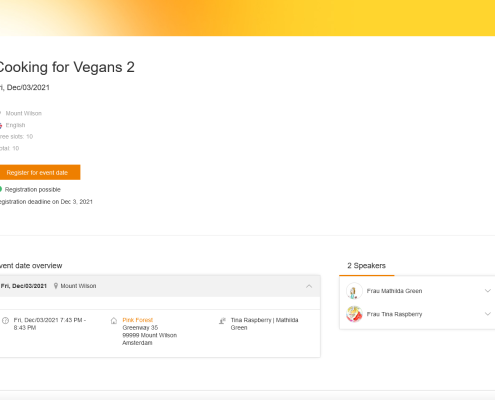
The dialog window with the detail page of the event date opens (see screenshot number 4). - You click on the button Register for event date.
You see the event date overview with Add additional services, Add train ticket (if configured) and Add an accompanying person for the event (see screenshot number 5). - You click on Add additional services under Event date overview.
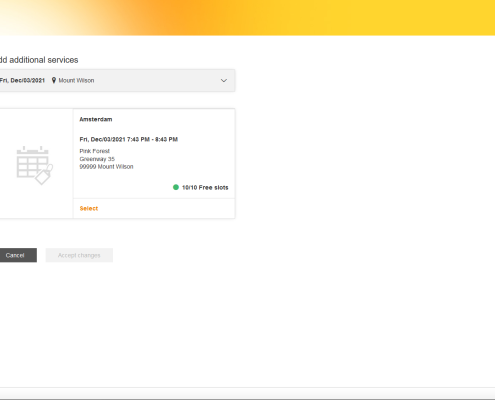
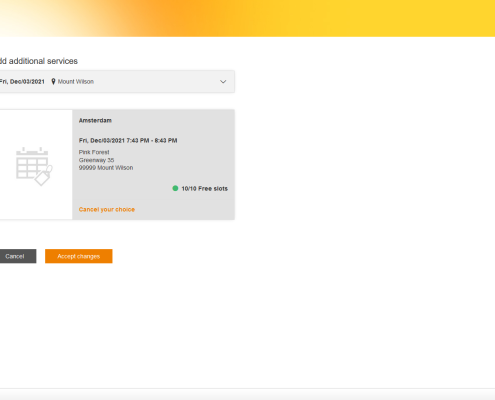
The dialog window Add additional services opens (see screenshot number 6). - Click on Select of the appropriate additional service. If needed you can cancel your choice.
- If needed you set a check mark on the appropriate overnight stay.
- Click on the button Accept changes (see screenshot number 7) and the dialog window Add additional services closes.
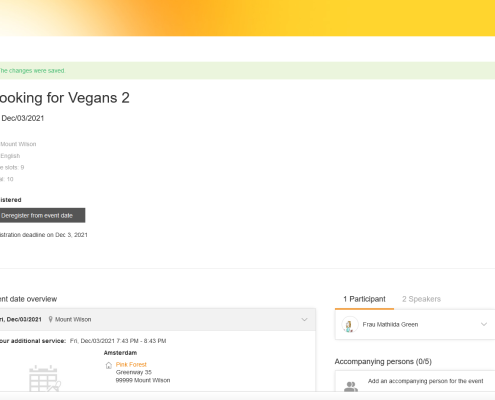
The additional service is added and the changes are saved (see screenshot number 8). - If needed you can edit the additional service.
The author sees the added additional service in the Event manager on the sub tab Additional service of the tab Overview (see screenshot number 9).
Create and edit food requests
How do I create and edit the food request?
To create the food request, do the following steps:
- Prerequisite: The author has activated the option Activate food requests on the tab Parameters in the Event date wizard.
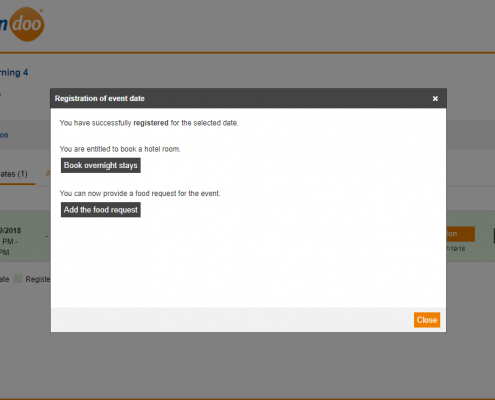
- Click on the button Register of the appropriate event date. The dialog window Registration of event date opens.
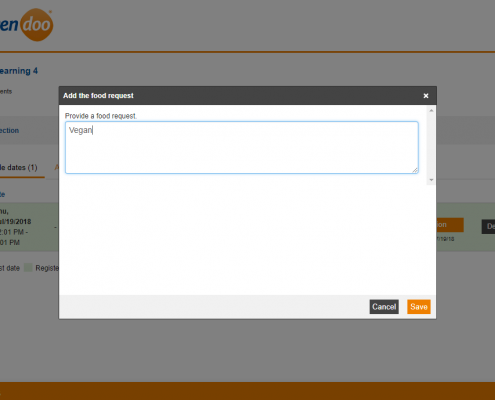
- Click on the button Add the food request. The dialog window Add the food request opens.
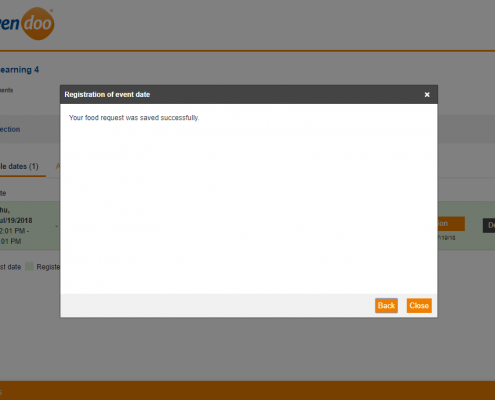
- Enter the appropriate food request and click on the button Save. In the dialog window appears the message that the food request was saved successfully.
- Click on the button Close.
To edit the food request, do the following steps:
- Click on the button Details and then on the link Edit the food request. The dialog window Add the food request opens.
- Do the appropriate changes and click on the button Save. In the dialog window appears the message that the food request was saved successfully.
- Click on the button Close.
Knowledge test behaviour if knowledge test questions are not completely translated
How do behave a translated knowledge test with not completely translated knowledge test questions in the user area?
If you open a translated knowledge test with not completely translated knowledge test questions as a user, these knowledge test questions are not displayed and also are not shown in the original language.
Example:
The author has completely translated the english knowledge test in German, French and Italian. He/she has completeley translated one knowledge test question only in German, but he/she has not completely translated it in French and this knowledge test question is not translated in Italian. Also the author has completely translated the starting and the end page of the knowledge test and the title and teaser of the course activation in German, French and Italian.
The user can open the course activation in the catalog in German. He/she can start, edit and finish the knowledge test.
The starting page of the knowledge test will be displayed in French and Italian for the user when he/she opens it. Only the completely translated knowledge test questions are displayed. The user can finish the knowledge test and the end page is displayed. The not completely translated knowledge test questions are processed like they are not existing.
Tasks in course activations
How do you maintain tasks in a course activation?
Prerequisites:
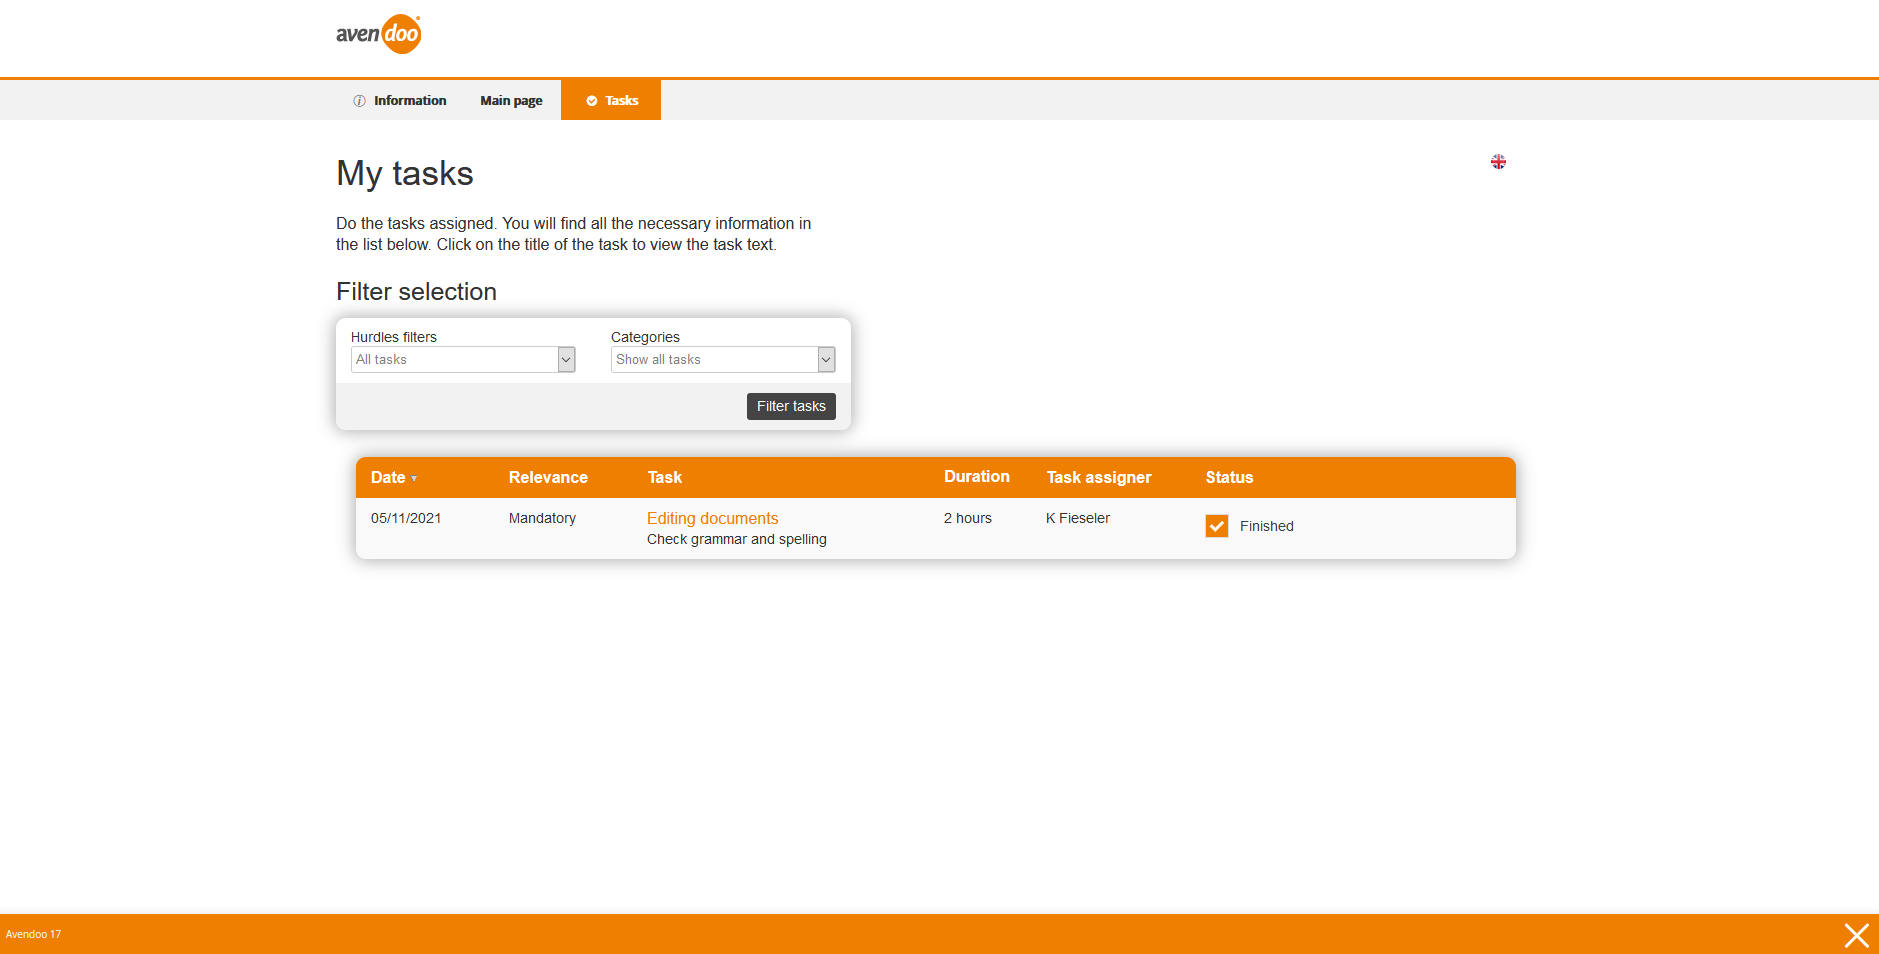
- The author has created a task via the Preview of the course activation and therefore he/she has activated the option Exercises on the sub tab Collaboration tools of the tab Options in the Course activation wizard before.
- The author has selected the option Authors, team leaders and participants under Exercises on the sub tab Collaboration tools of the tab Options in the Course activation wizard.
- The author has activated you as the responsible person of the task via the icon
in the column Status of the Task overview.
You can set the status from “To do” to “Finished” and reverse.
Filling-out of assigned feedback forms
How do you fill out a feedback form which is placed on the learning path?
Prerequisites
The learning object, the instructional material or the event for example, is finished and assigned to the favored learning objects. The author has configured the feedback form on the tab Advanced characteristics per default that the feedback e-mails will be automatically sent on recording the attendance and after the attendance on the maint event.
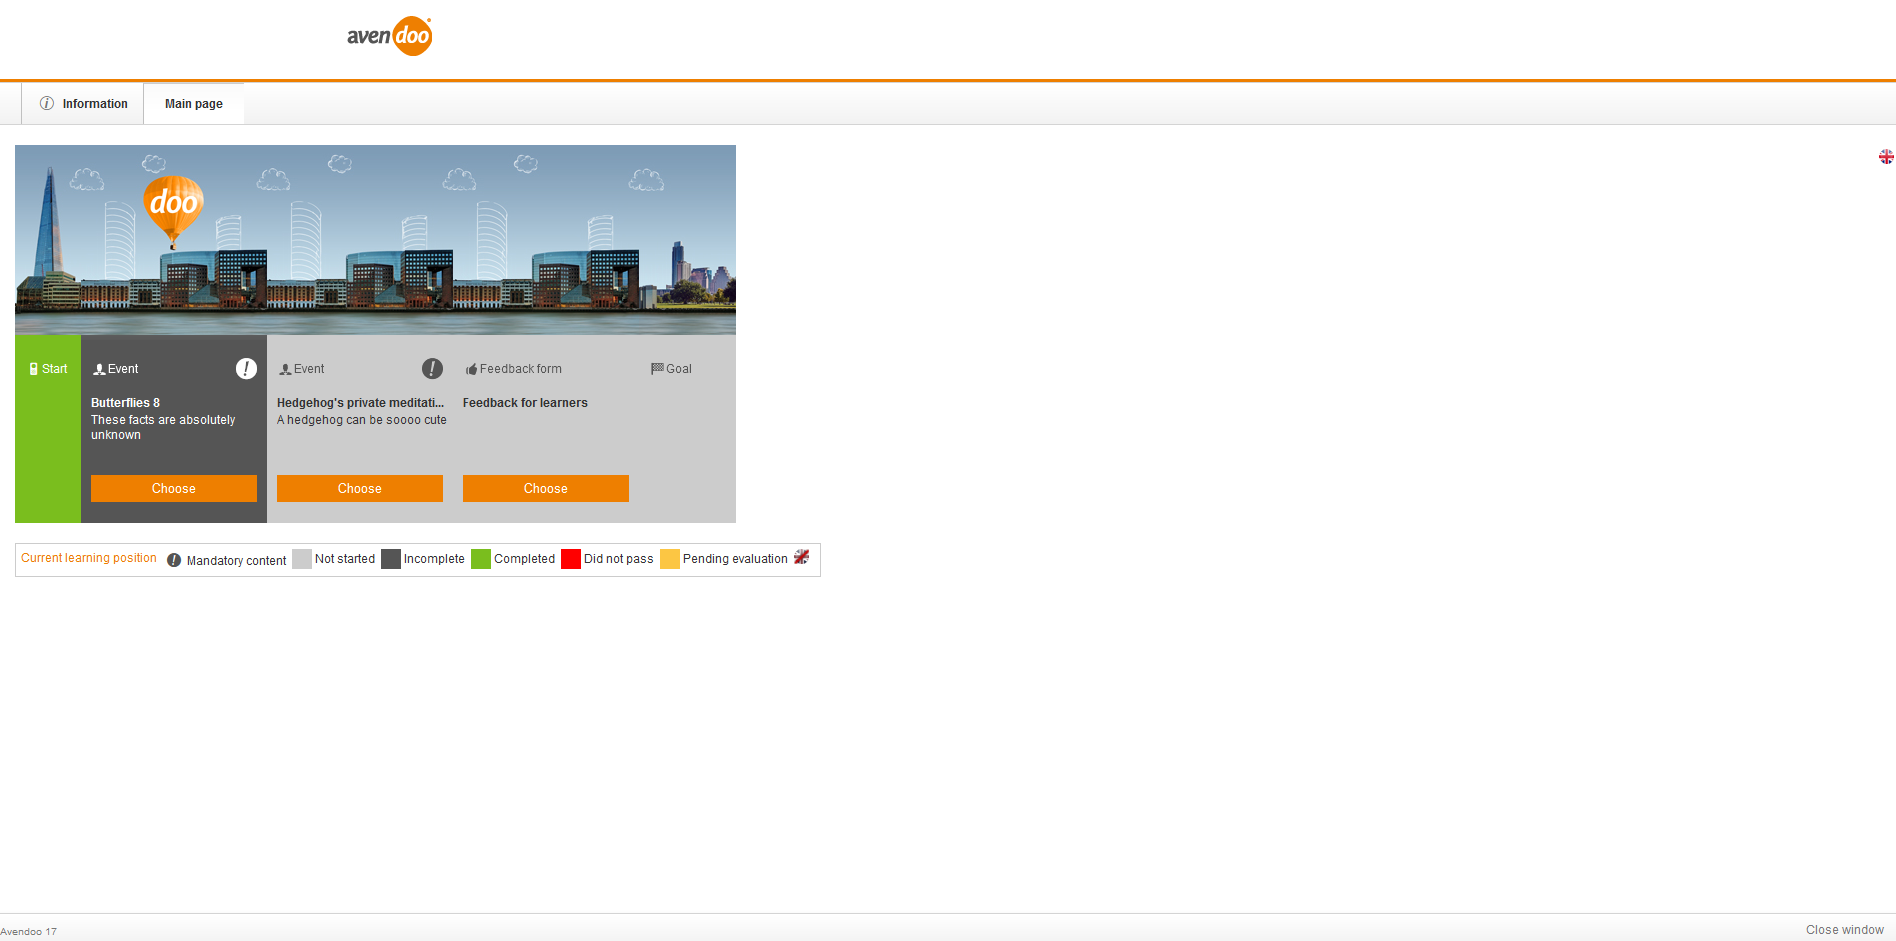
- Switch to the Main page of the course activation and click the button Select of the feedback form on the learning path (see first screenshot):
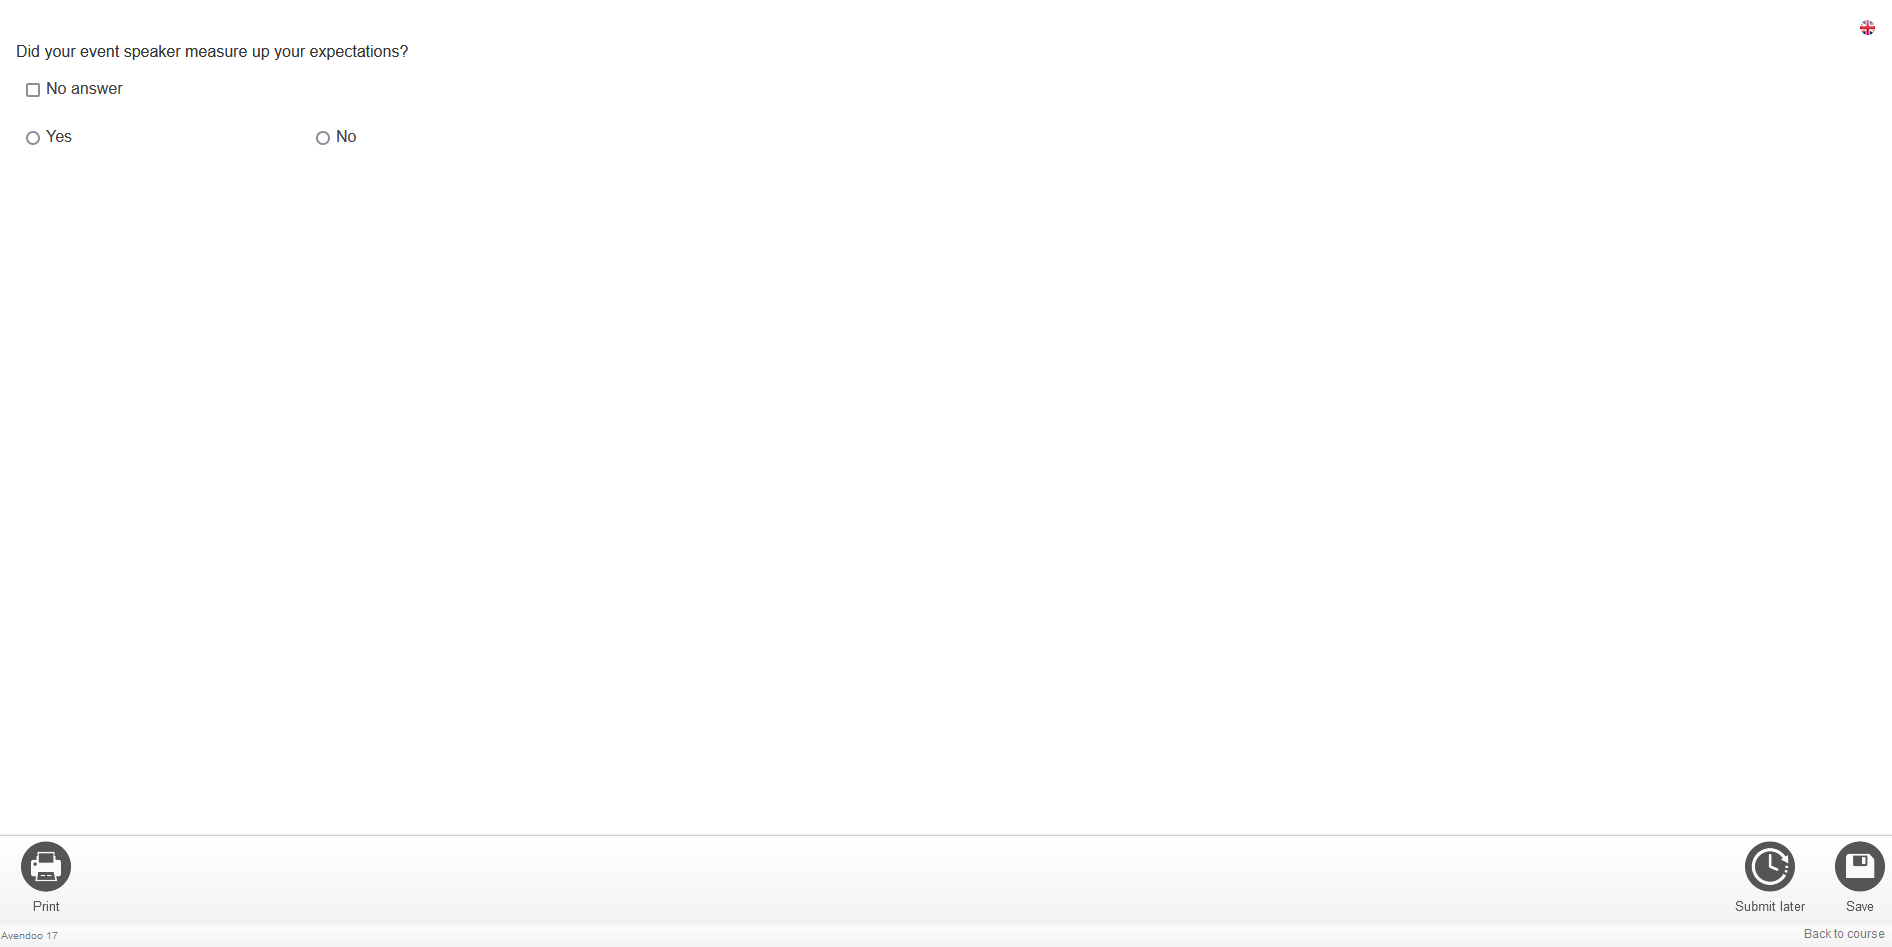
- Answer the feedback question by selecting one option and entering a comment (see second screenshot).
- Click the button Save.
- As the speaker has recorded the attendance on the main event, automatically a feedback e-mail with your feedback will be sent.
- Alternatively, you click the button Submit later.
Are there other possibilities of giving feedback besides the standard?
The author can configured regarding the feedback form and its assignments to the learning object, instructional material or event for example, that
- you should fill-out the feedback form before the start of the event date,
- the automatic submission of the feedback e-mail sould be on the start or end of the event date group ,
- the submission should be after attendance on a follow-up event date, on any event date or when the event is finished.
These options activate that you can fill-out your feedback form even before the start of the event date or that the automatic submission of the feedback e-mail will be done under other conditions.
